Antec GX700 Mid Tower Chassis Review
Peter Donnell / 11 years ago
The left side panel is held in place with two quick release thumb screws and has space for a 120mm fan. The top of the chassis features two good quality 140mm fans, with support for 2 x 120mm or a 120 – 280mm radiator. The top fans are also fitted into a slightly raised section that will help provide just a little extra room for both the fans and your motherboard.
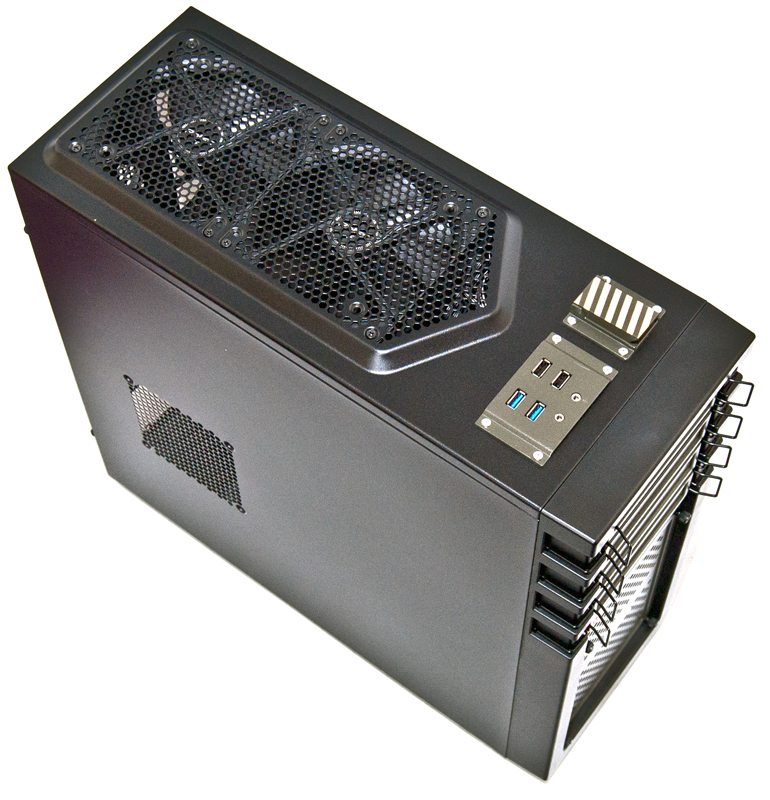
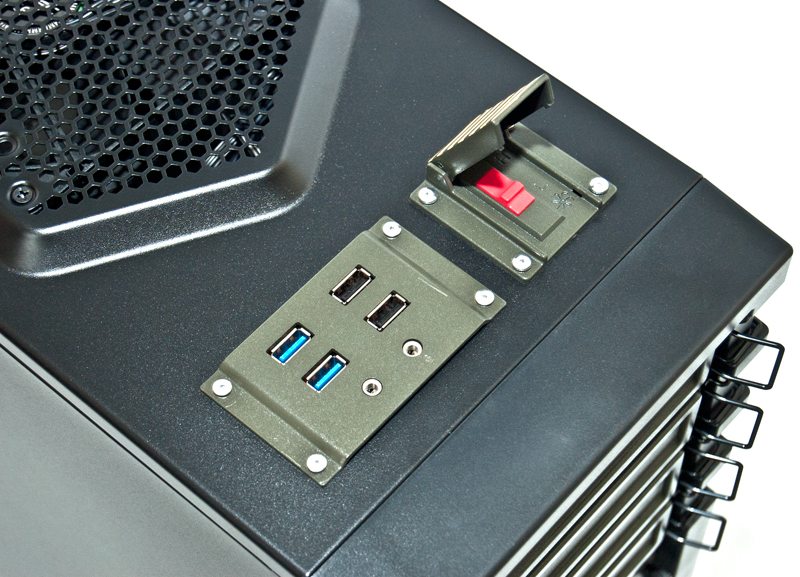
The front I/O section on the top of the chassis features two high speed USB 3.0 ports and two USB 2.0 ports, but the coolest feature here is the flip up metal cover which hides the two speed fan controller switch, which unfortunately didn’t fire any missiles when flicked, but the hazard stripe finish on the top of the cover looks cool non the less.
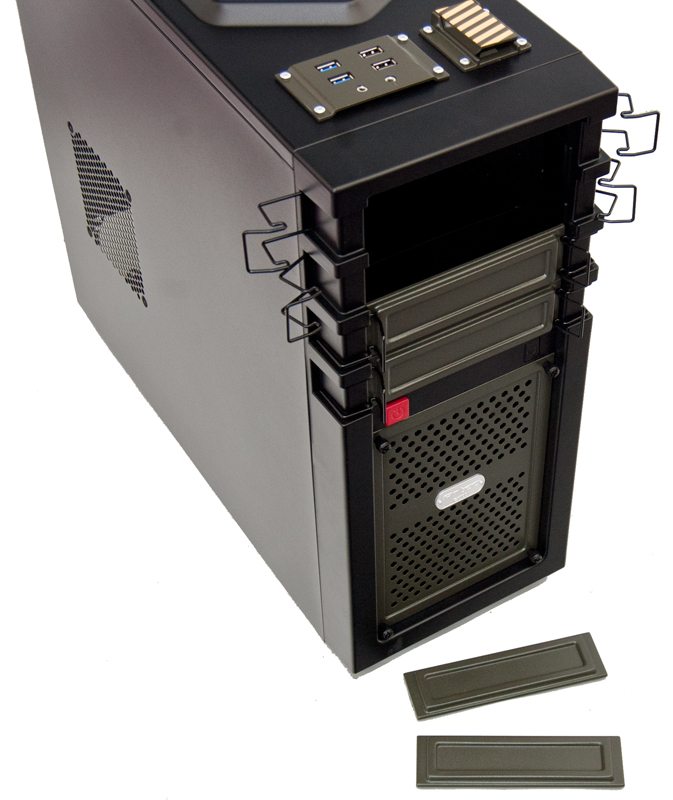
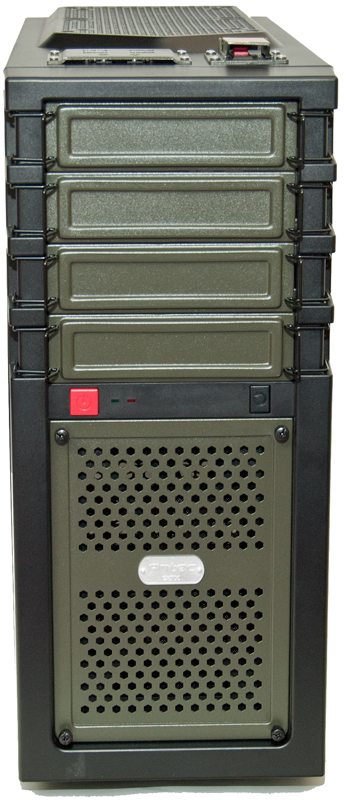
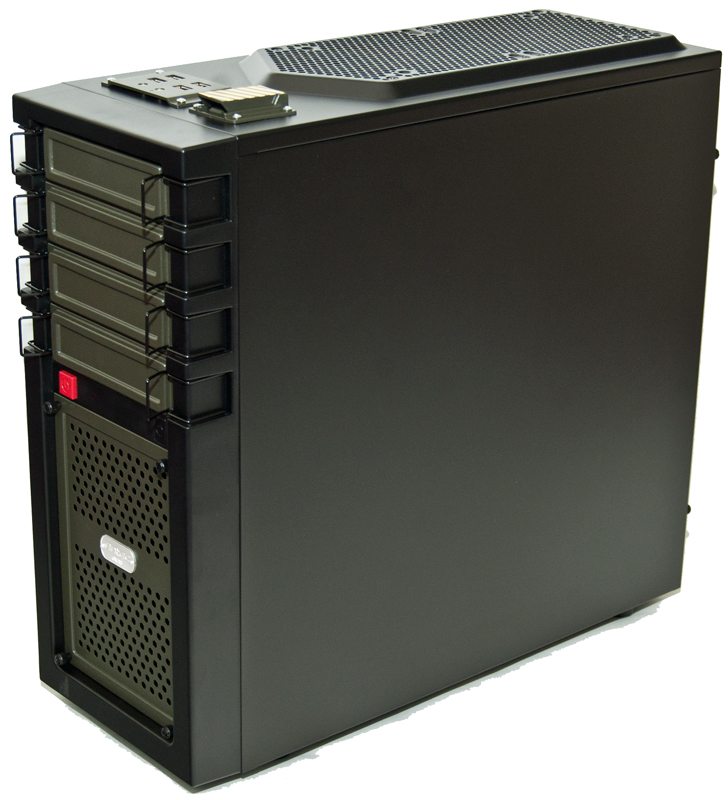
The front panel keeps with the military theme and sports a strong mixture of metal green panels and durable black plastics. The four optical drive covers are held in place by snap-over metal latches that can easily be opened from the front of the chassis, as functional as they look they are definitely more of a style point than anything, which is no bad thing of course. Further down the chassis we have the power button finished in red, the red and green LED lights for the power and hard drive indicators and a reset switch.
The best feature on the front panel is definitely the metal fan grille, which can be removed using the four quick release thumb screws, doing so reveals a removable dust filter and the front fan mounts, this allows for easy installations as well as quick maintenance of the dust filter.
The right side of the chassis features a straight forward plain panel which is held in place with two thumb screws.
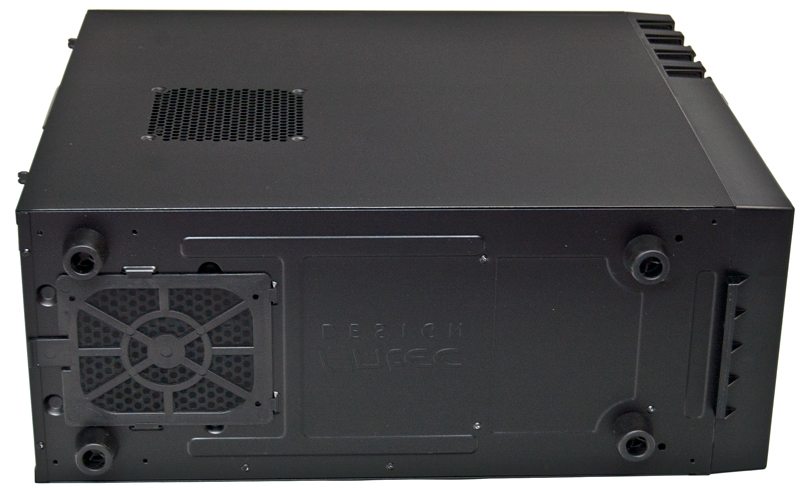
Around the back of the chassis we find there are two grommeted water cooling / cable routing holes at the top, followed by a pre-installed 120mm exhaust fan. There are 7 expansion slots which feature snap-off covers that can non be re attached once removed, to the right of that we have a clip on plastic guard to cover the expansion slot screws used to secure your GPU or other expansion cards. Finally, we have a bottom mounted PSU cut-out.

The bottom of the chassis features a slide out dust filter and air intake which will provide your PSU with clean airflow and should also make for quick and easy maintenance of the dust filter. Four heavy duty rubber feet should keep the chassis stable, provide room for airflow to the PSU air intake and also help reduce any vibration from the chassis its self.