Arctic Liquid Freezer 240 AIO Cooler Review
Peter Donnell / 8 years ago
Installation
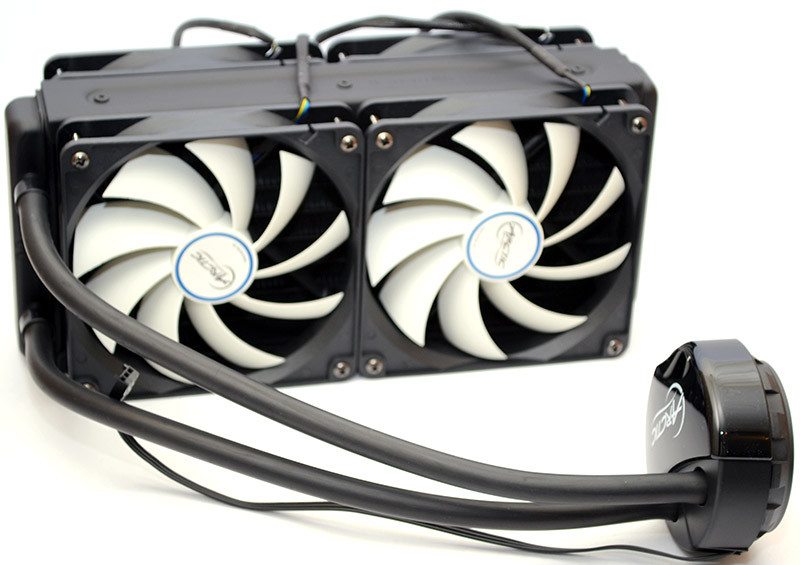
Installing the fans takes a few minutes, as there are 16 screws that need fitting and it’s also best to ensure at this point that you have all the fan cables pointing in the right direction, as this will help with cable management once it’s installed in your chassis.
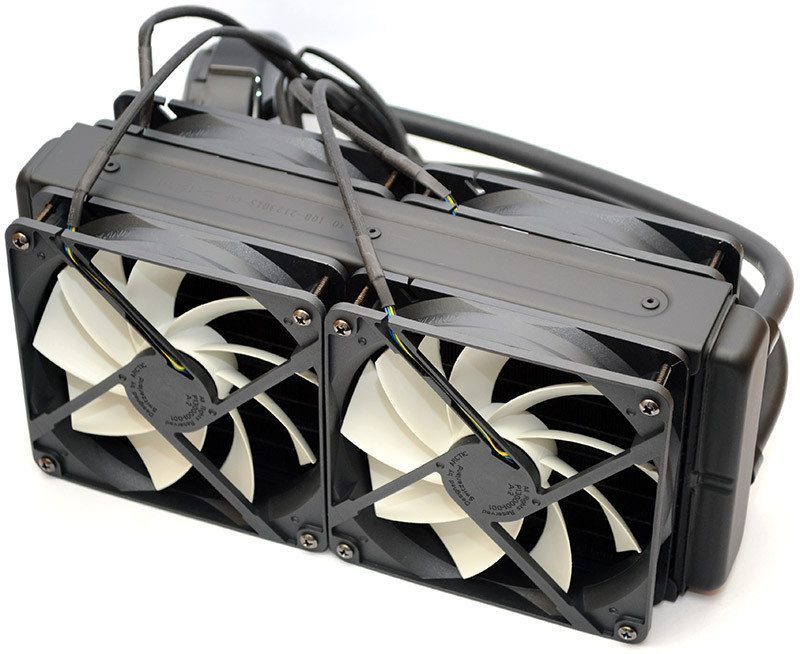
Four fans mean we can run at a low RPM, but still get a lot of airflow through that thicker radiator for maximum cooling performance. One thing is for certain, all these fans should easily shift heat from your system.
The universal backplate drops onto the back of the motherboard, pretty self-explanatory.

Four screws then hold the bracket to the motherboard and provide screw tops for the thumb screws.
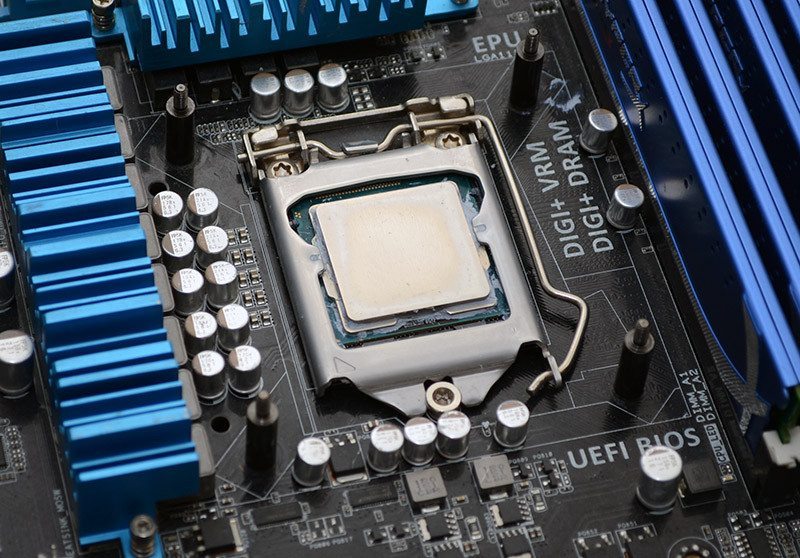
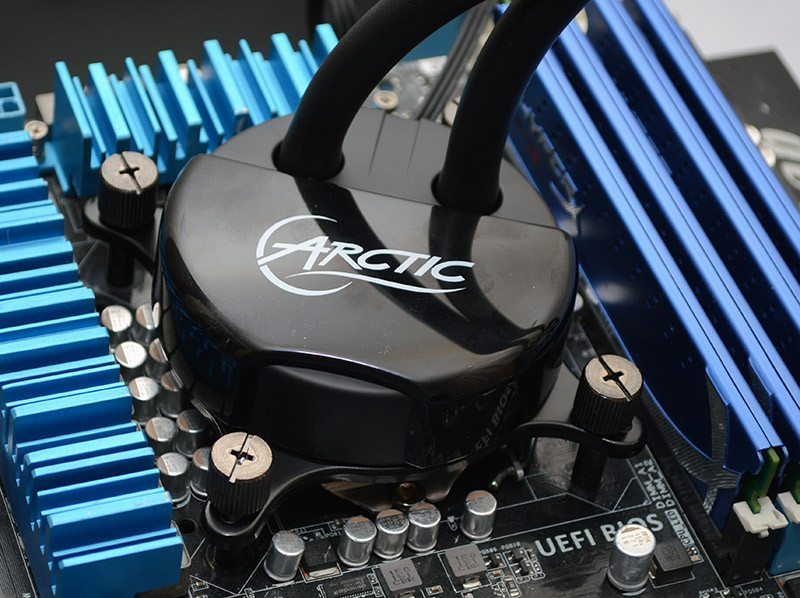
Simply apply your thermal paste, then screw the pump using the appropriate Intel or AMD bracket to the motherboard using the included thumb screws. You’ll need a screwdriver for the fans, but otherwise, the review of the job can be completed tool-free and only takes a few minutes.