BitFenix Prodigy M Colour Series Micro-ATX Chassis Review
Peter Donnell / 9 years ago
Introduction

It’s been two years since I first reviewed the BitFenix Prodigy M, but today, I’ll be revisiting this now classic Prodigy chassis design to take a look at the latest Colour series from BitFenix. Colour choices are always a welcome addition to any range and from a consumer perspective, having more choice is no bad thing. Colour coordinating your build becomes a lot easier when you can pick something that suits your needs and preferences. Today I’ve got the Prodigy M Red, as well as a few other bonus goodies from BitFenix to help with the build, such as the BitFenix Fury PSU, a 120mm Spectra Pro red LED fan, a BitFenix Alchemy white LED strip, as well as a red side panel window.
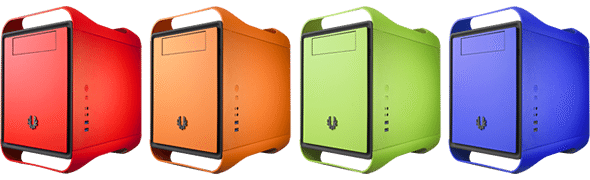
Prodigy M Colours available
- Midnight Black
- Arctic White
- Fire Red
- Atomic Orange
- Vivid Green
- Cobalt Blue
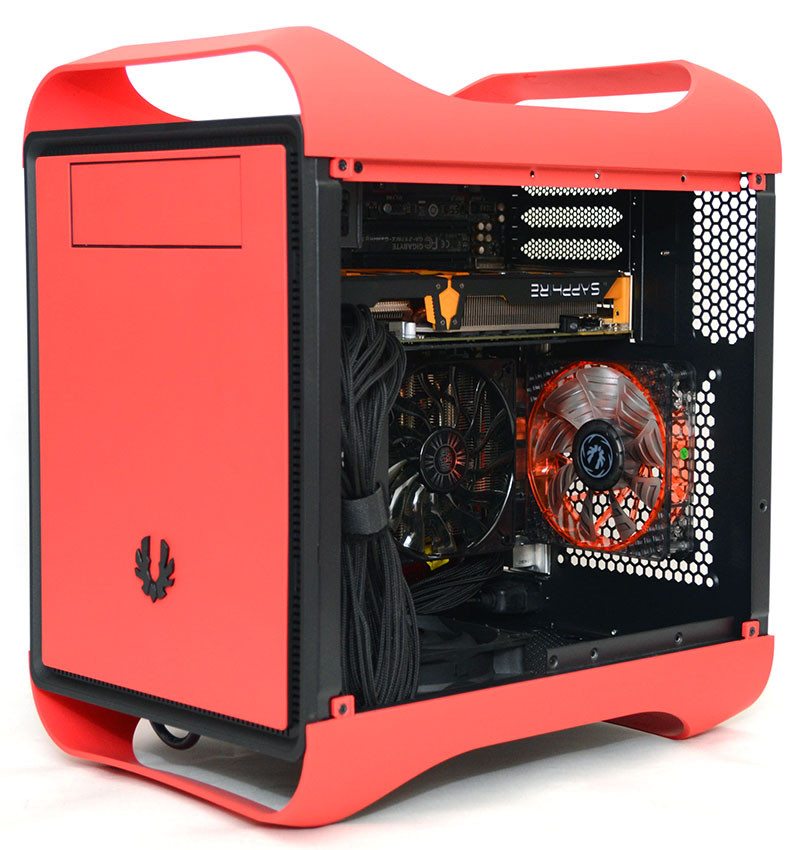
As you can see, this is the original Prodigy shape and design, the only real difference is the colour, which is obviously red.
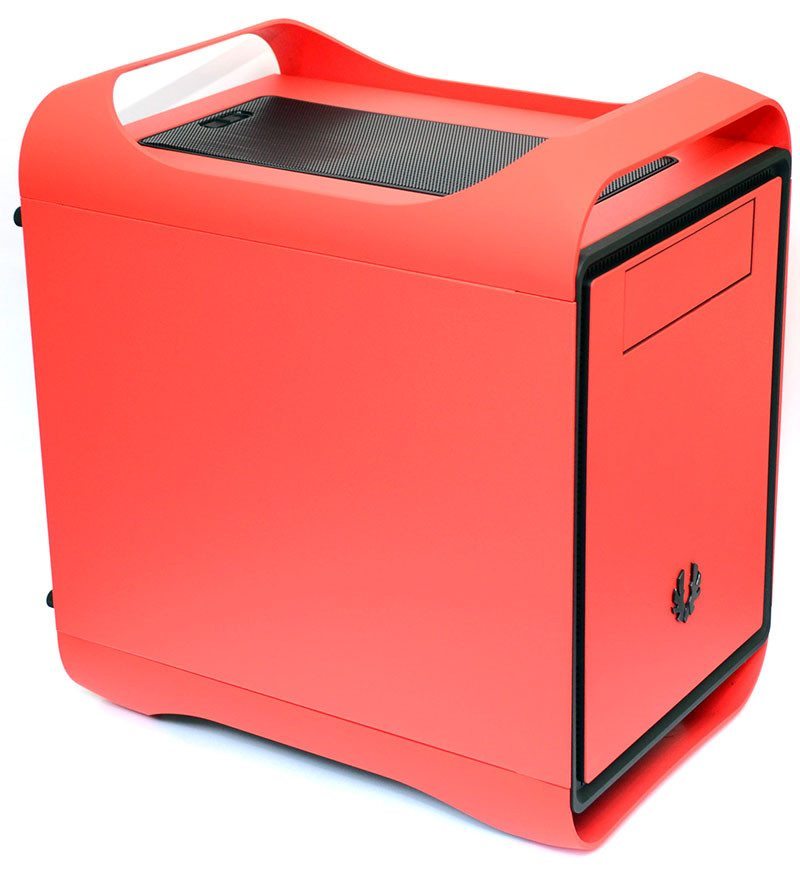
The SofTouch treated front panel and the handle/stands on the top and bottom blend nicely with the soft finish of the red paintwork.
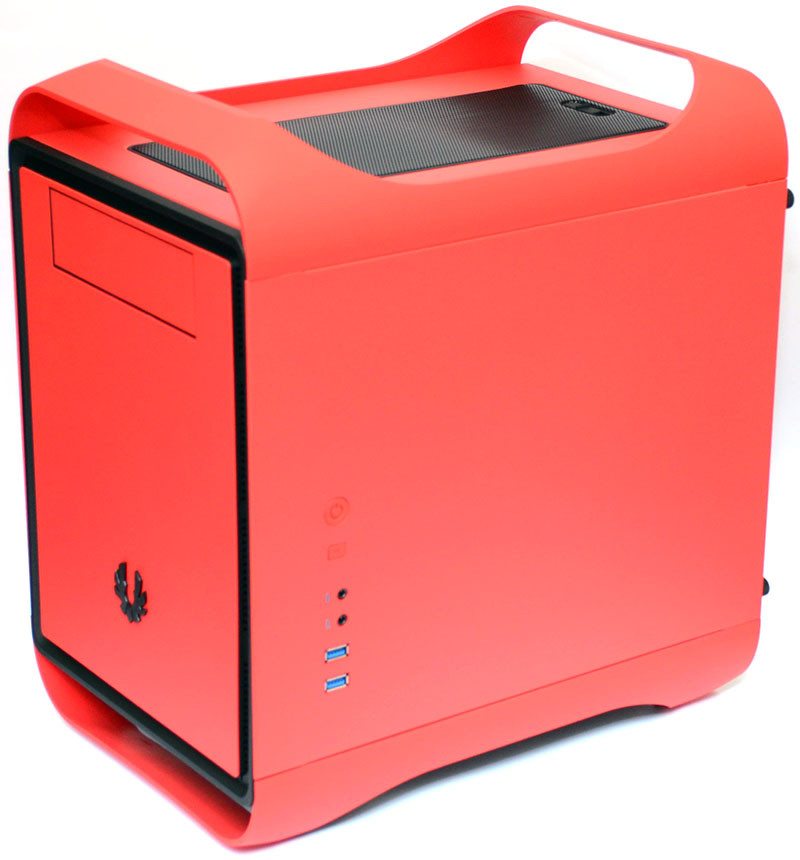
The black trim fits rather well, especially since most gaming hardware is in red and black these days; this should be one of the more popular colour choices.
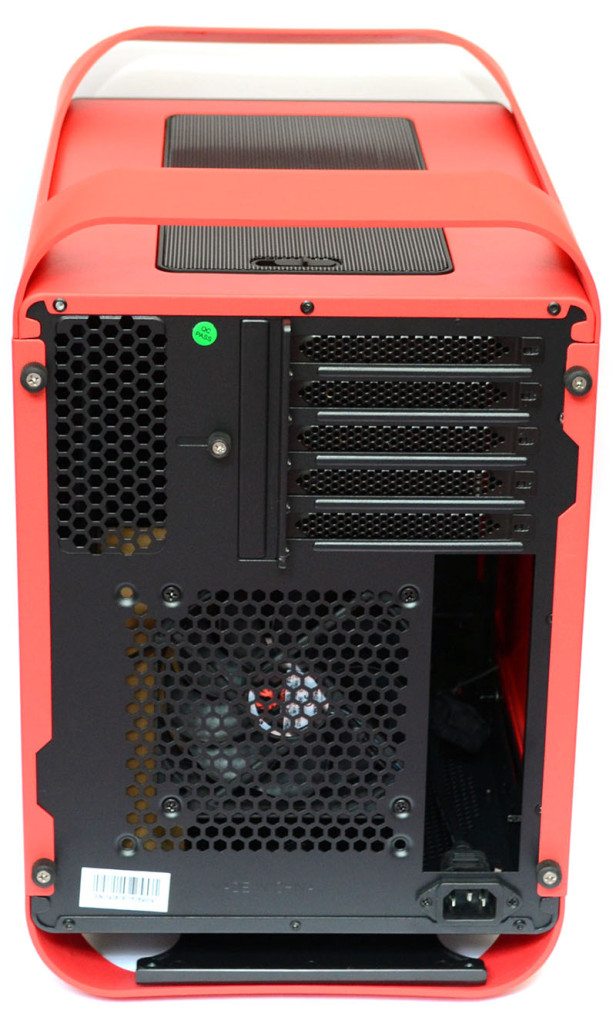
The back of the chassis is still finished in black, which suggests the core of the chassis is the same across the whole colour range, with just the exterior panels being swapped; makes sense really.
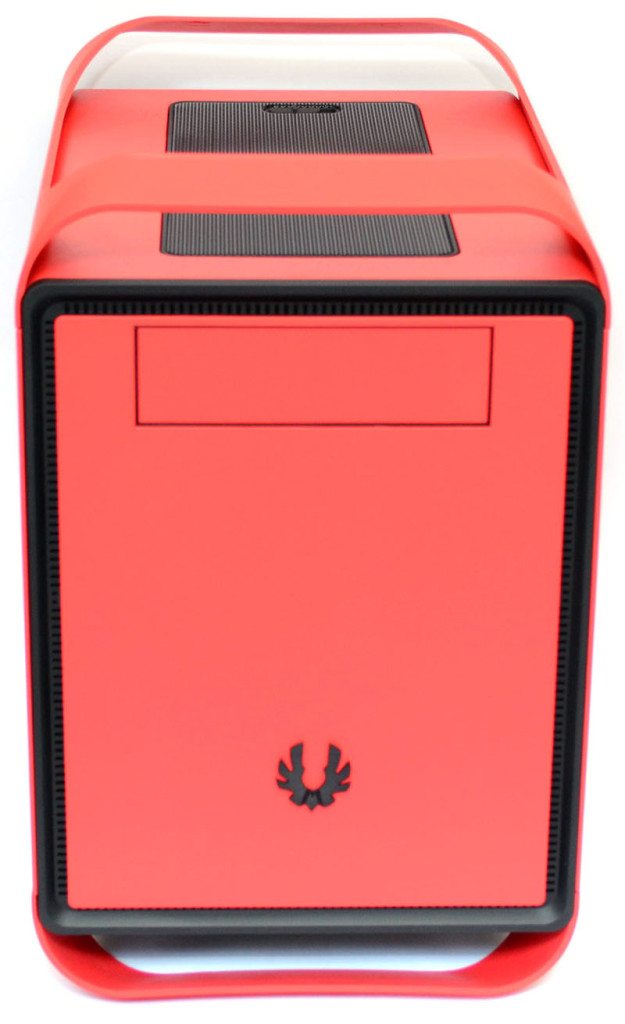
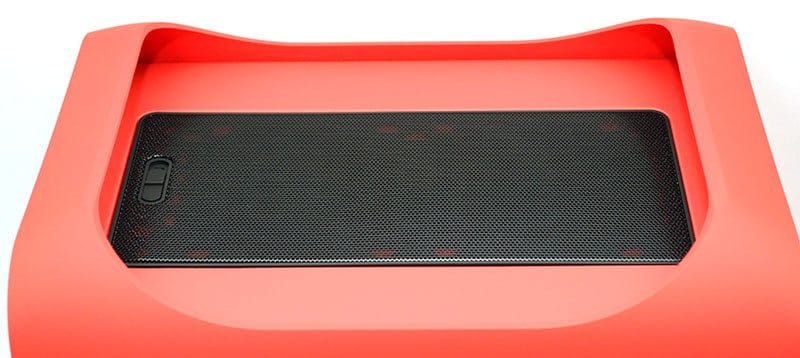
The top ventilation cover.
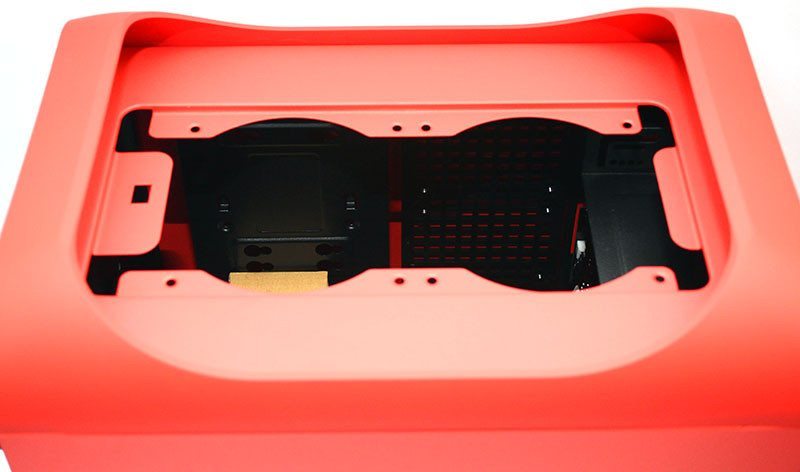
Behind which you’ll find the dual 120mm fan mounts.
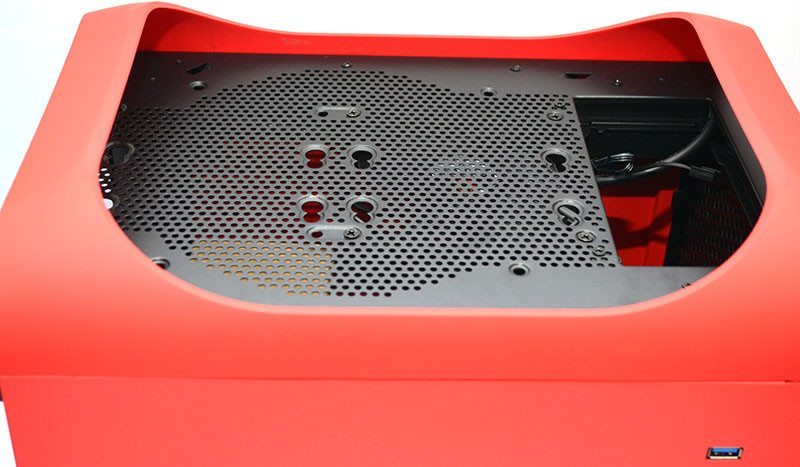
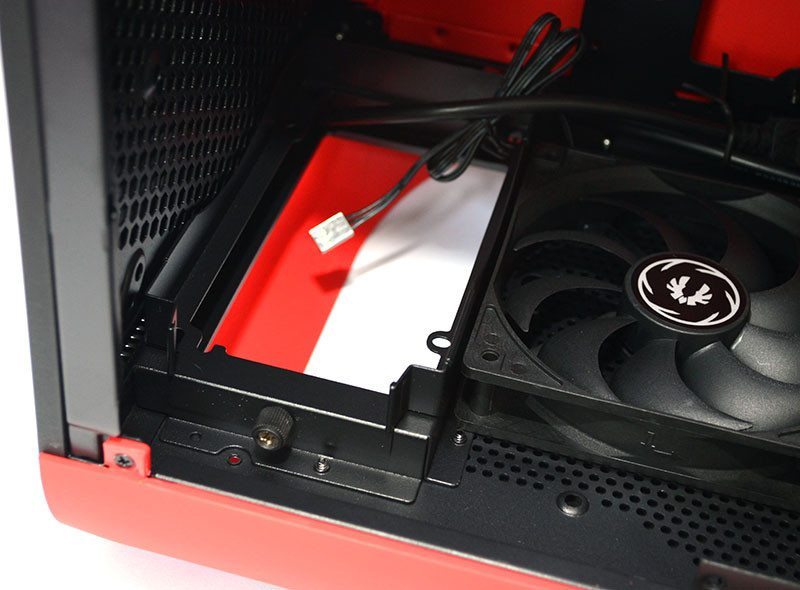
The bottom of the chassis comes with a heat guard, although this can be removed if you wish to install fans in the base of the chassis.

If you don’t want extra fans here, you can opt for mounting hard drives directly to the base of the chassis.
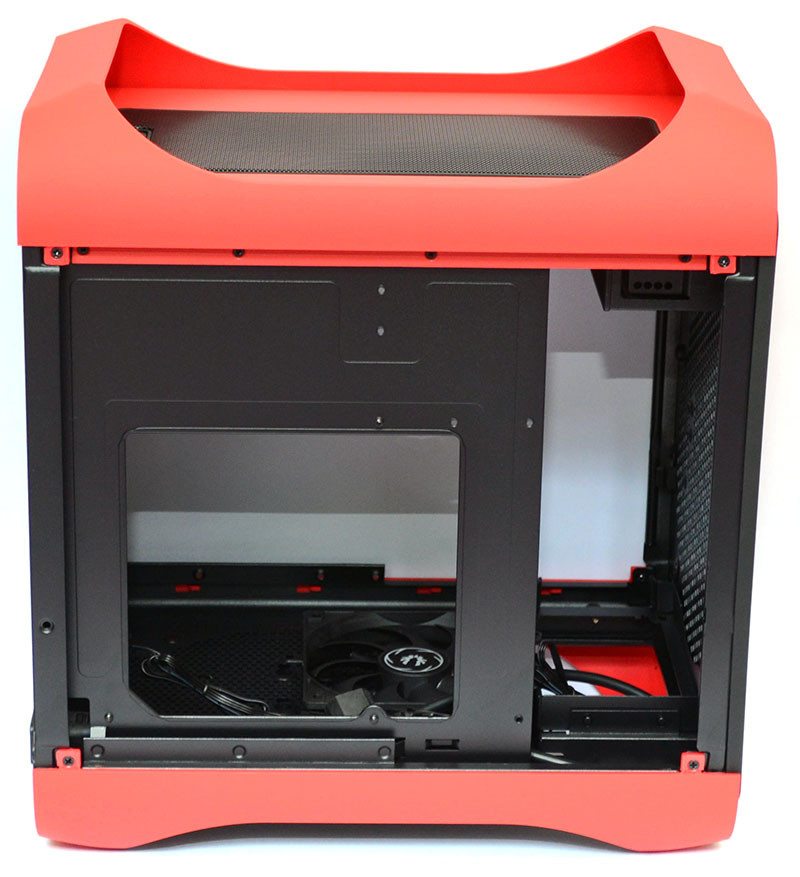
Interior
As I said, an all black interior, just like the rest of the Prodigy M range. On the right, the vertical hard drive mount, which frees up a lot of space for the Micro-ATX motherboard.
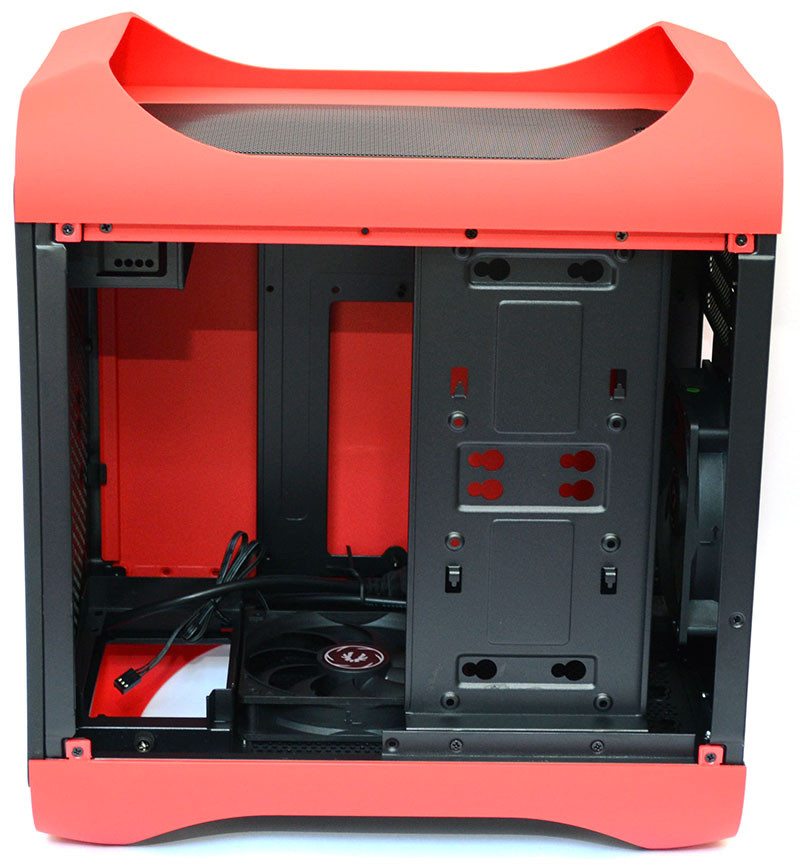
No doubt, with the custom components I have at my disposal today, we should be able to achieve a rather cool looking build.
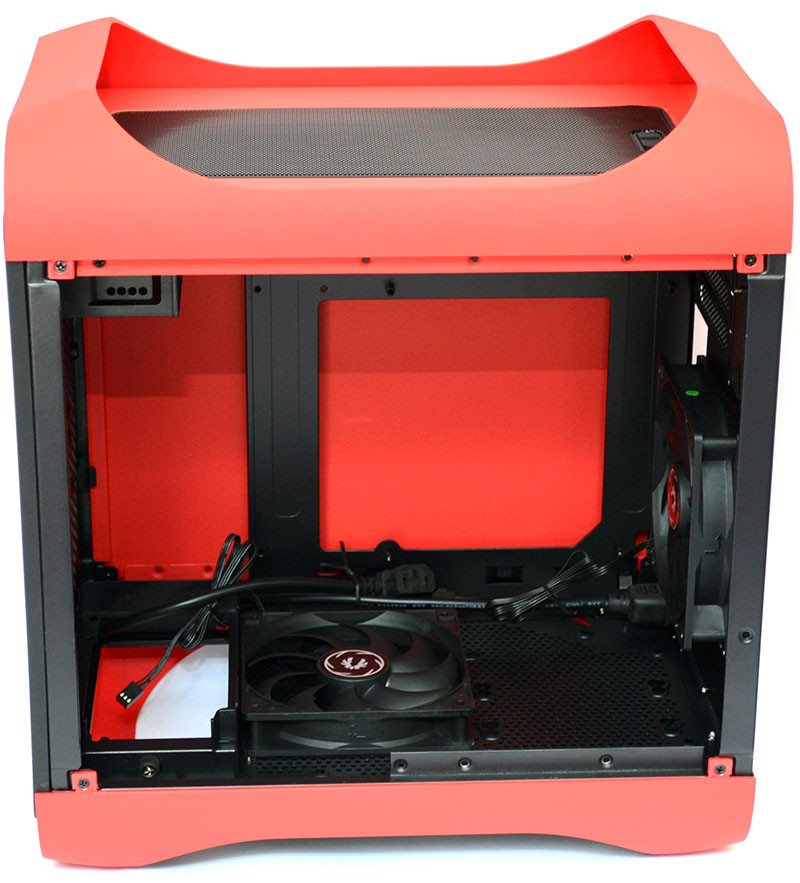
The PSU mounts towards the front of the chassis, which could make cable routing tricky, but we’ll see how we get on with our Fury PSU.
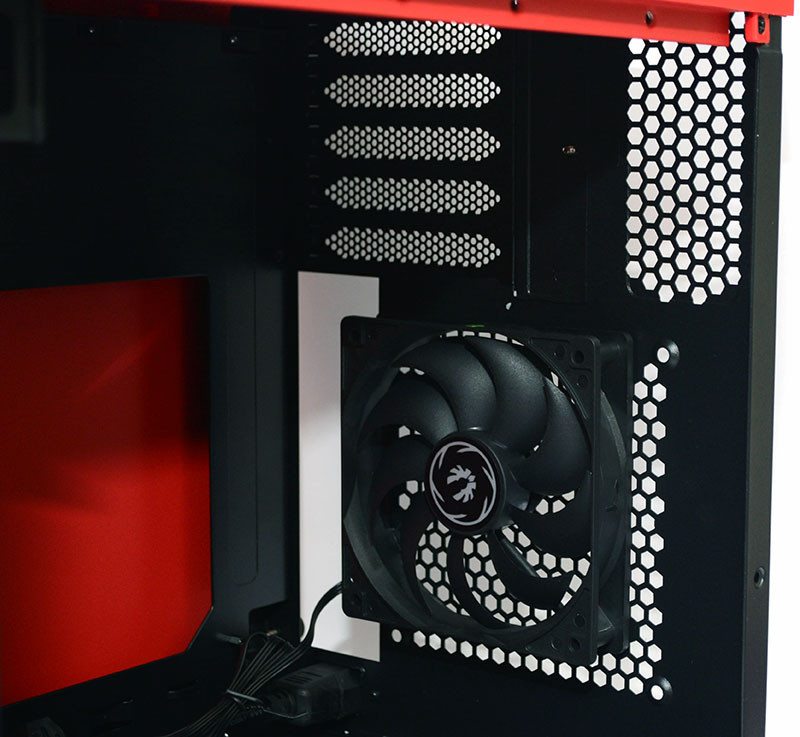
The rear 120mm fan, a little dull, so I’ll be swapping that out for a red LED model.
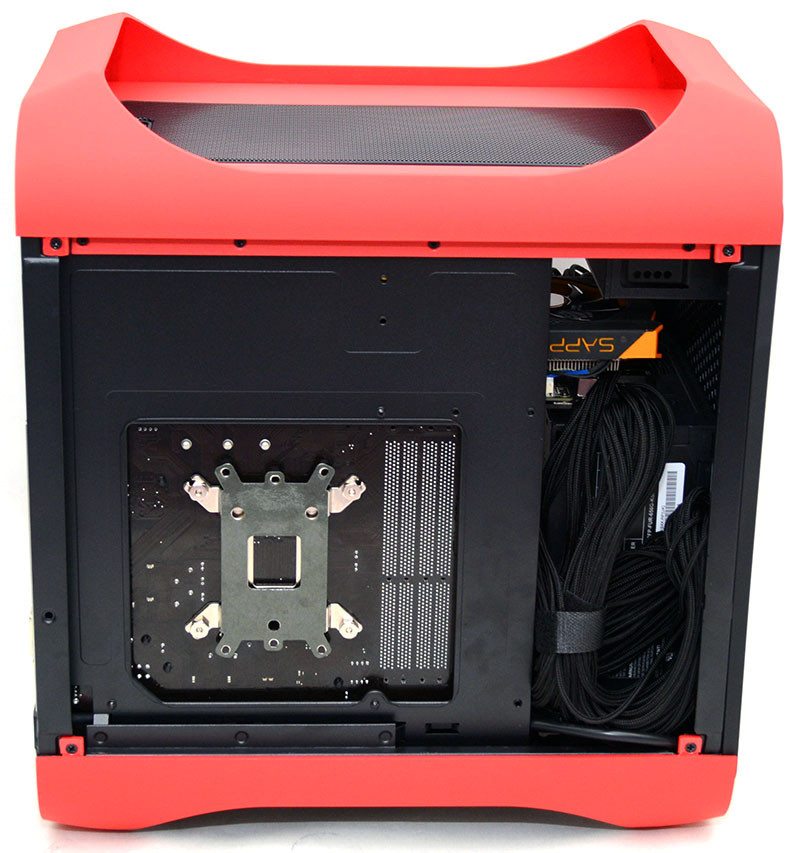
Limited cable routing space behind the motherboard.
Complete System
I’ve already reviewed this chassis in the past, so excuse the rather quick rush to the build, but you’ll be glad you got to this page! The build looks stunning and one thing that really stands out is the use of that BitFenix Fury PSU. The Fury comes with pre-sleeved cables, which negate the issue of excess cables, as they look rather lovely and become something you can proudly show off.
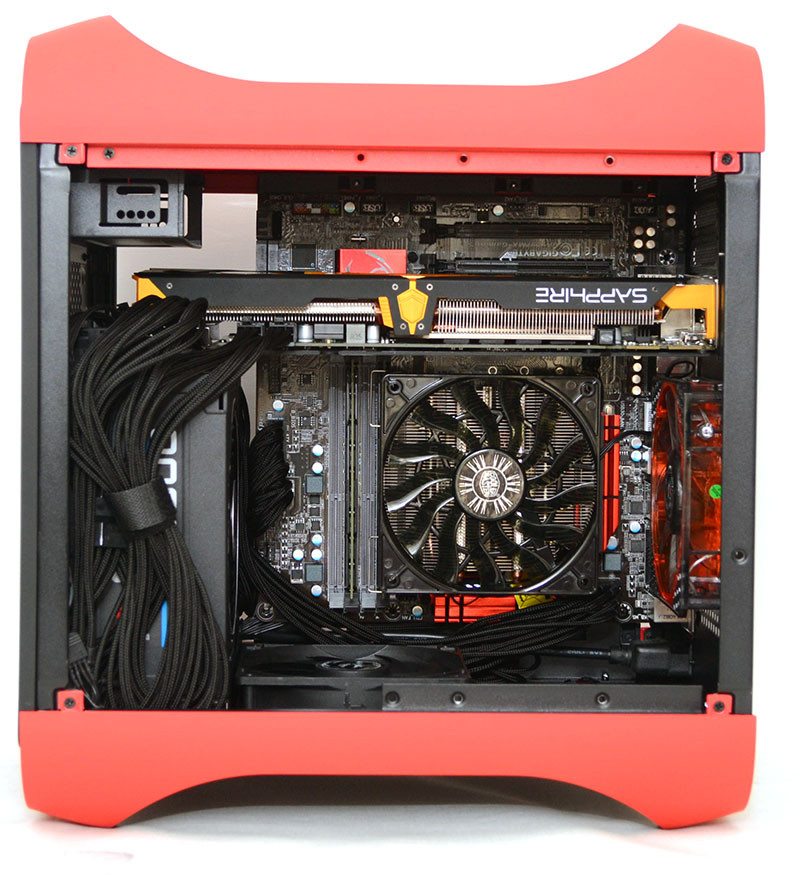
The red LED fan in the back looks great, although looking back, perhaps a 140mm LED fan mould have made better use of the space, but I do prefer this design to their 140mm models.
I’ve used a couple of velcro ties to smarten up the cables, as there’s very little room, if any, behind the motherboard for all the excess.
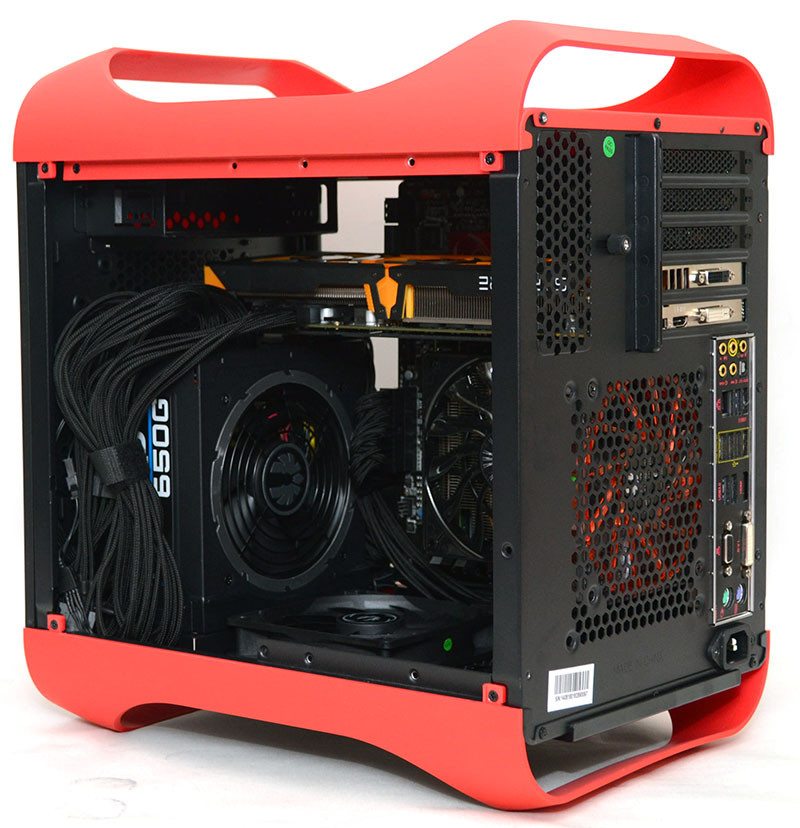
Everything is neat and tidy here, not that you would see this area that often anyway, but it’s always nice to know things are in order.
With the new side panel in place, I can show off my Sapphire R9 270X Toxic graphics card, as well as the motherboard, CPU cooler and those lovely PSU cables.
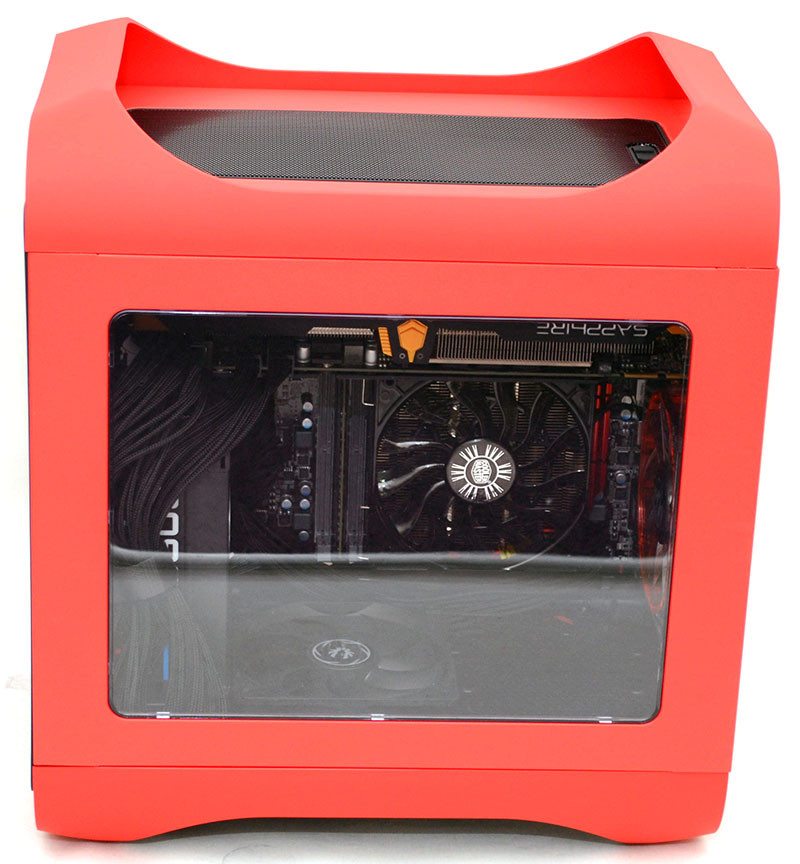
A closer look through the window panel.
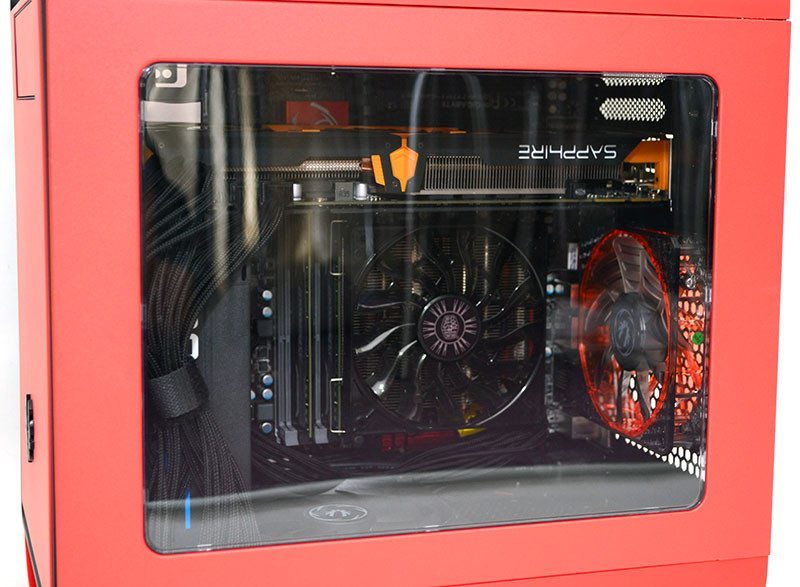
The mixture of red and black throughout the build certainly has a striking visual impact.

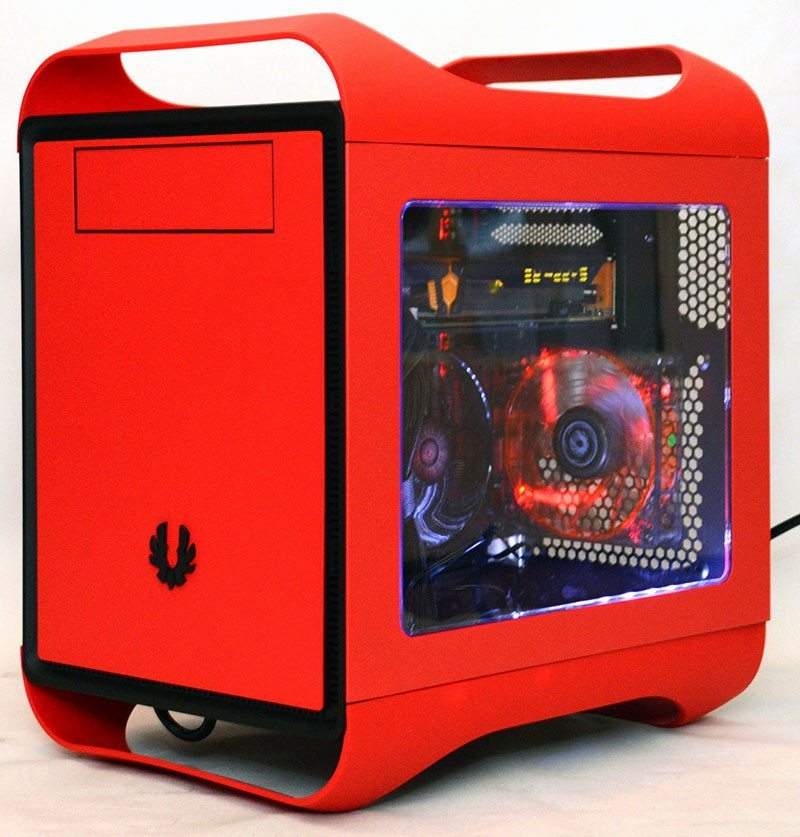
Fired up, you can see the white LED lighting hiding down in the bottom right of the chassis, as well as that red LED fan in the back. BitFenix wanted to give you more choice and a solution to colour coordinate your build; I think they nailed it!
Final Thoughts
Pricing
The BitFenix Prodigy M colour series, as well as the standard colours of black ,white and the Yin and Yang editions, are available from Overclockers UK, with prices starting from £64.99 up to £74.99 dependent on which model you desire. The Colours available are red, orange, blue and green. The BitFenix Prodigy M Windows Side Panel is available for £9.95 and is also available in red, green, orange and blue. The total cost of the red chassis and side panel I used today is £74.94.
Overview
When I first reviewed the Prodigy M, I met it with mixed feelings. On one hand, I love the original Prodigy, it has a great layout for mini-ITX based systems, but the increased component size required for Micro-ATX, matched with an unchanged external size of the Prodigy, the Prodigy M struggled to meet my standards. That being said, I still love the way the chassis looks, despite the tricky to manage airflow, awkward cable management and compared to the original prodigy, limited radiator support.
What I have seen in this chassis is potential, so when I was asked to revisit it to review their colour range, I reminded BitFenix that I didn’t like the M series model and looked for a better way to approach the build. With the right choice of components, this can be a much easier chassis to love and when you compare to the now archaic looking build I performed two years ago, it really shows how putting thought into picking the right components to complement your chassis can make a huge difference. Also, let’s not forget that here you can also pick the right colour Prodigy M to suit your components; it works both ways here.
This chassis isn’t for everyone, but again, you can make good on it if you put in the extra effort. There’s easier chassis out there that do the same job with less effort, some are cheaper, smaller, bigger, it doesn’t matter, if you see something you like, go for it. The Prodigy M certainly has visual appeal and if that’s what you love, pick your favourite colour and set about making this chassis work for you, because it really can pay off in the end.
Please note, this review only relates to the changes since the original model and my original award, pros and cons are unchanged.
Pros
- Bright and colourful finish
- Four colours to choose from
- Optional side panel window
Cons
- None
“Customising and modding your chassis can be a tricky process, but BitFenix are making moves that allow you to customise your rig to your liking with minimal effort. A custom side panel, a few new fans and pick your favourite colour and you’re on your way to having a Prodigy that certainly stands out from the crowd.”

BitFenix Prodigy M Colour Series Micro-ATX Chassis
Thank you Overclockers UK for providing us with this sample.


