Cooler Master MasterCase Pro 5 Chassis Review
Peter Donnell / 9 years ago
Interior
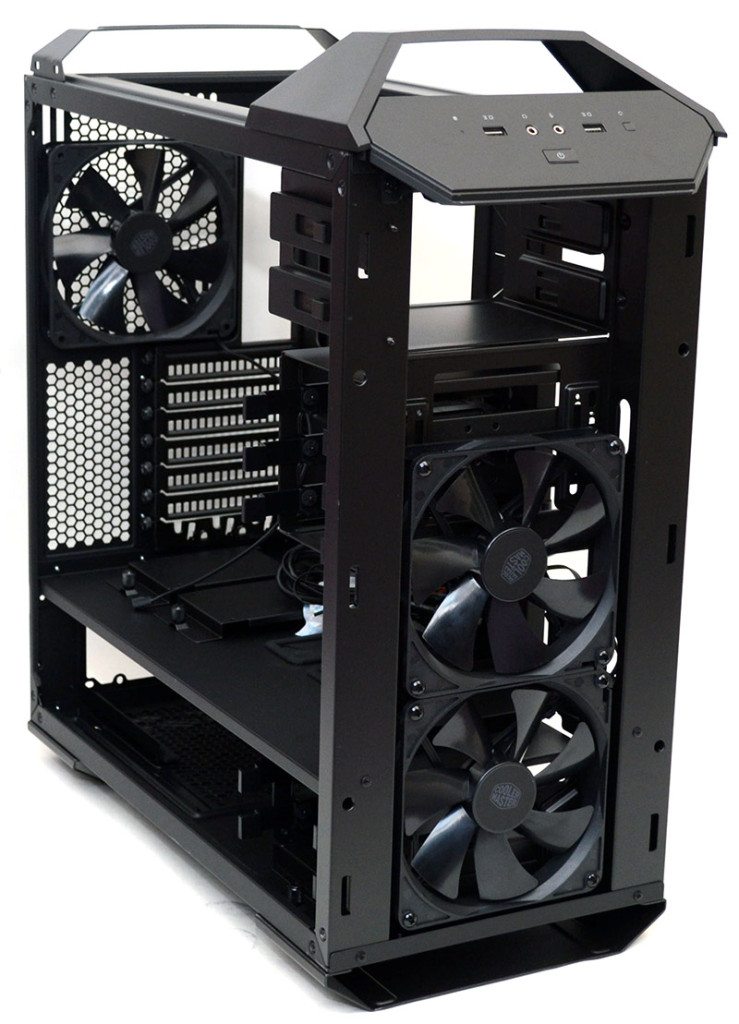
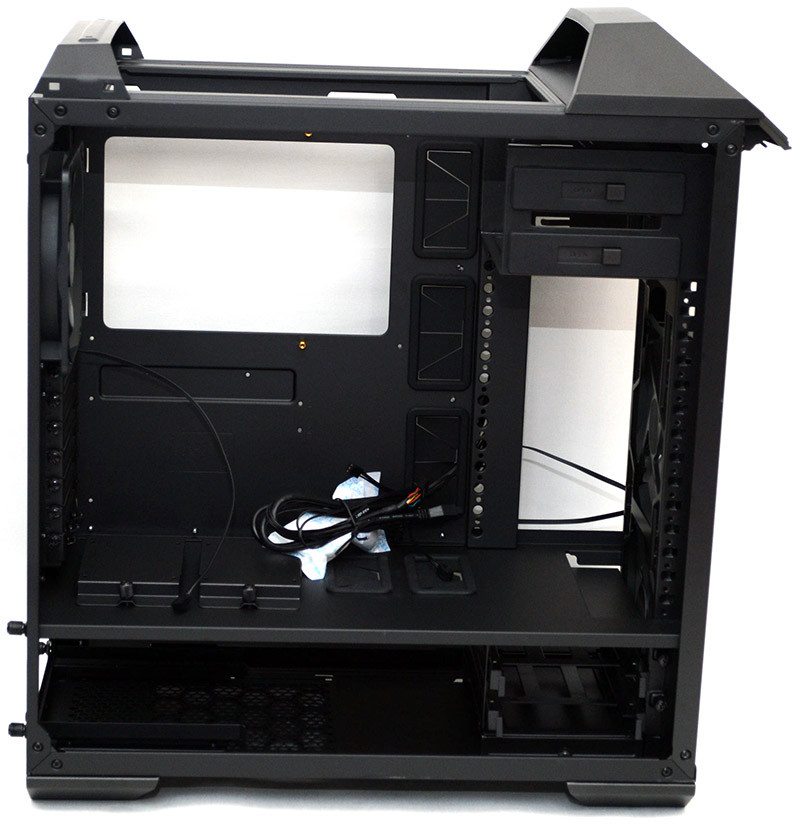
The interior of the Master Case Pro 5 is spacious, so you’ll have no trouble fitting any of the largest graphics cards on the market and a whole lot more. There’s a super-sized cut-out behind the motherboard too, handy for making CPU cooler changes without removing the motherboard.
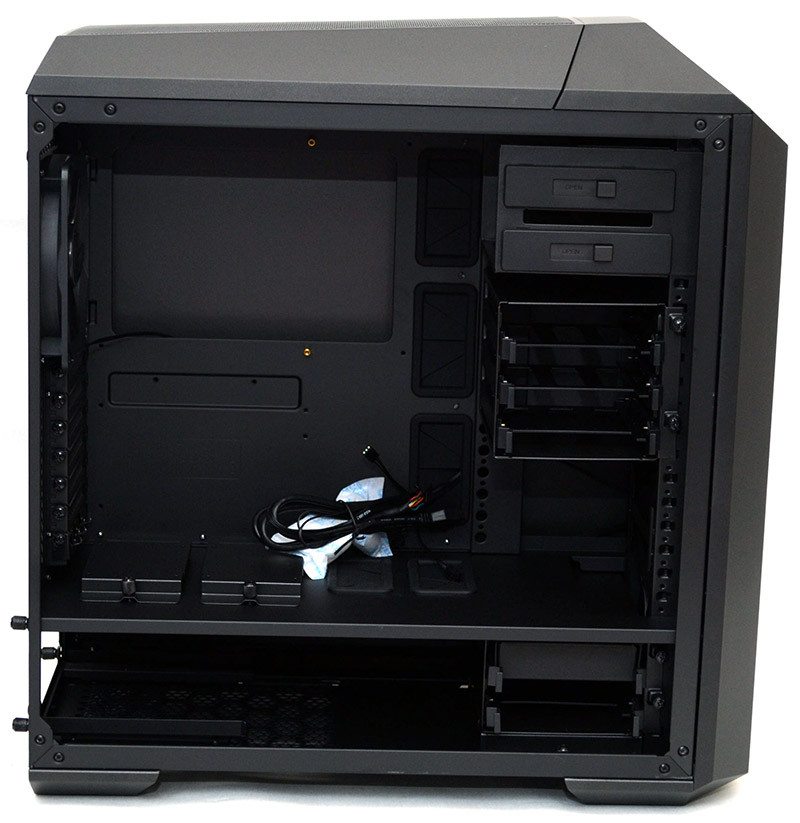
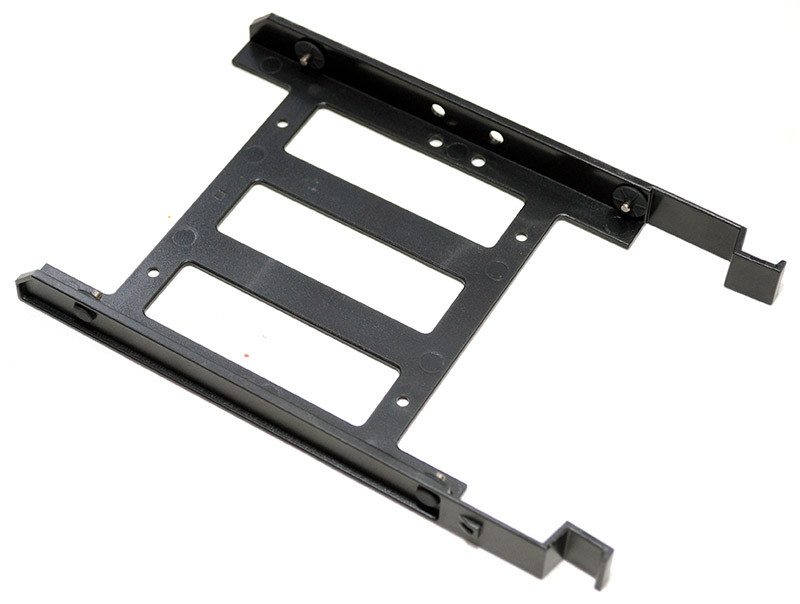
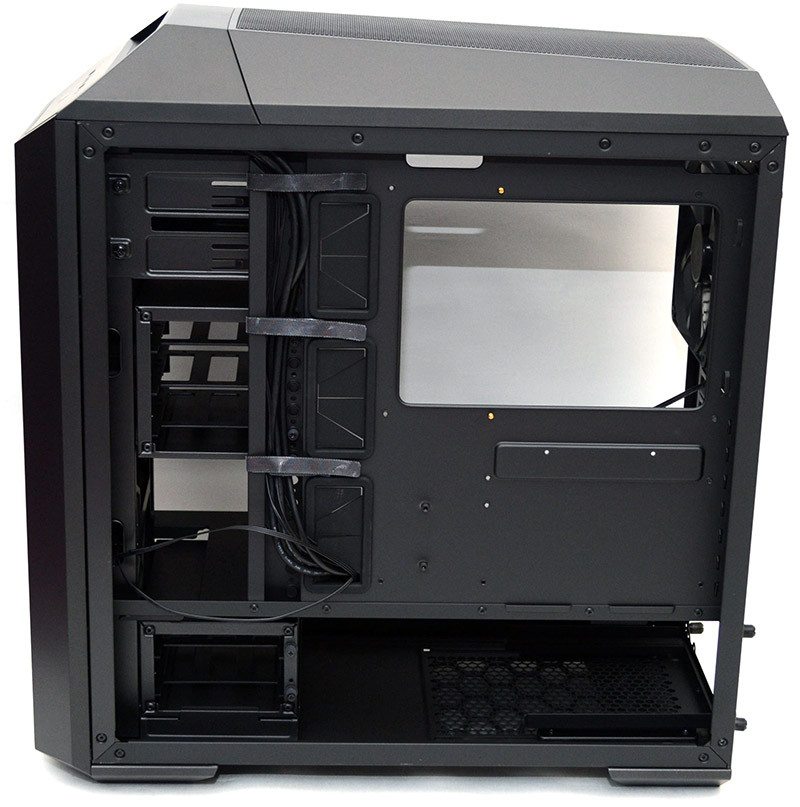
In the bottom right corner, a dual 3.5/2.5″ hard drive bad.
One of the trays is currently housing the accessory box.
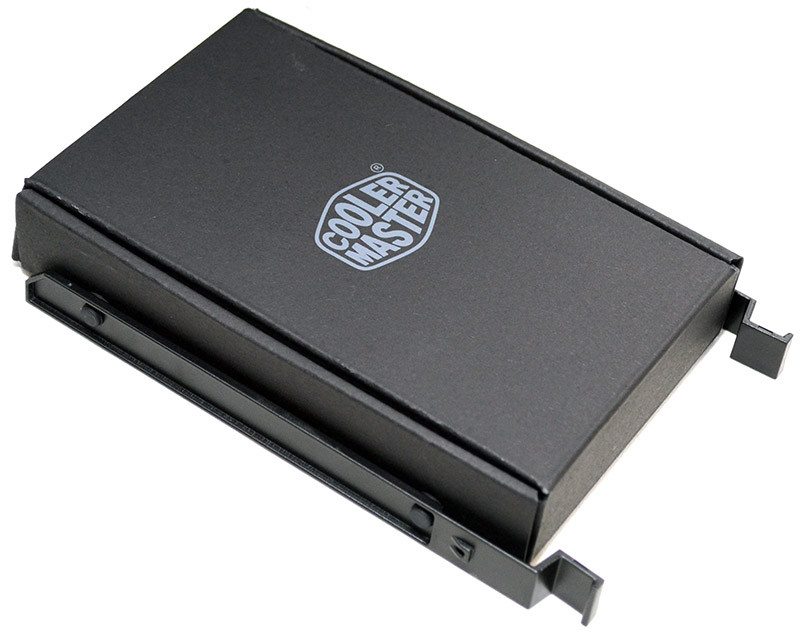
The trays are tool free with small pegs and rubber grommets for 3.5″ drives, as well as screw fittings for 2.5″ drives.
There’s a huge amount of space for the PSU here too, so you’ll have no issue fitting even the biggest consumer PSUs on the market, as well as having plenty of room for cable storage.
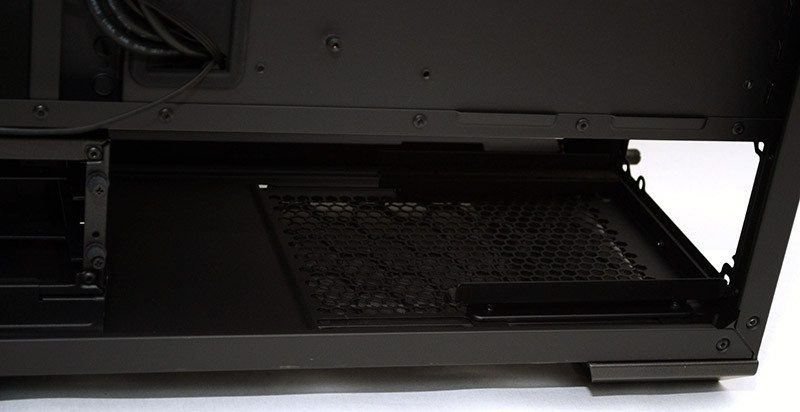
Two tool-free 5.25″ drive bays.
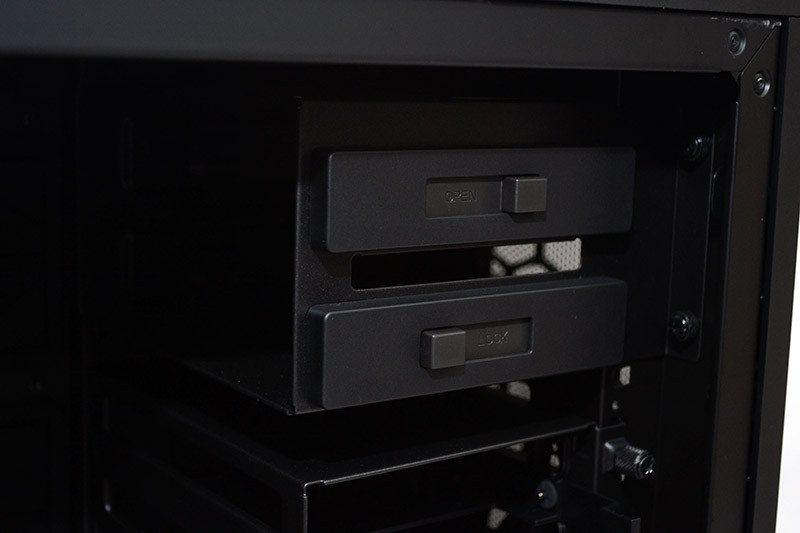
Simply slide the mechanism to the left to lock your drives into place. Don’t need these bays? A couple of thumb screws and the whole bay will pop right out!
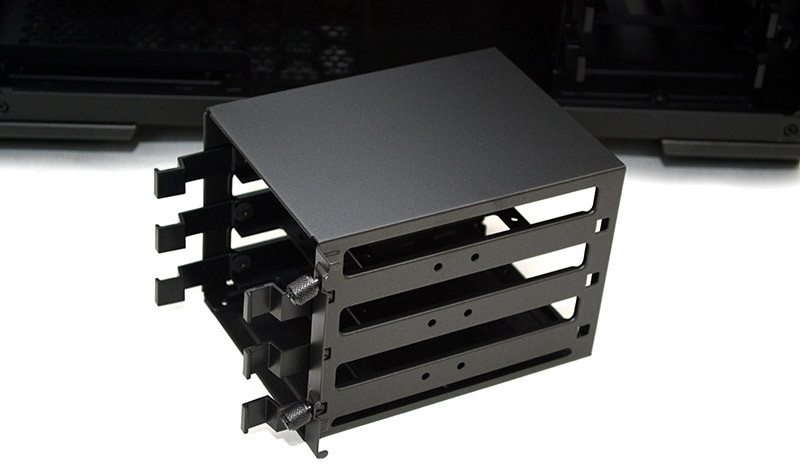
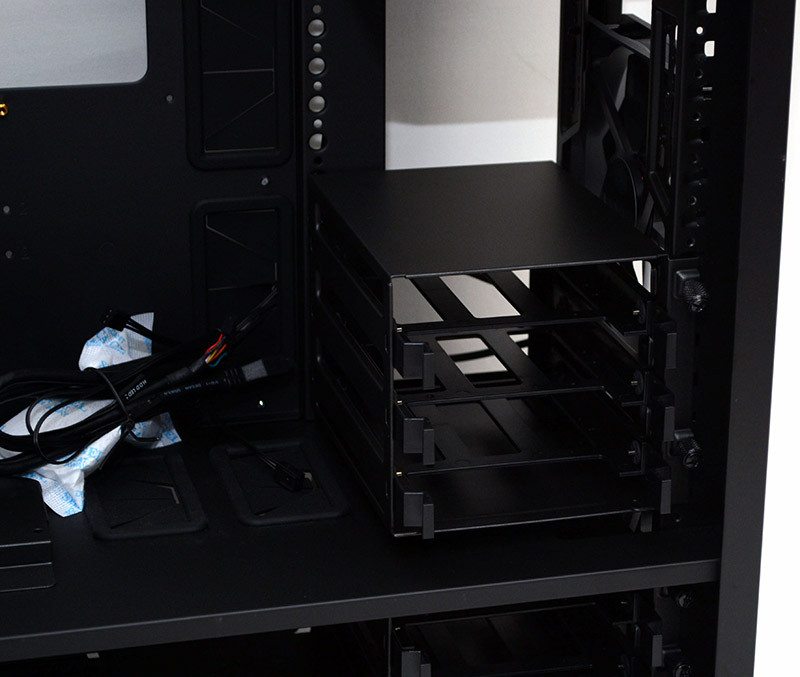
The same goes for the top hard drive bay, which features three 3.5/2.5″ trays and can be removed in seconds via two thumb screws.
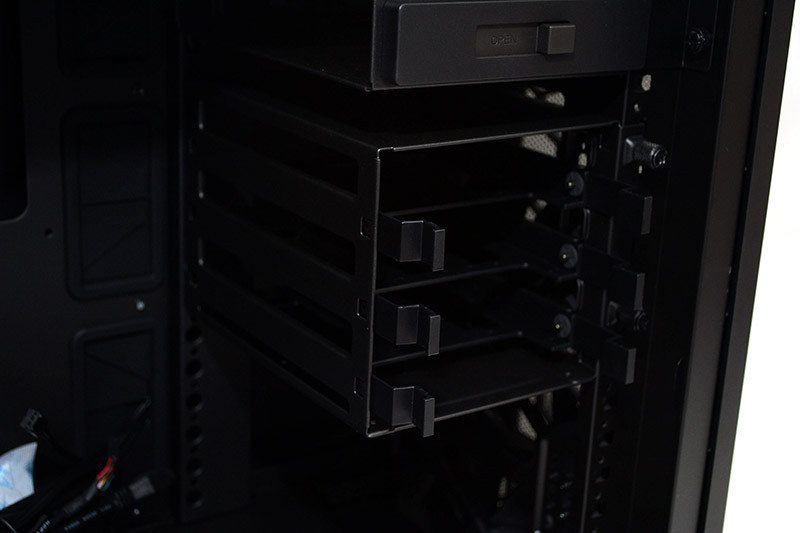
There’s a range of holes down the side here, which can be used to fit the hard drive bays to any height you desire, perfect if you need to fit more bays, remove them completely for water cooling space, or move them out-of-the-way of super-long graphics cards.
Two huge cable routing grommets in the base, perfect for passing cables from the PSU to your graphics cards.
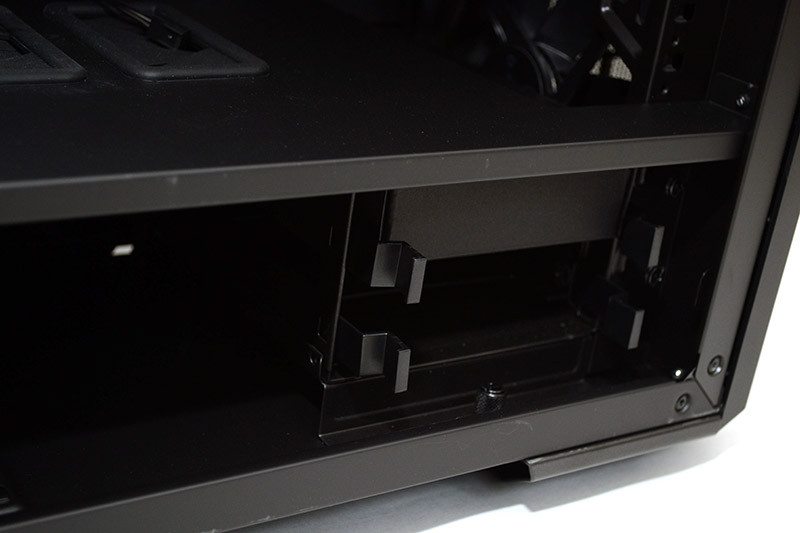
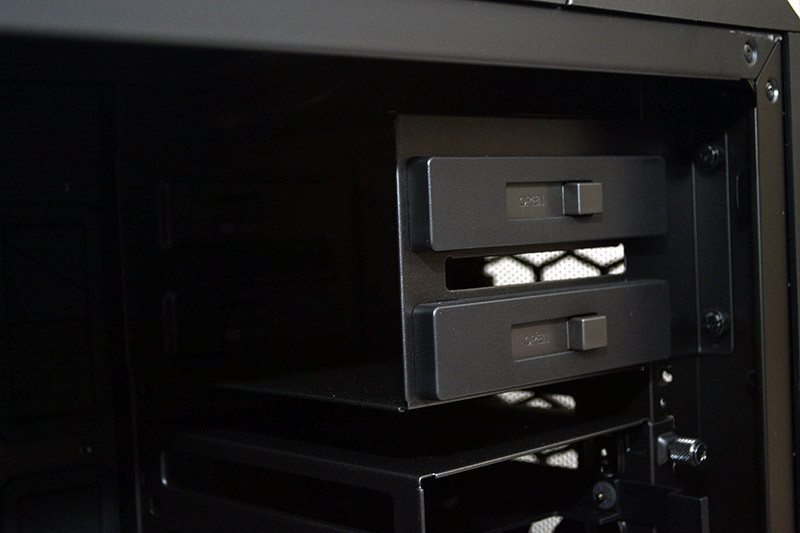
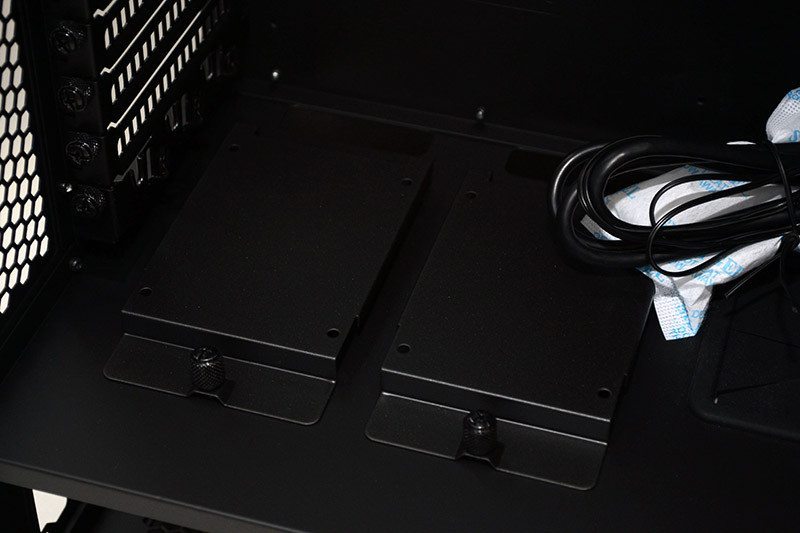
Two quick lock 2.5″ drive bays.
All of the expansion slots are metal, reusable and fitted with quick release thumb screws for easy installation/removal of your components.
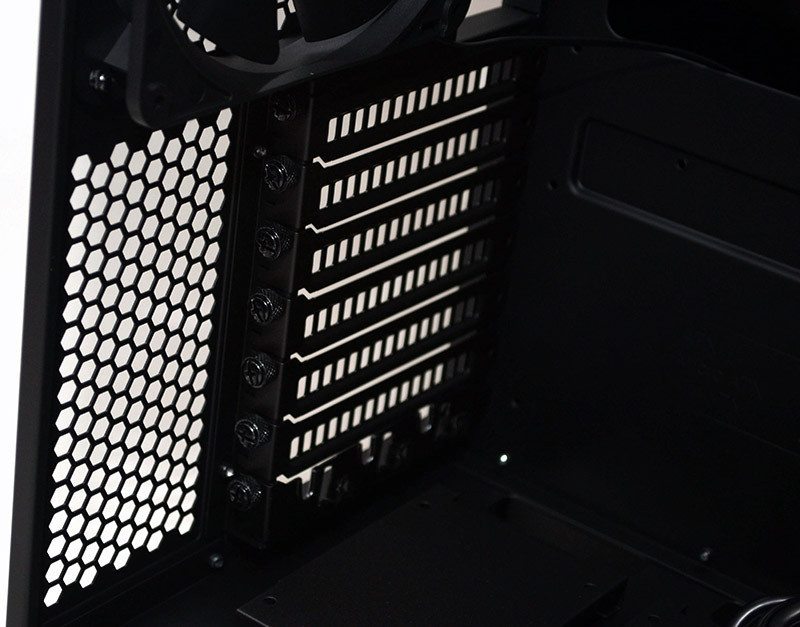
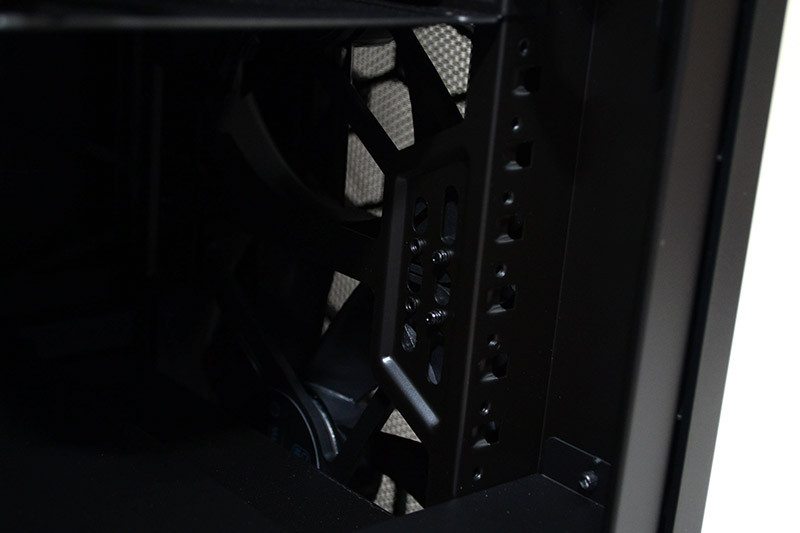
A good quality 140mm is pre-installed and comes with a standard 3-pin header, although there is a couple of 3-pin to Molex adapters included in the box should you need them.
Around the back, you can better see that huge cut-out behind the motherboard. As well as cutaways behind the PSU and storage bays to help you get everything connected without too much trouble.
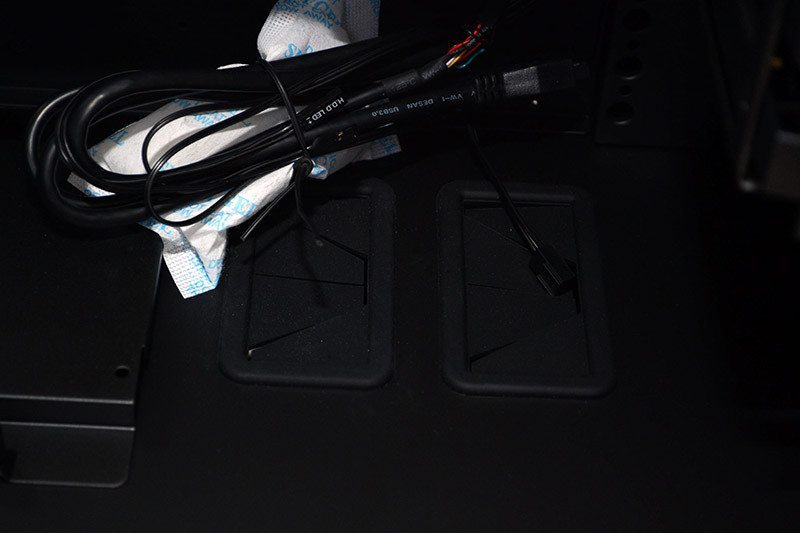
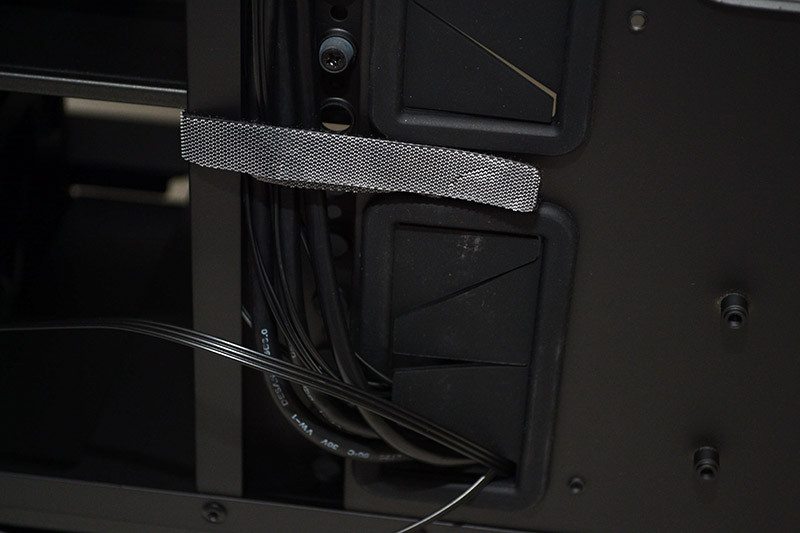
There are three Velcro cable tidies to the side of the three large vertical arranged grommets, as well as a small recessed channel to help keep excess cables tucked out of the way.
The PSU can be mounted from the back of the chassis, but there’s certainly enough room to do it from this side if you have a standard ATX unit. The PSU will mount onto those two durable rails you can see in the base of the chassis.
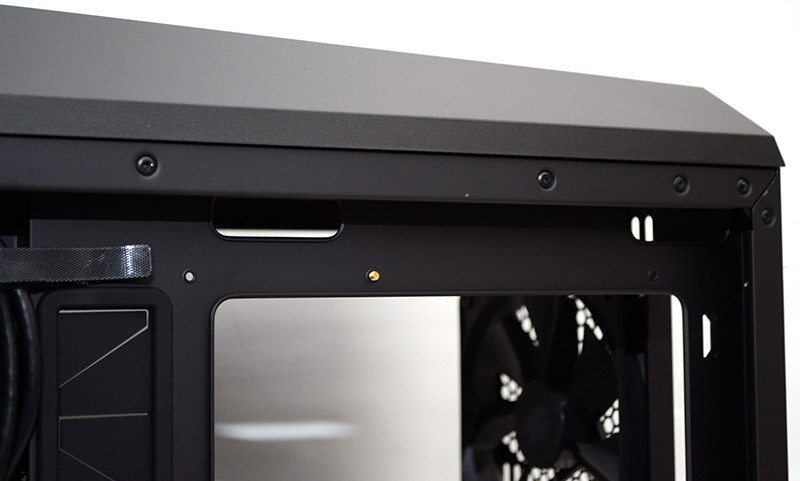
Two cable routing holes at the top, handy for motherboard cables and fan cables from any top mounted cooling. There’s also a couple of cable tie loops down the right side, with two more along the base of the chassis besides the back of the PSU.
The top panel can be removed tool-free by simply sliding it back a little bit.
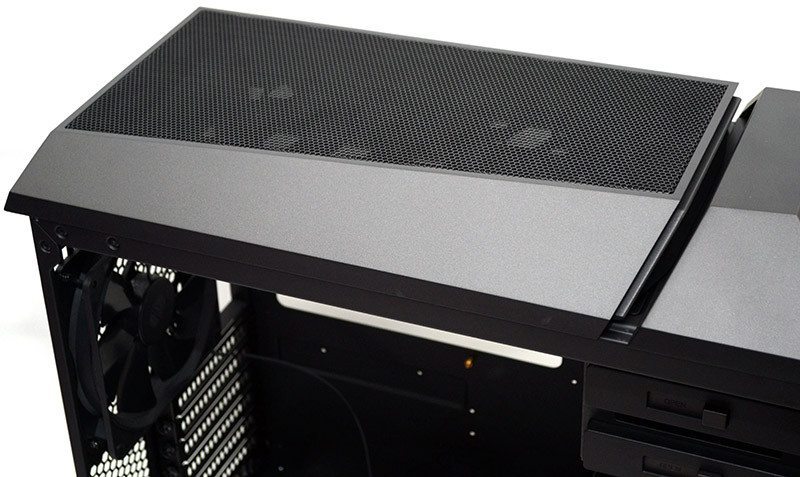
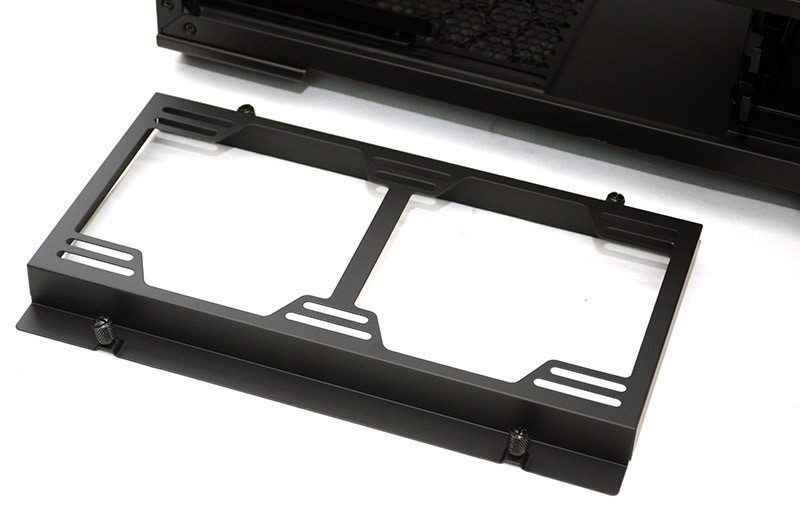
Then it’s simply a case of lifting it off to find the fan/radiator mount. The Master Case doesn’t come with this top cover or cooling mount, but the Pro model we have certainly does. Simply remove the thumb screws on each side to remove this bracket.
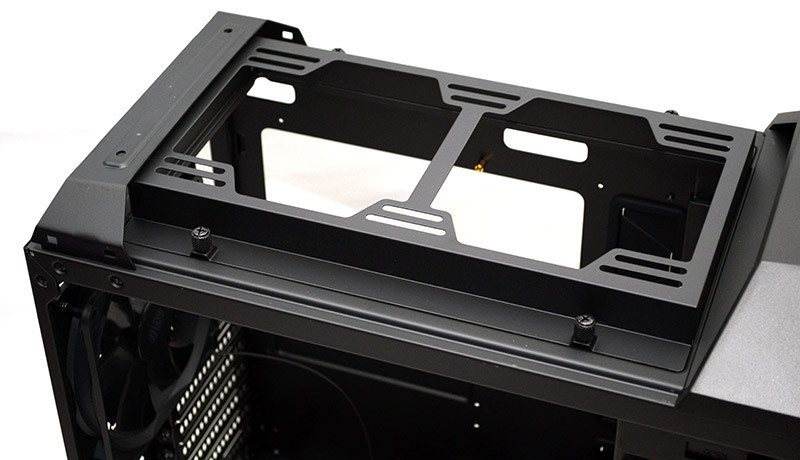
This is great if you need extra elbow room to install custom loop cooling.
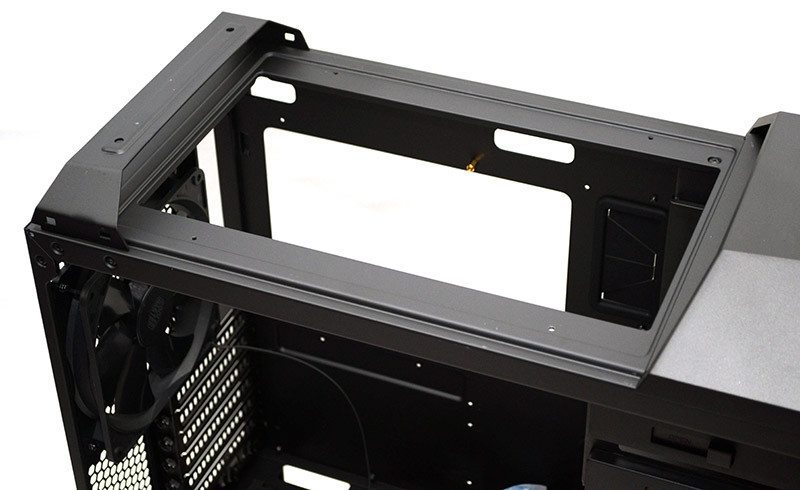
And the fact you can remove the bracket, means that installing fans and radiators is going to be very easy.
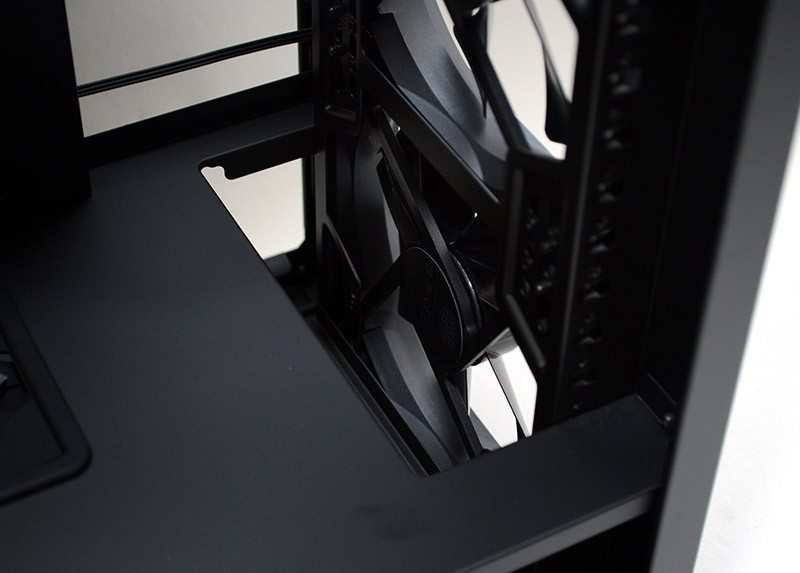
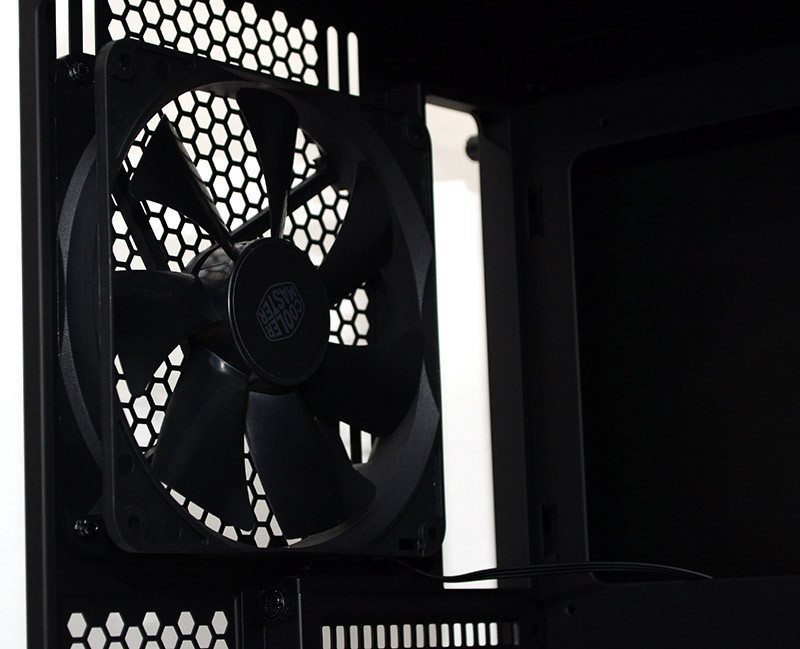
The front panel is mounted with push clips which are nice and secure, but also easy to remove and re-install. Behind this, you’ll find two more 140mm fans, although you can swap them out for 120mm if you feel the need. Use the included adaptor and remove the 5.25″ drive bays and you’ll get a third 120/140mm fan near the top end too!
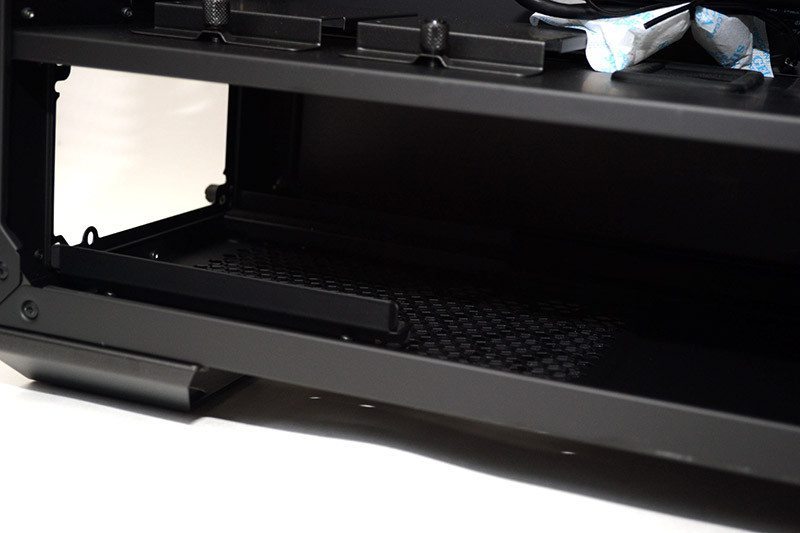
Want to install a front mounted radiator? Take out the drive bays completely and you’ll find space for a 240/280mm radiator up to 60mm thick.
Of course, with the hard drive bays removed, installing your drives is nice and easy.
Need the drive bays lower in the chassis? Simply push it onto the mounts and tighten the two thumb screws; it’s so easy that you can move the whole thing in second and without the use of tools!
Even the bottom bay can be removed in the same way.
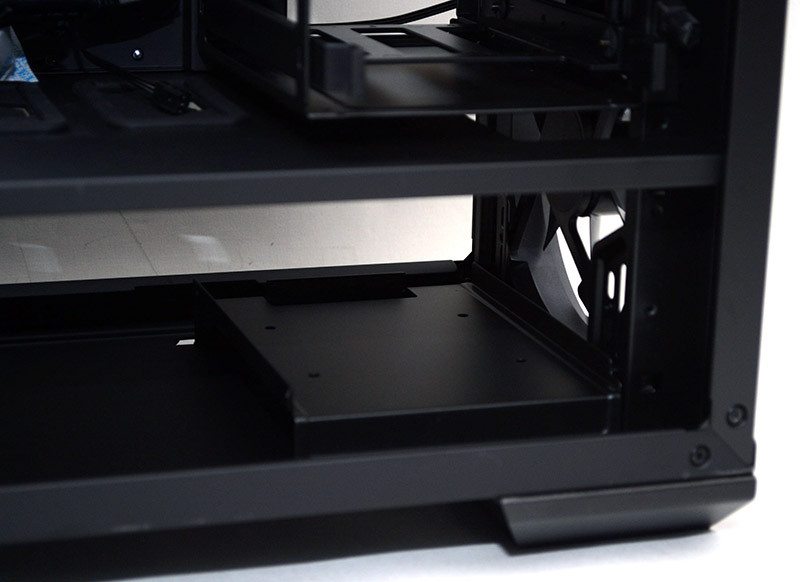
As can the mount for the bottom drives.
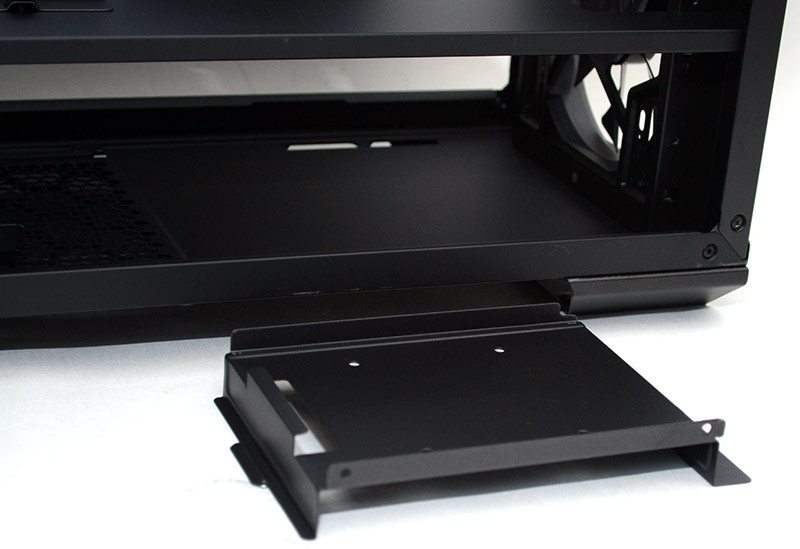
That frees up lots of room for your front mounted radiators! It also means modders will have more time to tinker vs time stripping down the chassis.