Cooler Master Masterliquid 120 AIO CPU Cooler Review
Peter Donnell / 7 years ago
Installation
Settings up the Masterliquid 120 is pretty straightforward and doesn’t require much experience in system building. Simple screw the fans onto the radiator using the included thumb screws. You can use one or two fans to suit your needs, although two are included so it would be a shame to waste one.

You then have to install your required mounting arms onto the pump using the included screws; I’ve installed the Intel bracket.

Four long screws need to be put through the back of the universal backplate, and four black plastic retention clips will hold them in place.
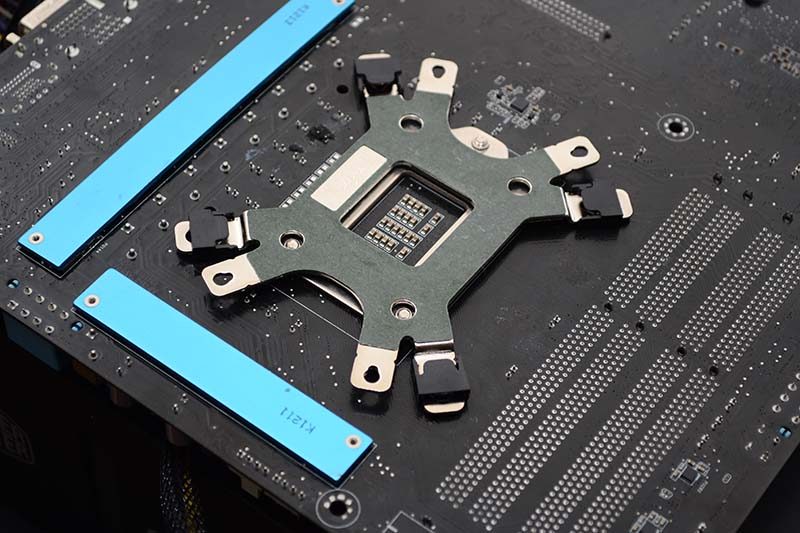
Four plastic spacers slot over the screws, giving us a platform to mount the cooler. Simply apply your thermal paste, then move onto the last step.

The pump can be screwed down by hand, although you can also use a flat head screw driver if needed; just remember not to over tighten it.
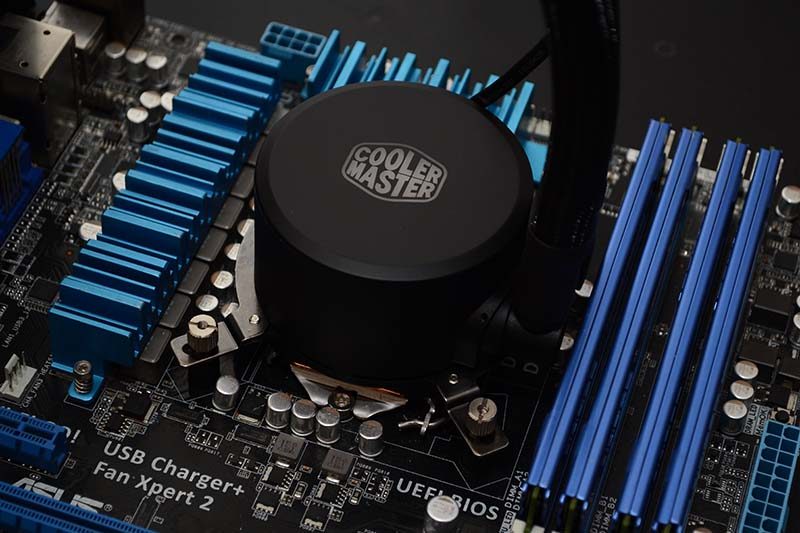
Once powered on, you’ll find a lovely white LED lighting shining through the Cooler Master logo on the pump, and you’re ready to rock!


