Cooler Master Masterliquid 240 AIO CPU Cooler Review
Peter Donnell / 7 years ago
Installation
The fans are very easy to install on the cooler, just use the included thumb screws and fit them in either a push or pull configuration to suit your needs.

Using the included screws, fit the appropriate Intel or AMD bracket to the base of the pump.

Slot the four long screws through the appropriate holes on the universal backplate, then hold them in place with the four black plastic retention clips.

Four spacers on the other side hold everything in place. Now you simply need to apply thermalpaste and screw down the pump.
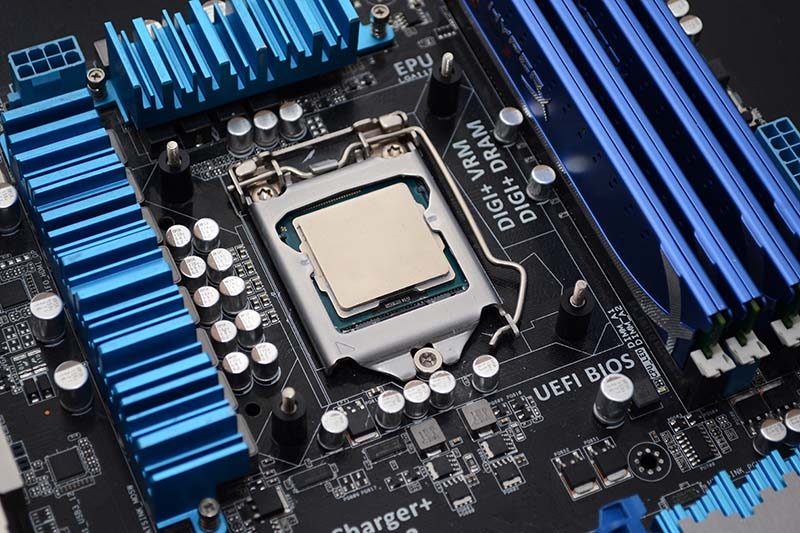
The pump is held in place by four more thumb screws, and as you can see, it doesn’t get in the way of any motherboard components.

Finally, once powered on, you’ll see a while LED light for the Cooler Master logo; simple yet effective.


