Corsair Obsidian 750D Full-Tower Chassis Review
Peter Donnell / 11 years ago
Interior
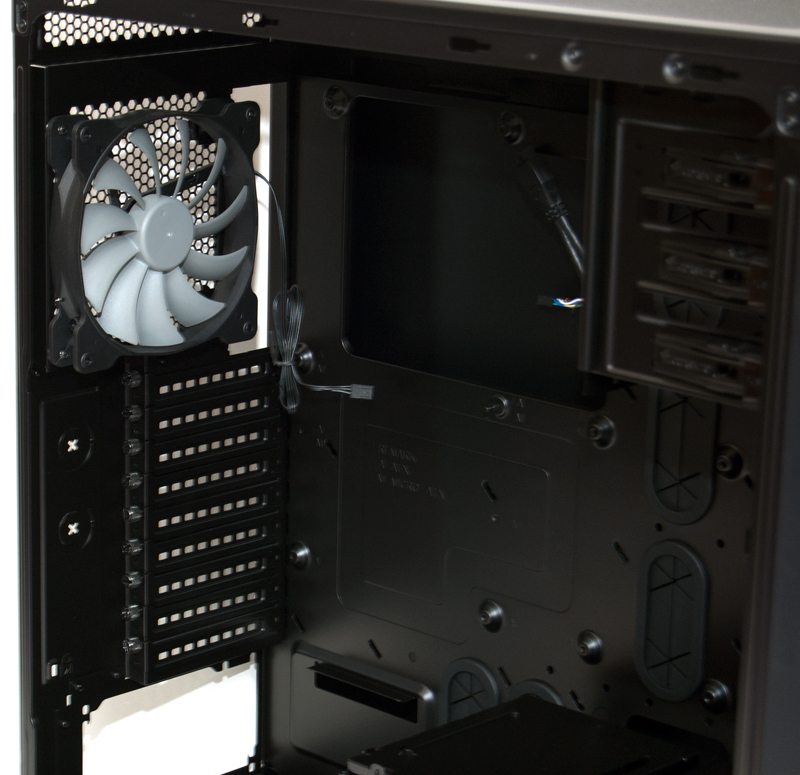
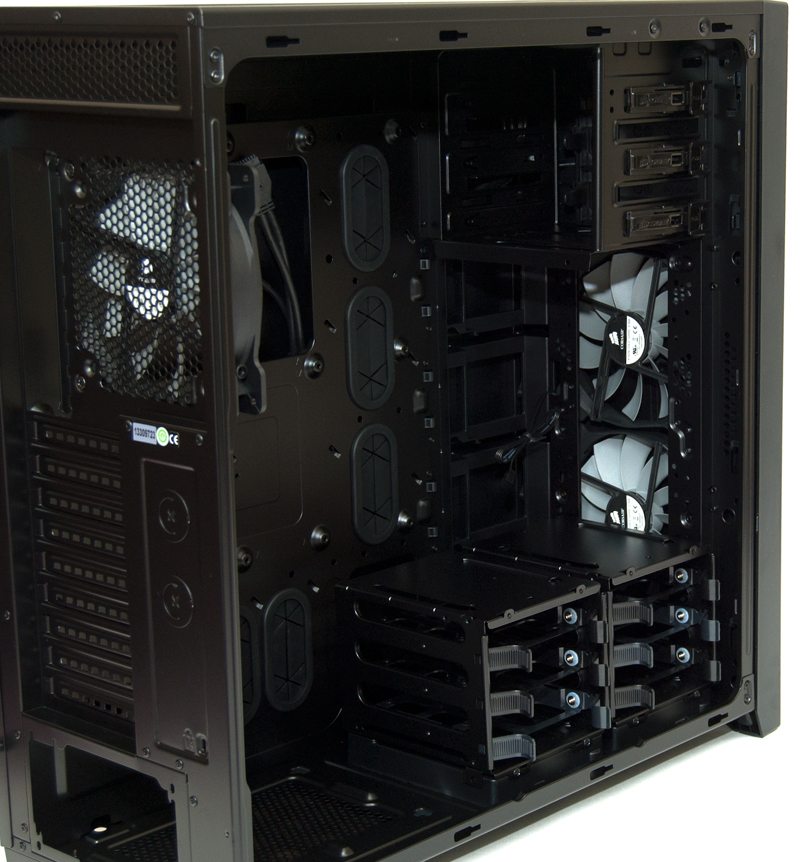
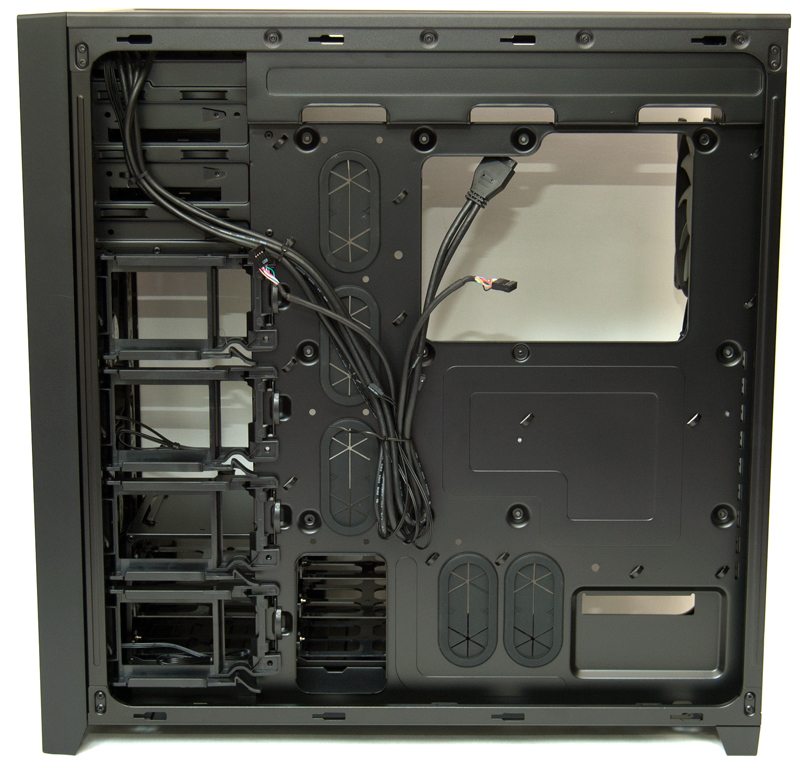
With the side panel removed we get to see the stealthy interior of the 750D and I think it’s safe to say that it looks pretty epic in here. There is an extra width CPU cooler mounting cut-out on the back plate, all the motherboard standoffs are built into the chassis, there are five large cable routing cut-outs, each fitted with thick rubber grommets and everything is finished in a matt powder black paint job.
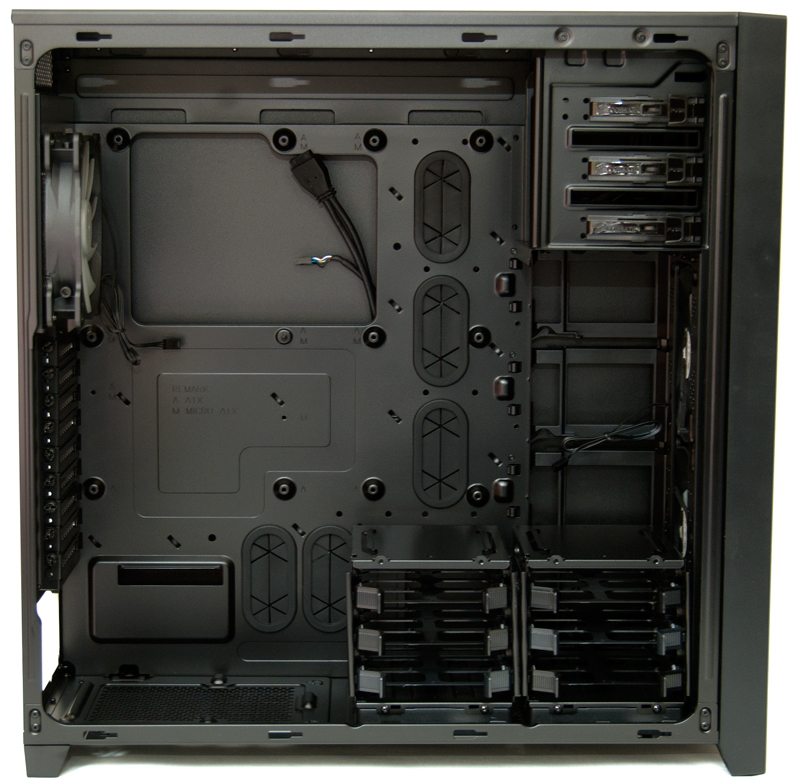
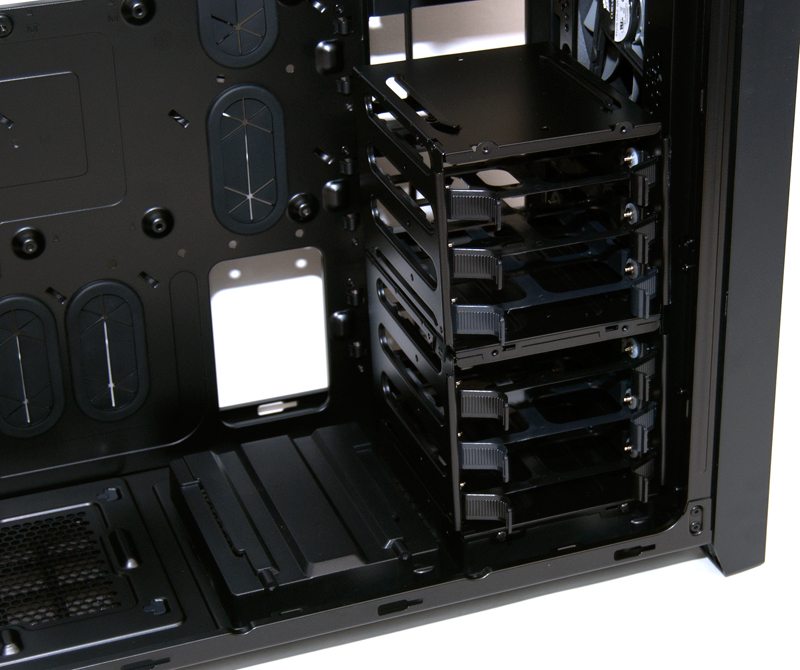
There are two hard drive bays, each with support for three drives of 2.5″ or 3.5″ sizes.
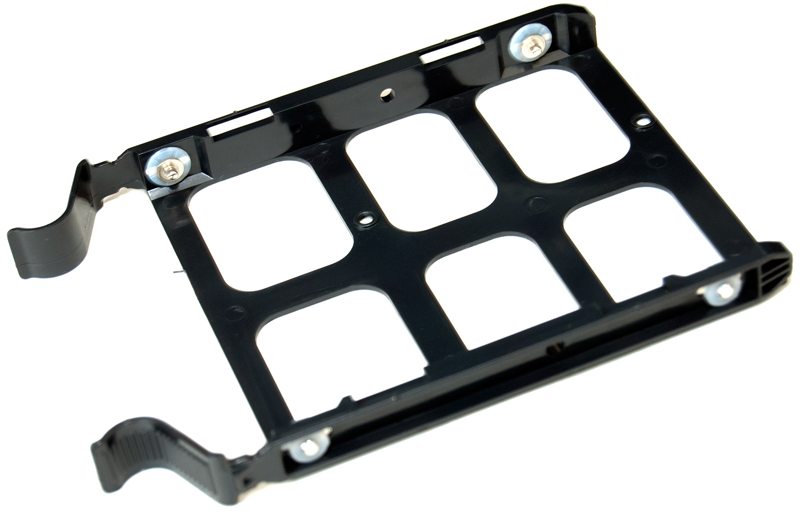
The drive bays features a simple slide out plastic mount, this makes for easy installations of your drives.
In the back we get a better look at the 140mm exhaust fan which comes pre-fitted with a standard 3pin connection. Each of the expansion slots are fitted with a quick release thumb screw for easy installation / removal of your add-in cards.
The front panel features plenty of space to mount different cooling solutions, especially since both HDD bays can be moved into different configurations or removed completely, something we’ll look at in a moment.
Tucked away at the back are four 2.5″ SSD mounts, handy if you’ve chosen to remove the large HDD docks from the base of the chassis.
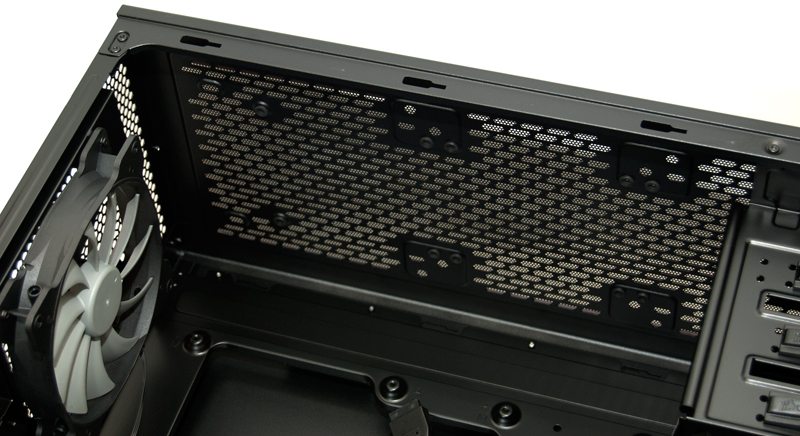
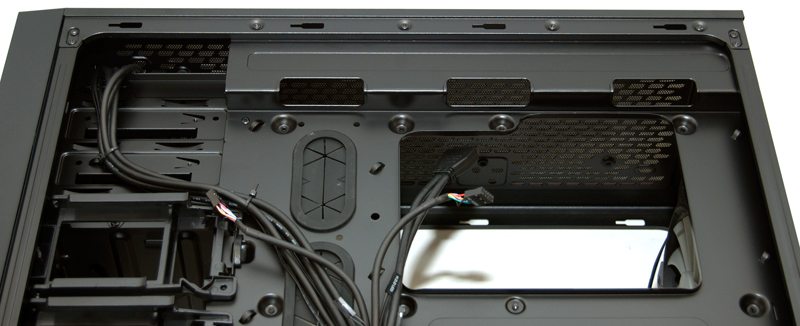
There is plenty of room in the top for a thick radiator or a push-pull configuration, there are three extra cable management holes too but you’ll see those better from the other side of the chassis.
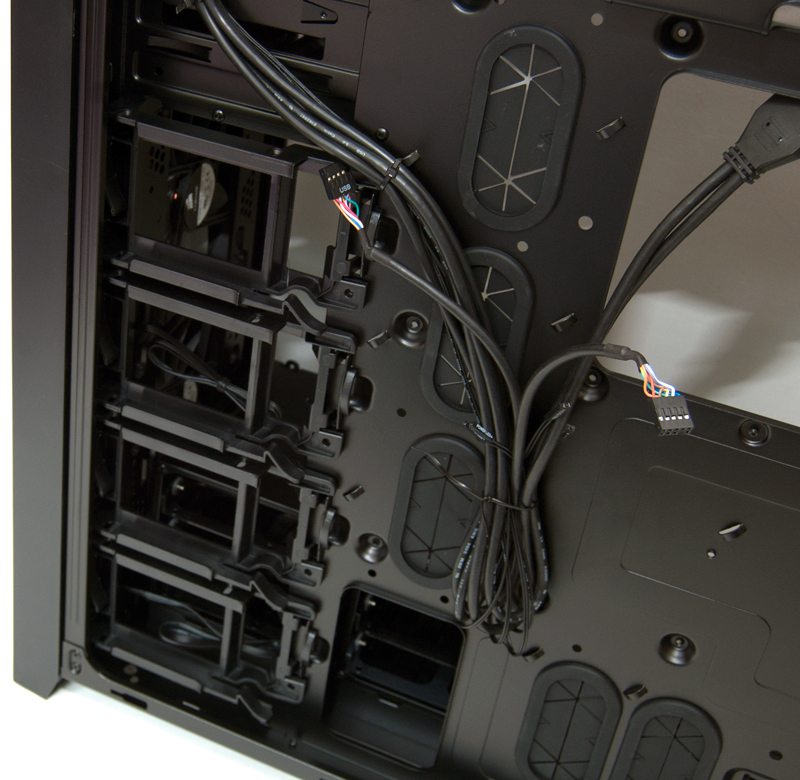
Around the back we see that the case has a HD audio connection, USB 2.0 connection and a USB 3.0 connection cable, all finished in black. There are cable tie loops all over the place and this will really help keep your cable management in check, something that can be even more important in such a big chassis.
There is plenty of cable routing space at the top, handy if you have a lot of top mounted cooling.
The 2.5″ HDD bays are stacked vertically and clip in and out with ease to allow you to install drives.
The 2.5″ mounts are plastic moulded and feature a clip to prevent the drive from coming loose.
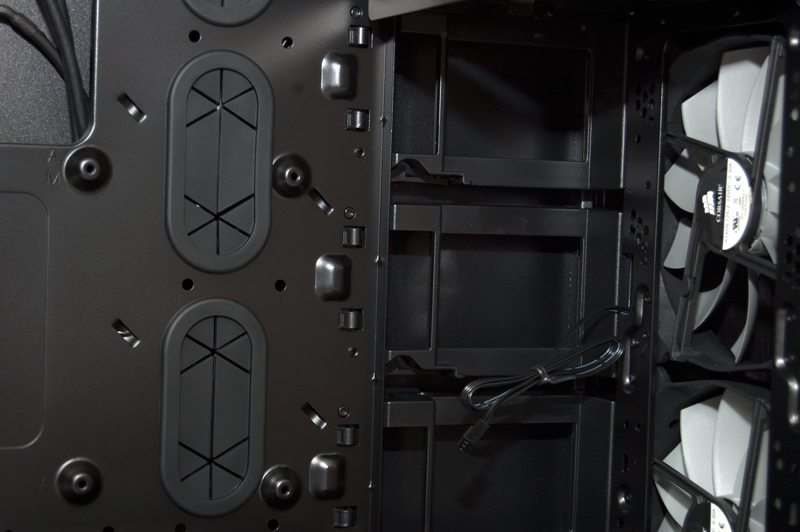
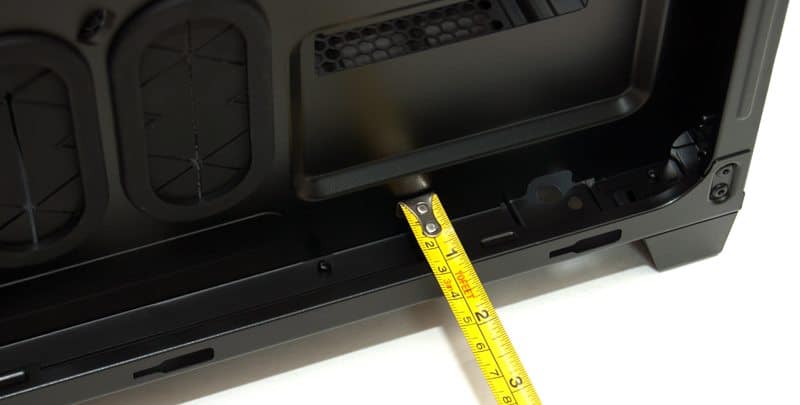
There is a massive 25mm of space here, although this is nearly 40mm in many areas and even with a full loaded system I doubt you’ll have any issues with space here.
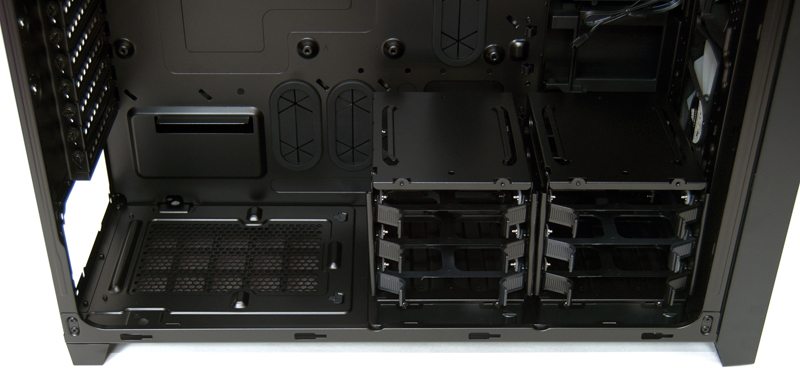
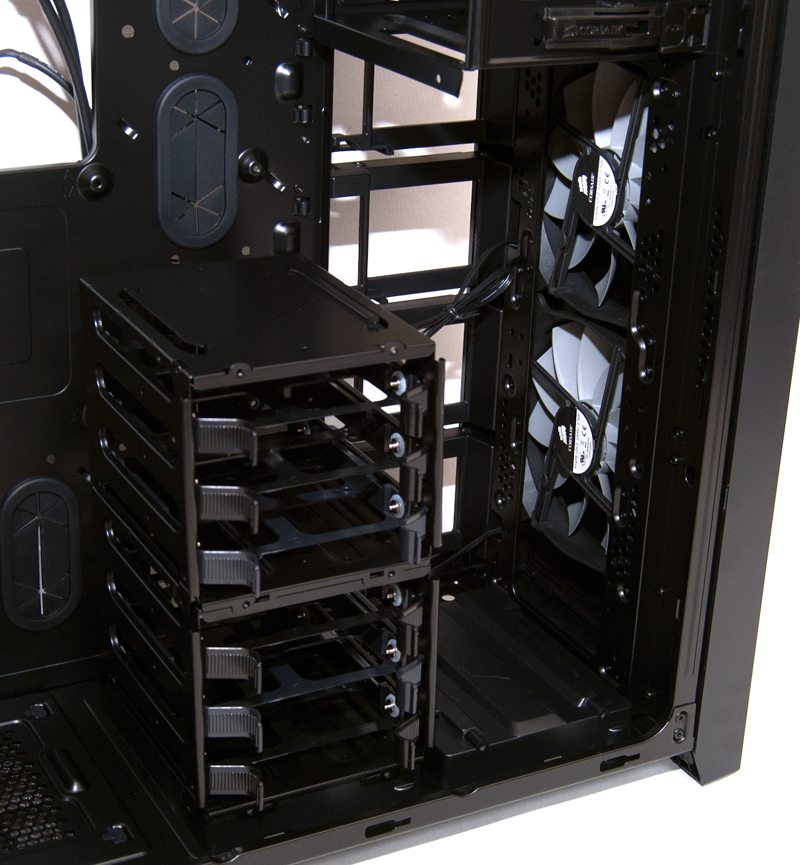
The HDD bays can be removed with two screws, allowing you to slot them into different configurations, the plastic tray below the bays can be removed from the bottom of the chassis should you wish to mount any cooling in the base of the chassis.
You can move both drives to the left, giving you plenty of room for a large radiator, or reservoir.
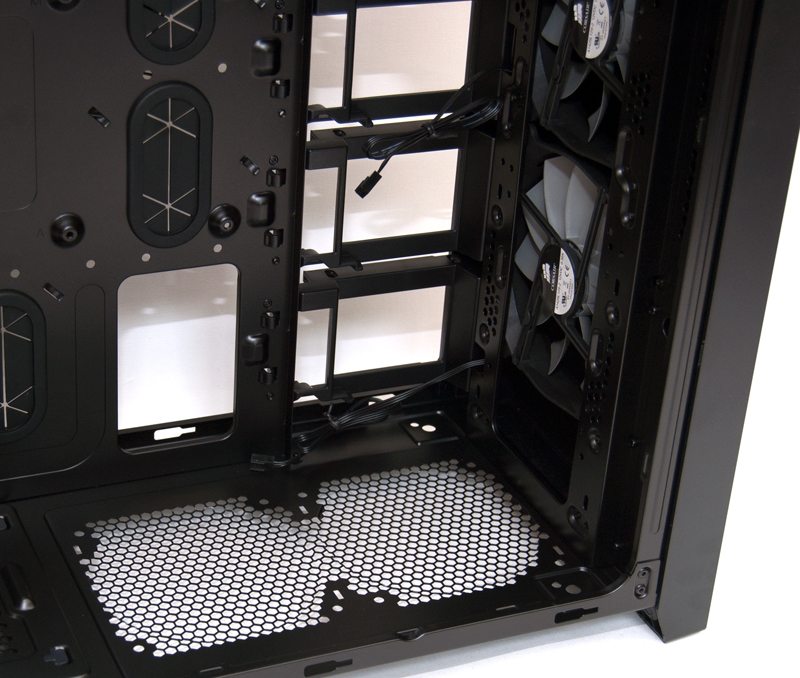
Or you can remove them completely, giving you a huge amount of space to play around with, but I still think Corsair should have provided a dust filter for these mounts.
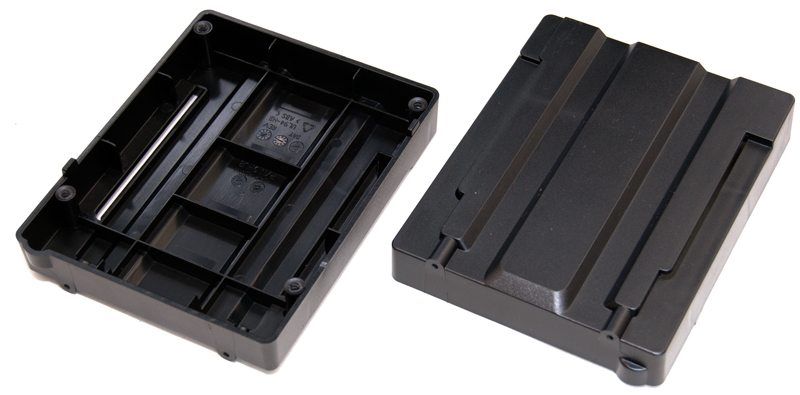
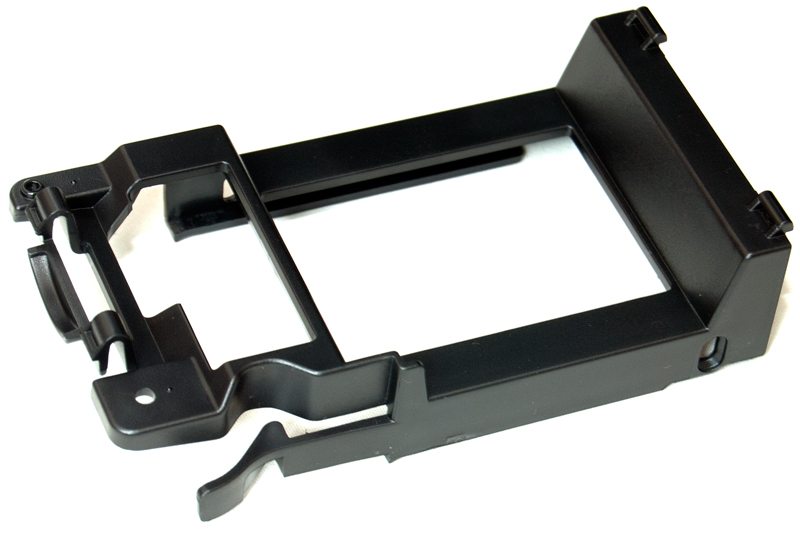
Here are the two plastic mounts that are used to support the HDD bays, nothing too fancy but a simple and effective solution.