Everybody Can NAS, a Beginners Guide to OpenMediaVault
Bohs Hansen / 10 years ago
Basic Setup
Login
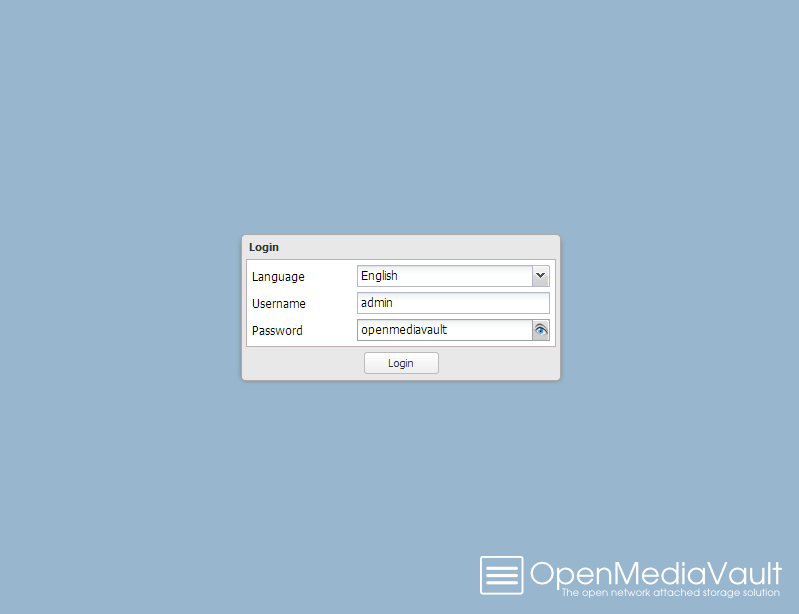
It’s time for the final task, create our setup. To do so navigate to the control panel by entering the IP address you wrote down into your internet-browsers address bar. You will be presented with a page as shown below where you can log in. The username is ‘admin’ and the default password is ‘openmediavault’.
Change Your Password
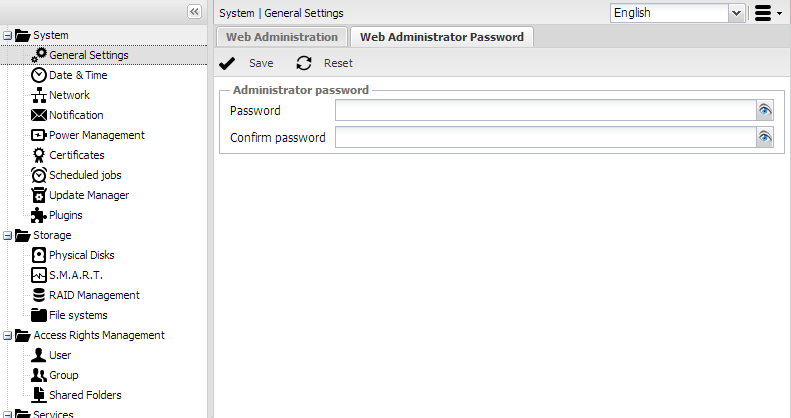
The first thing we need to do is to change the default password. We don’t want any strangers inside our new tool. On the menu to the left, you select ‘General Settings’ and then navigate to the “Web Administrator Password” tab. After changing this password you might need to log back in again.
Drive Setup
The next thing we need to do is what I always consider the toughest choice in configuring a NAS. Do we want RAID or not. The benefit of RAID is to have a backup of three drives by only sacrificing one of our pool of four. It however also requires that we have all 4 drives to begin with.
Since I have 4 drives already, and the extra security is great to have, I’ll be setting up a RAID5. After all, no one wants to lose all those precious vacation or family photos.
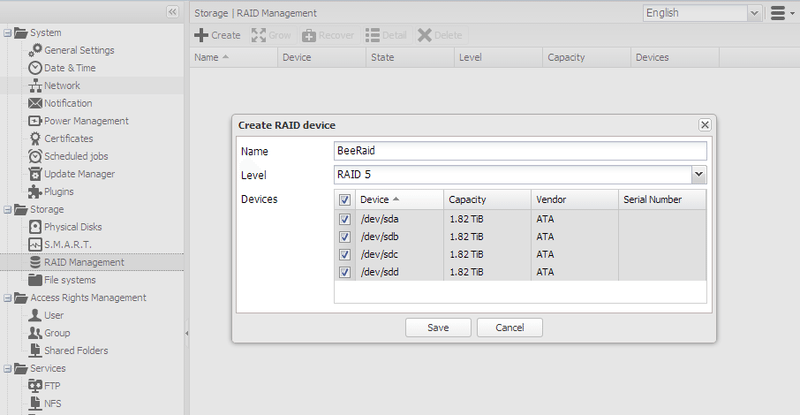
The setup is a piece of cake, Select RAID Management to the left, click create, enter a name for your storage pool, select all devices you want to be added, press save and confirm with yes.
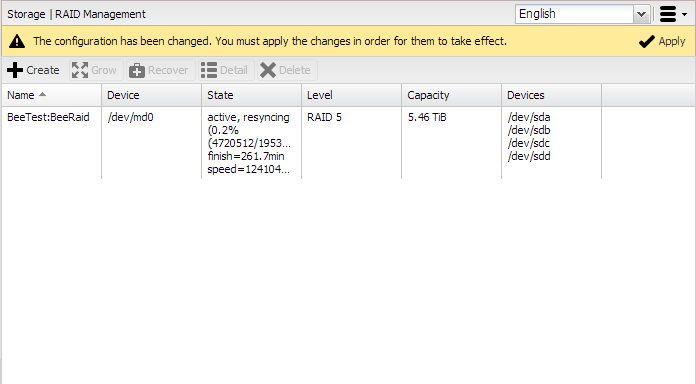
Acknowledge the information and then apply the changes. Before we can add a file system to the new RAID volume, it needs to initialize and synchronize the drives. It does so on its own in the background and you can follow the sync-level on the same page.
Users and Groups
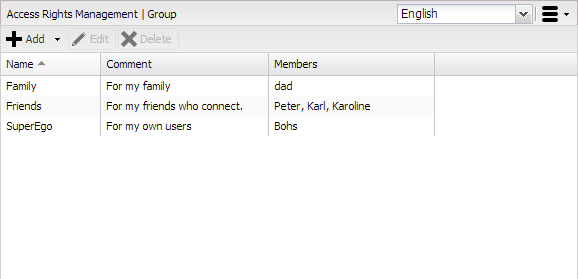
While our system is building the RAID volume, we can continue to create user and user groups for the people who will get access to our NAS. I like to start out with the groups. Having people grouped allows you for a much easier rights management of what they’re allowed to do. You can see I’ve set up Friends, Family and one for my own usernames. The reason for a group for myself is that I don’t use the same username from every system, but still want to have access to the same things.
Navigate to the Groups page and select Add twice and create your groups
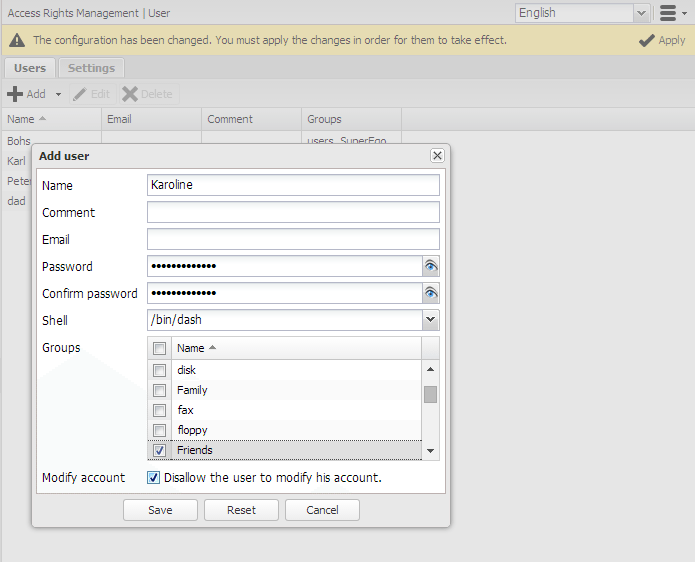
It’s time to create all our users, or at least some of them. You get presented with a lot of fields where you can enter information about your users, but you only need to enter a username and password for it to work. The rest is optional. You should also add them to the appropriate user group while you’re at it. When you have created all your users, you can hit the Apply Changes buttons that will flash at the top of the site.
More Features
Since our RAID volume still is building, there are a couple other things we can start to set up. If you want FTP access you will need to enable that and change the port if you don’t want it to run on the default 21. If people outside your local network need access, you might also need to enable the Passive FTP option. Press Save and Apply the changes. Shares can’t be done until our RAID is finished.
At this time it might be a good idea to update the software and plugins to the newest version. You can just select everything on the Update Manager page and hit the Install button.
Add Extra Plugins for DLNA
While the updates are running, there is one more thing we need to download. I would like to be able to stream my movies and TV shows directly onto my TV. Luckily my TV supports DLNA and with the big OMV-Extras plugin repository we got that covered. You can download it here.
By now the updates have finished and we can upload our plugin repository. Go to the Plugin page in the web interface and click the Upload button. Select the file you just downloaded. Don’t worry about the “fake path”, it is only visual. Scroll down in the list and find the “openmediavault-omvextrasorg” plugin and select it. You can also select more plugins from the list at the same time if you think there is something you’ll need. Click the Install button and confirm that you are sure. When it’s done installing, Reload the page.

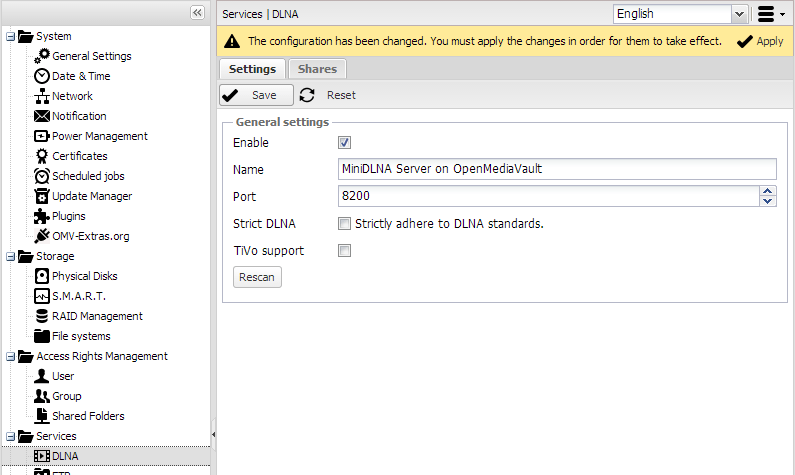
Returning to the Plugins page, we now see that the list of available plugins has grown a lot. The one we are interested in here is the “openmediavault-minidlna”, select and install it like you just did before.
You’ll find a new service in the left panel named DLNA. There are very few settings for this to work, all you need to do is to enable it and perhaps change the name. Again we can’t do our shares yet as the RAID is still building. We could, of course, have waited for it to finish, but might as well use the time wisely. So Save and Apply for now.
Cross-Platform File Sharing
Apple file sharing isn’t installed by default, but you can find the “openmediavault-netatalk” plugin in the list. Once installed you’ll get a new service called Apple Filing. For now, the only setting you need to change in there is to enable it, Save, and Apply.
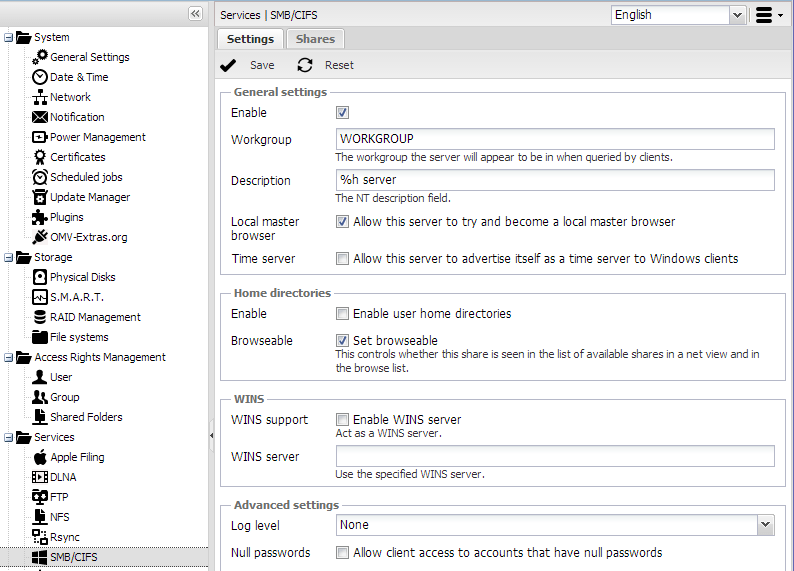
For Windows and Linux file sharing it’s the same over again. Windows file sharing is called SMB/CIFS and Linux uses NFS. It’s the same again here and all you need to do for now is enable them. If your Windows network uses another workgroup name, you might need to change that under the SMB settings. And as always, Save and Apply. I say it many times, but it’s forgotten by people just as many times.
This is what we can do until our RAID has finished rebuilding… time passed … and it is finally done. We can get on with the final part of our setup. Create our file system and shares, after all, that is what the whole thing is about.
Create The File System
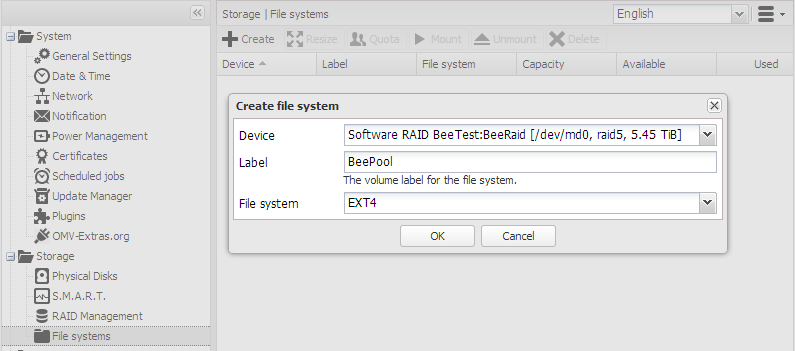
Select the File systems page and hit the Create button. Select your RAID drive from the drop-down menu and give it a name. Confirm and wait for it to format. This will take a little while as we are formatting a 6 TB drive (5.5TiB). You’ll see the message “The file system creation has completed successfully” at the bottom of the popup window once it’s completed.
Before you leave the File systems page, you’ll need to Mount the new drive. Just press the button for it and Apply your changes.
Add Network Shares
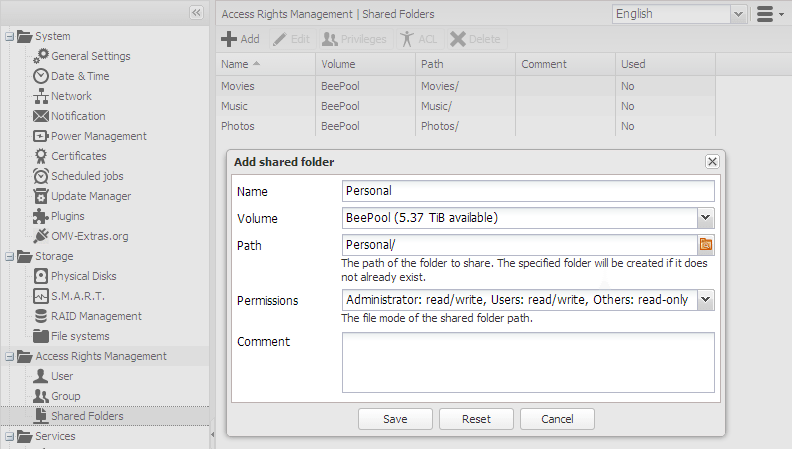
We are getting very close to the end now. Our RAID drive is freshly formatted and the only thing left to do is create our shares. You could also call them our “Network folders” for a more understandable term. Select the Shared Folder page and press the Add button. I will be creating 4 shares for myself: Movies, Music, Photos and Personal.
Access Rights
We will also need to tell the system who has what access to these folders. Select a folder and press the ACL button. Check the appropriate rights for your users and/or groups for each folder. If you’ll be using the transmission BitTorrent downloader or the DLNA system, you’ll also need to give access rights to the two system users Debian-transmission and miniDLNA.
After we’ve created our Shared Folders, we need to tell the different plugins we’ve enabled, that they are allowed to use them. We need to do it for them all, DLNA and FTP as well as the Windows, Linux and Apple sharing, but it’s the same steps every time.
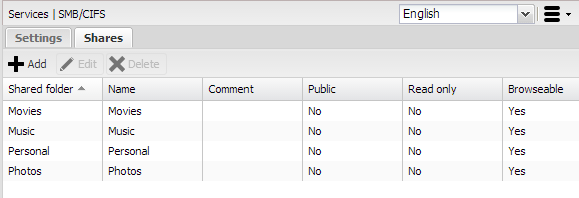
Start by navigating to the SMB/CIFS page for windows shares, this is the most likely that you’ll need. Select the Shares tab at the top and click the Add button again. You can use the same names as they already have or pick a different one if you wish. Chose the matching share from the drop-down menu while ignoring all the other settings and options. Save and repeat this for all 4 new folders and Apply when done.
More Access Rights
For Linux shares, you’ll also need to tell what IP range is allowed to access it, but there is a good chance that if you need this, you already know that. The rest is the same as for SMB/CIFS.
If you need the Apple sharing there are a lot more options to choose from, but they are all self-explaining and it will be terms you’re familiar with as an Apple user. I don’t have any iDevices myself, so I can only test this in theory.

The absolute last step is to do the same for the DLNA service. Here you also have the option to limit what file types it will search for in the different folders. A useful idea so DVD covers don’t end up inside your photo collection during a clip-show. Since there is no data on our disks yet, we don’t need the rescan button. But if needed, it’s placed on the DLNA Settings tab and can force a rescan your entire library content.


