ID-Cooling Frostflow 120L AIO CPU Cooler Review


/ 8 years ago

« Previous Page

Next Page »

Installation


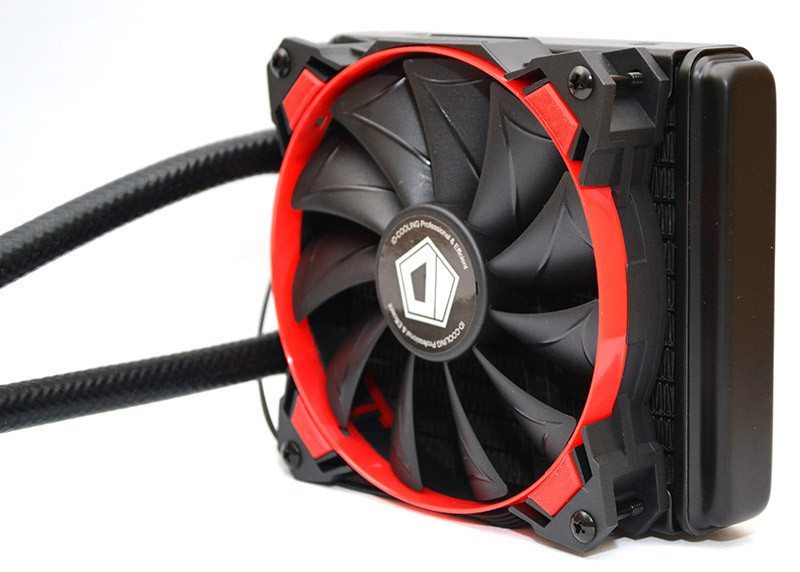
Installing the fan is a nice and easy job, just use the four included screws to fit it to the side of the radiator you prefer.

DSC_4539

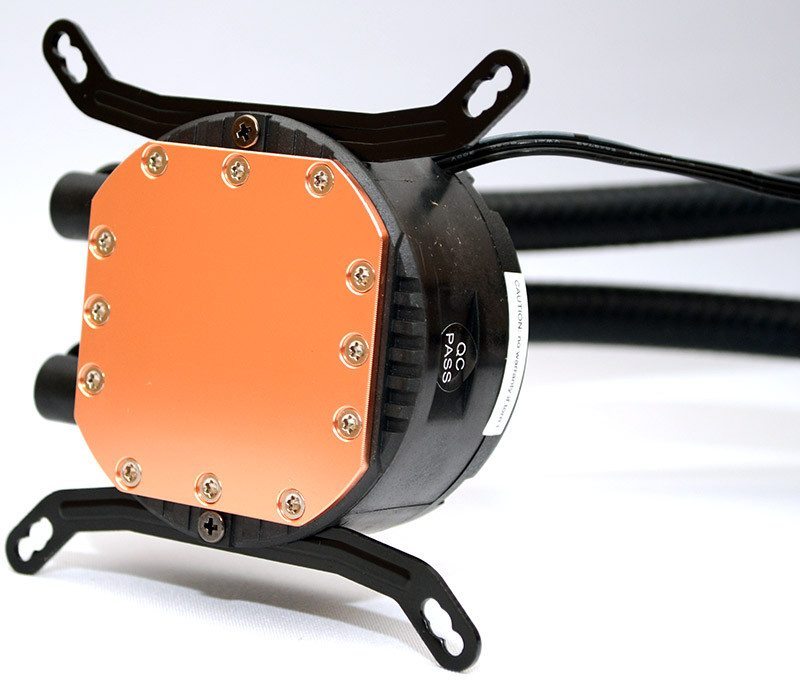
Four retention screws pass through the socket-appropriate holes on the universal backplate.

DSC_4540

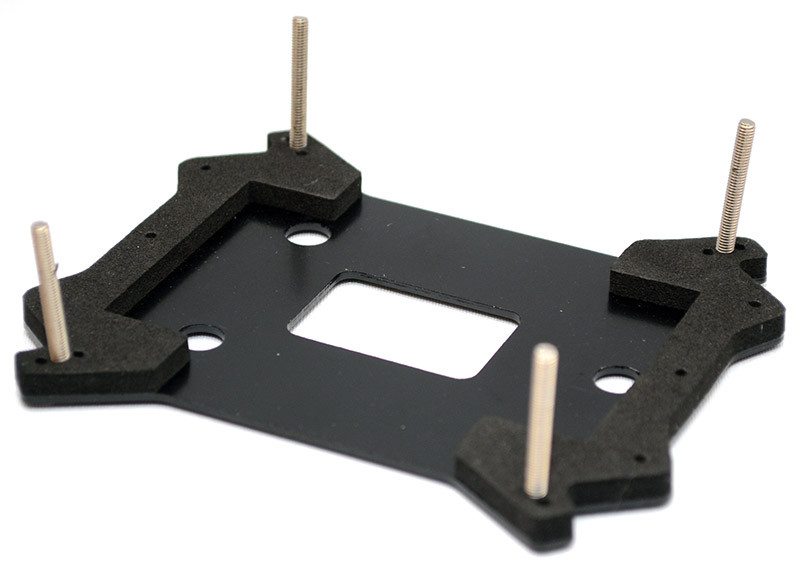
Two more screws fit the required AMD or Intel bracket to the pump.

DSC_4541

Place the backplate on the motherboard.

DSC_4542

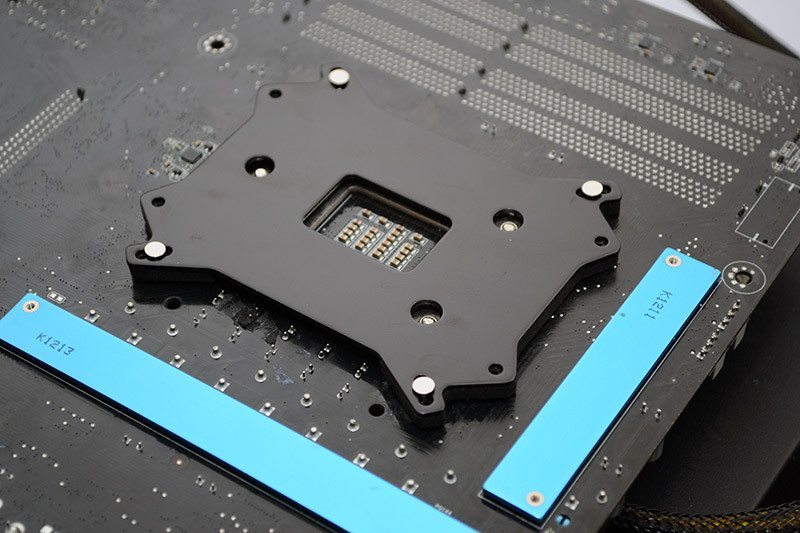
Add four bolts to hold that in place; this can be done tool-free.

DSC_4543

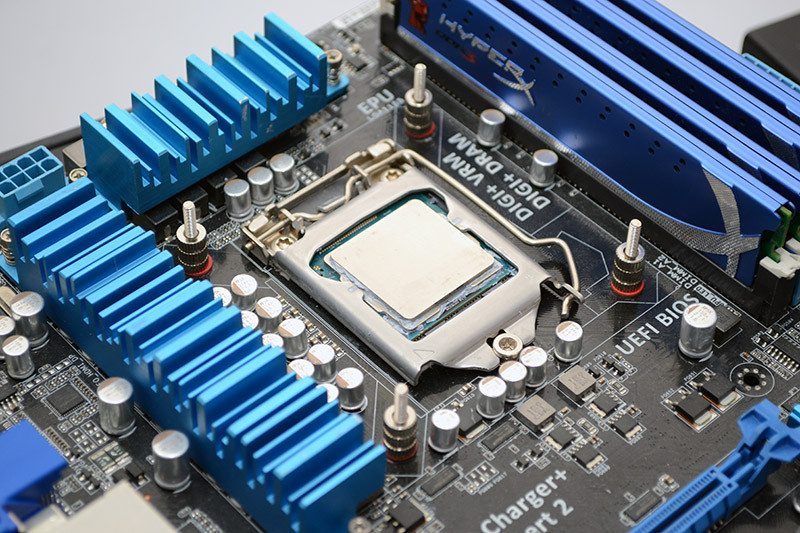
Then use four thumb screws to mount the pump to the bracket; this can also be done tool-free.

DSC_4545

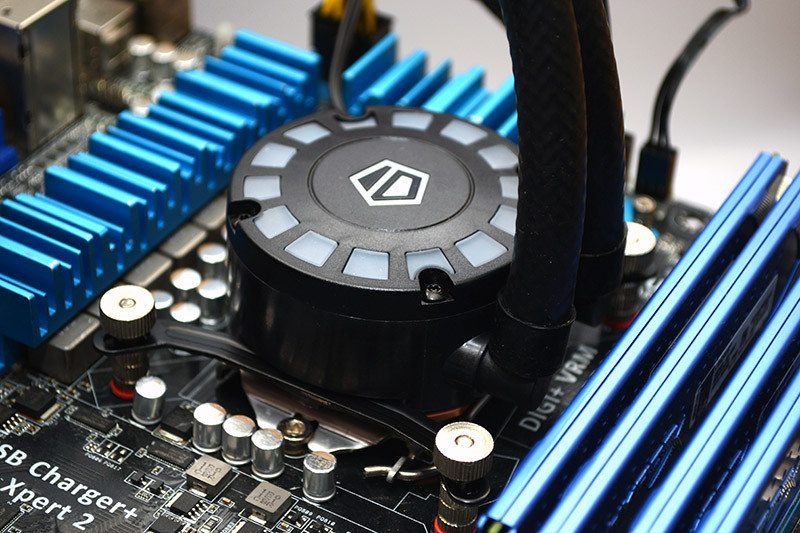
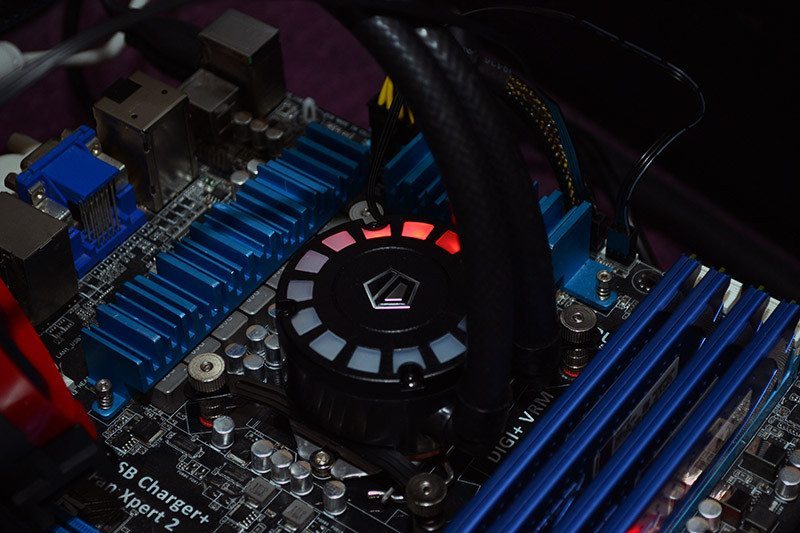
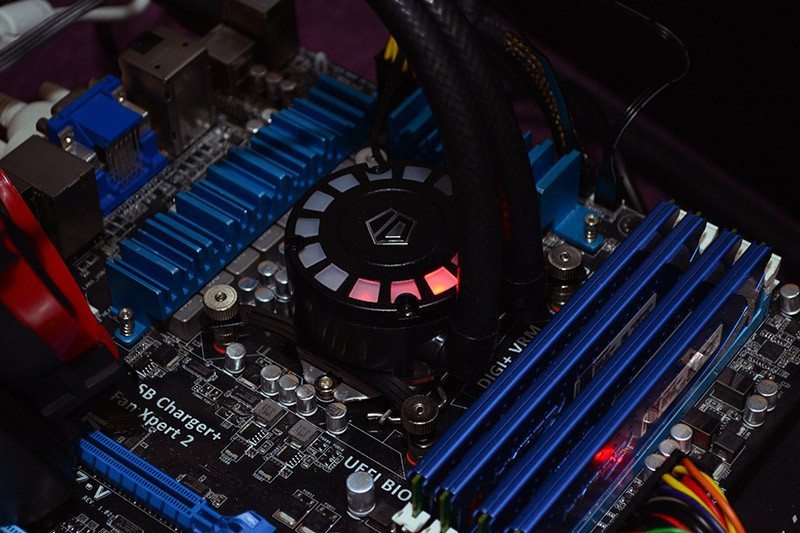
Once powered up, you get a cool LED effect on the pump, which sees a trail of red LEDs rotate around the edge of the pump.

DSC_4547

DSC_4551

« Previous Page

Next Page »


Topics: , , , , , ,

Support eTeknix.com

By supporting eTeknix, you help us grow and continue to bring you the latest newsreviews, and competitions. Follow us on FacebookTwitter and Instagram to keep up with the latest technology news, reviews and more. Share your favourite articles, chat with the team and more. Also check out eTeknix YouTube, where you'll find our latest video reviews, event coverage and features in 4K!

Looking for more exciting features on the latest technology? Check out our What We Know So Far section or our Fun Reads for some interesting original features.

eTeknix Facebook eTeknix Twitter eTeknix Instagram eTeknix Instagram
  • Be Social With eTeknix

    Facebook Twitter YouTube Instagram Reddit RSS Discord Patreon TikTok Twitch
  • Features


Send this to a friend
})