In Win S-Frame Open Air Limited Edition Chassis Review
Peter Donnell / 10 years ago
Interior
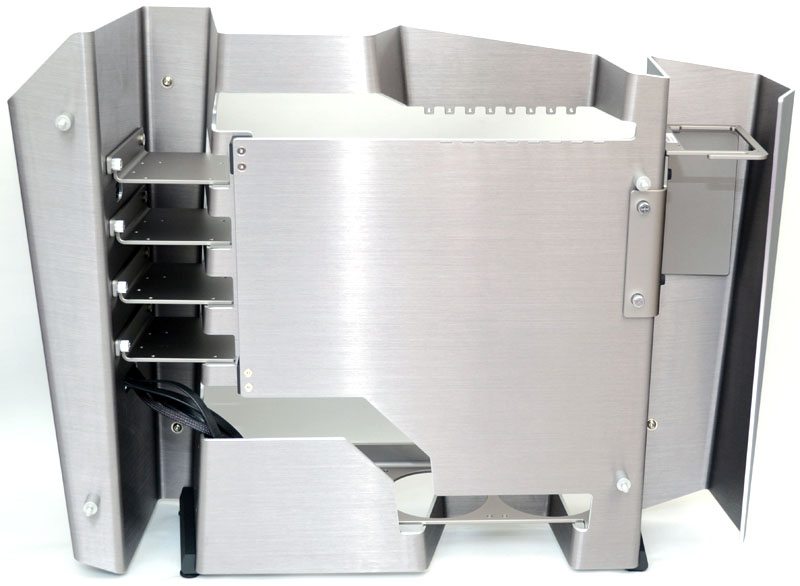
With the side panel off we can see there is a huge amount of space on the interior of the S-Frame.
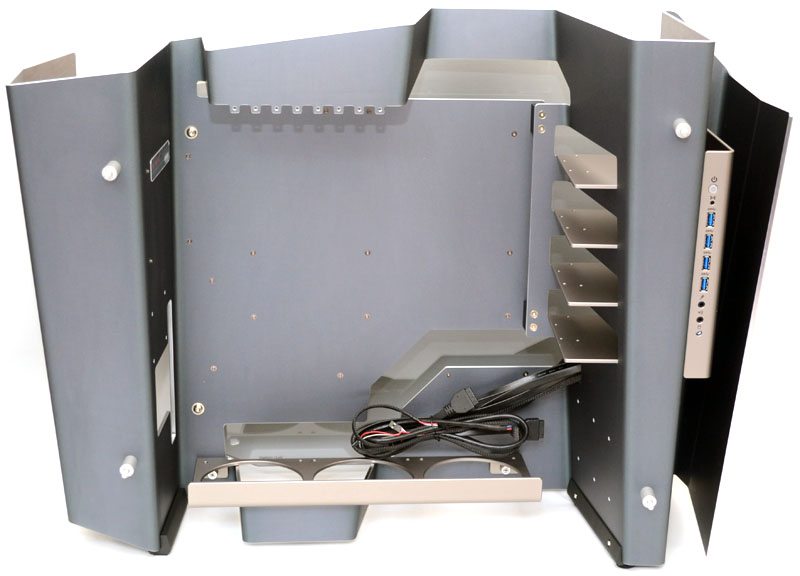
There are four removable hard drive trays, each made from brushed aluminium that contrast nicely with the darker colour of the main panel.
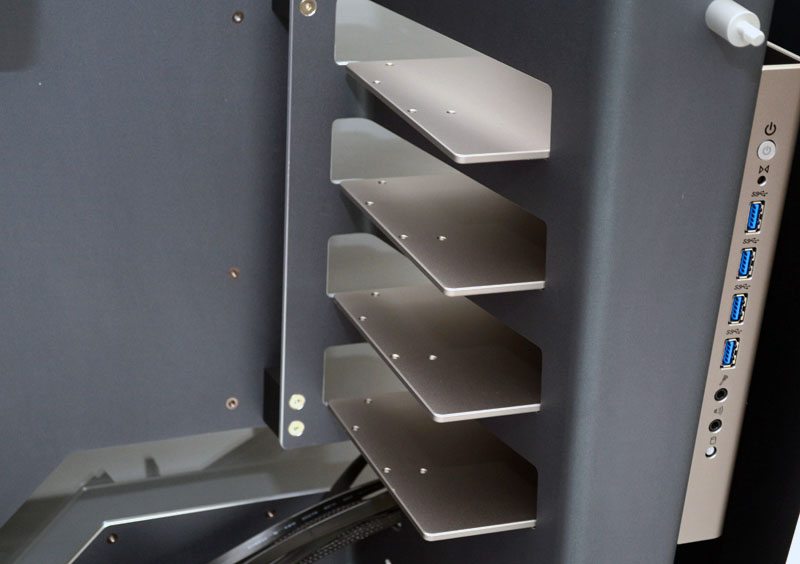
Each is held in place with a single screw on the left side.
The back of each tray rests on a single slide over nut, overall this allows you to quickly remove the bay and get your drives installed, simple but effective.
Each tray comes drilled with holes to support either a 3.5″ drive or a 2.5″ drive.
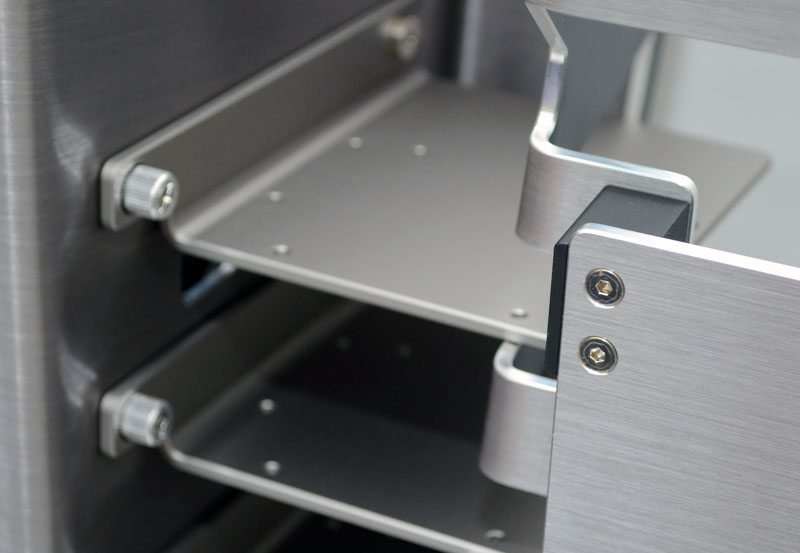
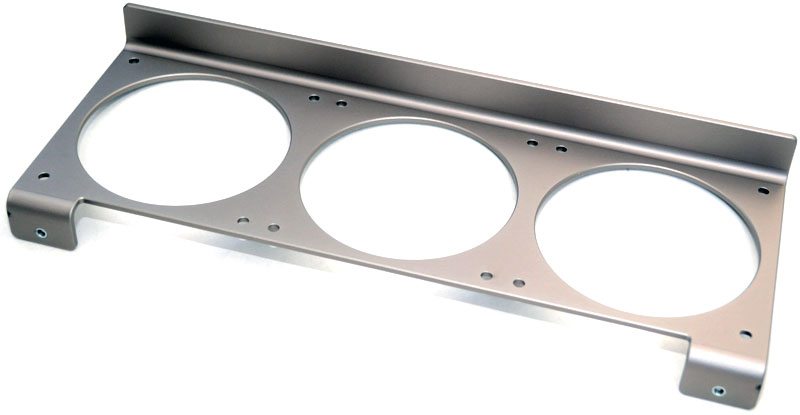
The bottom fan mount will support up to 3 x 120mm fans or an equivalent size water cooling radiator.
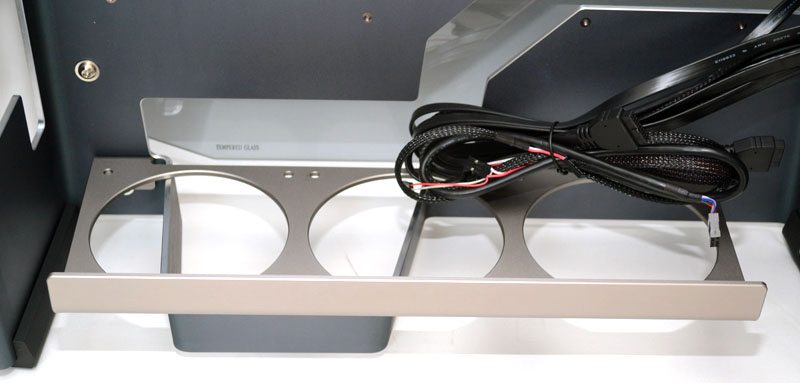
The tray is easily removed with two thumb screws on its underside, while the front edge rests against the main frame of the chassis. There is a small rubber pad on the underside of the fan mount where it meets the chassis to prevent any unwanted vibration noises.
As with everything else on this case, the fan mount panel is really nicely finished and cut from high quality aluminium.
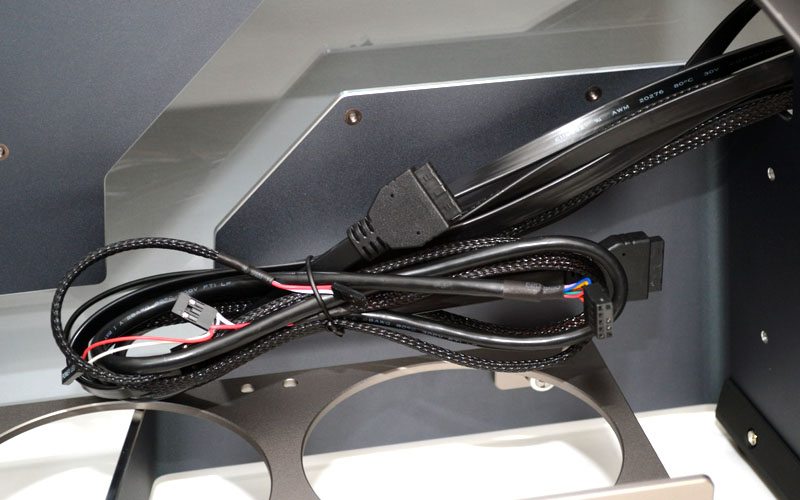
The internal cables of the S-Frame are black with the exception of the last few inches of the front panel cables. Flat USB 3.0 cables have been used which should help with cable routing and black sleeving has been applied to everything else.
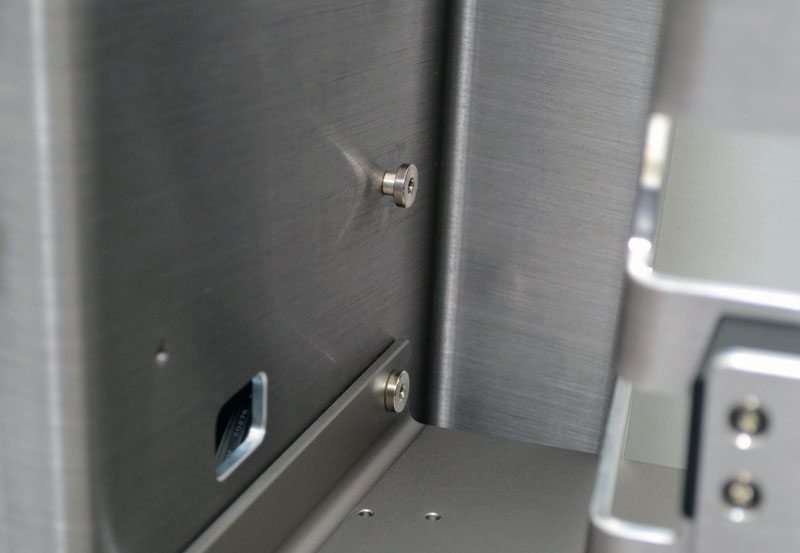
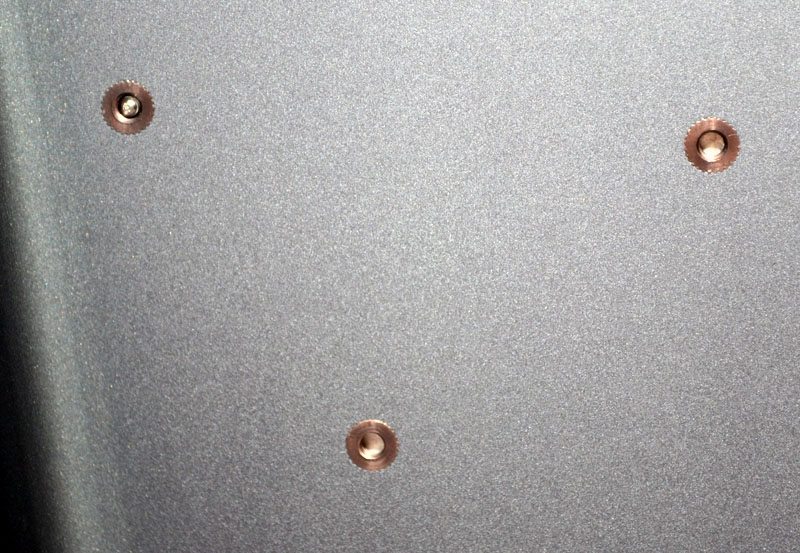
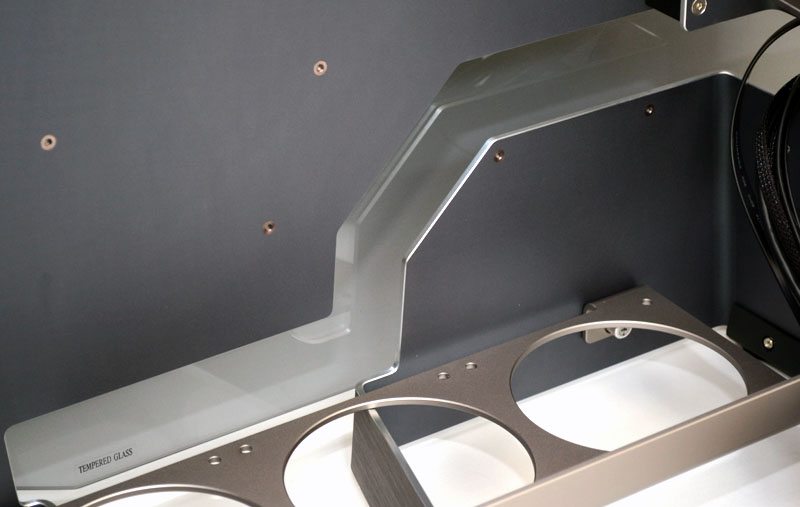
The motherboard stand-off pegs are not pre-installed and can be fitted into these nicely finished screw mounts on the interior of the chassis.
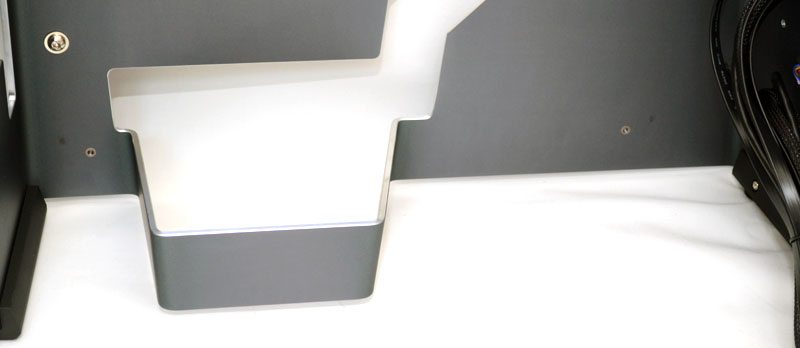
A long strangely shaped cut-away below the motherboard will allow for a multitude of cable routing options, whilst also adding a nice touch of style to what could have been just a flat back panel.
Ooooh what is this, looks like we have a one-of-a-kind serial number on our chassis, thank you In Win!
Around the back of the chassis there really isn’t a lot going on, just a clean panel and plenty of room to route a few cables.
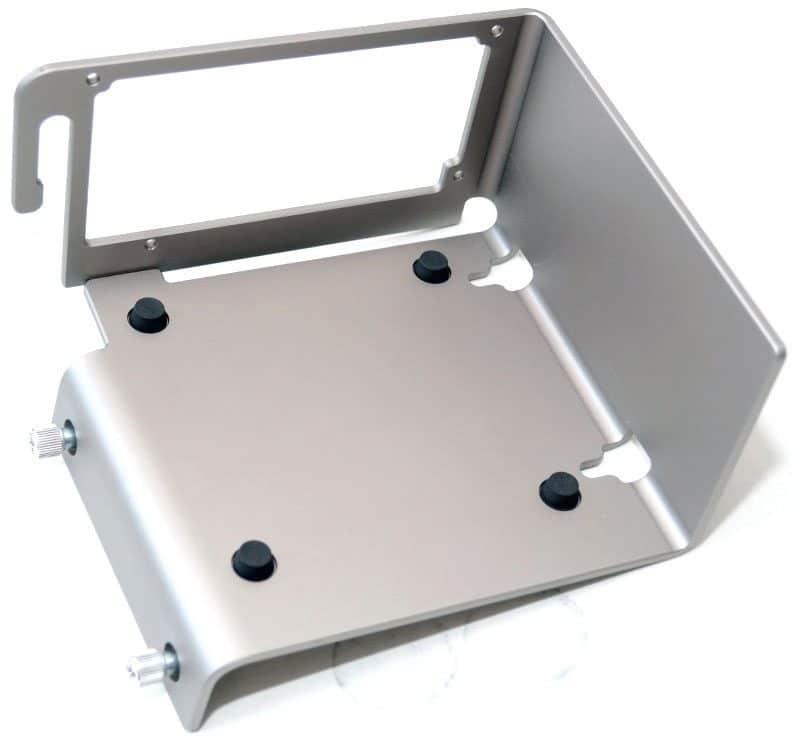
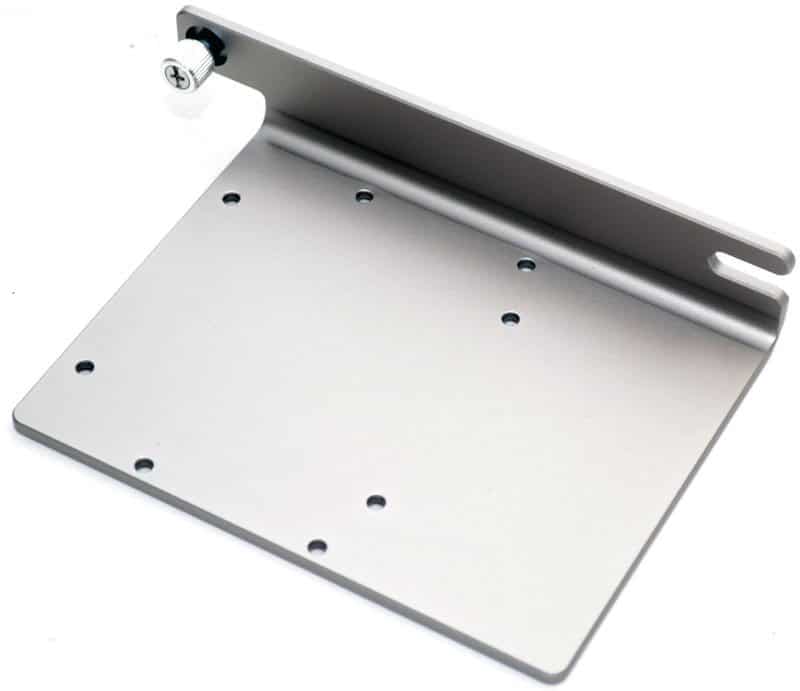
The PSU mount at the back features a removable bracket made out of, can you guess? More high quality aluminium.
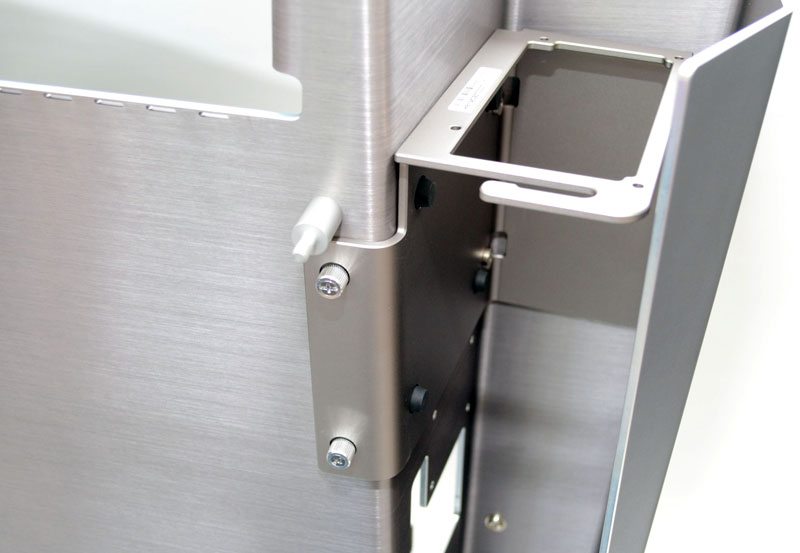
Mounted in a similar fashion to the hard drive bays, the PSU bracket can be unscrewed and slid out to allow for an easier PSU installation process.

The base of the PSU bracket features four thick rubber pads. Also notice the “n” shape on the side of the back plate? That is used to hold your PSU power cable down, stopping it sticking up in the air above the chassis.