In Win S-Frame Open Air Limited Edition Chassis Review
Peter Donnell / 10 years ago
Complete System
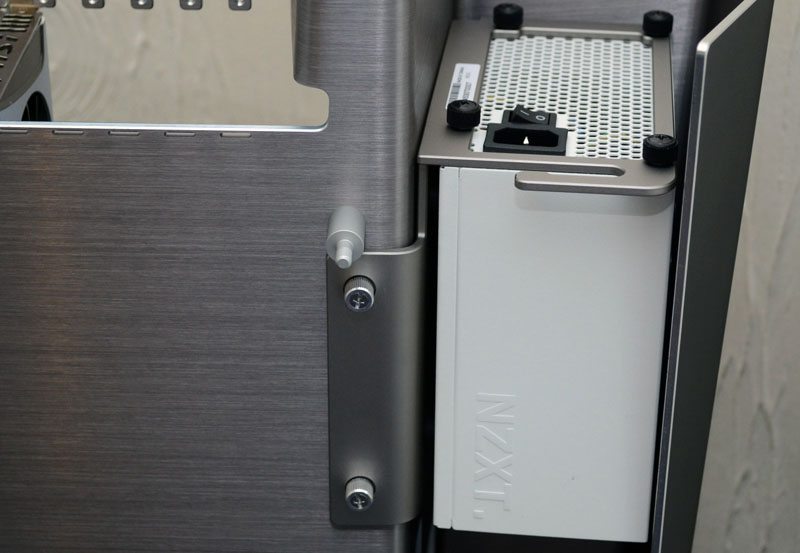
Before we get to the complete system, I decided to snap a few bonus shots of the installation process to better show off some of the chassis features. Here you can see the PSU mounted to its bracket as well as the four custom PSU thumb screws that were included with the S-Frame.
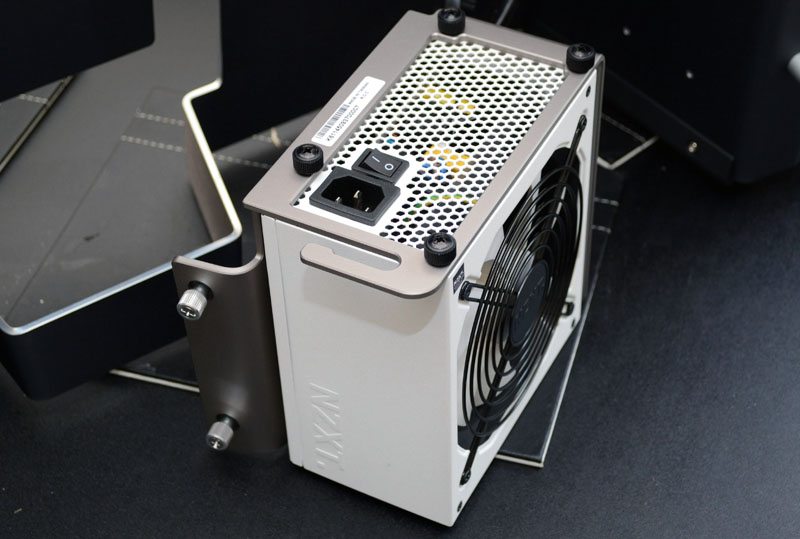
Neatly mounted back in the chassis with the fan facing toward the back and the heat exhaust pointing upwards.
On the underside you can see the cable connections, and they’re not as tricky to reach as they look.
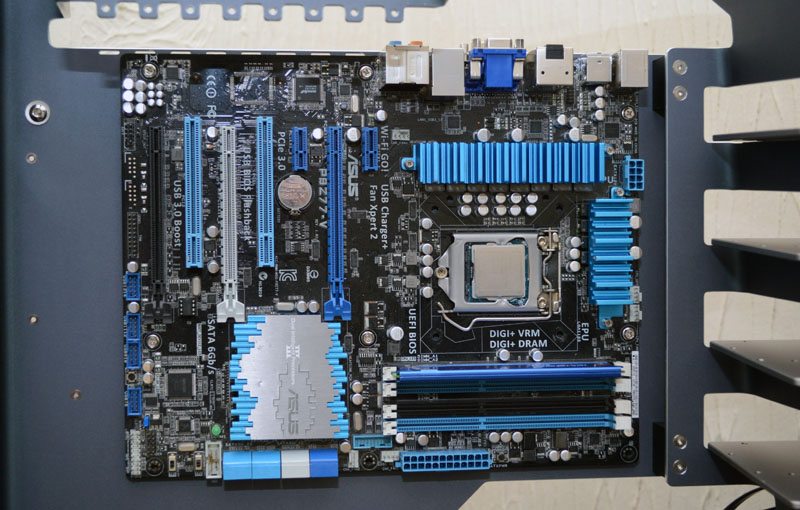
Motherboard installed easily enough after I mounted the motherboard stand-offs. Just don’t do what I did and forget to put the CPU cooler bracket on first, as there is no cut-out behind the motherboard to assist with this.
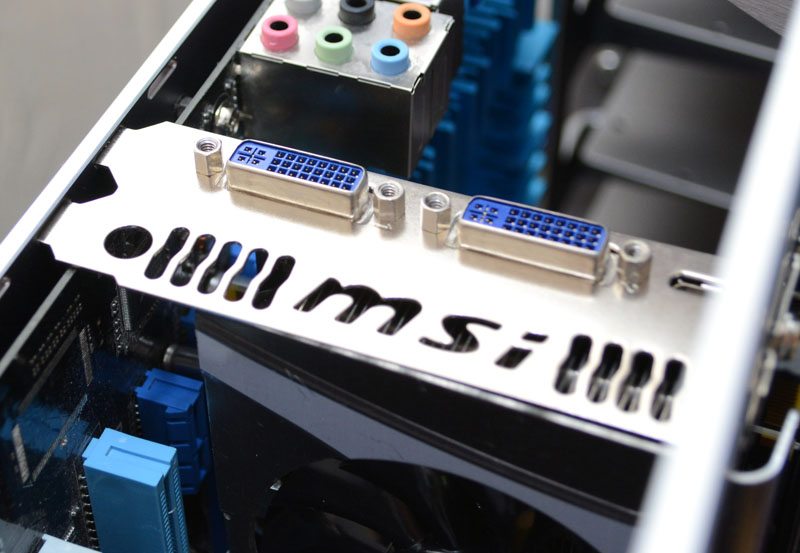
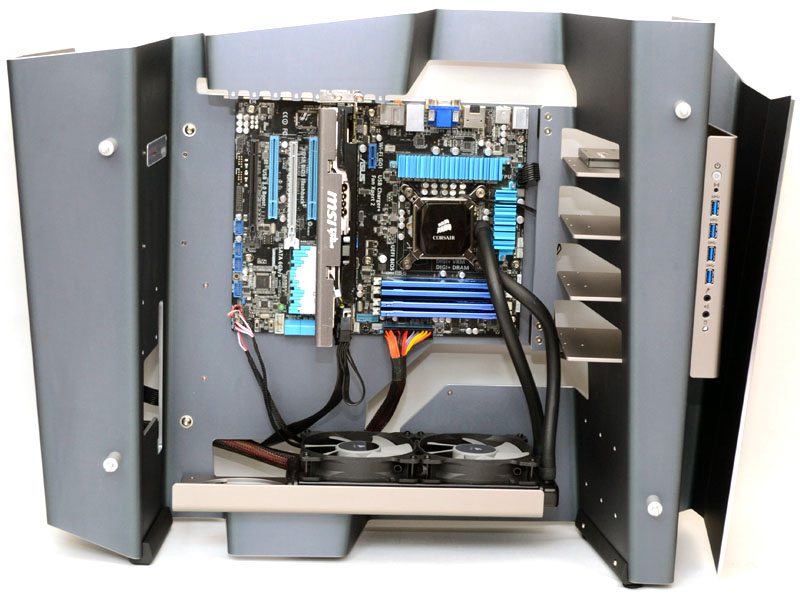
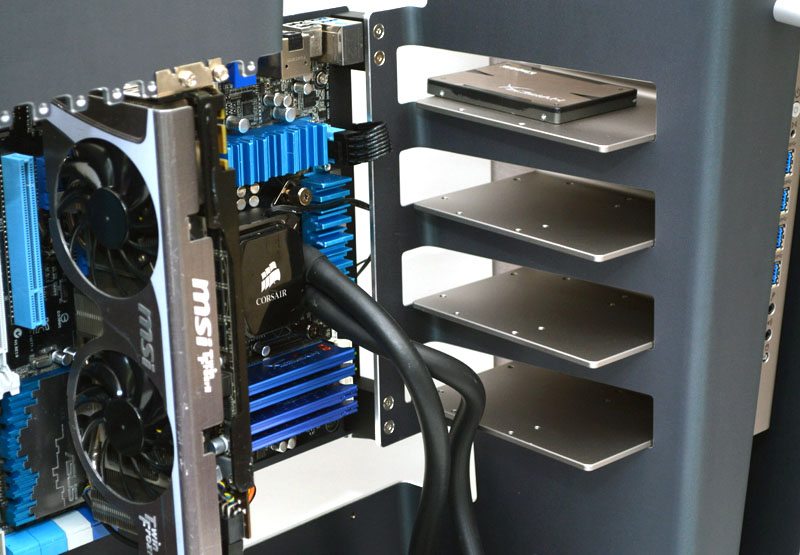
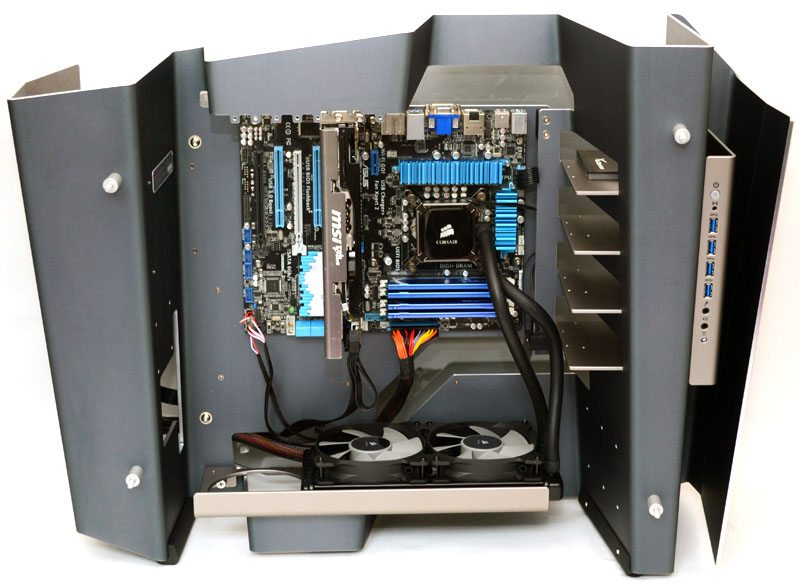
GPU mounted vertically and screwed in place on the top front edge of the main chassis panel.
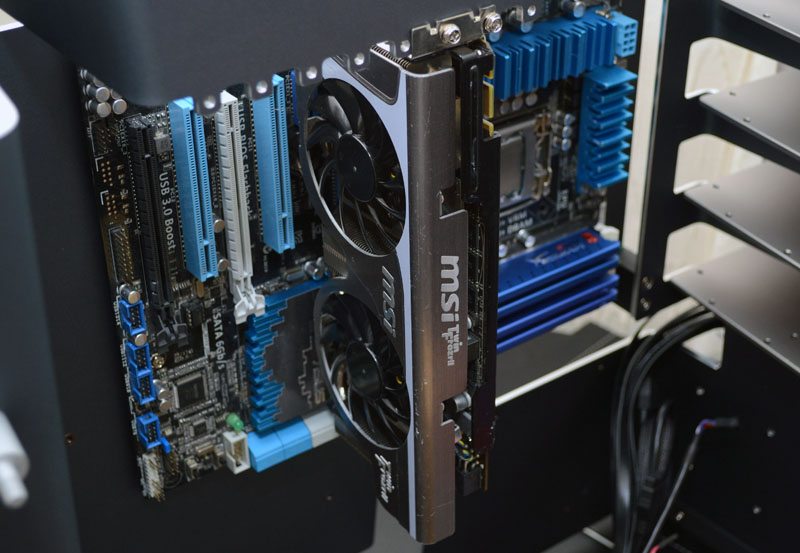
The system does look strange without a back plate over the motherboard or anything surrounding the GPU back plate, but at least there is nothing to block airflow.
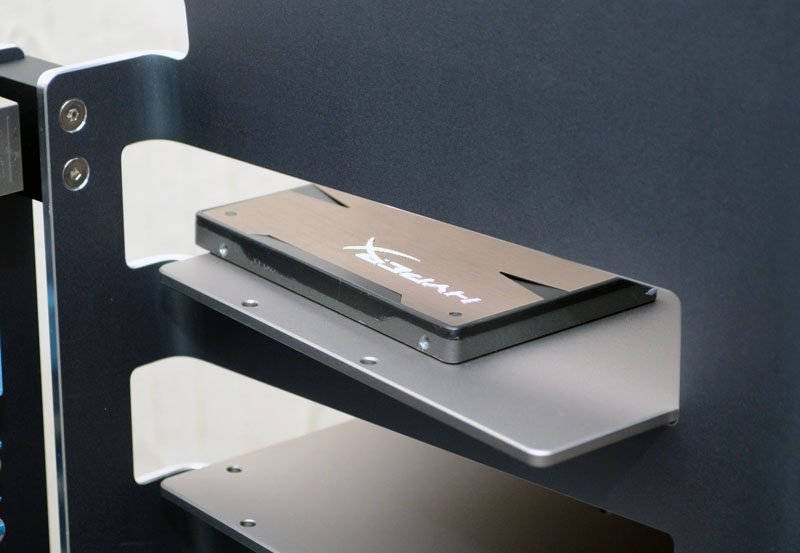
Hard drive on its plinth like mount, would look nice with some soft under-lighting here.
The total build should have taken me around 30 minutes, at least that is what I estimate it at since I had to remove the GPU and motherboard completely to install the CPU cooler backplate, because I’m an idiot and forgot to do this first.
Despite its very exposed design I was still able to achieve a relatively clean looking build. I’m sure even better results could be achieved with colour matched components, not to mention cut-to-length braided cables to reduce any cable management issues.
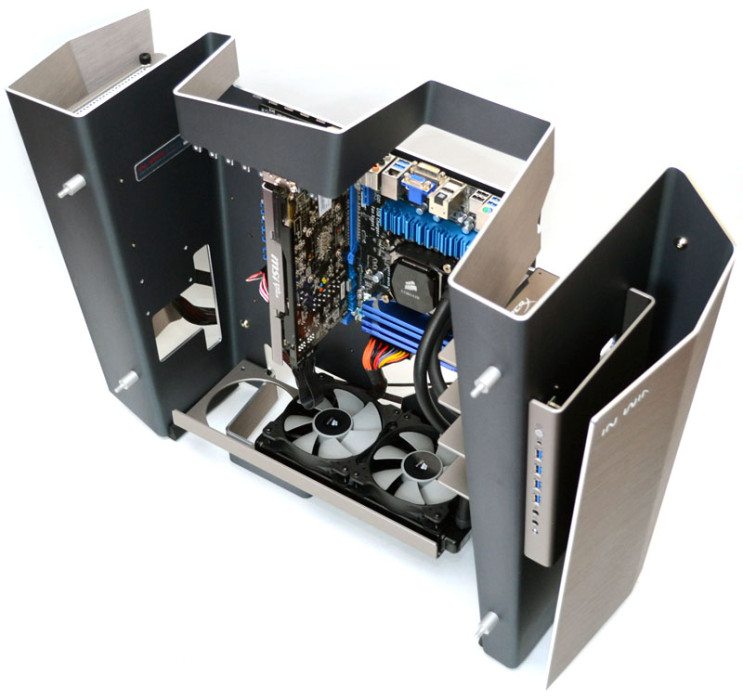
There is ample room for long graphics card here and certainly more than enough room for a multi-GPU setup, and airflow is unlikely to be an issue given the open air / top exhaust layout of the chassis.
The radiator mount at the bottom was quite low and the angle was putting a little strain on the H100i pipes, but nothing too severe, I would suggest either a cooler with longer hoses or a custom set up if you’re planning to use water cooling with this case.
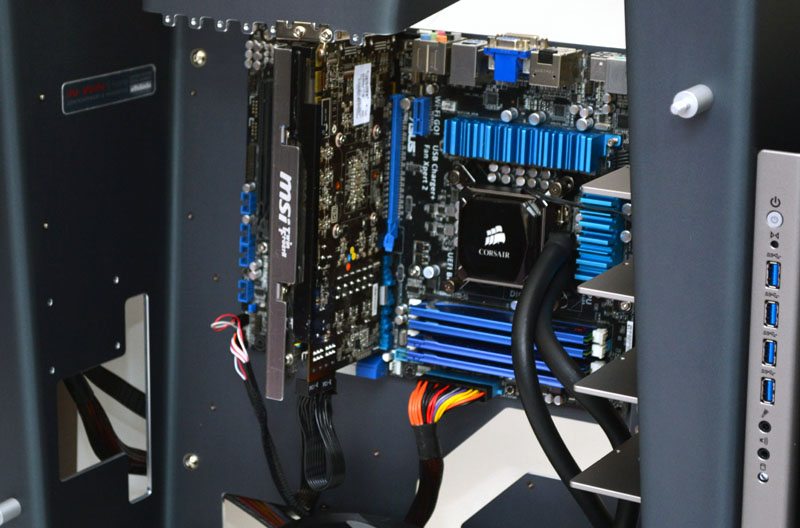
The hard drive bays are really nicely laid out and there is just enough room to the right of the motherboard to route any extra cables to them.
My demo build is a little sparse, so there aren’t a lot of cables around the back of the motherboard. I think with a little case these could be routed relatively out of sight. In Win did include some cable clamps, but I would suggest using some adhesive Velcro cable ties.
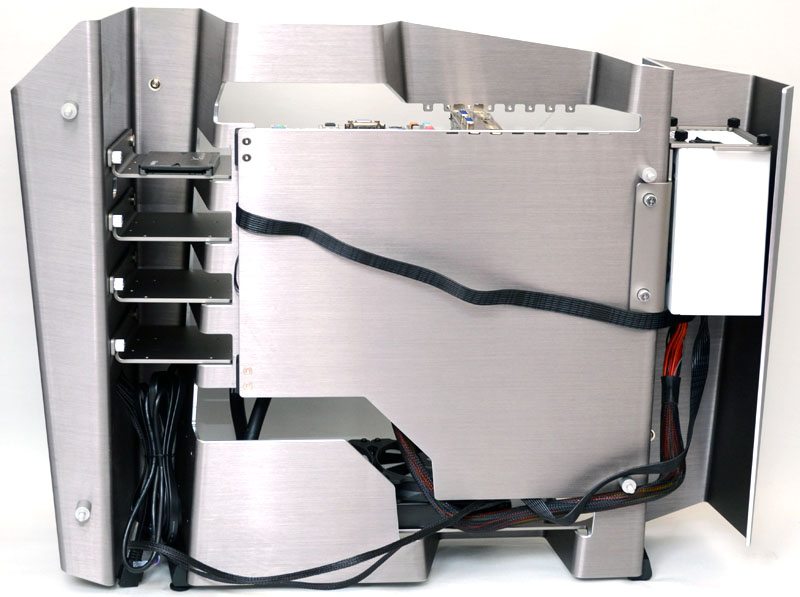
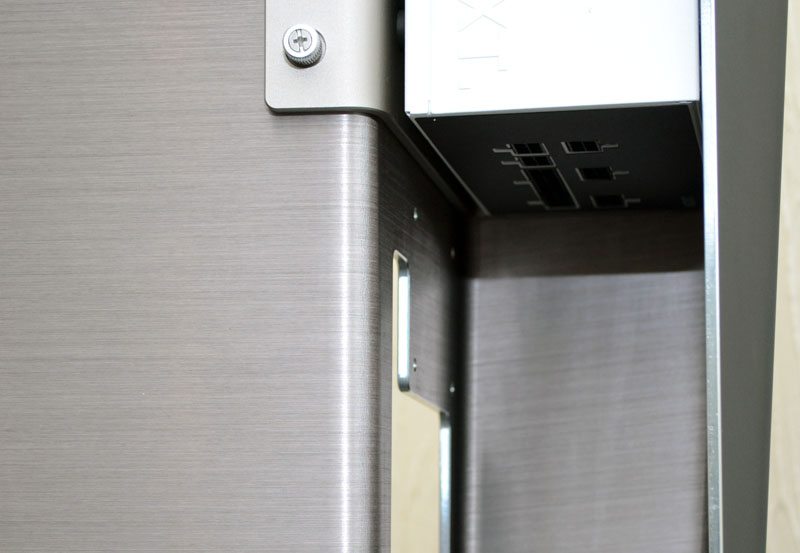
The large recess below the PSU features a cut-out to route cables, but use it wisely as these cables will be on show from the left side panel, which is why I chose to route mind around the back. This space below the PSU does allow for longer PSUs but can also be used to tie up any excess cable.
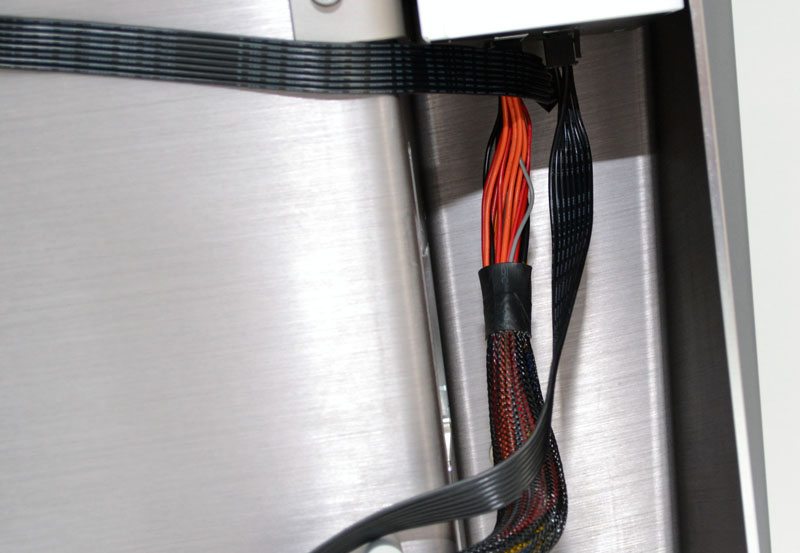
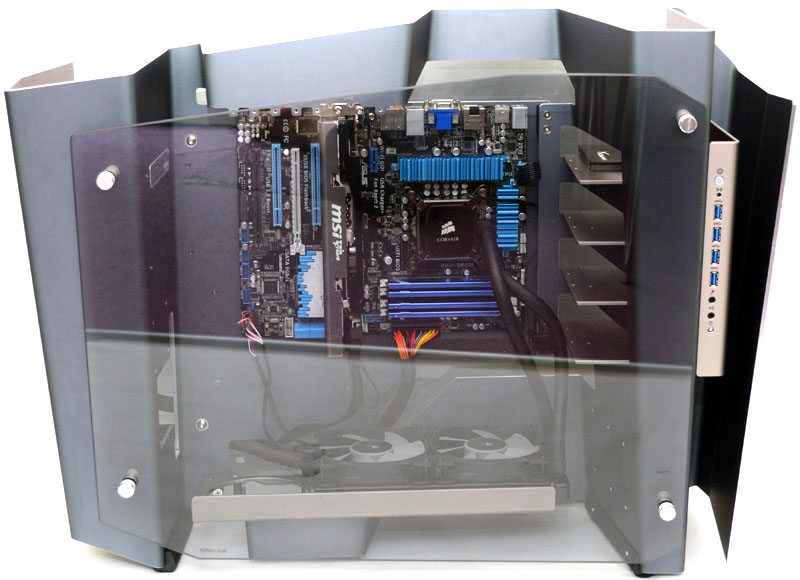
With the side panel back in place you can see what I mean about cable management, but cable braiding and a few adhesive strips will soon tidy that up.
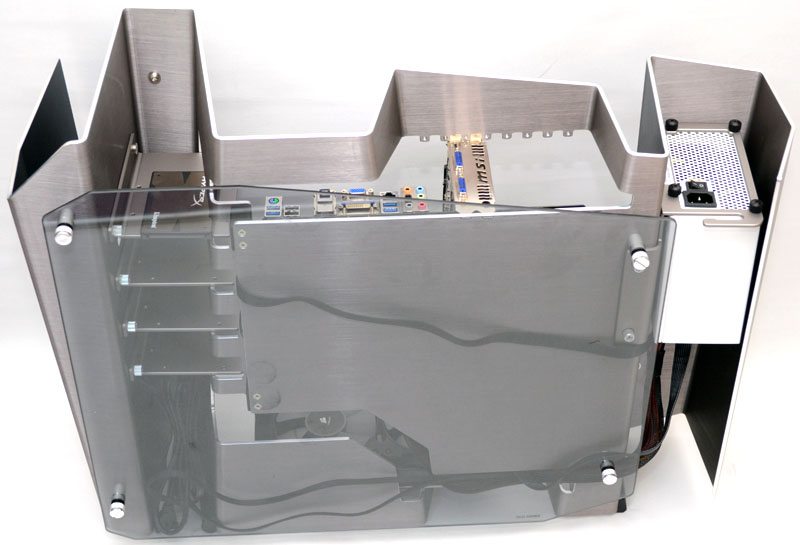
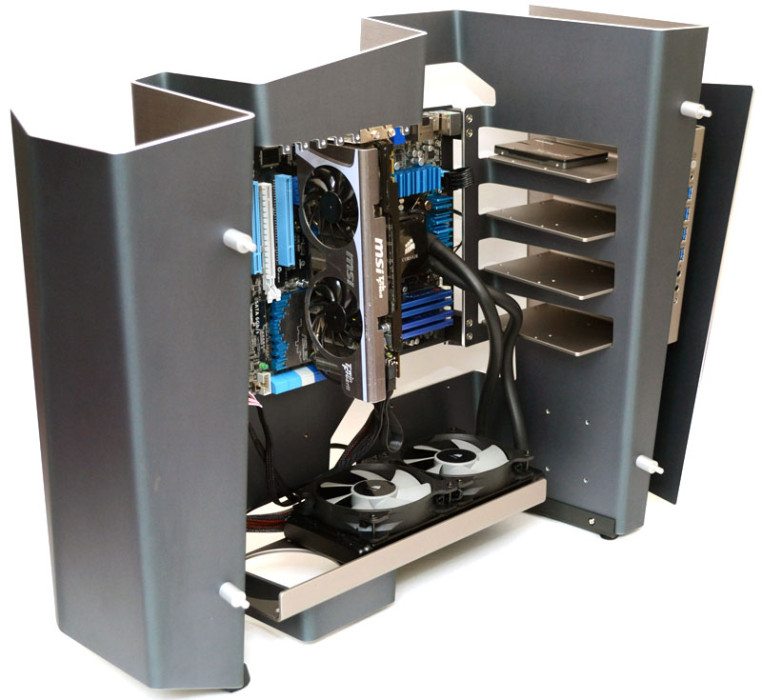
Overall a very nice looking build, reasonable cable routing, with plenty of space between all major components.
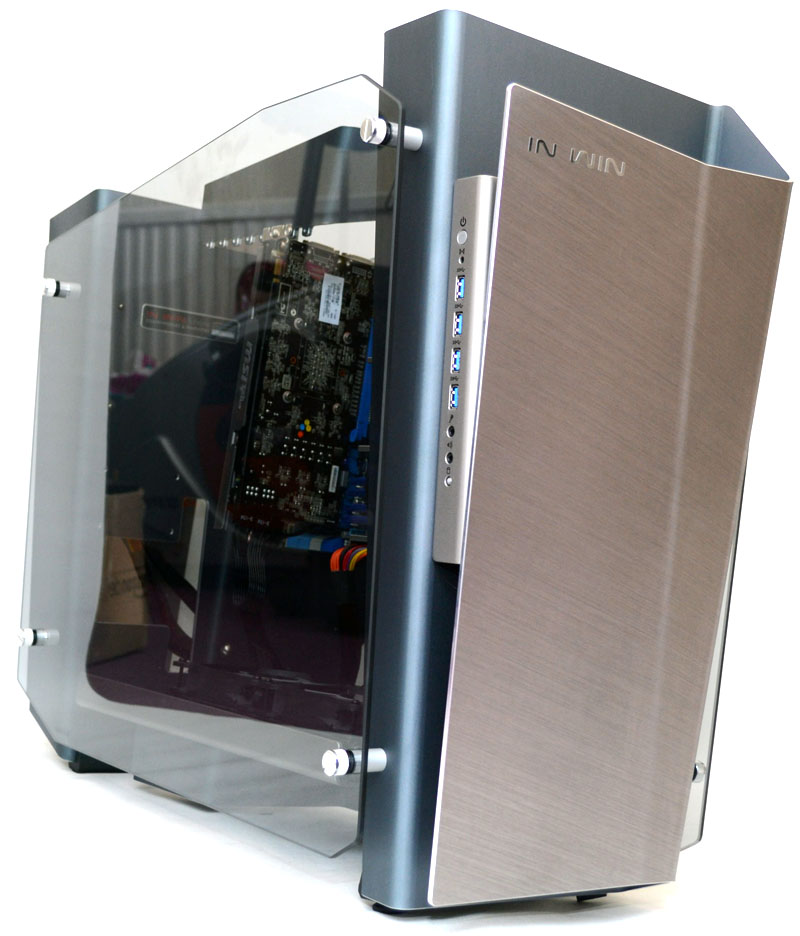
The slightly tinted glass gives us a great view of the interior and this will work wonders for those who really want to show off their components.
You will of course need a little extra care, as you could potentially drop things inside the case. A free falling pen could easily jam up in your fans if you’re not careful.
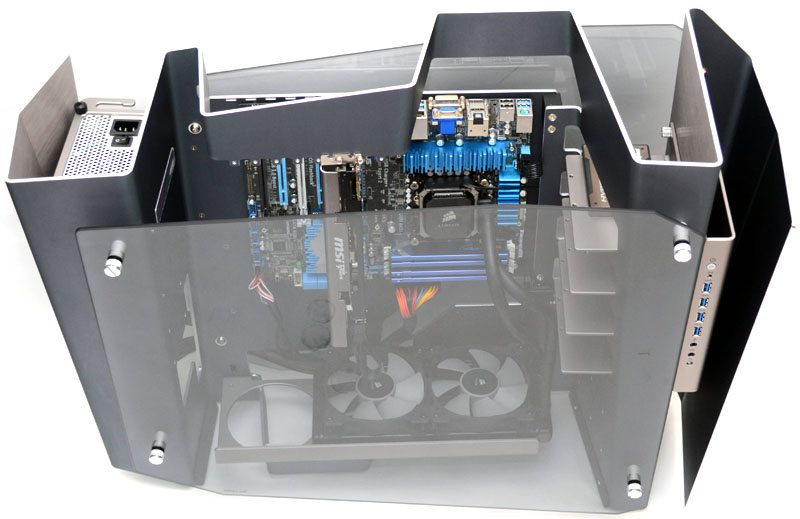
The last shot of the day, I feel like I should be putting this case on a stand in an art gallery, it’s simply stunning.