NZXT H440 Full Tower Chassis Review
Peter Donnell / 10 years ago
Exterior
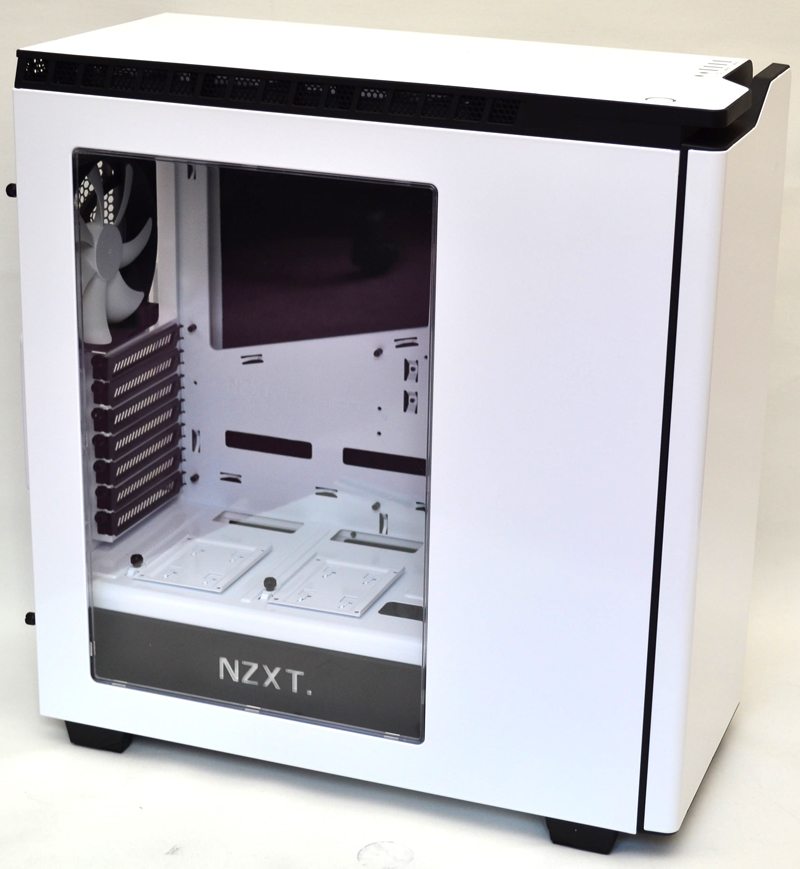
The left side panel features a huge, super clear perspex window that gives us a stunning view of the chassis interior, and above the top edge of the panel you’ll notice plenty of ventilation on the top panel to provide airflow to any top mounted cooling. The side panel is held in place with a pair of quick release thumb screws for easy access.
The right side panel is just a neat and tidy plain panel, which is also held in place by a pair of quick release thumb screws. You’ll also notice there is no extra ventilation on this side of the top panel, however there is ventilation on the right side of the front panel to allow airflow to any front mounted cooling.
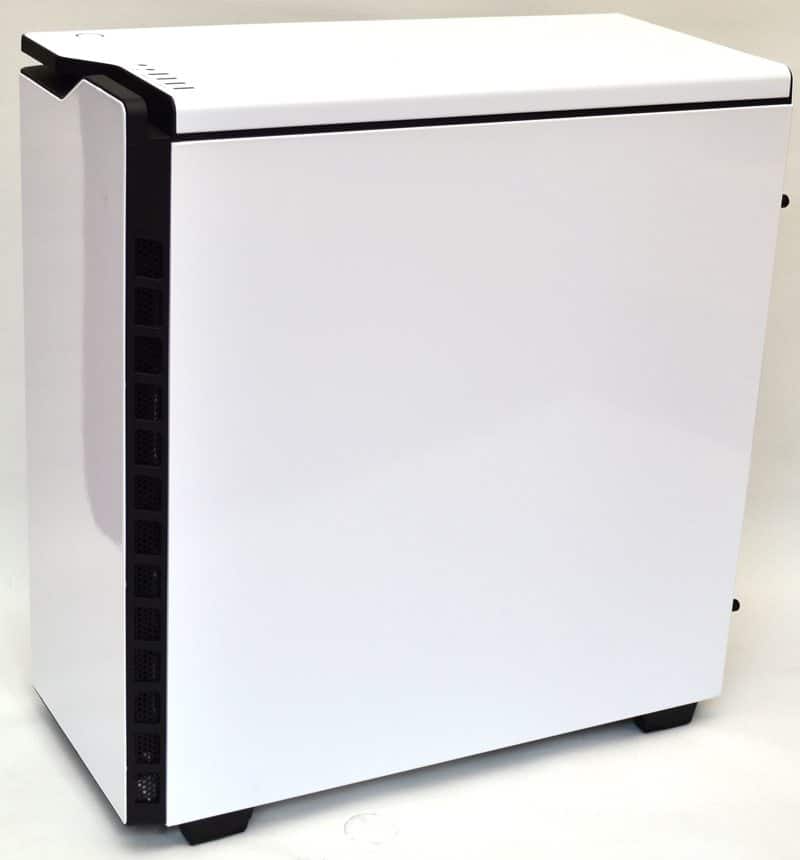
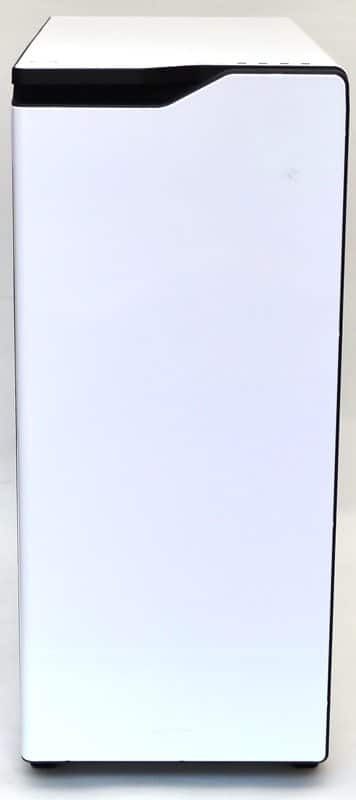
The front panel is super clean and bold looking, with a solid white panel, no door panel to open, no vents, no logos, just a minimalist angled cut-away in the top left corner to add some flair to it. Super sleek would be an understatement.
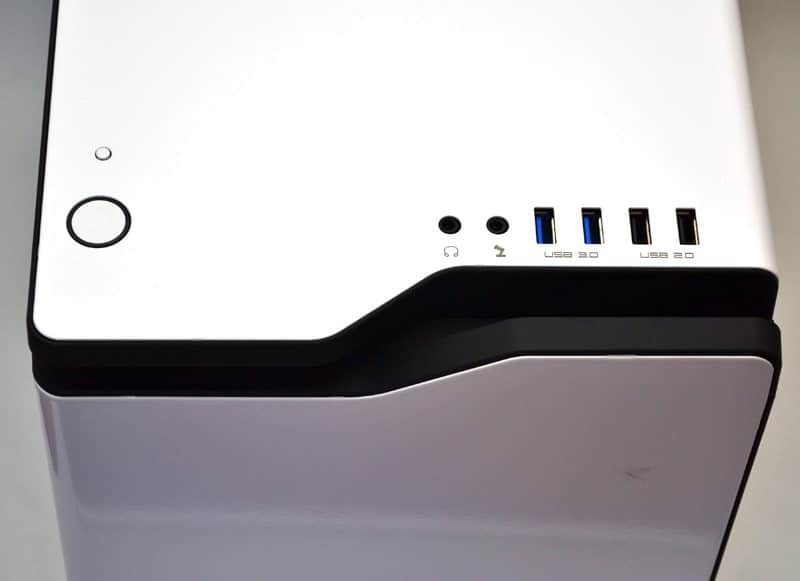
The top panel is also a solid panel much like the front panel, the only difference being that the front edge has the main I/O ports. On the left you’ll find the master power and reset buttons, while the right features HD audio connections, 2 x USB 3.0 ports and 2 x USB 2.0 ports.
There’s plenty of features around the back, starting with some ventilation on the back of the top panel, bellow which you’ll find a small switch in the top left corner for the motherboard I/O panel LED light, a feature I’ve always loved on NZXT cases as it makes finding tricky USB ports so much easier. Then we have a fan mount with support for 120mm / 140mm fans or radiators, the screw mounts are cut long to allow you to adjust the mounting height. Moving further down you’ll find 7 ventilated expansion slots, each fitted with reusable metal covers, and there’s even some extra ventilation and cable/water routing cut-outs to the right.

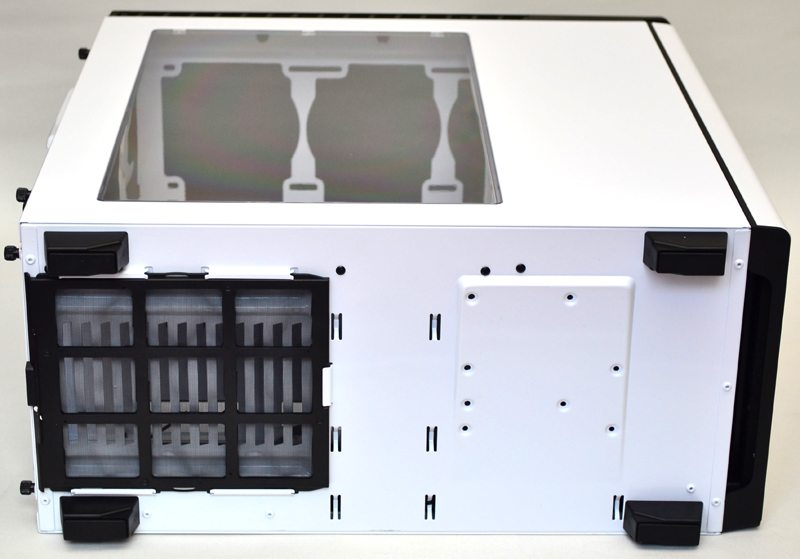
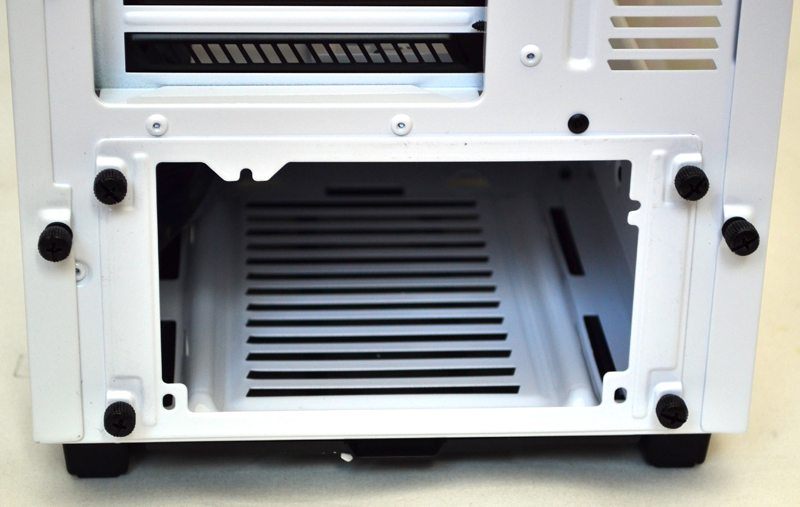
The PSU is installed using a removable rear bracket which is removed with four thumb screws, allowing you to slot the PSU inside the internal PSU shroud.
The underside of the chassis has four durable feet that provide plenty of clearance for the PSU air intake, which comes fitted with a slide out washable dust filter.