NZXT S340 Razer Special Edition Mid-Tower Chassis Review
Peter Donnell / 9 years ago
Introduction
NZXT are one of the go-to brands for people building a gaming system, and that’s hardly surprising given that they’ve created some of the coolest looking and best-performing gaming chassis available and have been doing so for many years! From their legendary Phantom and Switch series to the more recently popular H440 and now their S340. Today we’re taking a look at the latest entry in their S340 series, which is at its absolute core the same S340 they launched at the end of last year, but it has been given a cosmetic makeover courtesy of popular gaming brand Razer.
The new chassis still features the same specifications as the original S340. There’s a good amount of storage space, room for large graphics cards, lots of cooling support and much more.
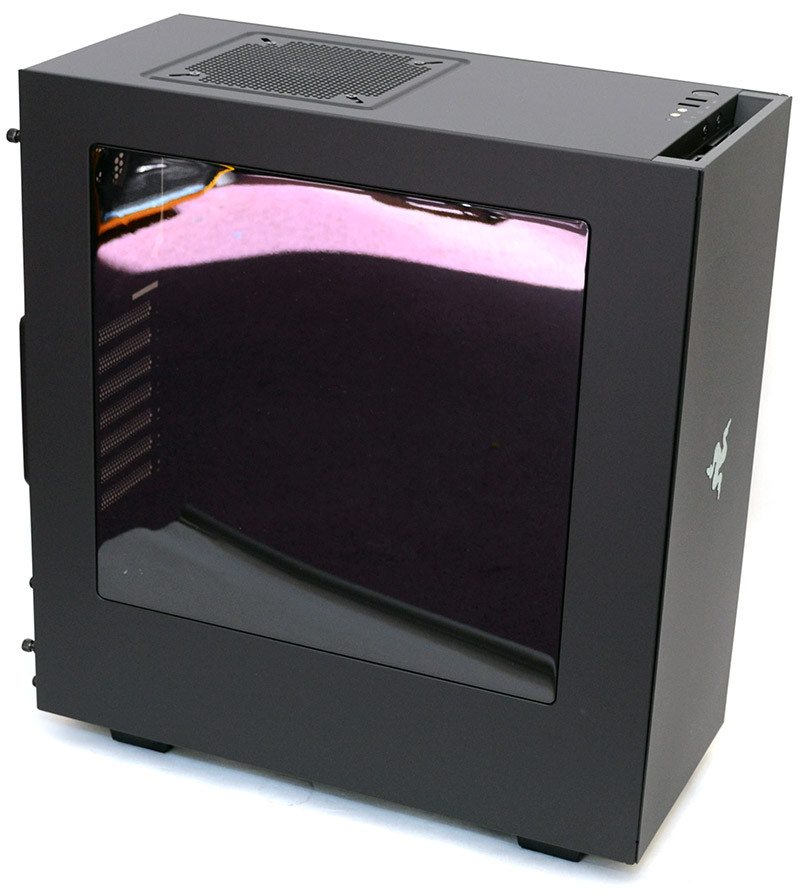
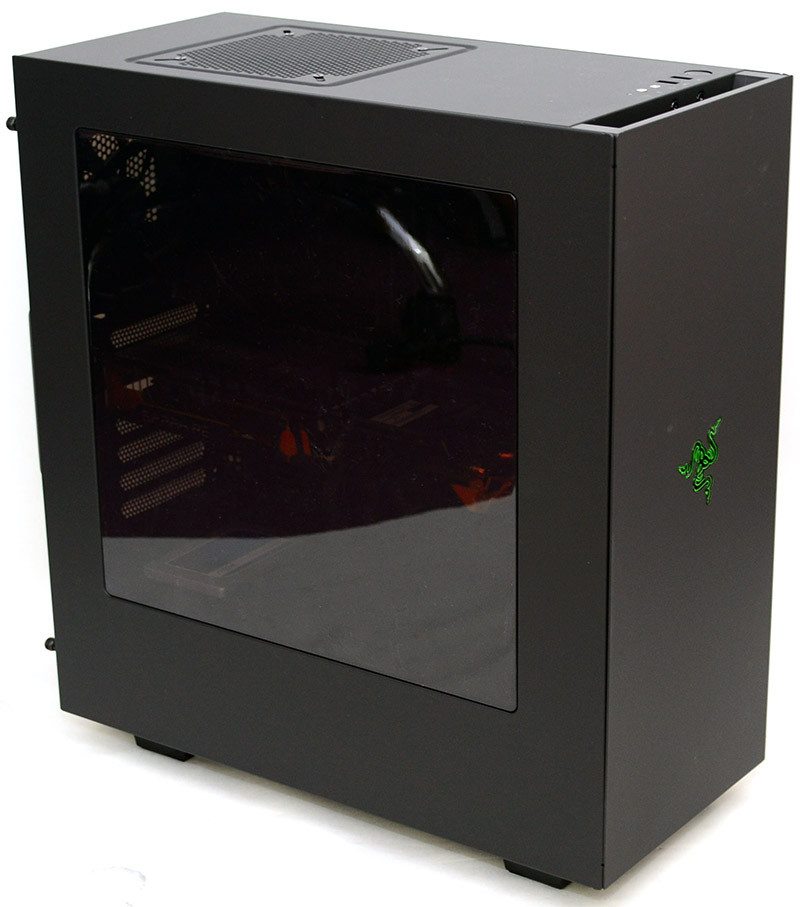
The new edition comes in a slick powder black paint job, giving it a dark and rather stealthy appearance. The black interior also means the side panel window has a mirror effect on it today, partly due to the sun beaming through the windows in our office, but with my eyes and not the camera lens, you can actually see in the chassis just fine.
The right side panel is a flat black panel, nothing fancy, but certainly neat and tidy.
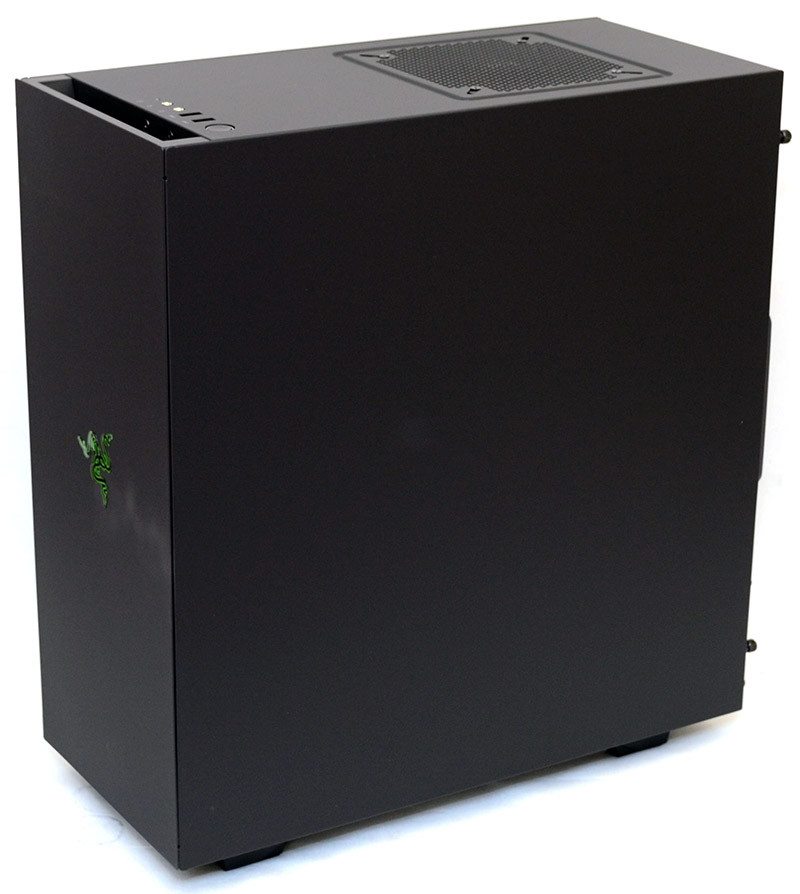
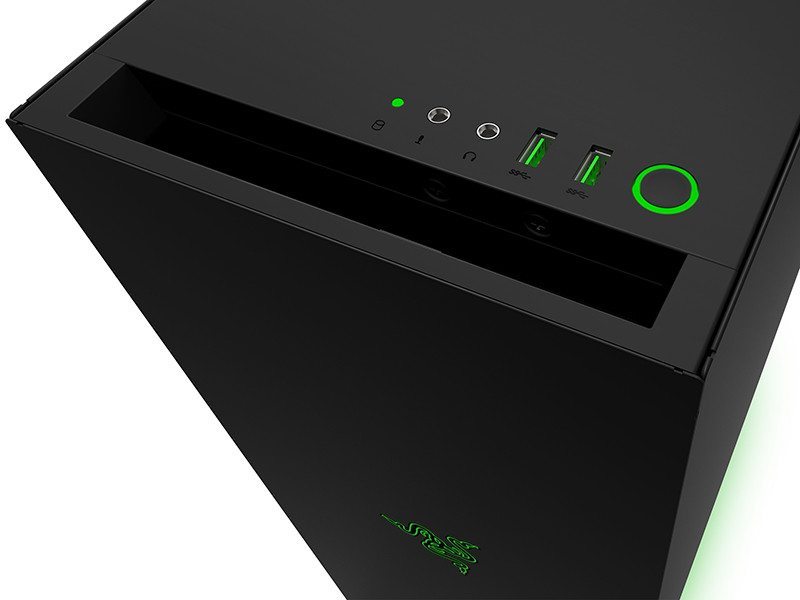
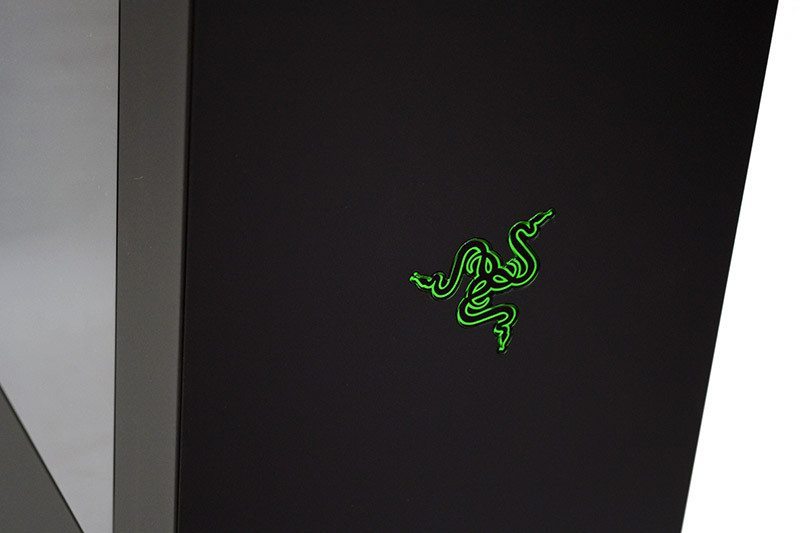
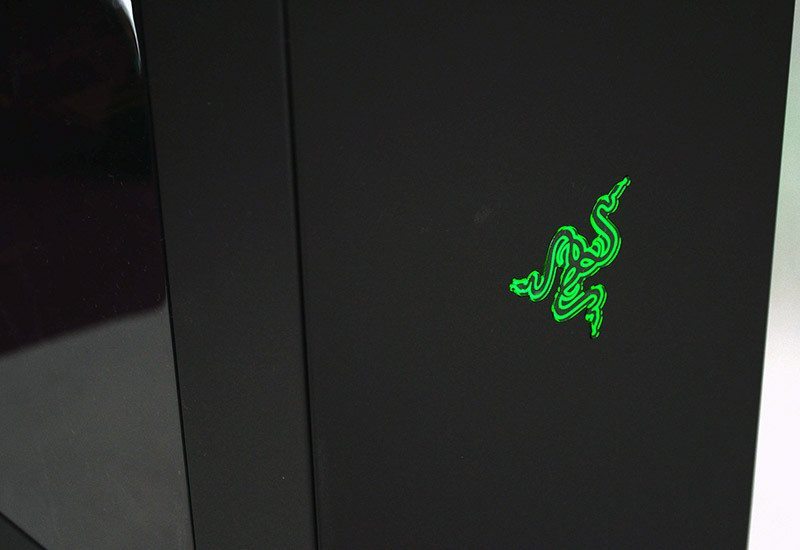
Aside from the powder black finish, the next big change is the front panel. The original S340 had a smooth front panel, but this one comes with a gorgeous Razer logo right in the middle and to make it just that little bit cooler, it’s even LED backlit!
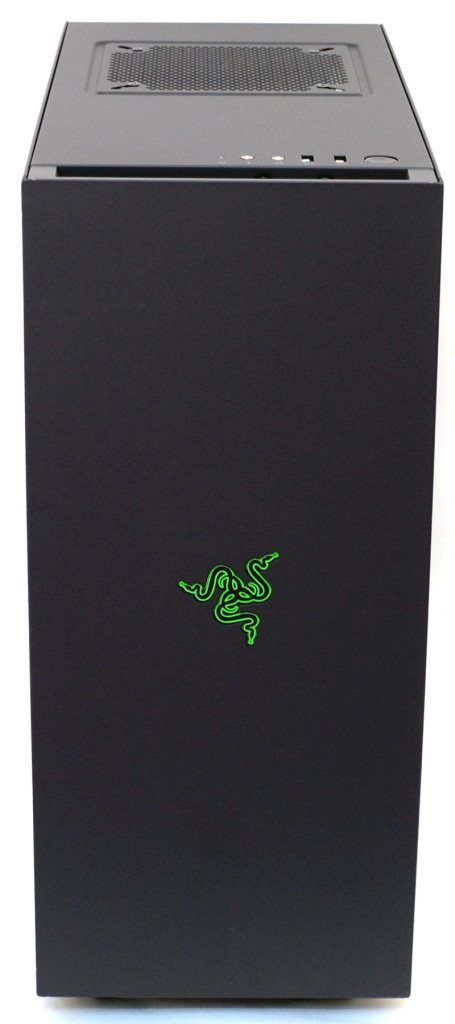
Even with the LEDs off, the logo stands out really well thanks to a reflective and bright colouring.
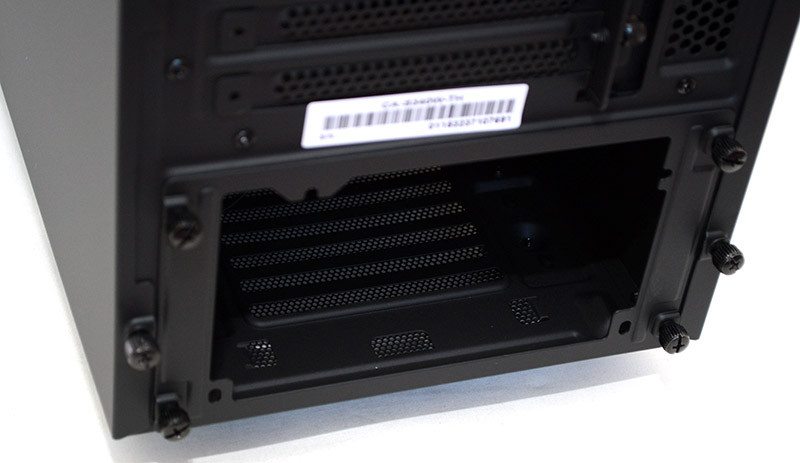
Everything is the same as before here, with the usual rear I/O LED light switch at the top, a 120mm fan pre-installed, seven expansion slots and the PSU cut-out. One nice touch, the snap-off covers of the original are now reusable covers; hurray!
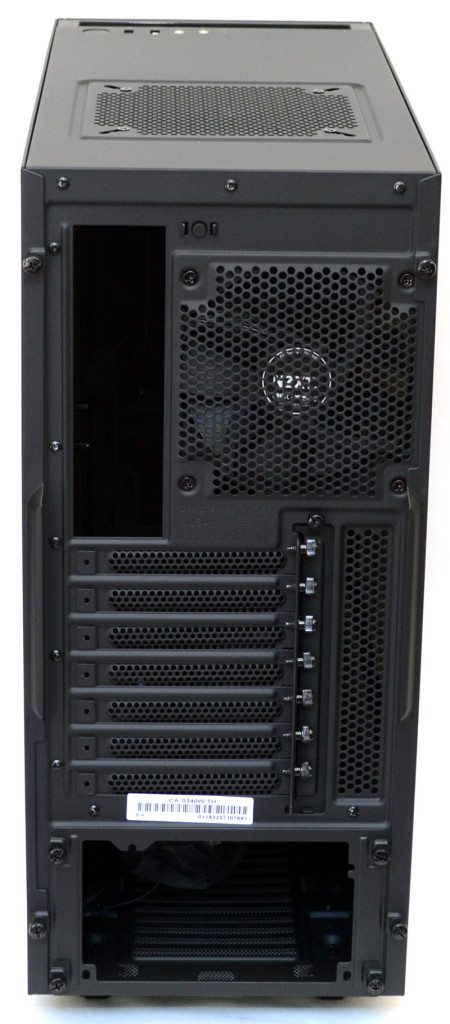
The PSU is installed from the rear of the chassis, and this is done by removing the four thumbscrews and mounting plate.
The top panel has a 120mm fan pre-installed, although you can swap this out for a 140mm if you desire. I actually would have preferred them to utilize the full space and pre-fit a 140mm, but I’m just being picky in that respect.
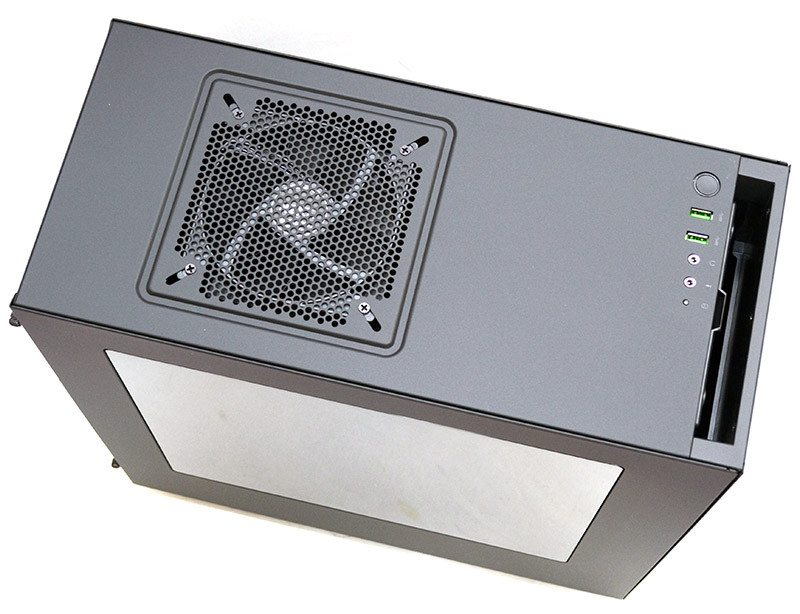
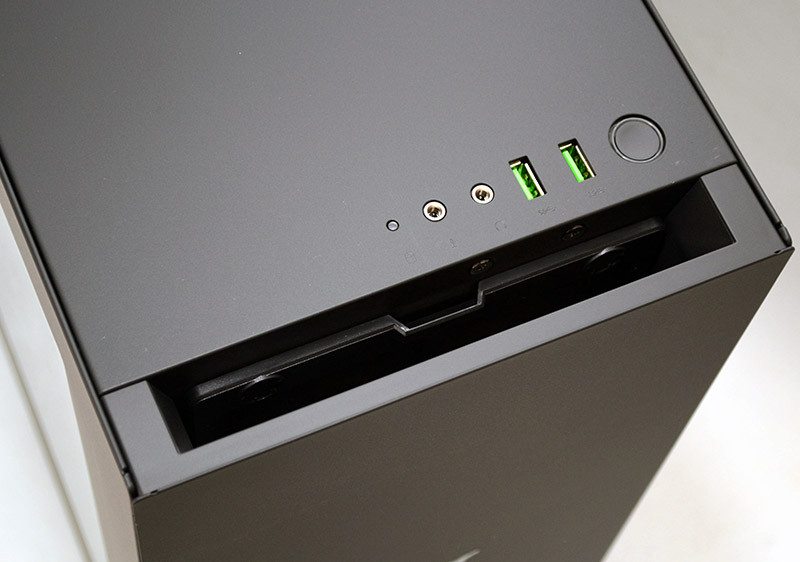
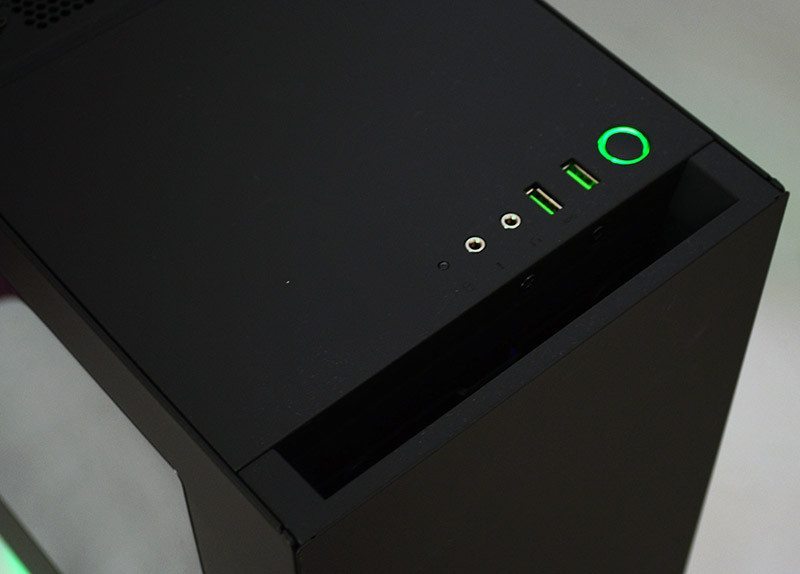
One subtle change is the USB 3.0 ports, which have been switched for the Razer produced green ones, the same you find on Razer produced notebooks; these looks really cool!
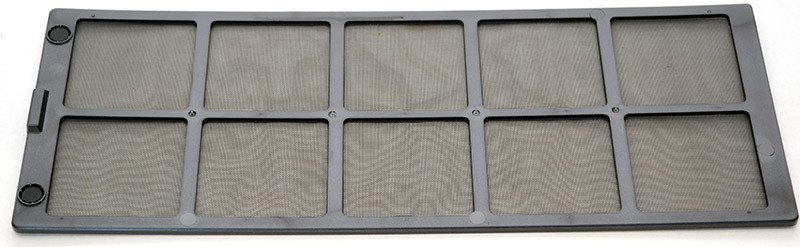
There’s a full height dust filter tucked into the front panel which can be removed from the top edge without removing the front panel. It’s magnetic and washable, so removing it and cleaning it, then re-installing it, is a nice and simple task.
The base of the chassis has a clip-in dust filter for the PSU, nothing fancy, but it’ll get the job done. There’s a pair of LED strips along the bottom, no surprise that these are green LEDs to match the Razer theme.
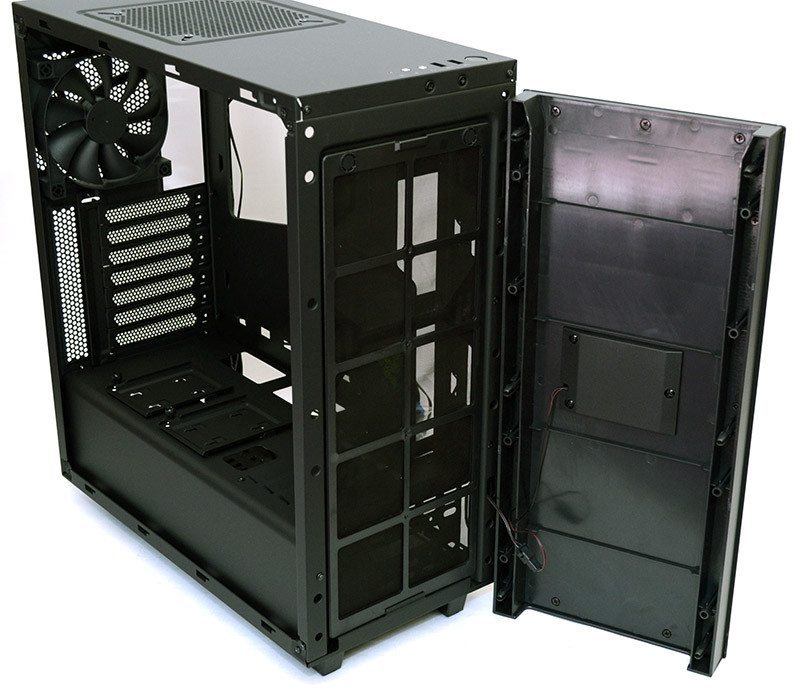
Interior
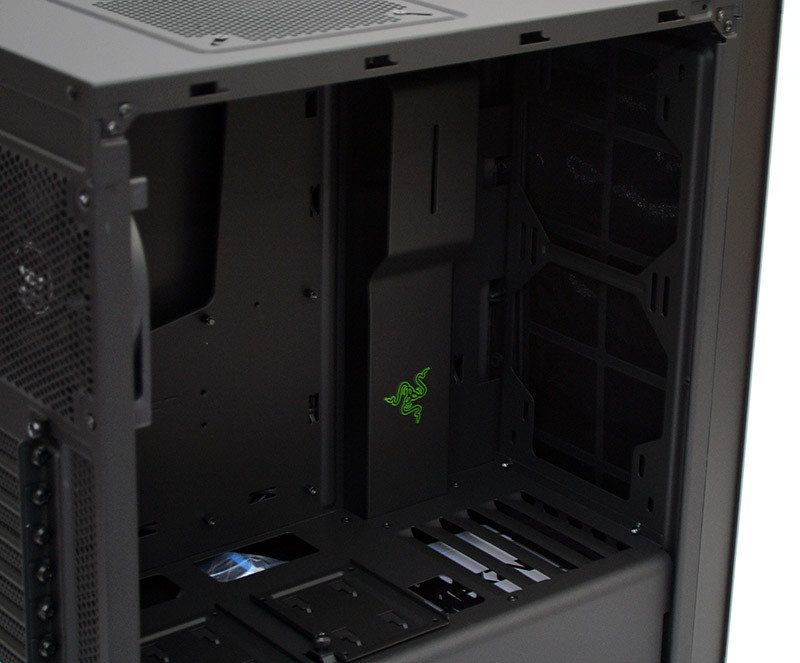
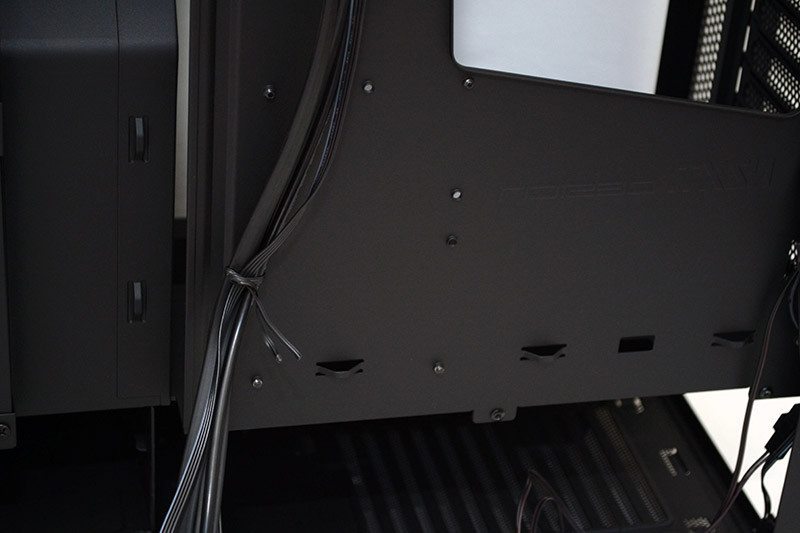
The interior of the chassis has been treated with the same powder black paint job as the exterior, giving the S340 a nice and uniform appearance. Of course, there’s one minor change here, with the addition of a small Razer logo on the cable management panel.
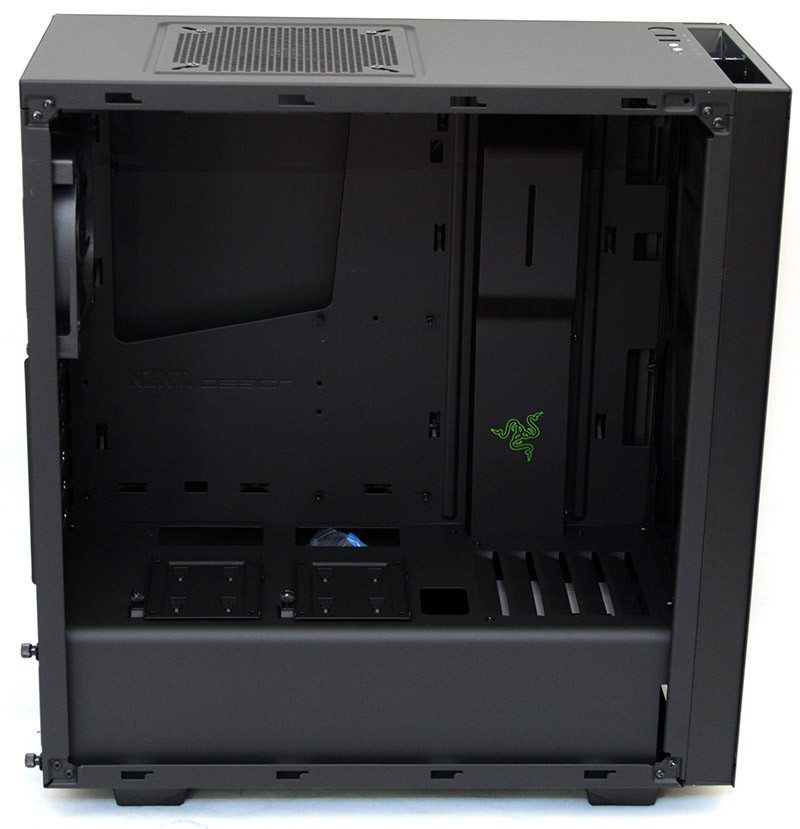
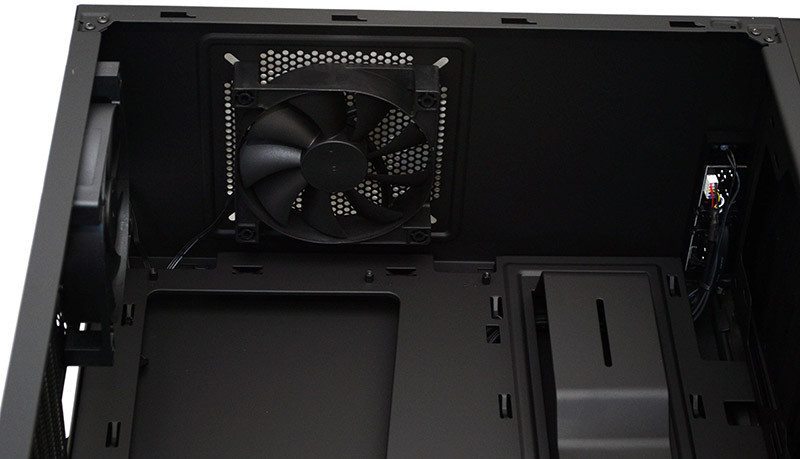
The fan is mounted high enough that it shouldn’t conflict with your motherboard, and there are a few cable routing holes at the top to help get everything connected.
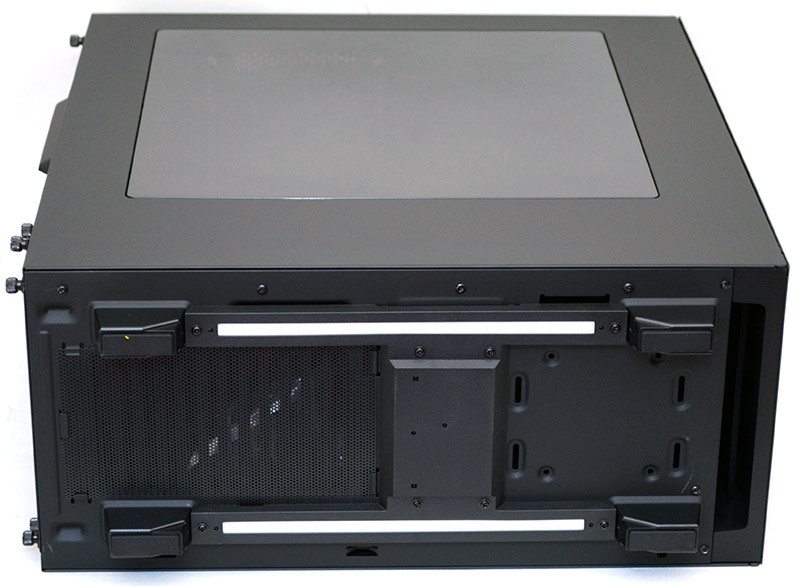
There’s a huge air vent at the front of the chassis, which supports dual 120mm/140mm fan configurations, as well as radiators of up to 240/280mm.
There’s some ventilation at the bottom here, which should provide a little passive cooling for the hard drive bays below it.
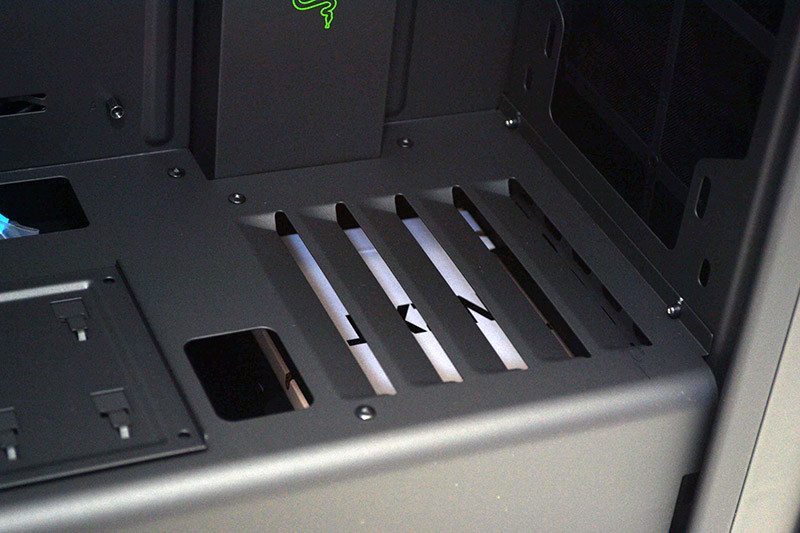
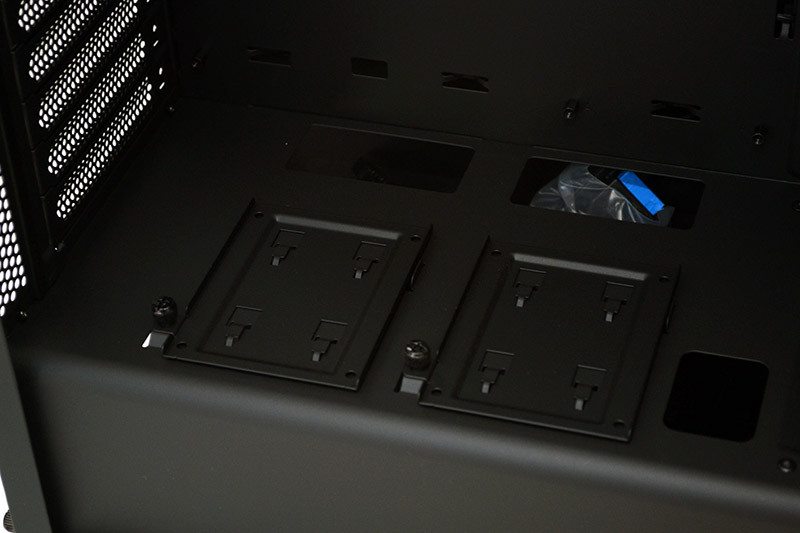
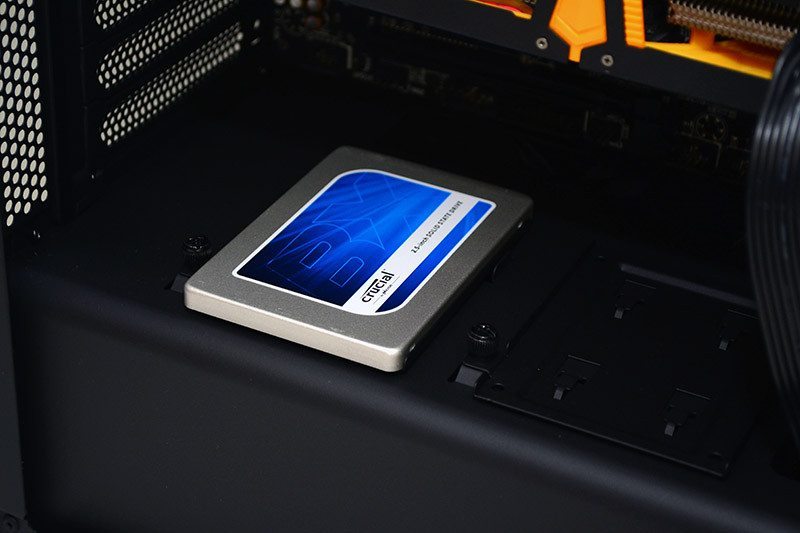
Two dedicated 2.5″ drive bays, which quick release thumb screws and cable routing holes for easy installation.
Another pre-installed fan in the back, keeping with the all black theme on the interior.

Around the back, you can see that all the internal cables are black, making it easy to keep the build looking nice and uniform.
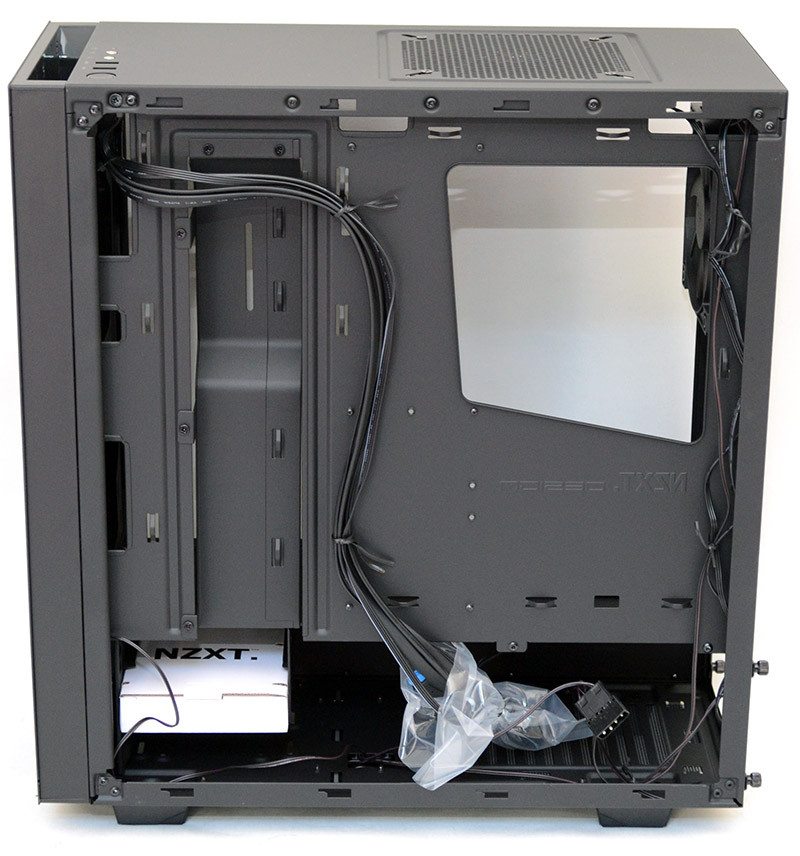
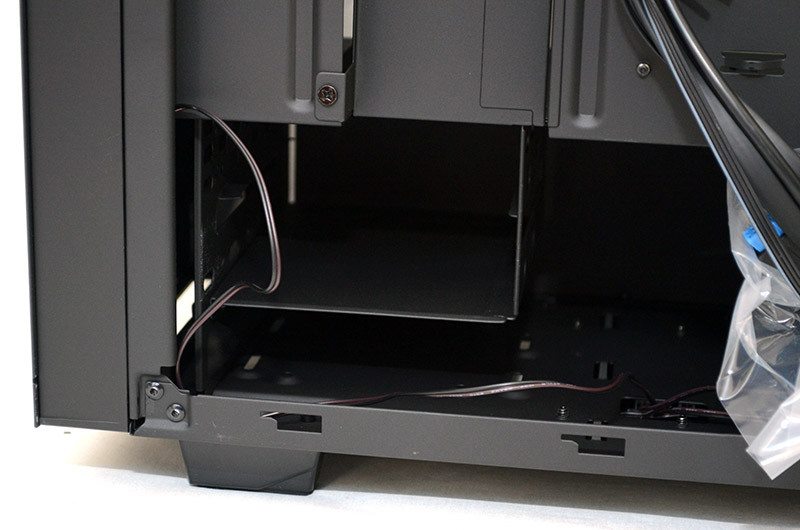
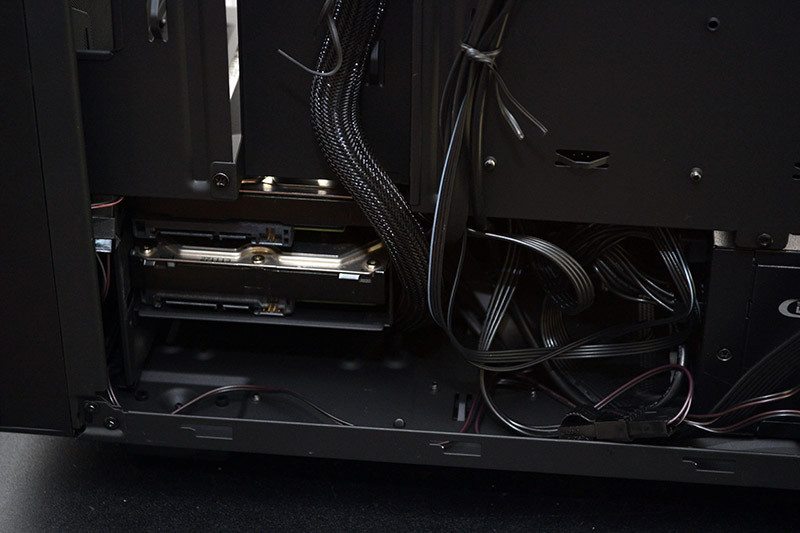
There’s a pair of 3.5″ drive bays tucked under the PSU shroud, which means those ugly drives are out of sight, but you can keep your SSDs on show with those dedicated 2.5″ bays on top.
There’s loads of room for the PSU, which is great as it’ll also leave you a lot of space to deal with cable management. By which I mean, there’s a lot of room to stuff excess cables out of sight.
There’s a lot of cable tie loops too, so any trailing cables can be tied down and kept as tidy as possible.
The front panel pulls off easily enough, giving you better access to the cooling mounts and you can also see that small power cable going to the front panel for the Razer logo LEDs.
I’m a little surprised that there’s no intake fan mounted on this chassis, so you may need to invest in some cooling here should you buy this chassis. Personally, I think this is the best place to mount a large AIO water cooler for your CPU.

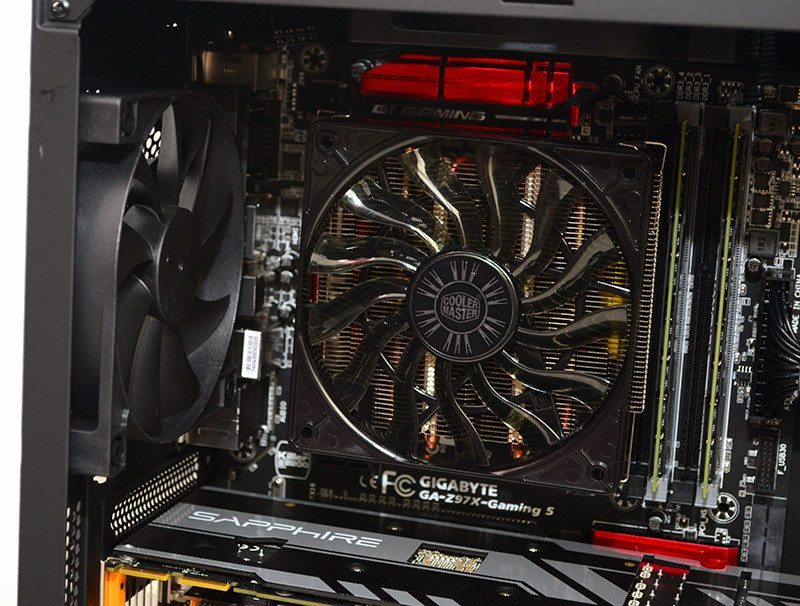
Complete System
Installing our components was an easy task and as you can see, those 3.5″ drives are nicely tucked away down here; I left the cables out so you can actually see what’s going on. These a lot of room behind the PSU for modular cables and any excess was easily bundled up behind it, keeping the interior of the main compartment neat and tidy.
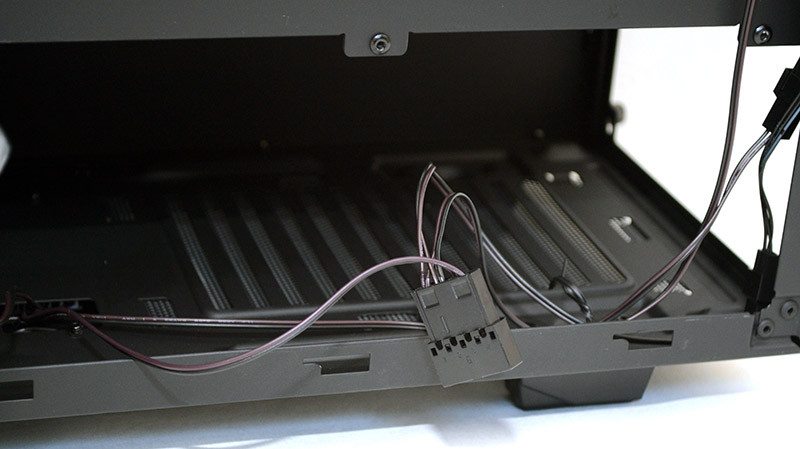
The cable pass-through section works really well and a couple of cable ties are all that’s needed to keep things in check.
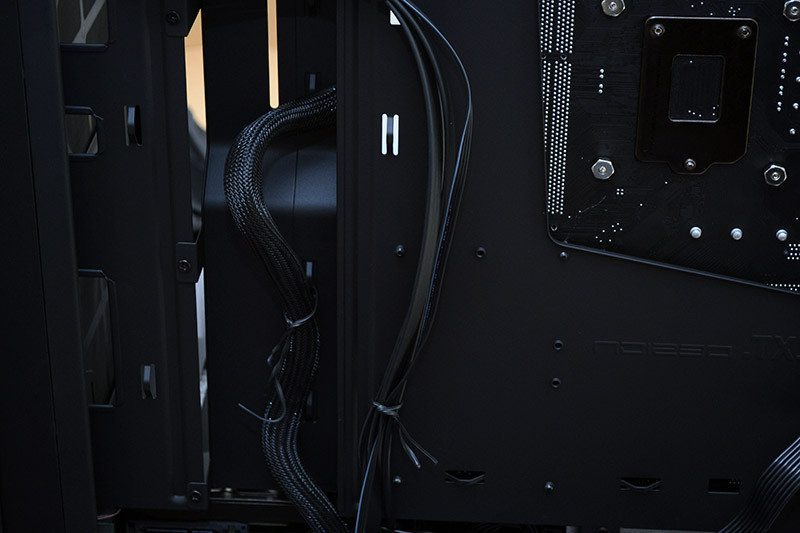
The cable management spaces really made it very easy to get a clean-looking build. As you can see, there’s only a small amount of exposed cable running to our motherboard and graphics card.
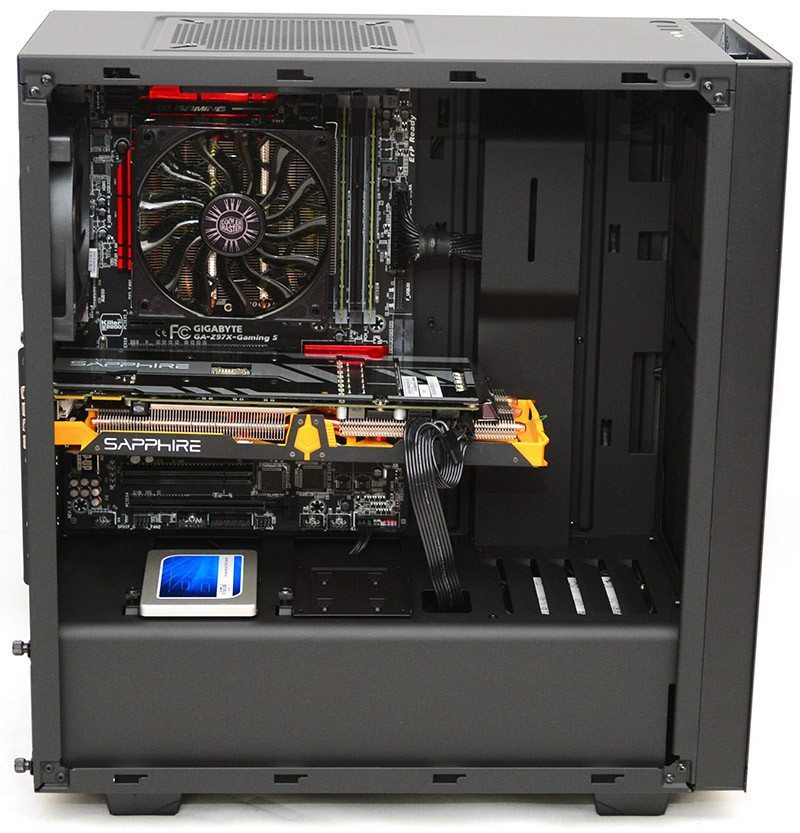
Tidy cable management and a surprisingly spacious interior mean there’s a lot of room for airflow without any major obstructions throughout.

The dedicated 2.5″ drive bays are great for showing off your drives, although they would be a little more obscured if you’re using a dual GPU configuration.
There’s a vast amount of space in the front of the chassis, so even with a long graphics card you’ll be able to install a thick radiator here.
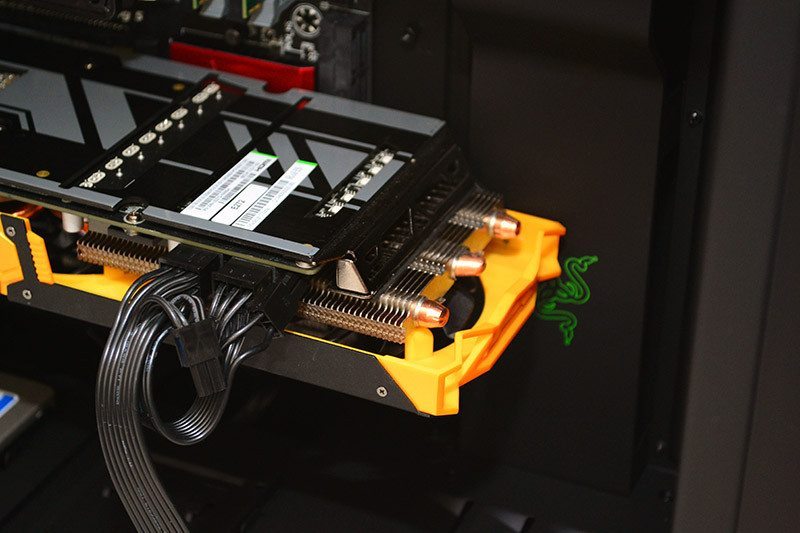
I was unsure about using this cable routing method vs rubber grommets, but it works surprisingly well and looks much cleaner than grommets.
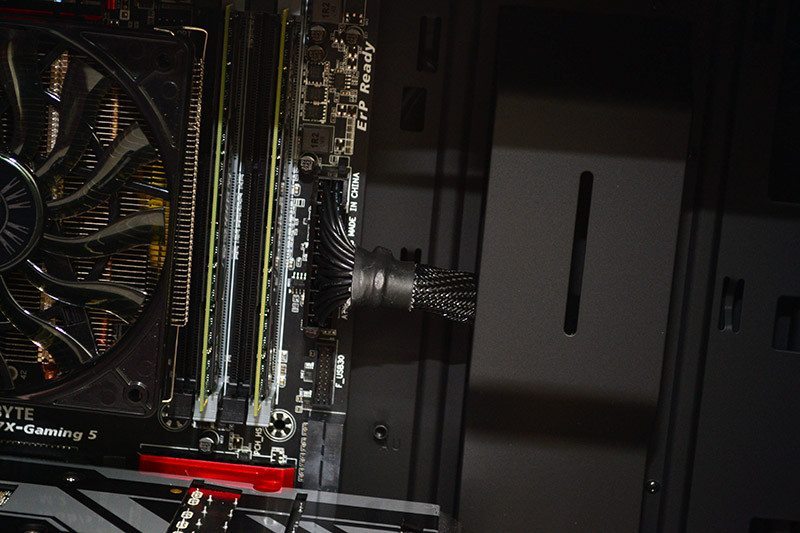
There’s good clearance from the motherboard to the top fan, so large CPU coolers shouldn’t prove to be any issue, you’ll also find mother than enough space here for a rear-mounted AIO cooler.
With the side panel back in place, it’s actually quite dark in there and the tint in the windows hides a lot of the components from view, at least when the power is off.
Boot things up and you’re treated to a stunning under-glow from those LED strips, as well as the internal LEDs from our components; the lighting looks a little washed out as it’s on a reflective white surface.
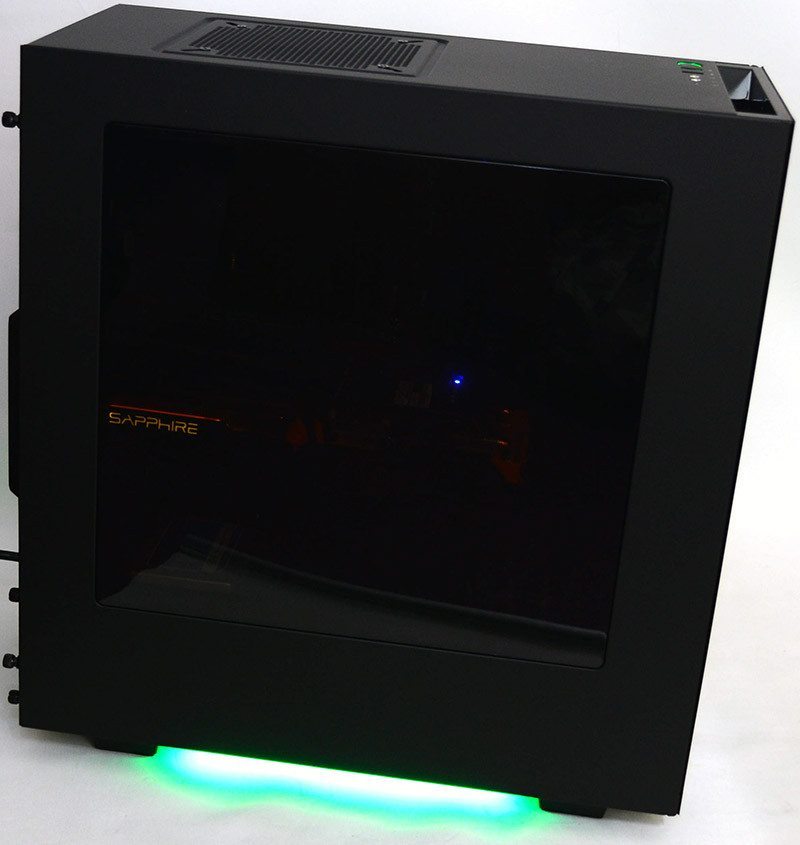
The front logo lights up really nice, giving an extra touch of style to the front panel.
Finally, the ring around the power button lights up in green, completing the set of green lighting on this Razer edition chassis.
Final Thoughts
Pricing
The NZXT S340 Razer Special Edition is available for pre-order from the NZXT armory for just $99, with pre-orders expecting to be dispatched mid-September. This isn’t especially cheap, but you will, of course, pay a premium for that Razer branding.
Overview
I really liked the original S340, it was priced very competitively and in that price range, it offered more features than most other products in that class. It was also clear that this was designed as an affordable alternative to the stunning NZXT H440, which is still one of the best chassis available on the market. The issue I have here is that adding the Razer theme is great, if only for those who are Razer fans in the first place, but that the price increase this warrants brings the chassis closer to the budget of the H440. The NZXT Razer S340 is $99 where as the stock H440 is $120, it’s up to your own budget if you think you can stretch that extra $20, but in my opinion, it would be worth it. Then again, if you’re really set on the Razer theme, the Razer H440 is $150, so in terms of Razer Vs Razer chassis, the S340 is a much more affordable deal.
The chassis is great, no doubt about that. I loved the original S340 and in technical terms, nothing has changed on this chassis that isn’t purely aesthetic. If you’re planning to get one for a gaming build, you’re going to absolutely love it and it’s a joy to work with. Cable management is superb, the design is stunning and it comes with features like LED lighting, dust filters, and a side panel window, all of which add value to the product.
The lack of a front panel fan does seem odd, especially with two fans installed and them both being mounted as exhaust fans. However, if you’re planning to water cool your CPU, that’s not an issue, but a 240/280mm radiator in the front of the chassis, with the fans pulling air into the chassis and you’re good to go. Those planning to air cool their system on the other hand, will likely want to invest in a couple of fans for the front panel.
Pros
- Stunning design
- Green LED lighting on bottom
- Razer themed USB 3.0 ports
- LED Razer front panel logo
- Large side panel window
- Dust filters
- Old snap-off PCI covers are now reusable
- Long GPU support
- $50 cheaper than Razer H440
Cons
- No pre-installed intake fans
- Price is close to stock H440
“If you’re a big fan of Razer products, you’re no doubt a big PC gamer and this is a great way to complete your set and show off your favourite brand. There is a premium to pay, but the custom LED lighting and other features make this ideal for a gaming PC build.”

NZXT S340 Razer Special Edition Mid-Tower Chassis Review
Thank you NZXT for providing us with this sample.


