Phanteks Enthoo EVOLV Micro-Tower Chassis Review
Peter Donnell / 9 years ago
Introduction
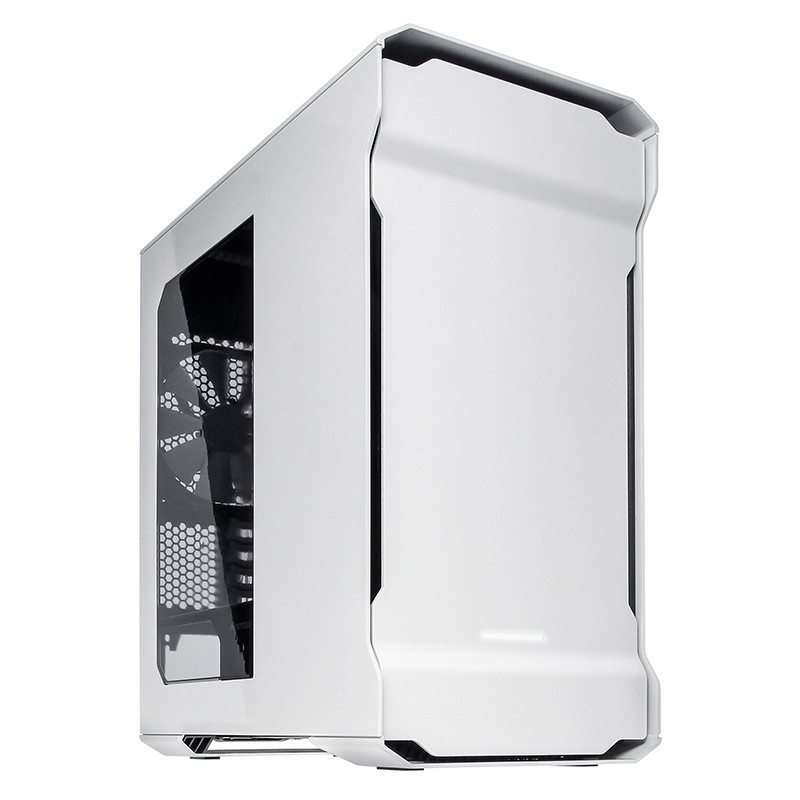
Today is a pretty cool day at eTeknix HQ, as I get to take a look at my very first Phanteks chassis! The new Phanteks Enthoo EVOLV looks set to be another welcome addition to the enthusiast gaming chassis market, perfect for those who love to show off their build. Phanteks already have a great reputation thanks to their extreme performance air coolers, which are still proving popular amongst system builders, so I’m certainly eager to see what this chassis has to offer.

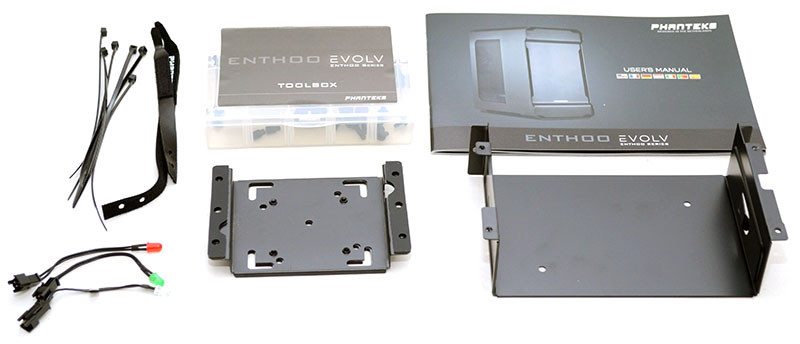
First up, the EVOLV came with a large box of accessories.

In the box, I found cable ties, velcro ties, three LED lights (red, green and white), a toolbox full of screw fittings, a user manual and two drive tray adapters; pretty much everything you’ll need and more!
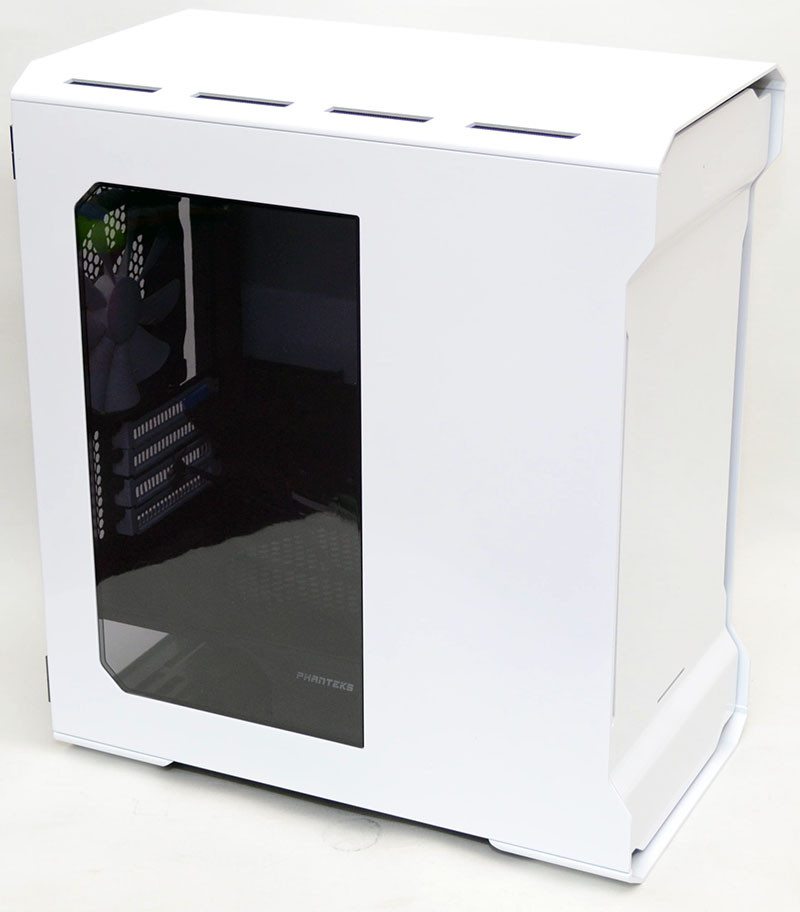
First impression of the EVOLV are very positive, this is a great looking chassis and it’s certainly unique in terms of its shape. It’s a little shorter from front to back that most towers of this size, we’ll take a look at why in a moment. The model we have today has a large side panel window and a brilliant white paint job, great for showing off your build. It’s also worth mentioning that this chassis is surprisingly heavy, the panels are thick steel and I wouldn’t want to lug this around to LAN gaming events anytime soon!
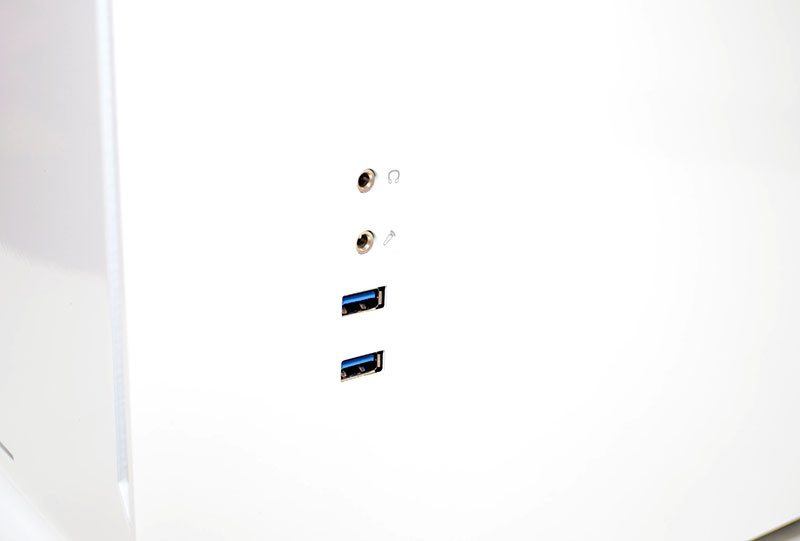
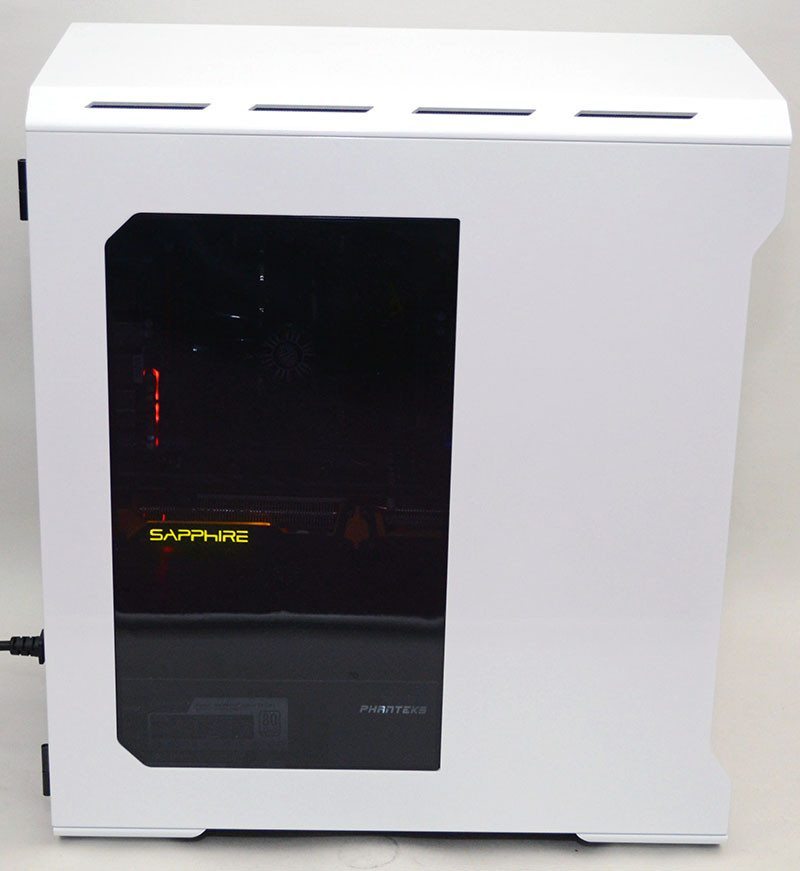
The right side panel has all the important stuff you’re likely to need.
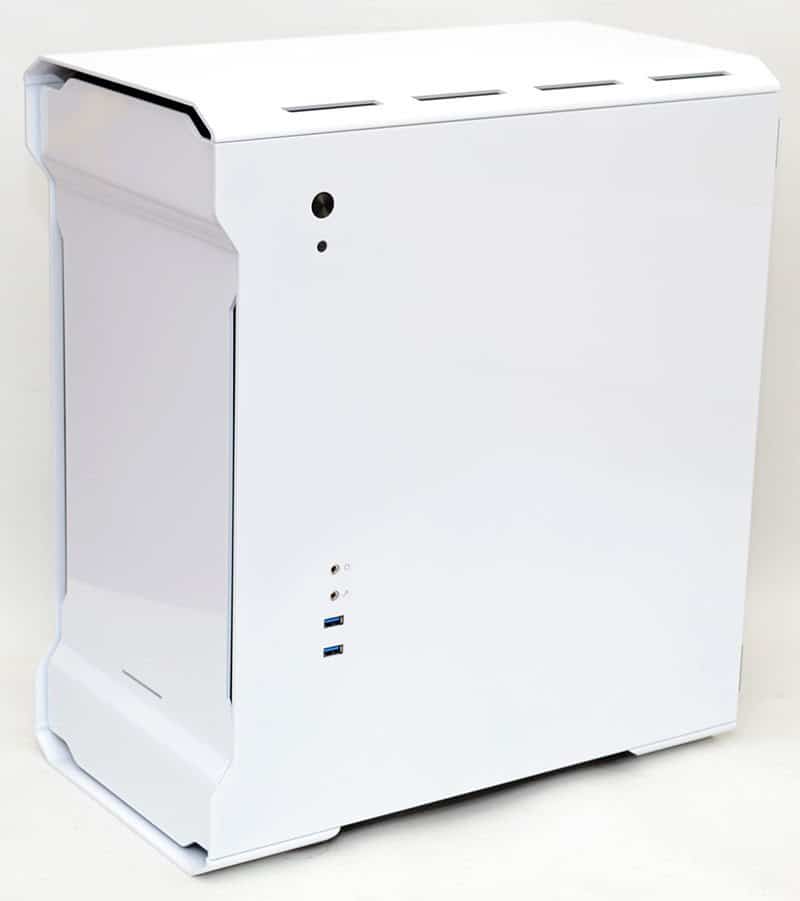
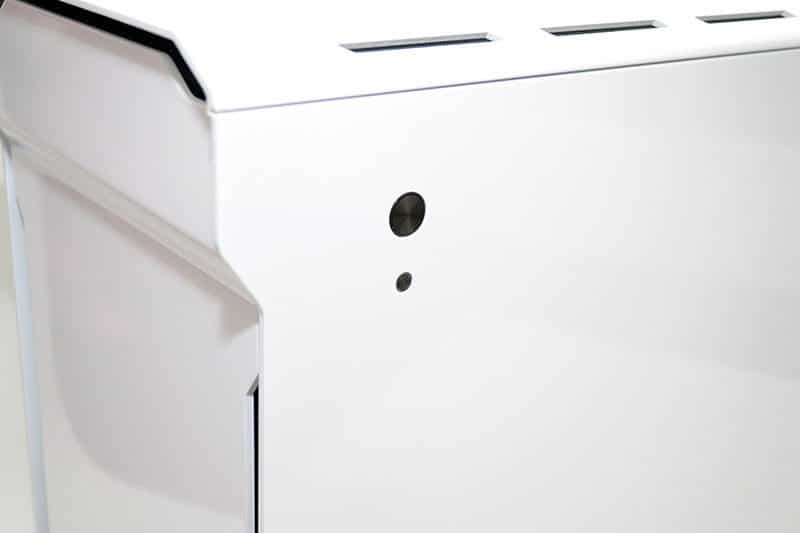
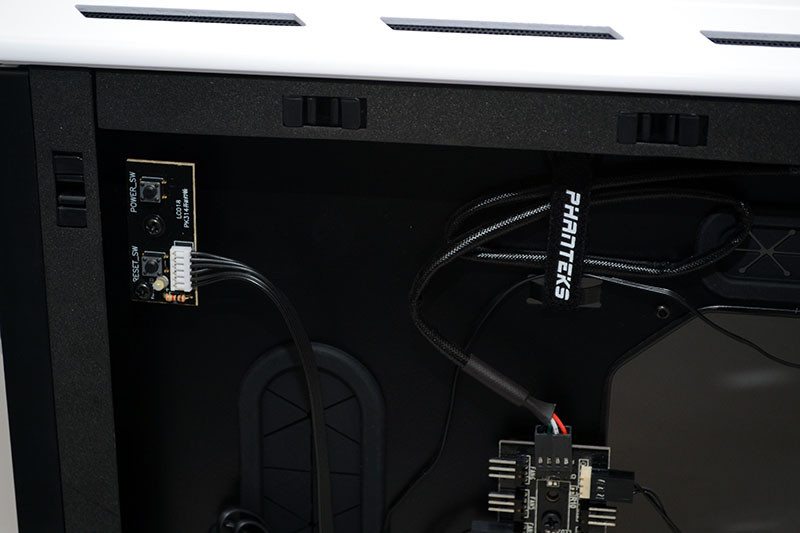
There’s a small power and reset button near the top.
As well as a pair of HD audio jacks and dual USB 3.0 ports near the bottom.
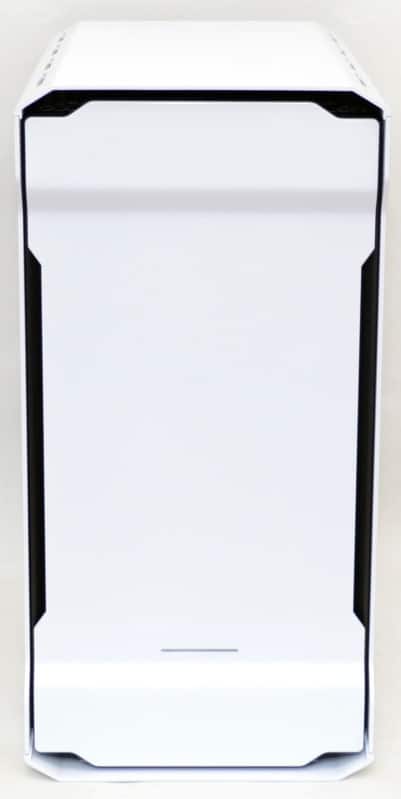
The front panel is really nicely designed, with a rather strange yet cool looking metal front panel, which has some gaps around it for airflow to any front-mounted cooling. There’s a small LED strip near the bottom, which can be customised thanks to the extra LED lights that are included in the box.
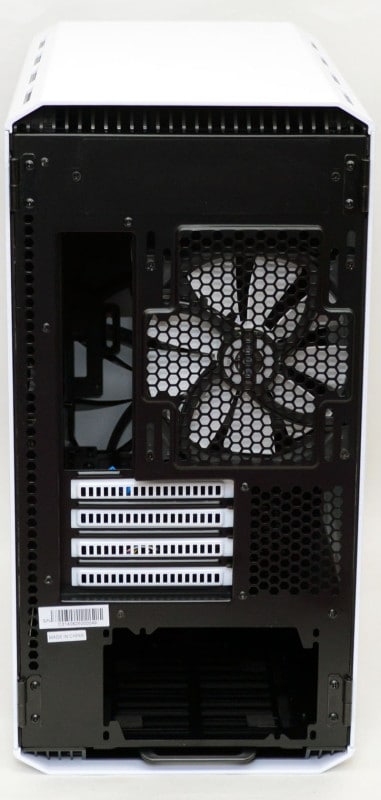
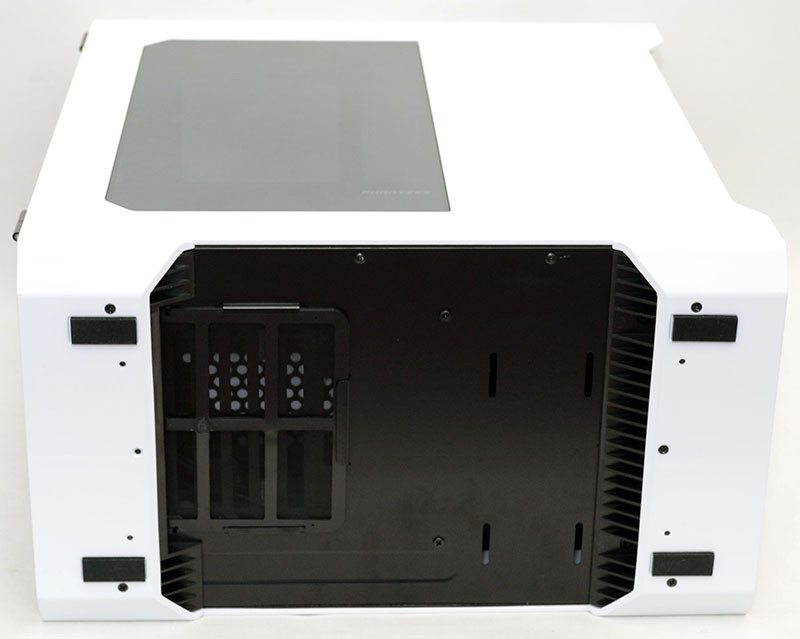
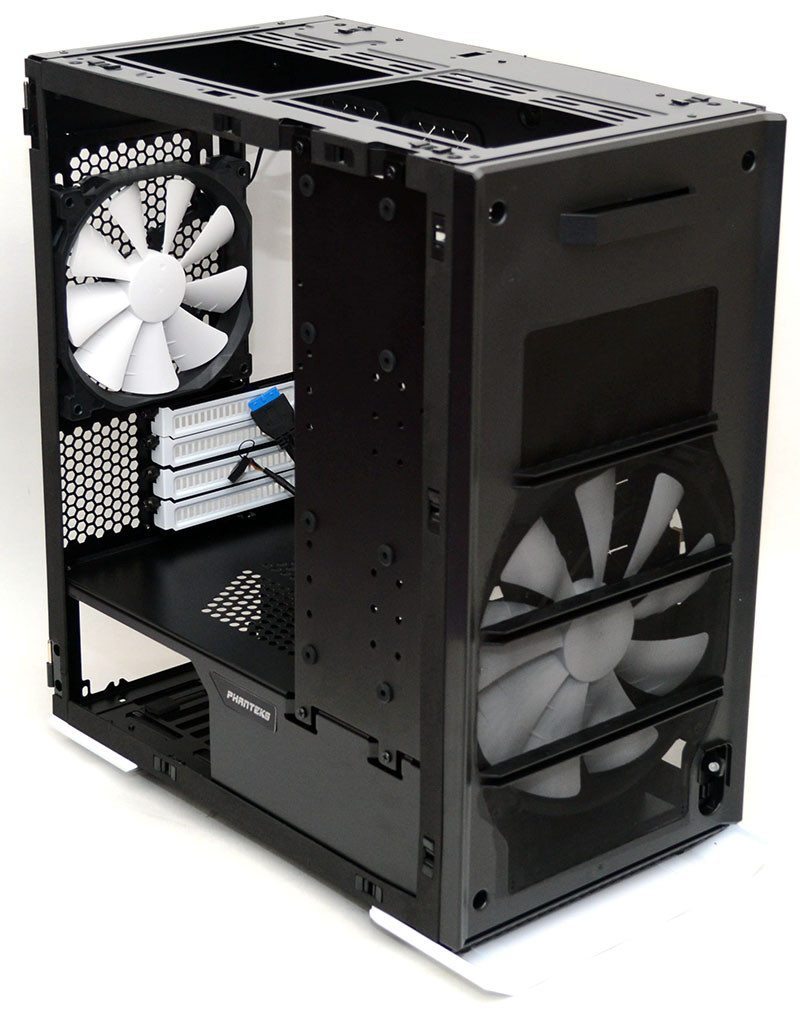
Around the back, you can see that this is a Micro-ATX compatible chassis, so there are only four expansion slots, but each one is fitted with a reusable, ventilated metal cover. There’s a 140mm fan pre-installed, but there’s also fittings for a 120mm should you feel the need.
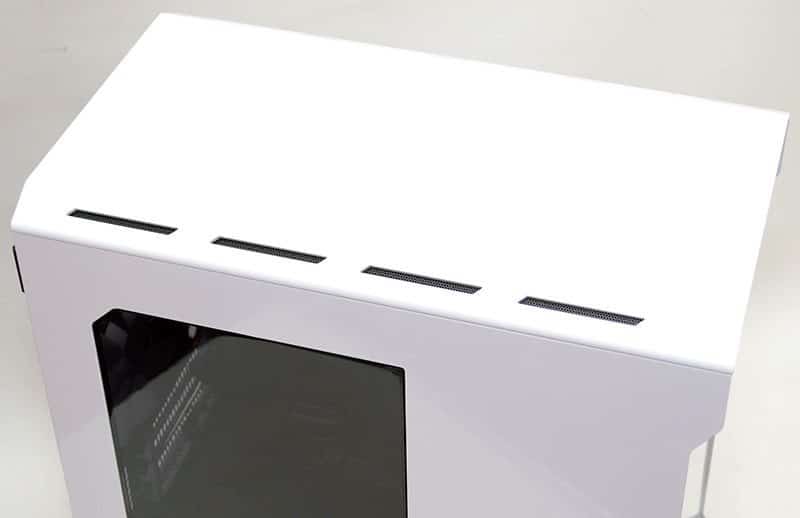
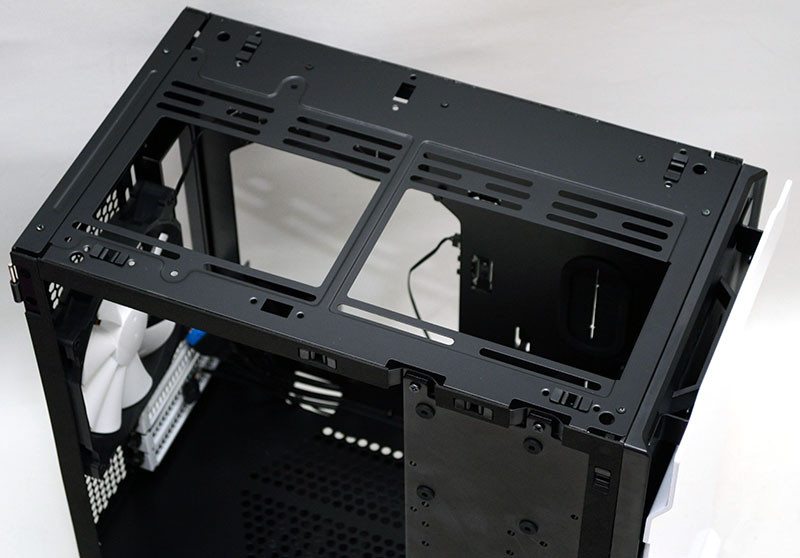
The top panel has a nice and clean look to it, lots of space on top for you to leave you wallet, glasses, phone and other stuff; not that you should, but a lot of people do. There are four ventilation holes down the left side of the top panel and four more on the right side, perfect for getting airflow to/from any top mounted cooling.
Two full-width feet provide a strong and stable base for the chassis, as well as freeing up a good amount of space for airflow to the PSU air filter.
Interior
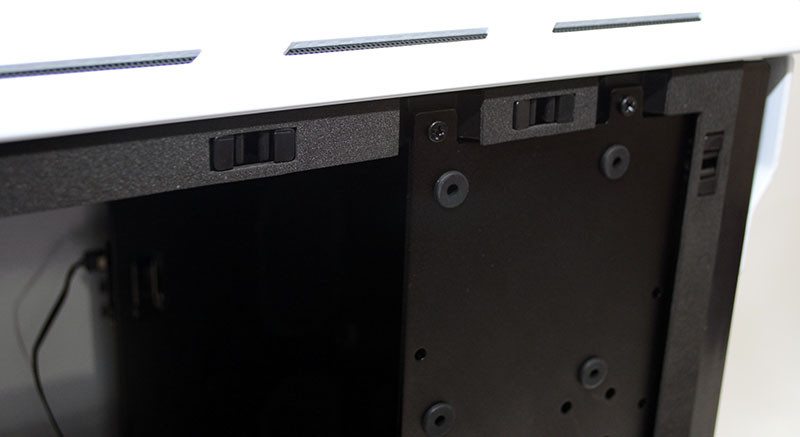
One thing I instantly love about this chassis is the side panel mounting system. It uses strong clips and hinges, allowing you to quickly open up the side panel to get into your system.
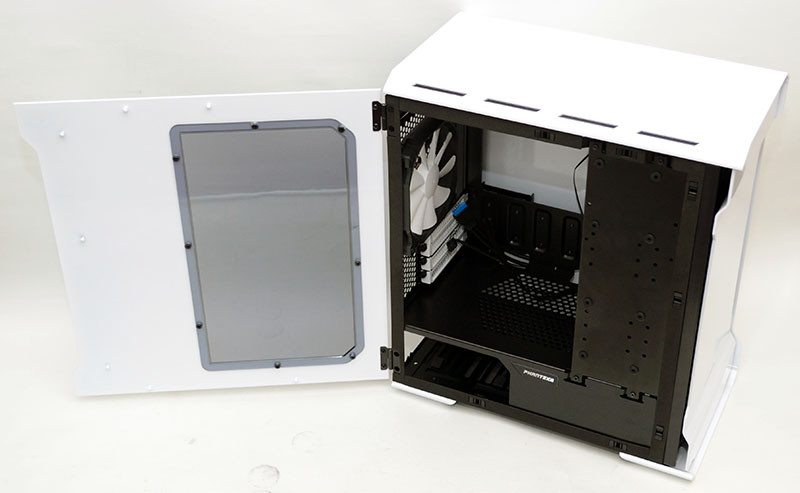
The side panel doors can be opened then lifted up off the hinge, perfect for when you’re taking photographs for a review, but also for when you’re building your system. What’s that at the top rear of the chassis? Why it’s a rear mounted 5.25″ drive bay of course! If you want to use it, there’s a 5.25″ adaptor bracket included in the box.
There are six push click pins around the outside of the chassis that help hold the door shut; you wouldn’t want it simply swinging open when you’re sat at your desk.
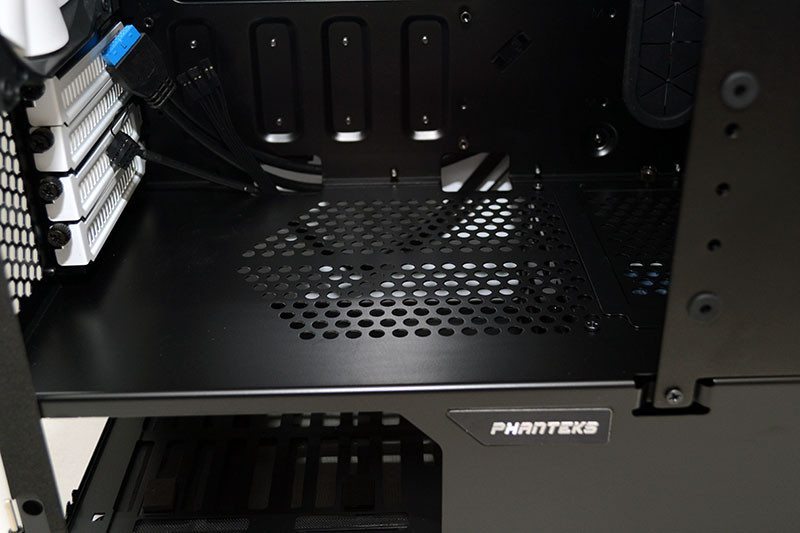
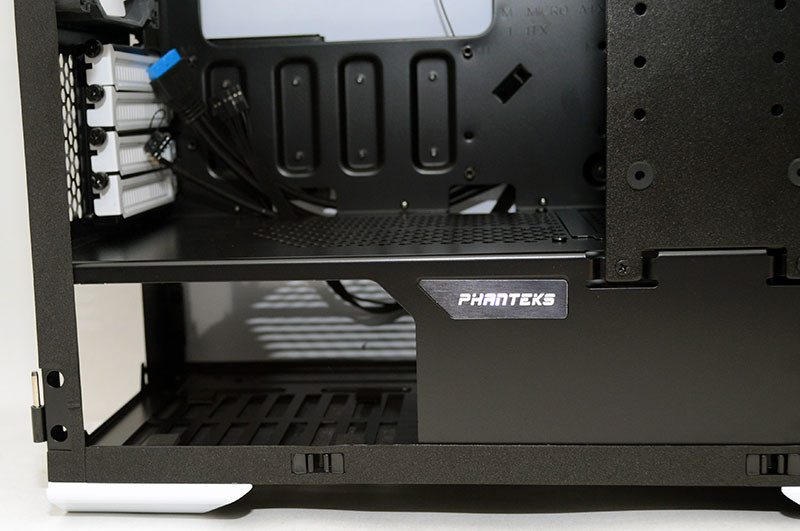
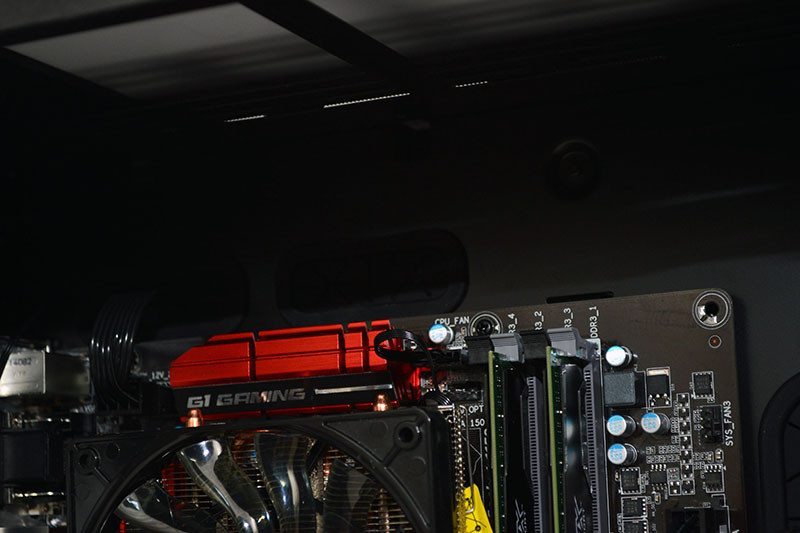
Behind the motherboard, you’ll find a huge CPU cooler mounting cut-out, as well as a bunch of cable routing holes with rubber grommets located throughout the chassis. All the motherboard stand-offs are pre-installed.

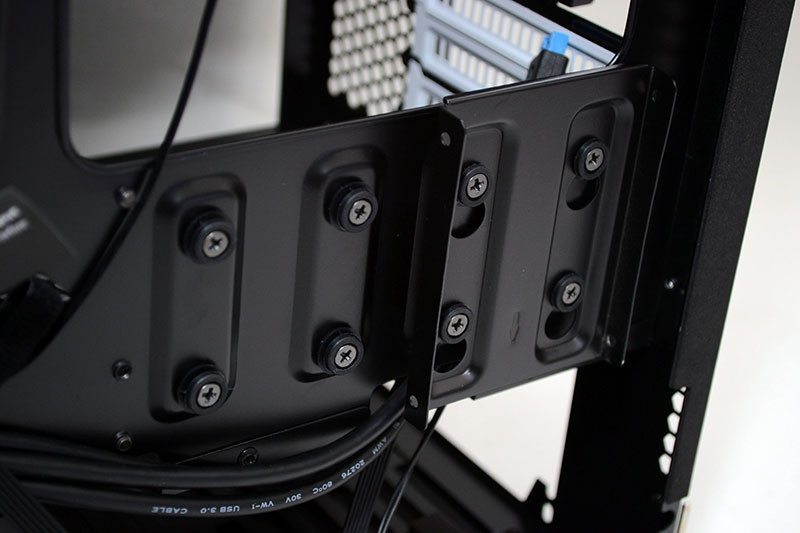
As I said before, this chassis is quite short from front to back for a chassis of this size. This is done by not having standard horizontal hard drive bays and by making the 5.25″ bay rear-mounted and optional. The chassis uses a vertical hard drive mount to help free up space for long graphics cards and water cooling hardware, without compromising on storage.
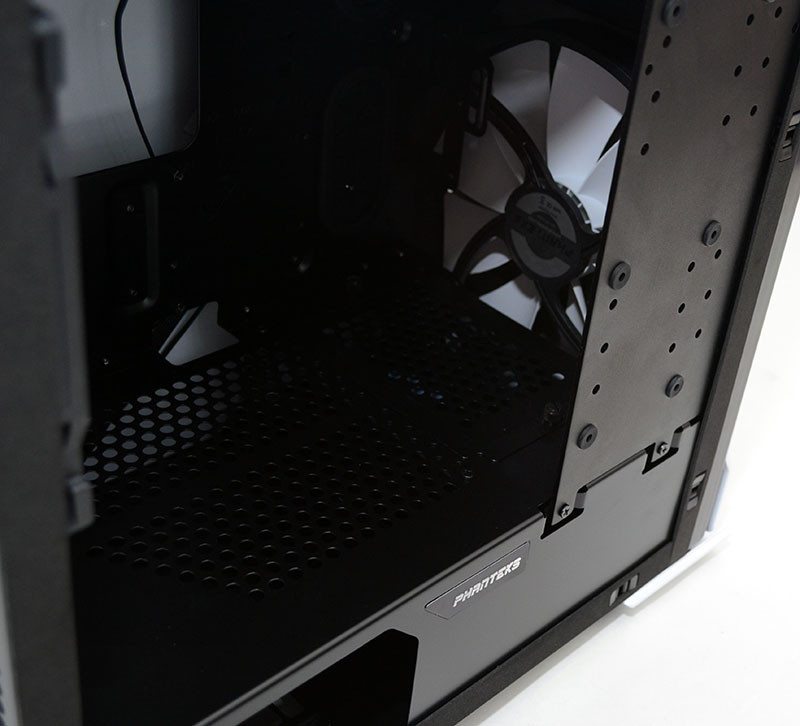
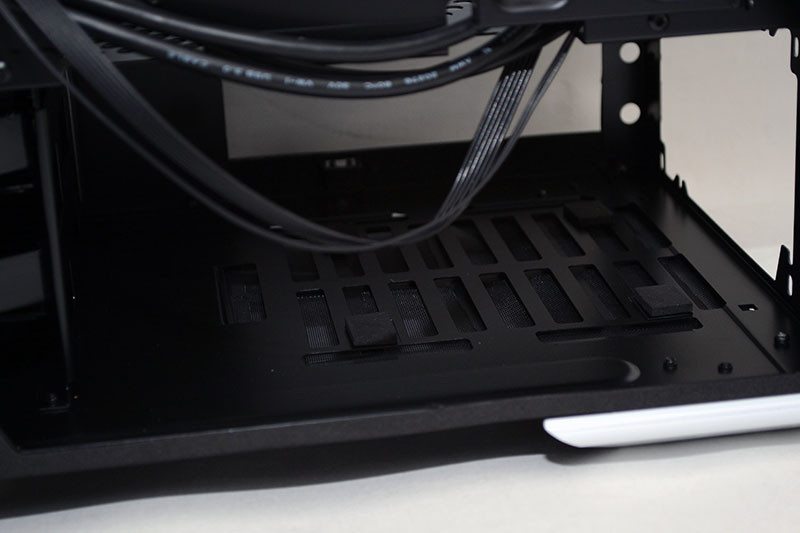
The base of the chassis has a PSU shroud, which features a good amount of ventilation and a few smaller routing holes towards the back.
There’s a cut-away here so that you can see the side of the PSU; great for showing it off through the side panel window.
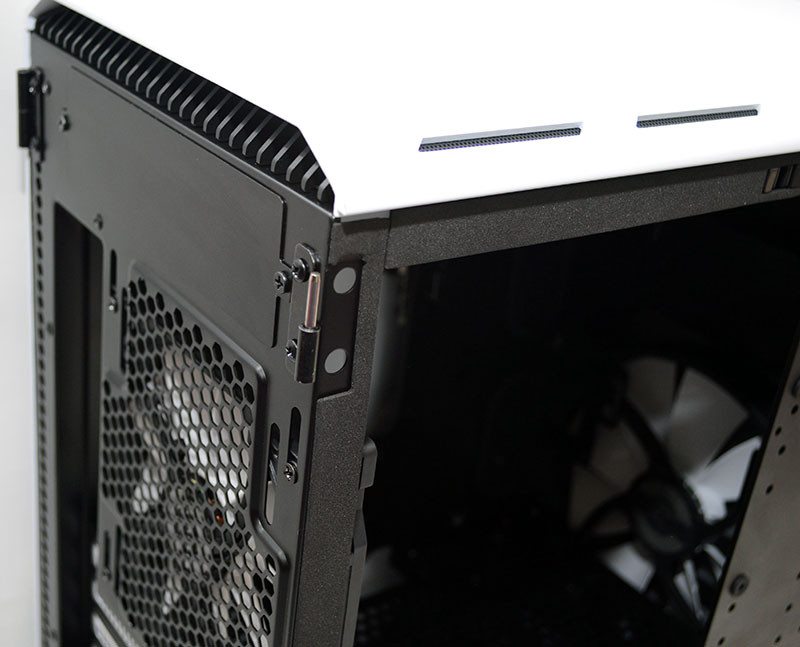
The rear 140mm fan is of a good quality and you’ll also notice that the 120/140mm fittings on the chassis are elongated, allowing you to change the height of the fan/radiator you mount. This is a simple addition, but one that greatly improves hardware compatibility.
The right side panel door opens up and lifts off in the same way as the left side panel.
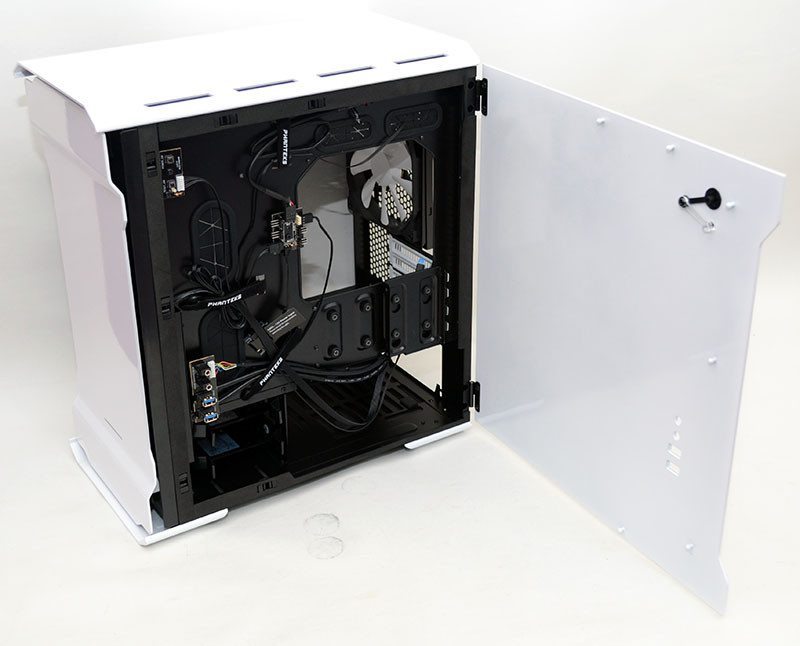
Back here, you’ll find all kinds of cool stuff! Firstly, we can better see the cable routing options. There’s a large opening at the bottom for the PSU to be fitted from the side, as well as two huge rubber grommets near the front of the chassis and two wide grommets near the top.
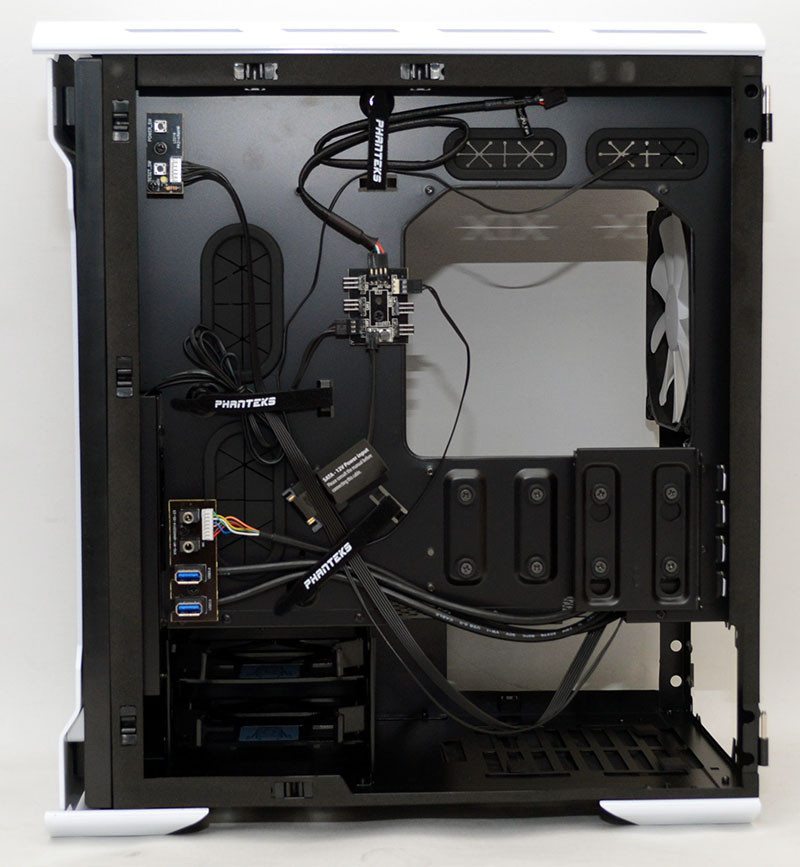
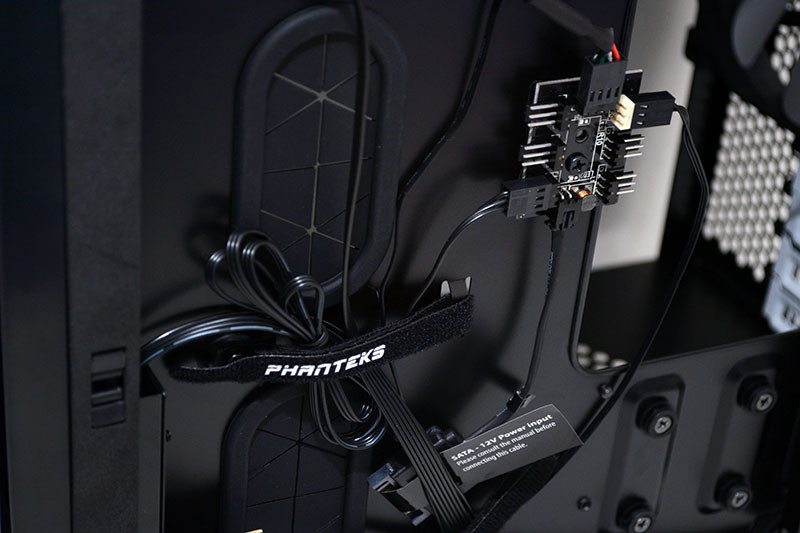
There’s a range of cable tie loops and some pre-installed Velcro ties to help keep things neat and tidy.
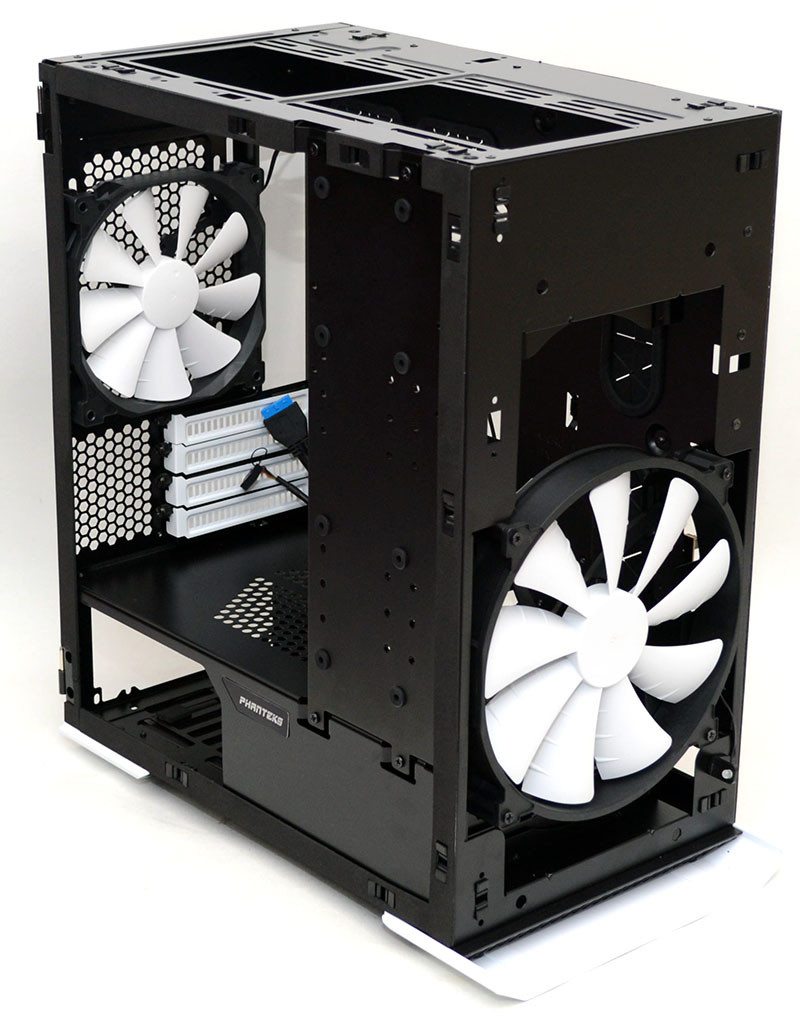
A si port fan hub is pre-installed, with the two pre-installed fans already connected for your convenience.
There’s two 3.5″ drive trays tucked away in the base of the chassis.
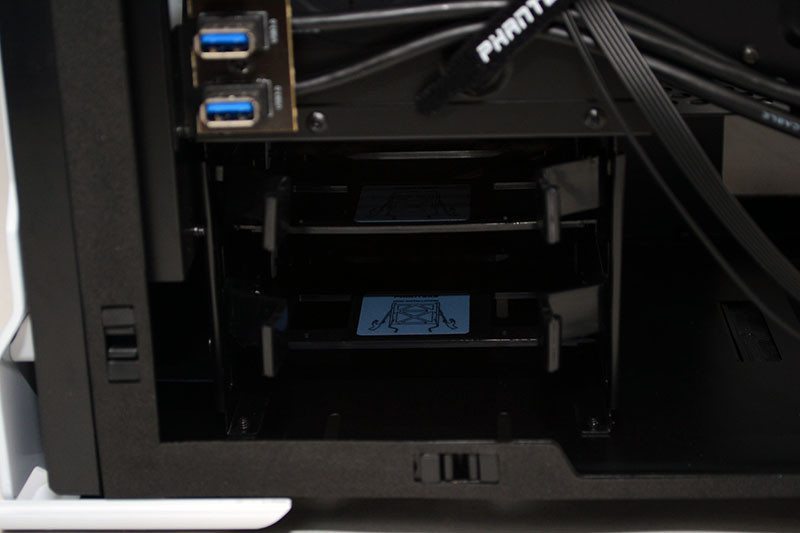
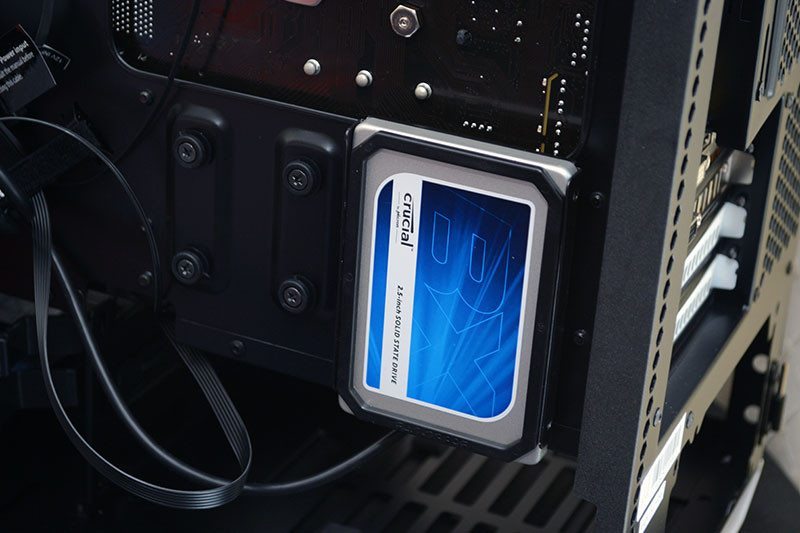
As well as 2.5″ stealth mounts here.
The PSU loads from the right side of the chassis, which just enough room behind it to tuck excess cables out of the way.
The top panel can be pulled off, giving you access to the top fan/radiator mounts. As you can there’s a range of universal screw fittings, which can support (up to) 240/280mm radiators with a thickness of up to 68mm.
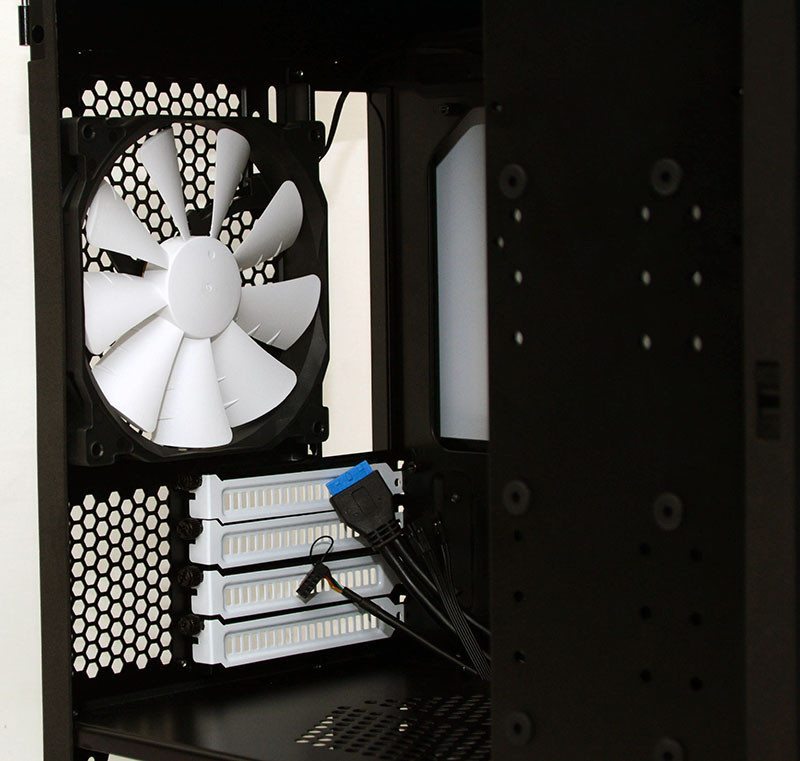
The front panel can also be removed easily enough, behind which you will find a full cover air filter for that huge 200mm pre-installed fan.
The 200mm fan is a nice addition, but you could optionally install 2 x 120/140mm fans/radiators here if you wish.
Complete System
First things first, I’ve taken full advantage of the SSD stealth mount behind the motherboard, which allowed me to remove the front hard drive bay. I don’t need to remove it for my build, but it’s good to demonstrate the flexibility of the chassis.
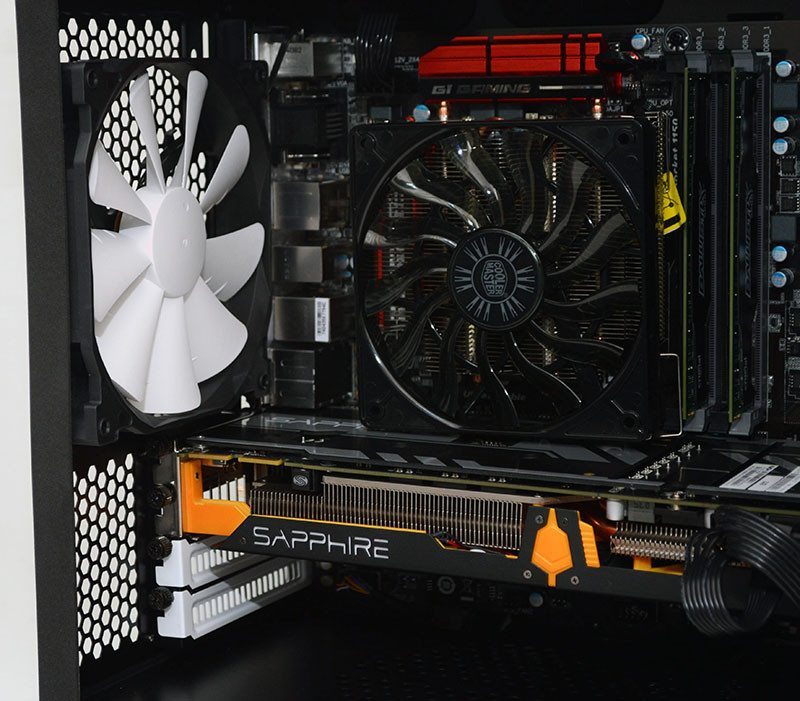
Around the front, you can see there’s more than enough room for our massive Sapphire R9 270X graphics card and it’s oversized cooler. Although, I will point out that a card of this length would compromise radiator space in the front, but with that 200mm fan blowing right into the back of our GPU, this is hardly a poor compromise.
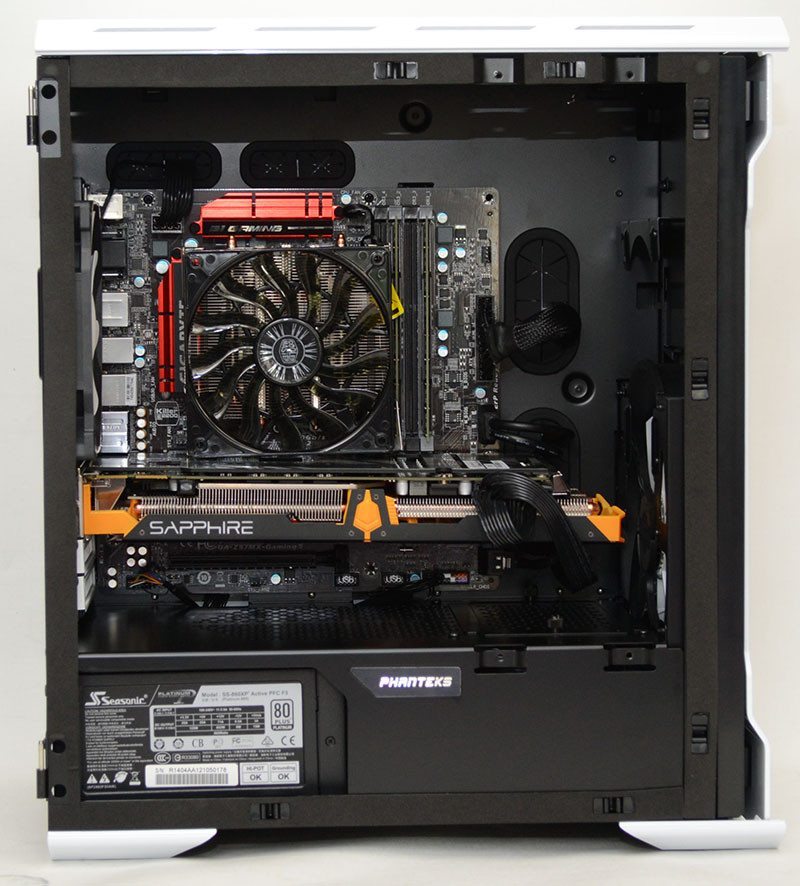
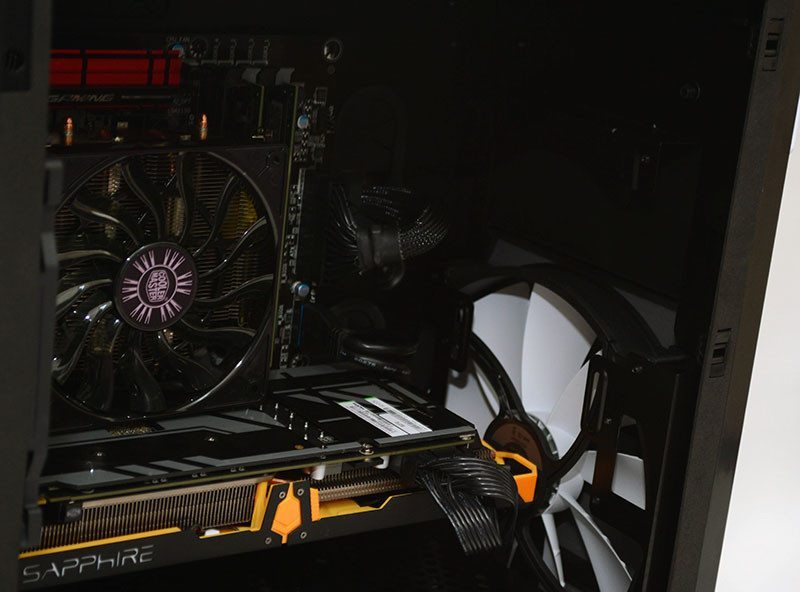
There’s a removable panel just below our GPU, this can be taken out to help route cables, or make room for a full height water cooling radiator on the front panel. I didn’t need to do this, so it’s still in place, but it’s nice to have the option.
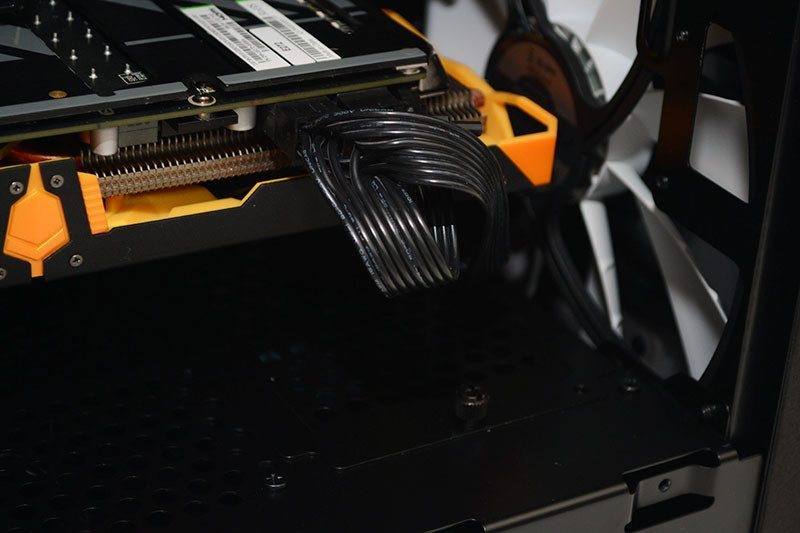
Cable management is superb, plus the big grommets are close enough to the front that you can’t see them through the side panel window, helping keep the build look neat and tidy.
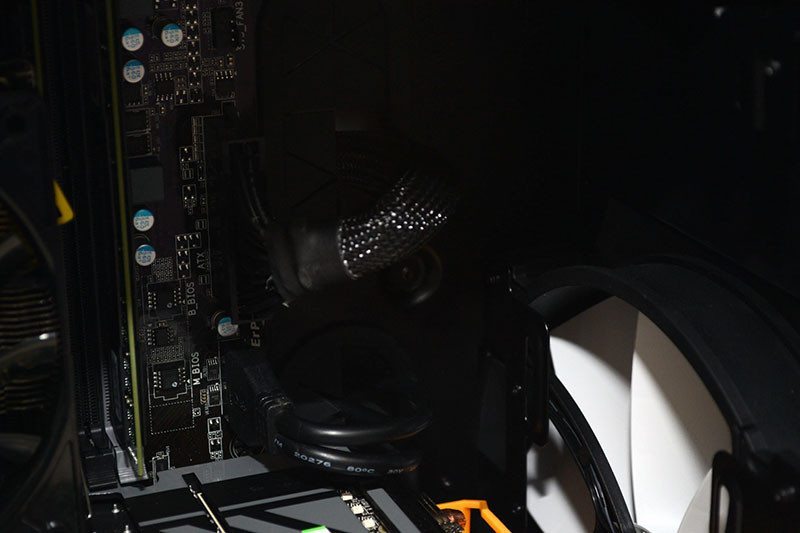
A huge amount of space to be found above the motherboard, perfect for thick radiators or push-pull fan configurations.
This is a really neat and tidy looking build, it’s clear that Phanteks has put a lot of thought into their layout, as it was almost effortless to get the build to this standard.
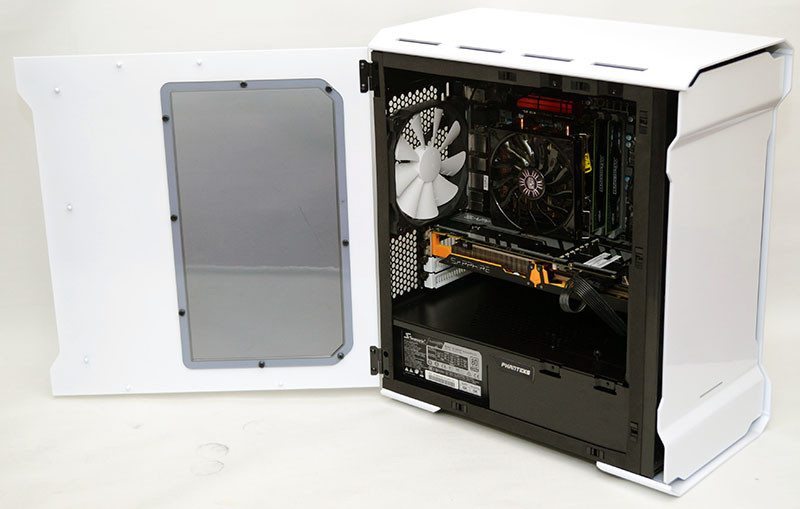
With the side panel back in place, you can see how easy it would be to get to the interior of the chassis to deal with maintenance or general tweaking.
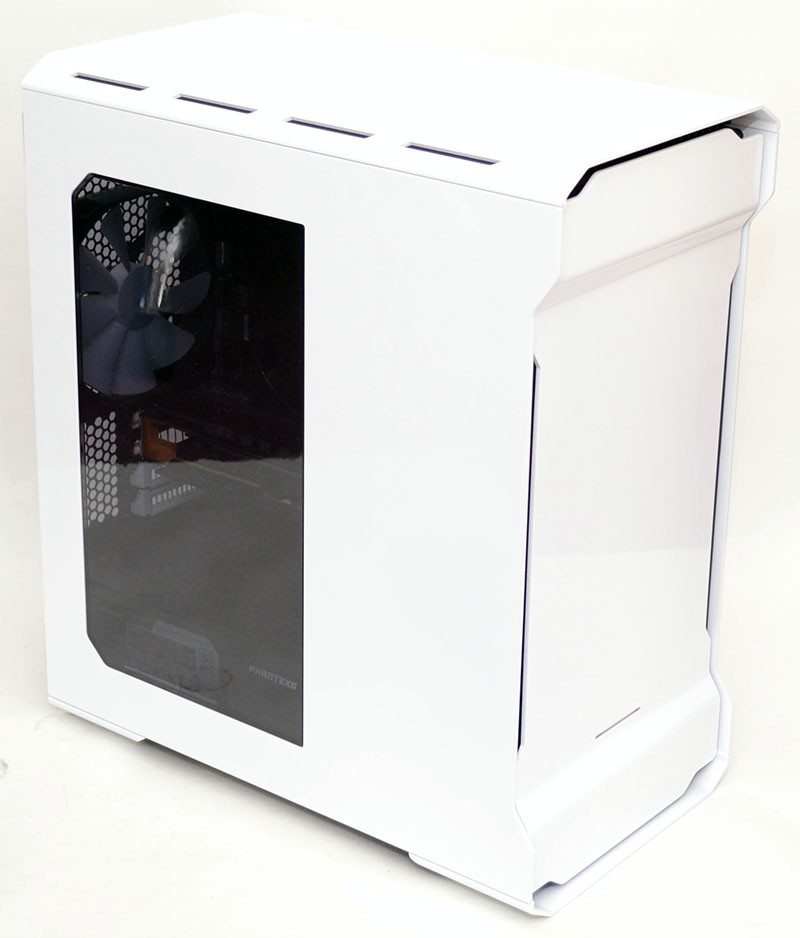
Close up the panels and you can just about see our GPU, there is a tint on the window and lighting isn’t ideal in here so it does look quite dark at the moment.
Fire up the system and you can better appreciate the side panel window, showing off our hardware in all its glory; what a gorgeous looking build!
Final Thoughts
Pricing
Phanteks have long been regarded as a premium brand, so it’s no surprise that the Enthoo Evolv carries a premium price tag. Normally the chassis is £89-99 here in the UK, but Overclockers UK are currently selling them for £79.99, which is about the same as the similarly spec’d Corsair 350D and the BitFenix Aegis. The EVOLV is available from Newegg in the US for $129.99.
Overview
This may be the first Phanteks chassis I’ve reviewed, but it’s already clear to me that they know what they’re doing. The EVOLV addressed many of the needs of the enthusiast system building crowd and it does it with style.
The chassis is rock solid, build quality really is no issue here. The panels are thick, strong, precision finished and coated with a thick layer of flawless paint. It looks great from any angle and from the first time you take it out of the box, you know exactly why you paid a premium price for this chassis.
It’s incredibly versatile, with room for high-end air cooling throughout, especially thanks to the pre-installed 140mm and 200mm fans, as well as the addition of a 6-port fan hub. Water cooling is great too, as you’ve got the rear, top and front mounts and more than enough room for thick radiators should you need/want them. Of course, keep in mind that a thick radiator in the front could limit your GPU size, but that’s why you should always measure twice before making a purchase.
The EVOLV has dust filters on all major intakes, as well as easy access side panels and pop-off top and front panels. This means that cleaning and maintaining your system is a simple task and will no doubt please those who like to keep their gaming rig in immaculate condition.
Added little extras, such as the stealth hard drive mounts for both 3.5″ and 2.5″ drives, as well as the vertical drive mount, the optional rear 5.25″ drive bay, the changeable LED colour, velcro cable straps, rubber grommets and more, all add to the overall value of this chassis.
Pros
- Exceptional build quality
- Hinged and removable side panels
- Dust filters
- Tall side panel window
- Stealth hard drive mounts
- Optional 5.25″ drive bay
- High-end water cooling support
- Two fans pre-installed
- Fan hub
Cons
- Thick radiators in front can limit GPU length, as chassis is quite short from front to back; hardly a deal breaker
“The Phanteks Enthoo EVOLV is a little bit different to most other chassis, but it ticks all the right boxes for those planning a high-end gaming build. It’s a little expensive, but you certainly get a lot in return for your investment.”

Phanteks Enthoo EVOLV Micro-Tower Chassis Review
Thank you Overclockers UK for providing us with this sample.


