Phanteks Enthoo Pro M Midi-Tower Chassis Review
Peter Donnell / 9 years ago
Introduction
Building a high-end gaming system or workstation calls for an equally high-end chassis, something that is capable of meeting your demands for high-end cooling and the best hardware you can afford. The Enthoo Pro M follows in the footsteps of the Enthoo Evolv ATX, but swaps out a few of the design features for something with more airflow, making it a premium solution for those wanting to install high-end water cooling hardware, or air cooling solutions.
“The ENTHOO PRO M focuses on delivering great design without compromising price. Water-cooling builds will be a simple task with the help of our innovative radiator bracket and pump mounting locations. Whether you are a system builder or water-cooling enthusiast, the PRO M will give you unlimited possibilities.”
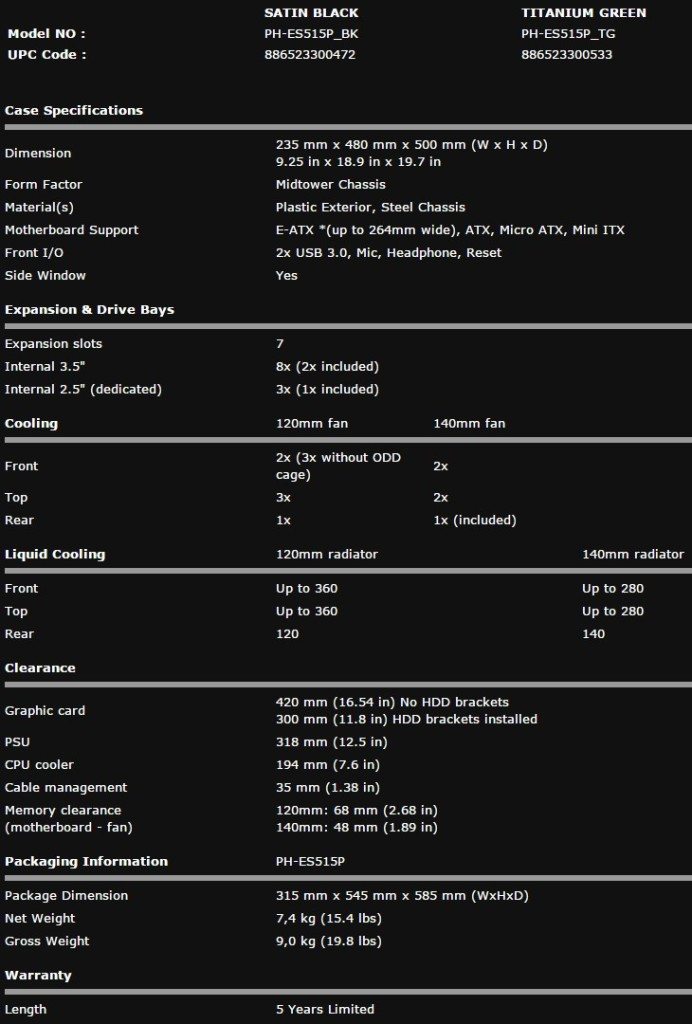
As you can see from the specifications, this is one extremely capable mid-tower, with support for everything from mini-ITX right up to E-ATX motherboards. You’ll find room for multiple expansion cards, which can be up to 420mm long with the hard drive brackets removed. There’s extensive cooling support too, with up to 280/360mm radiators in the top and front, as well as a 120/140mm in the rear. The cooling support is expanded further with dedicated spaces to mount pumps and reservoir hardware.
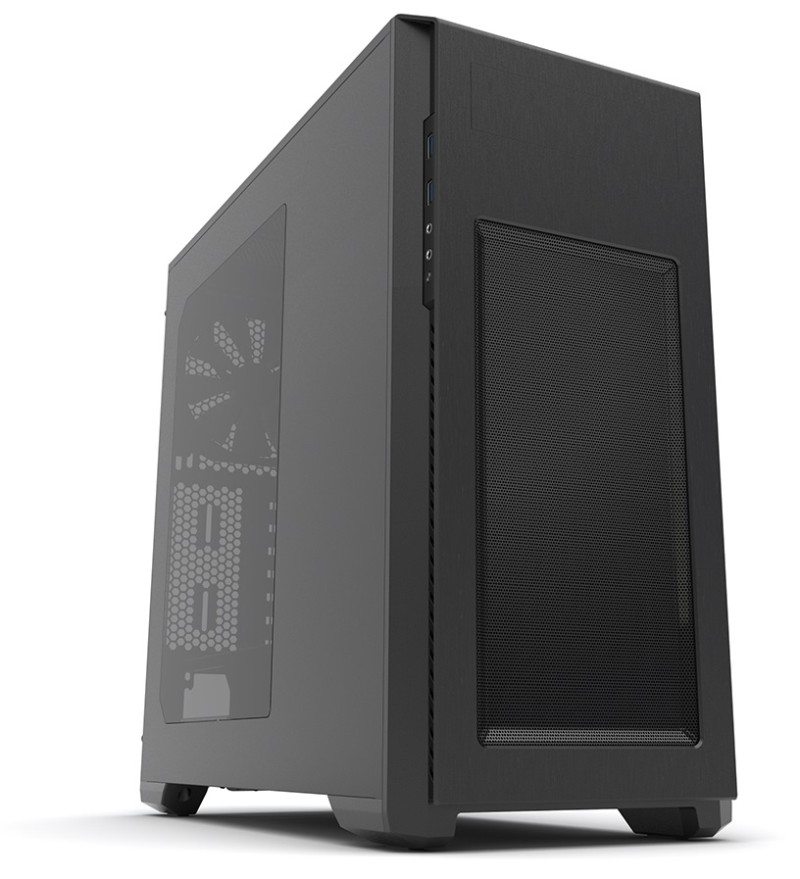
First impressions of the chassis are very good, just lifting it out of the box, it becomes apparent that it’s a robust chassis and the steel construction means it’s got a good bit of weight and strength to it. The matte black finish looks nice and stealthy too, giving the chassis a nice and uniform appearance. There’s a large window on the side panel, which is big enough to show off the internal hardware while hiding things like cable routing and storage bays.

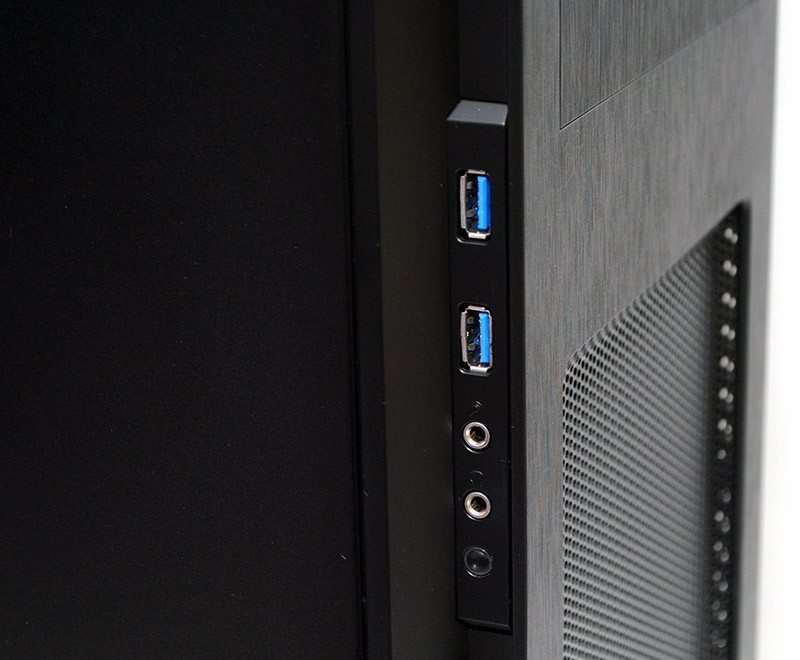
Tucked down the left of the front panel, you’ll find a pair of USB 3.0 ports, HD audio jacks, and a reset button. Here you can also see the false brushed aluminum effect on the front panel plastics, which I think looks rather stylish.
The right side panel is just a blank panel. Both the left and right side panels are held in place with thumb screws, allowing for relatively easy access to the chassis interior.

The front panel is nicely designed, with a single 5.25″ drive bay with a removable cover at the top, and a huge ventilated section at the bottom, allowing huge amounts of airflow to any front mounted cooling, albeit at the cost of some noise suppression.

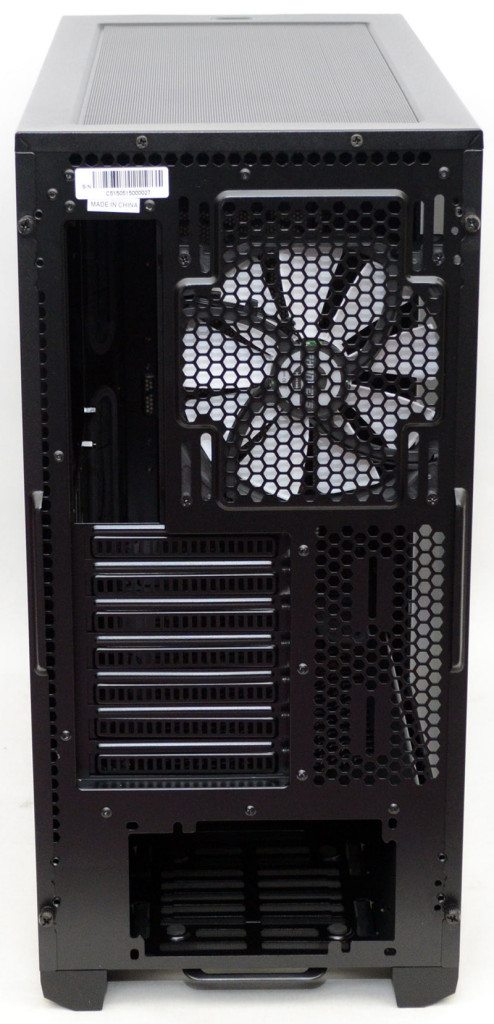
Around the back, you’ll find a lot of passive airflow, as well as a pre-installed Phanteks 140mm fan as the main exhaust. Further down, there are seven expansion slots, each fitted with a reusable ventilated cover and finally, at the bottom, a slide out dust filter for the PSU air intake.
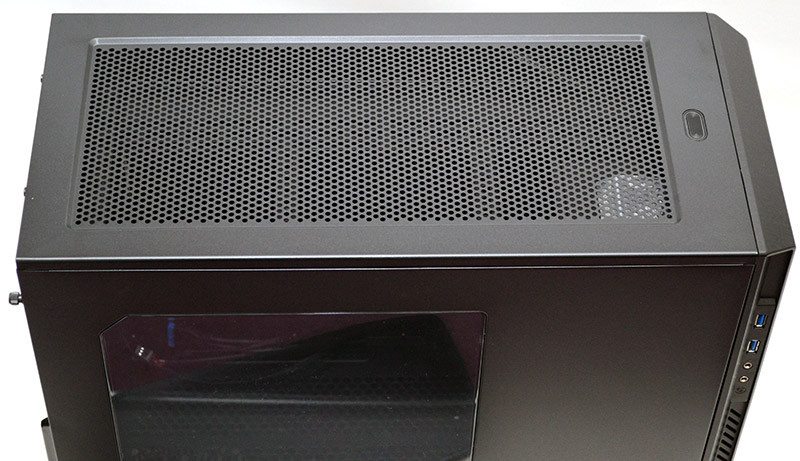
The top has even more ventilation, perfect for any optional fans or radiators.
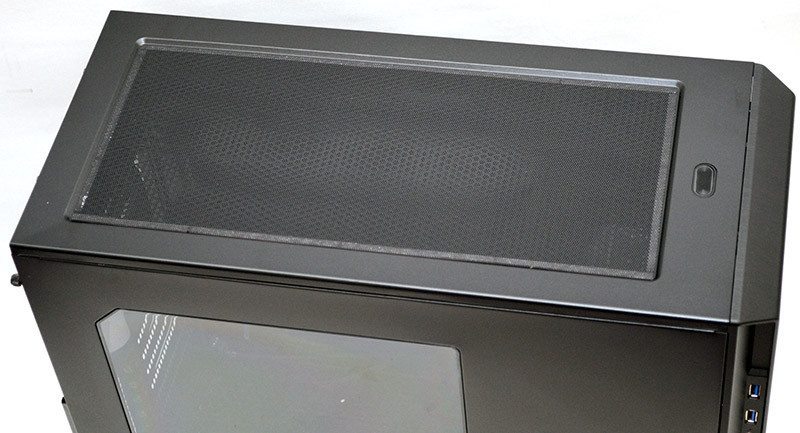
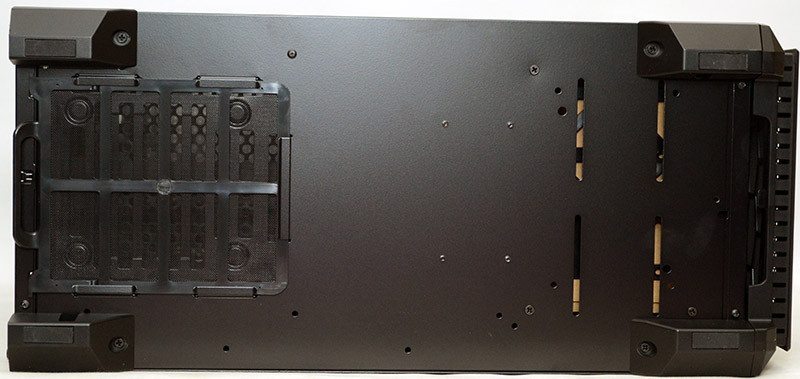
The comes fitted with a huge dust filter, which is fitted with magnets, allowing you to quickly remove it and clean it.
Ample ground clearance on the bottom courtesy of four large feet, each fitted with rubber grips.