Photography 101 – Everything You Wanted to Know!
Bill Peppas / 7 years ago
Basic Terminology
Just like with computers, photography and videography equipment and the art of photography/videography come with their own technical terms and abbreviations. I’ll split this section into four sections, each section will contain the terms associated with that part.
Let’s get started!
Camera Body / Sensor
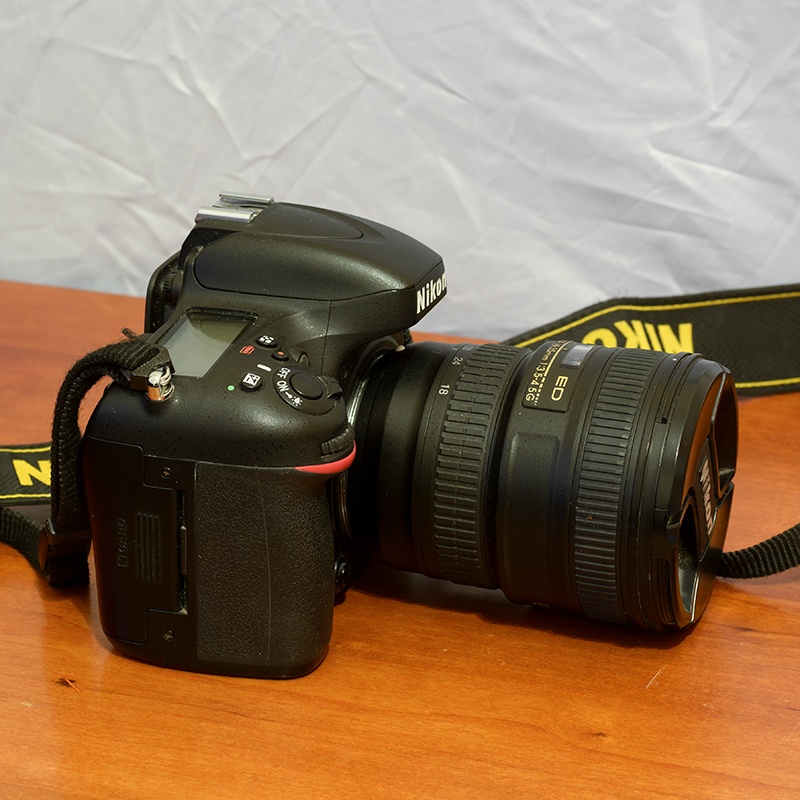
Sensor (Info, Sizes):
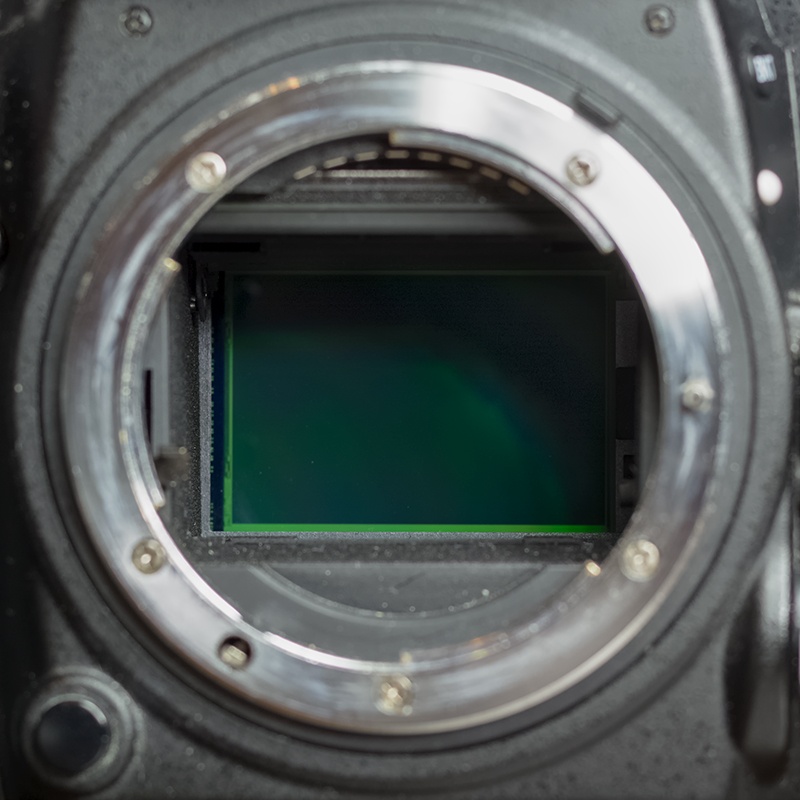
The sensor is the digital replacement of the old analog film. The sensor is the electronic device that captures the light using photodiodes, without it, there’s no digital camera, there’s no photography/videography. There are several characteristics of a sensor, but since this is an introduction, I’m only going to talk to you about the very basic characteristics and effects of the sensor sizes and types. The sensor’s size (width and height) is the basic characteristic every manufacturer out there talks about first on marketing and technical material. In general, the bigger the sensor’s dimensions are, the better your image quality will be (sharpness, resolution, less noise/grain, light gathering).
When it comes to consumer products there are two standard and relatively big sensor sizes and then follows the chaos of small sensors with one widespread size (four thirds). Searching the market you’ll find the following sensor “types” (sizes is the proper term):
Full Frame, APS-C, MFT (Micro Four Thirds). I listed them ordered by size, Full Frame is the largest (36mm by 24mm), APS-C is relatively big too (24mm by 16mm) and MFT is pretty small if you ask me (17.3mm by 13mm). Anything below MFT is useless if found on anything but a smartphone or a tablet in my humble opinion (severely limited low light capabilities, high noise with ISO values above their native Base ISO, etc). Personally, no matter the purpose, I wouldn’t get anything smaller than an APS-C sensor equipped camera body.
Camera Body Type
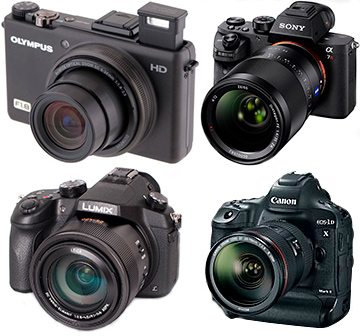
Upper left corner: a Compact camera, upper right corner: a Mirrorless camera
bottom left corner: a Bridge camera, bottom right corner: a DSLR camera
Camera bodies vary by size and by how they work (DSLRs vs Mirrorless). You all know the term “compact camera” (also known as “Point and Shoot” camera), they define the entry-level camera market where the cameras are… compact and 99% of the time come with a fixed lens that you cannot change.
Then we have the DSLR (Digital Single Lens Reflex) cameras, they come in various sizes, although none of them can be described as compact (and to be honest, they shouldn’t be or even come close to that, you need to be able have a good grip while shooting through the viewfinder).
They are deep (in terms of depth) because of the way they work, in front of the sensor and behind the lens there’s a mirror which enables you to see through the optical viewfinder (OVF), when you press the shutter button fully in, the mirror flips out-of-the-way and allows the light to hit the sensor so that our image is captured and pushed to the SD/CF/XQD memory card.
The Mirrorless cameras are… the slimmer siblings of the DSLR cameras, they lack the Mirror part… thus the name Mirrorless!
Due to that fact they can be slimmer and smaller in general than their mirrored siblings. Without a mirror there’s only one way to have a viewfinder, that’s through electronics, though not all Mirrorless camera bodies have what we call an EVF (Electronic ViewFinder), some come with an optional add-on EVF and some simply have no EVF present and support for.
Last but not least, we have a… weird bunch of cameras called “Bridge” cameras. They are such a niche category of cameras, you may never get to see one out of the camera shops shelves. They are comparable to the entry-level DSLR body sizes, they usually come with a fixed (non-interchangeable) “super-zoom” lens (a lens with a big focal length range) and most of the time they feature a small sensor. To be absolutely honest, for other than… moon shots, and some daytime shots in the zoo or even perhaps in a safari (they are far from ideal for that task, but whatever!) I can’t see another reason for them to exist.
Focus Points
The focus points are user and auto selectable points on your ViewFinder that “instruct” the camera where to try to achieve focus on (usually your subject!).
On LiveView (viewing, framing and focusing through the LCD screen of the camera) mode you have an “unlimited” amount of focus points, on ViewFinder “mode” however, you only get as many focus points as the AutoFocus System installed by the camera’s manufacturer. They are spread out (how far apart, and what kind of frame coverage they offer depends on the particular model, they are not “standardized” in any way) and overlayed on your viewfinder.
Whenever you want to focus on something that is located somewhere in the frame where you don’t have a Focus Point on it, all you can do is “focus and recompose”, meaning that you change your angle in order to have a focus point coincide with your focus target, half-click the shutter to focus on it, keep the shutter button half-pressed (to lock the focus) and change your angle again (recomposing) to get back to your original framing and then… fully push the shutter button to capture the shot.
This technique, however, comes with its own issues when your subject is significantly off to the side or very close to you, since when you change the angle to focus on it, the distance between your subject and the camera’s sensor changes ever so slightly (or more sometimes) and once you recompose, it is further or nearer to the camera, and with a very small Depth of Field you may get a slightly or more out of focus subject when you click the shutter.
So, if you are shooting non-static scenes with the ViewFinder, you should be looking into cameras with plenty of Focus Points and with a good frame coverage (many wide-spread focus points).
You may also stumble upon the term “cross type Focus Points”. Normal focus points (usually referred to as… focus points) only “scan” the light in one direction (horizontally), those will not be able to focus on targets where the “detail” is vertical (such as a paper with just vertical lines printed on it).
On the other hand, the Cross type Focus Points “scan” the light in both horizontal and vertical directions and can focus on anything, and not just that, they are more sensitive, more accurate and faster in focusing than the simple focus points.
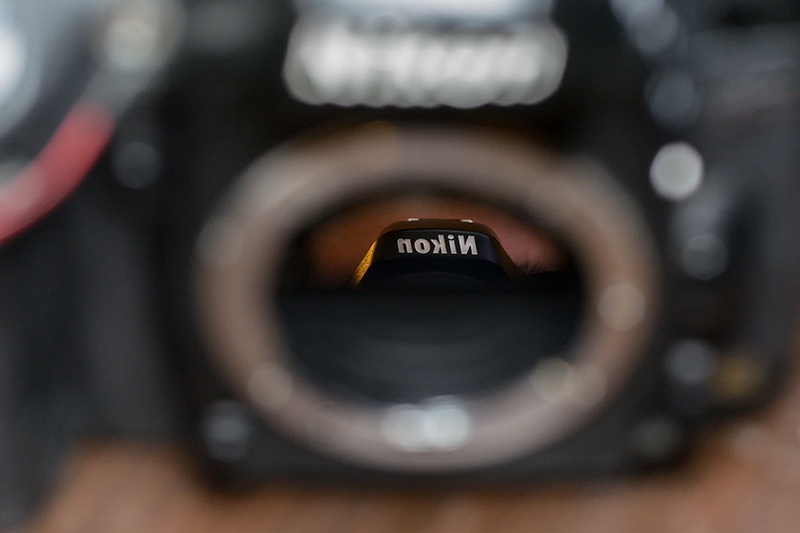
AutoFocus Assist (Lamp)
the bright light in the photo above is the AutoFocus Assist lamp doing its thing
Some bodies have a built-in LED/Lamp which is used to illuminate your subject (in close range of course, you can’t expect to have a distant subject illuminated with the built-in lamp) when it’s dark so that you camera’s AutoFocus system can achieve focus.
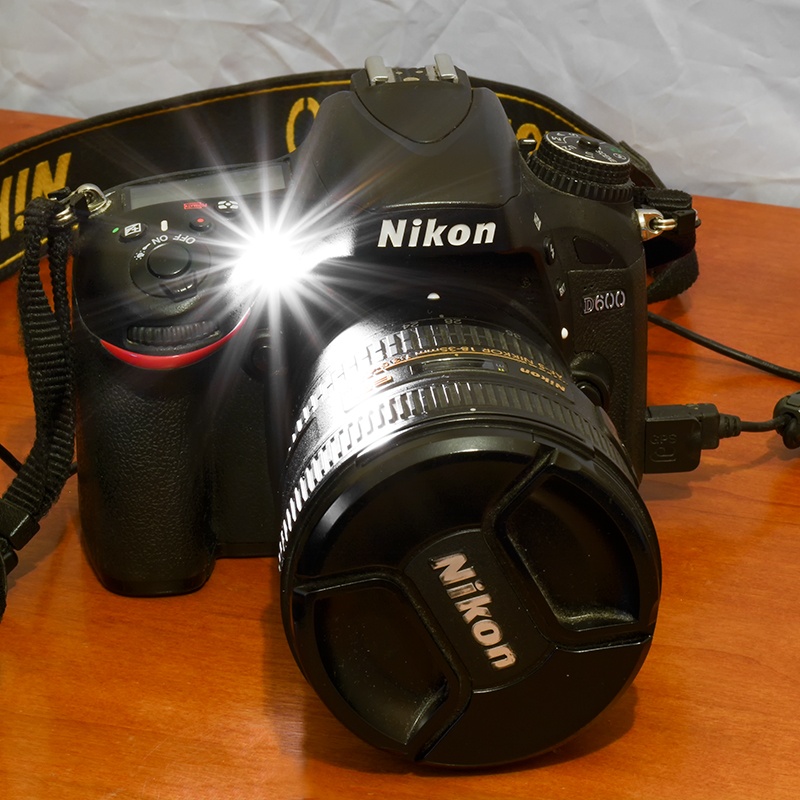
Built-In Flash (Speedlight)
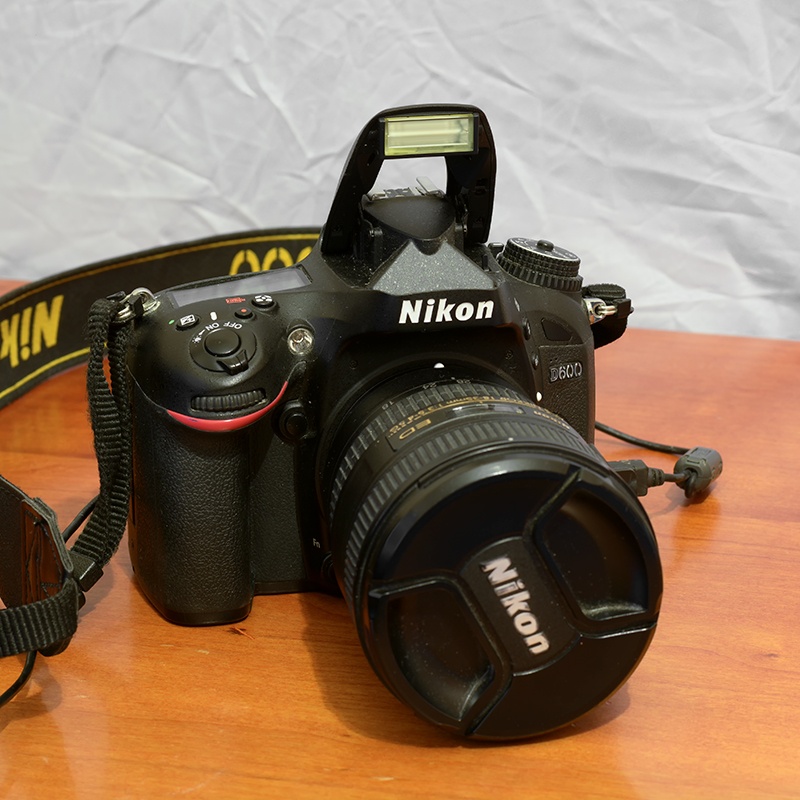
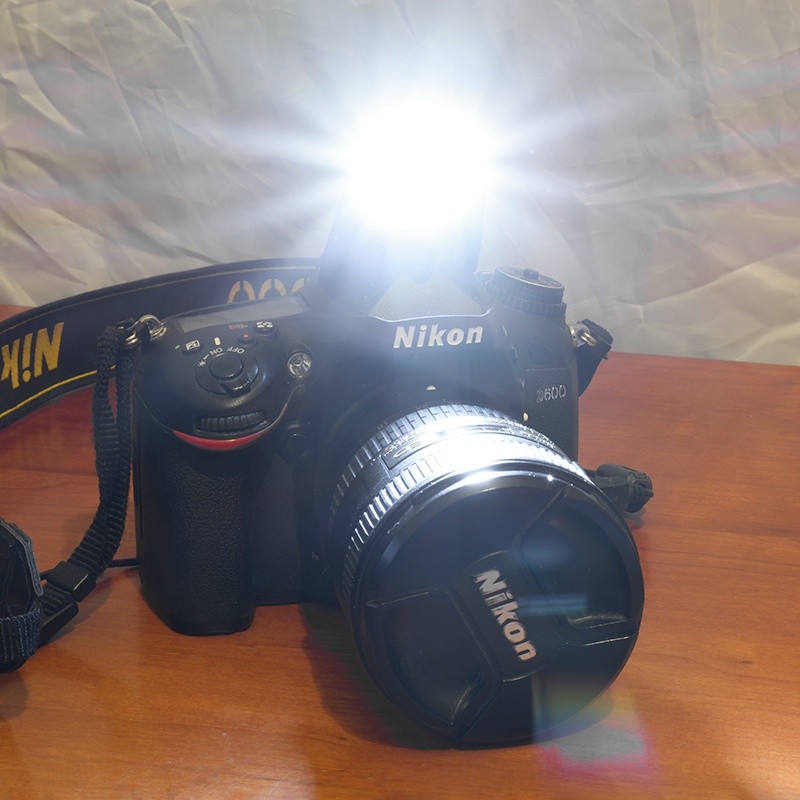
the built-in Speedlight (Flash) pops out of the body with the touch of a button or automatically in any of the pre-programmed modes
Some camera bodies come with an integrated Flash “unit” to allow you to take shots of your friends and whatnot in the dark.
It is nowhere near as powerful and feature-full as the add-on flash (Speedlights) units, and it’s also not recommended for semi-serious portraiture work due to the huge hotspot (a shiny bright white spot due to the focused nature of this light source) usually located on the forehead of the person/s in the photo.
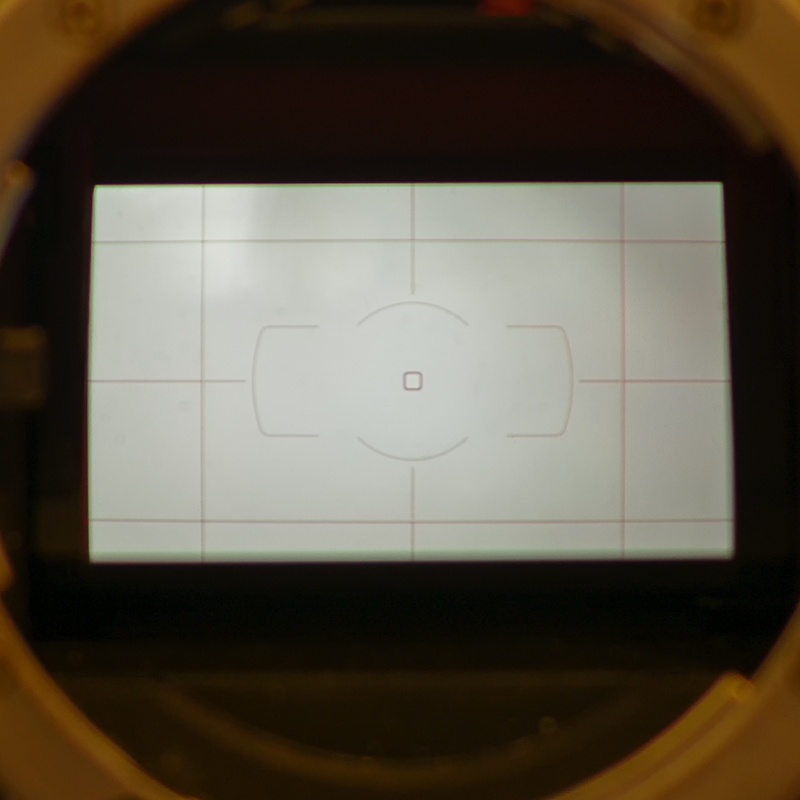
Viewfinder Magnification & Coverage
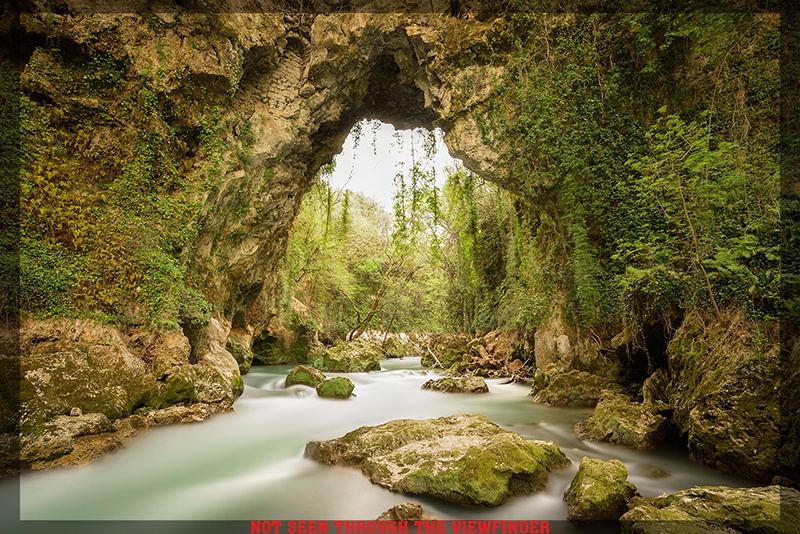
a comparison of what you see through a 95% coverage viewfinder and what the final shot contains as seen on/via the LCD screen
What you see in the ViewFinder (sometimes people call it “eyepiece”) on DSLR camera’s mainly varies from what you get when clicking the shutter. Each camera body has a different kind of ViewFinder, with a different magnification (usually under 1x, what you see in the viewfinder appears smaller than in the final digital photo). By coverage, they describe how much of the frame you actually see through the viewfinder.
On non-professional or semi-professional camera bodies, the optical viewfinder covers a smaller area (usually around 95% or 0.95x) of the frame. So, unless you have a camera body with a 100% frame coverage viewfinder, you won’t see the very edges of your frame through the viewfinder, when you actually shoot the photo on the LCD you’ll have a little bit wider view of the scene.
If you like shooting with old manual focus lenses there are additional viewfinder attachments from various manufacturers that allow you to get a magnified view through the eyepiece (up to 2x usually), you can find lots of them on eBay for most DSLR camera bodies.
Shutter Speed
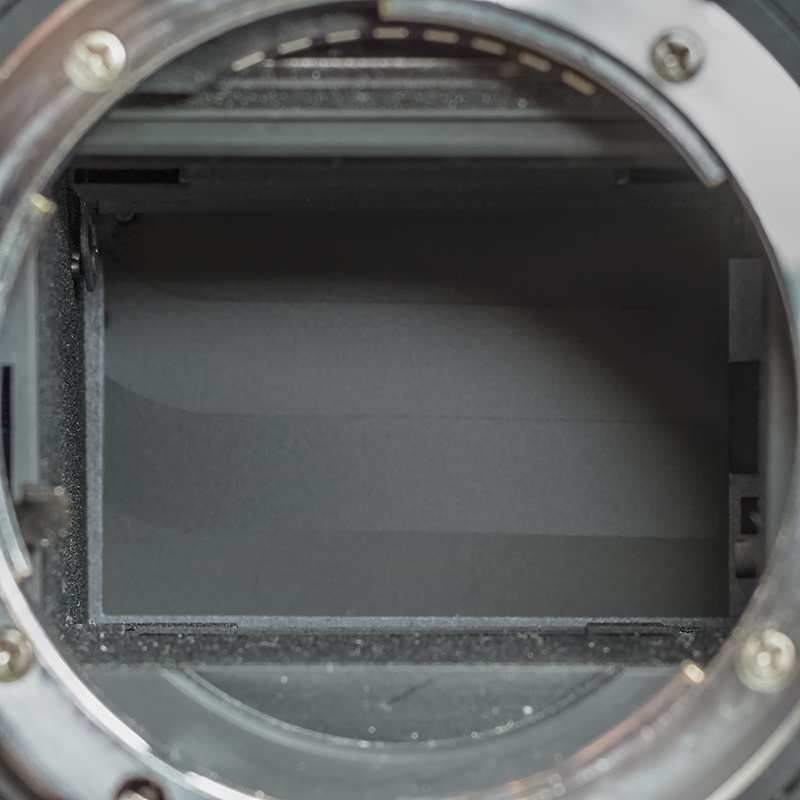
a shutter with its curtains closed
The Shutter is a mechanism that opens and closes in front of the sensor, allowing and disallowing light to pass through and hit the sensor, it is the part that allows us to control our exposure’s duration (Shutter Speed).
Each shutter mechanism is different and the various bodies out there carry different shutter mechanisms which generally differ in the maximum (fastest) shutter speed they can give you, most entry level and mid-range cameras feature a shutter speed down to 1/4000s, while some high-end and professional cameras can go as fast as 1/8000s.
ISO Range & Base ISO
The ISO (ASA is the analog [film] equivalent) is one of the three “variables” of the exposure “triangle”, just like altering the Shutter Speed or the lens Aperture, the ISO setting allows you to change your exposure (a.k.a. “record” more light or less) without changing the other two variables (Shutter Speed & Aperture), it works by adjusting the gain (amplifying the signal) of the image sensor’s signal prior to ADC (Analog to Digital Conversion).
ISO is measured in… ISO numbers… a.k.a. ISO 100, ISO 200, ISO 400, ISO 1600, ISO 3200, etc. The higher the ISO, the higher the “sensitivity” of the camera’s sensor to light.
The increased sensitivity to light sounds good, but it doesn’t come for free, the more you raise the ISO the more digital noise sneaks into your photos (remember the grain old film photographs have ? the same effect happens on digital photos with high ISO numbers or by increasing the exposure of underexposed [incorrectly taken] photos).
We can reduce the noise during post-processing (editing / developing) the RAW/JPEG files on a PC/Tablet, each camera sensor has its own limits as to from which ISO and higher the image becomes way too noisy & “soft”, a Nikon D5200 for example is no good at anything higher than ISO 1600 for detailed shots for example (except for astrophotography shots), a Nikon D5 however can do ISO 6400 nearly as good as the D5200 is at ISO 1250.
The “BASE/Native ISO” is the optimum ISO value for maximum image quality for the sensor, it’s what we’d call a “0% gain” on the amplifier. Some sensors have a Base ISO of 200, others 100, and higher-end cameras like the Nikon D810 have a Base ISO of 64. For the best image quality, it is best to keep your camera at the Base ISO.
High ISO is useful too, for example in sports/wildlife photography, photographing fast-moving subjects requires high Shutter Speeds in order to avoid motion blur, astrophotography is also requiring higher ISO values for increased sensitivity while keeping the exposure times in control to avoid excessive heating of the image sensor and star trailing.
Knowing the Base, Minimum and Maximum ISO range a camera has is a good thing, just keep in mind that it isn’t an indication of image quality at any value. The fact that the X camera model has a higher Max ISO value doesn’t mean that the Y camera model with a lower Max ISO value will have lower image quality at a given ISO value. It simply means that the maximum value available to you is the advertised value, nothing more than that. If it is usable or not, it depends on the model of the camera and the value (most if not every single camera model out there isn’t capable of giving you a usable photo at its Maximum ISO value anyway).
Notice the “grain” / digital noise become heavier and more apparent as we up the ISO value.
ISO 100
ISO 1600
ISO 6400
ISO 25600
Dynamic Range
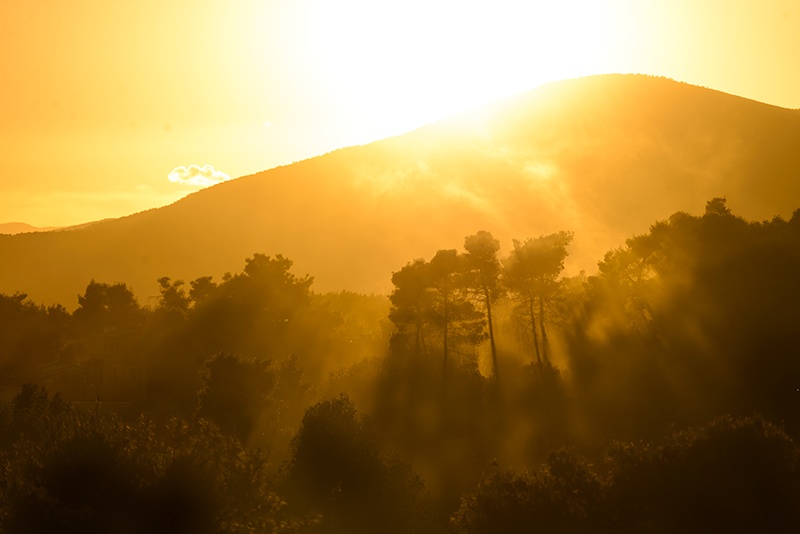
a scene with high dynamic range, very bright highlights/sky, and very deep shadows, impossible to capture with a single exposure if you want a “balanced” luminosity photo
In many cases, like when shooting a sunset with our camera pointing towards the sun (obviously) we face what is called a High Dynamic Range. Dynamic Range is the expression used to “measure” the range of brightness & tonality in a scene.
When we have a lot of the scenery covered in shadows and a bright sky with the sun in the background for example, we are facing a scene with very high contrast, a big difference in luminosity (brightness) between the bright parts of the photo and the dark parts. Unlike our eyes (which compensate for the dynamic range of a scene, dropping the very bright parts luminance and raising the luminance of the very dark parts), camera sensors cannot do that, they simply have a specific Dynamic Range (range of luminance values) they can capture correctly.
If the scene has greater Dynamic Range than our camera’s sensor, we experience highlights and/or shadows “clipping”. That’s when the very bright parts are rendered pure white and the very dark parts are rendered pure black with no detail in them.
In such cases, we do a multiple exposure (capture 2 or more shots in different exposure settings in order to capture the whole Dynamic Range of the scene) and blend the exposures to get a perfect image in post-processing (automatically like with HDR processing applications or manually with Photoshop or any image editing program of our choice that supports layering & masking). As technology progresses, the newer sensors have greater Dynamic Range capabilities, capturing more stops of D.R.
Burst Rate / Continuous Drive
This is the rate at which the camera body can capture photos in bursts (quick succession). It’s measured in FPS (Frames per Second, a.k.a. photos captured per second), the higher the number the more photos you can capture in a second (or more). They can cheat here easily however, some manufacturers (usually for action and compact cameras) state the FPS achieved with static (single focus, not changing the focus between shots) or manual focus. Others might have a very high burst rate, but the buffer (think of it as cache memory, an intermediate storage which is fast enough to store several photos per second, once the buffer is filled with data the burst rate drops severely until the buffer is free again). This is where high end cameras designed for wildlife & sports photography “justify” their prices, they have a larger buffer capacity, allowing you to truly shoot at high FPS without limiting your sequence to for example 1 second of real-time action.
Flash Sync Speed
This is the fastest shutter speed you can use with the integrated (built-in) speedlight (flash) of the camera. If you have an external flash which supports HSS (High Speed Sync) that you want to use you will have to make sure that your camera supports HSS as well, it is a two way feature, if the speedlight or the camera doesn’t support HSS it will not work. You need to have a HSS compliant camera body & a HSS compliant speedlight.
Lens Mount
This one’s pretty much self-explanatory, each camera body manufacturer uses its own lens mounting “mechanism”, some have two or even more mount types (e.g. Sony with their E and A mounts). There’s nothing to worry about the lens mount type, just make sure you are buying the lens matching your body’s mounting type otherwise it will simply not fit.
Weather Sealing
Some camera bodies have the Weather Sealing ticked at their specifications page or on the marketing material, don’t get confused, this means that they can withstand some bad weather (relatively light to mid rain, pretty hot and cold environment), it doesn’t mean that you can submerge them in water or any other liquid for that matter. And for the weather sealing to be “in effect”, your lens must be weather-sealed as well (there’s at least an o-ring around its mounting). Although some cameras have no weather sealing “features” advertised, they have been tested and proven to be withstanding the same “torture” their mid-end and pro-sumer sigblings can (for example I’ve seen plenty of Nikon D5200’s withstand heavy rainfall just like a weather sealed D600/D610/D750/etc). Weather sealed or not, if shooting under extreme conditions or very heavy rain, I’d simply purchase and use a rain cover for the camera (see eBay).


