Plextor M8PeY 512GB PCIe NVMe SSD Review
Bohs Hansen / 8 years ago
A Closer Look
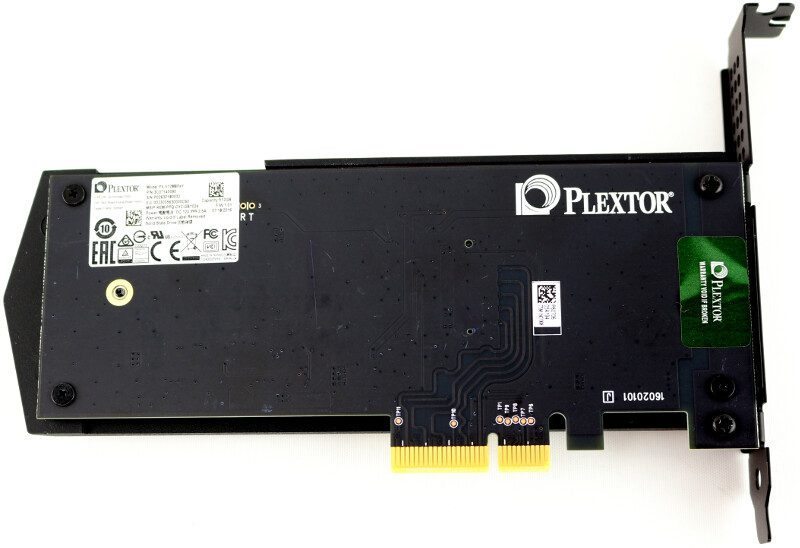
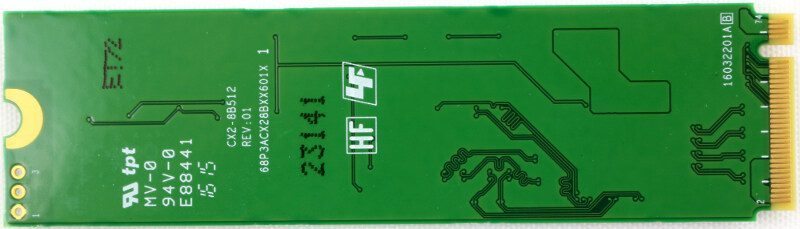
It is time to take a closer look at some of the things we couldn’t see as well on the previous page. The rear of the card matches the rest of the design thanks to the black PCB used. The only thing breaking up the design a bit is the warranty sticker and drive information sticker that kind of are mandatory to be placed on any device.
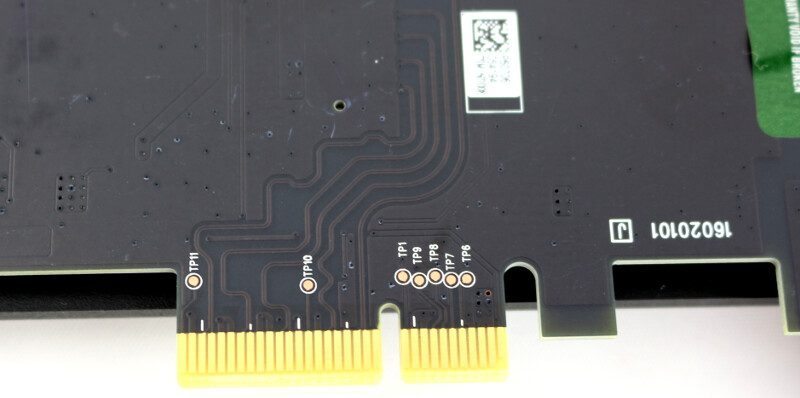
The PCIe interface is as you’d expect it to be, not much to say here.
The product sticker in the corner has all the details from serial number over capacity, firmware, and manufacturing date. We also get the reminder that Plextor is part of the Lite-On technology group.

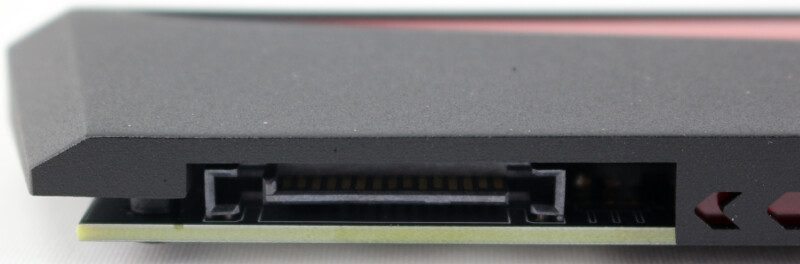
The 15-pin SATA power connector at the top of the drive is well hidden within the drive design and doesn’t generate any clash with the overall drive design.
And now for the exciting part, stripping her down and taking a look at the naked truth inside the outer shell. Removing the heatsink gives us a look at this beauty inside. We see a well-crafted PCB that holds the default sized 2280 M.2 module.
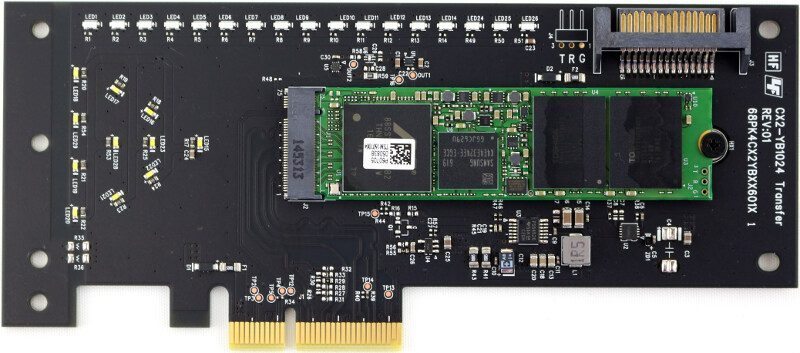
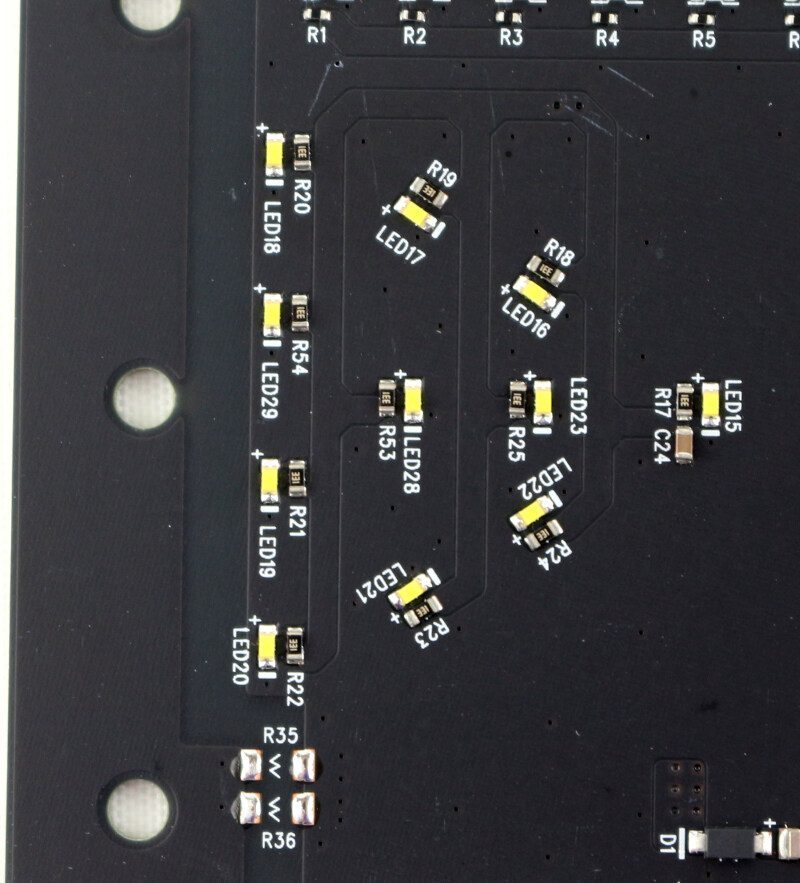
At the top of the board, we have 26 LEDs that make up the top lighting strip and its animation.

Below those, we have another 11 LEDs for the power light area.
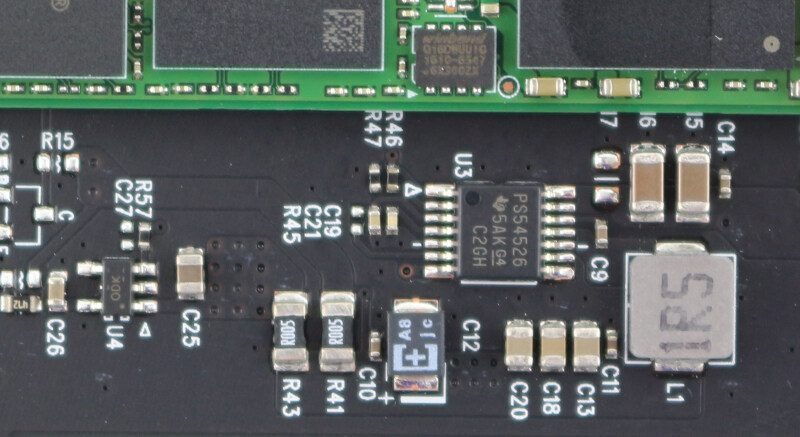
Other than that, we also have a Texas Instrument regulator chip that helps the entire thing provide stable power at any time
We also get a better look at the SATA power connector at the top now that we’ve stripped the card down.
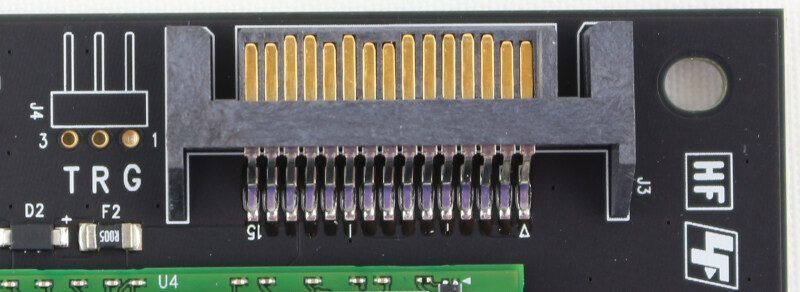
It looks as they do, there isn’t much to say here, but we see does show the quality that the board has been built with and the perfect mounting.

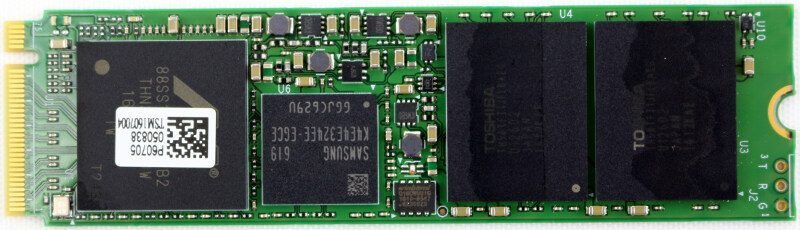
The NVMe M.2 module is quite standard, but then again, we didn’t expect anything else. You could take the module and place it directly in the motherboard slot too without the PCIe adapter, although I don’t see why anyone would do that since you can get the module without the adapter too for a lower cost.
The whole thing is made up of the Marvell controller, a Samsung DDR3 RAM chip, and two Toshiba NAND chips.
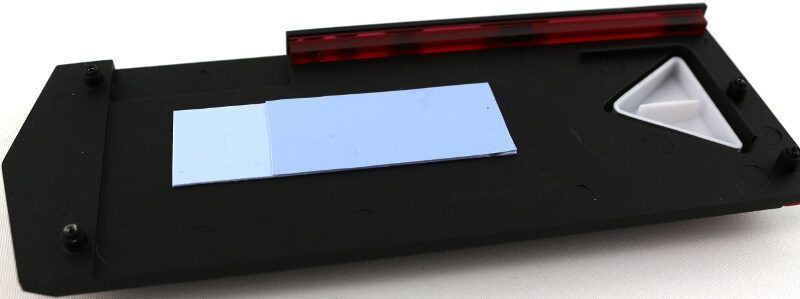
Last but not least, we have the inside of the large heatsink. It is cut from a single piece which gives it the best possible properties. An adhesive thermal transfer strip in the middle connects the drive to the heatsink and we see the two plastic parts that distribute the LEDs evenly and where needed. While they aren’t meant to be replaced, there shouldn’t be anything holding modders and builders back from replacing these with home creations, either from cut plexiglass or 3D printed parts.