Raijintek Aeneas Micro-ATX Cube-Style Chassis Review
Peter Donnell / 9 years ago
Interior
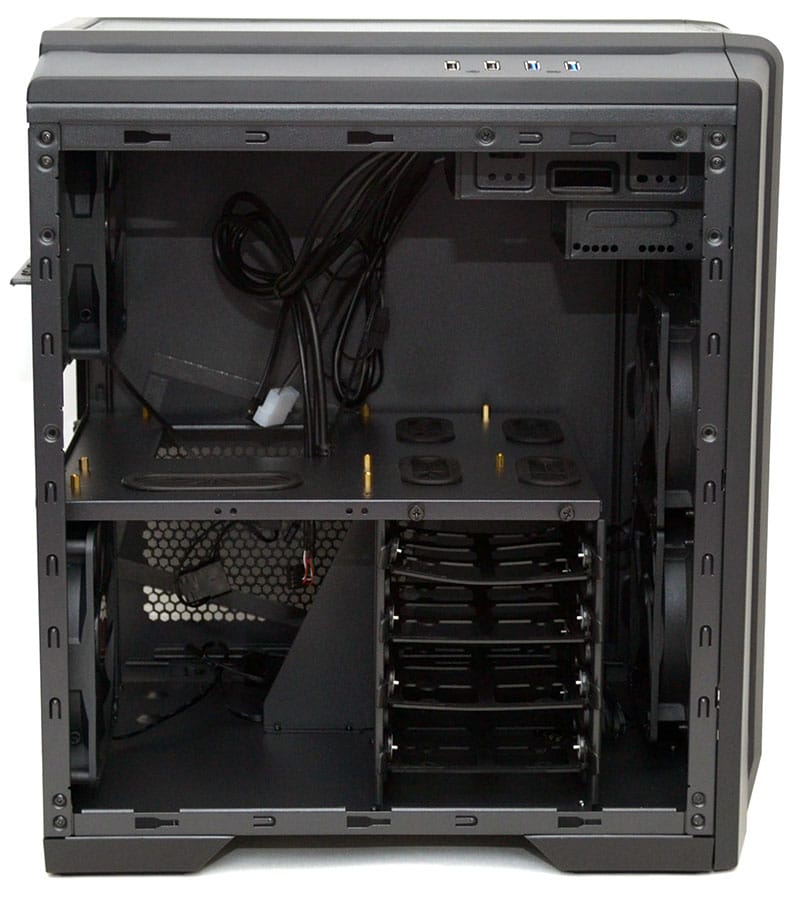
With the side panel removed, we can get a good look at that spacious interior. The chassis is split into sections, with the motherboard and GPU area at the top, while the PSU and storage takes up the bottom half. The interior has been given a powder black finish, giving it a nice uniform look inside and out, something that’ll really pay off when peeking through the side panel window.
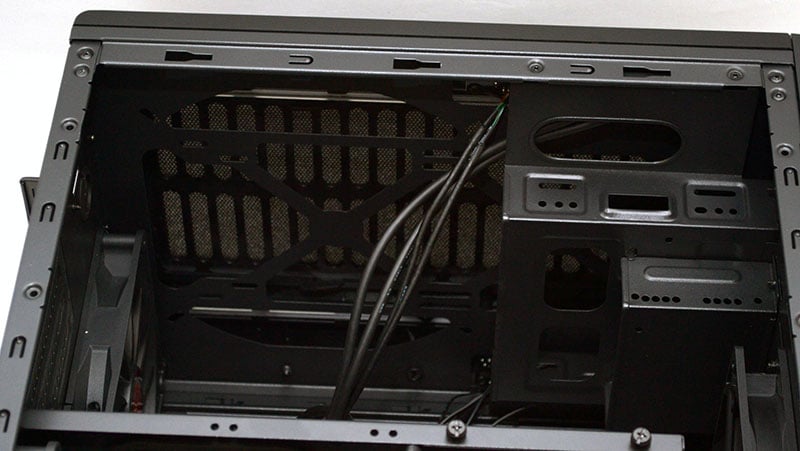
Lots of room in the top for extra cooling, which we’ll take a close look at shortly. There’s also some extra cable routing around the side of the 5.25″ drive bay.
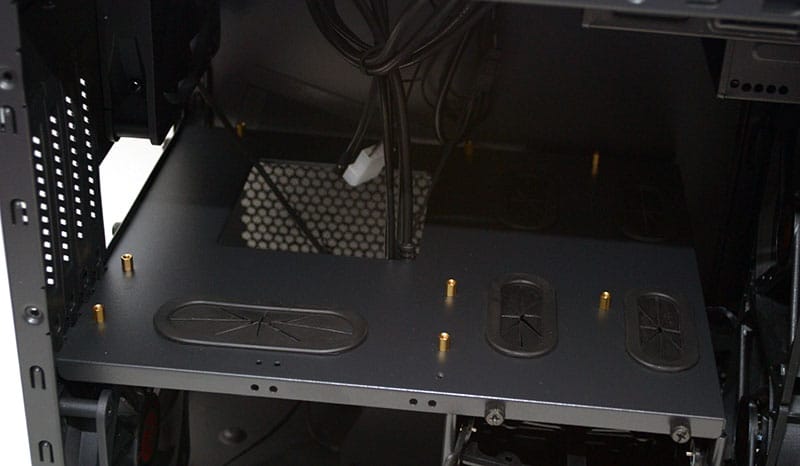
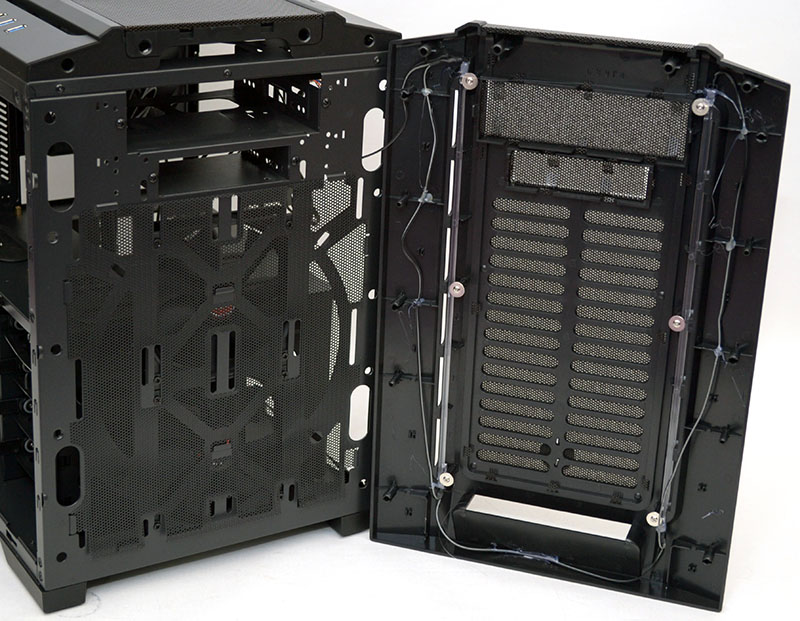
The motherboard tray is fully removable via thumb screws, allowing for easy installation or even modification. It comes fitted with five good quality rubber grommets for cable routing.
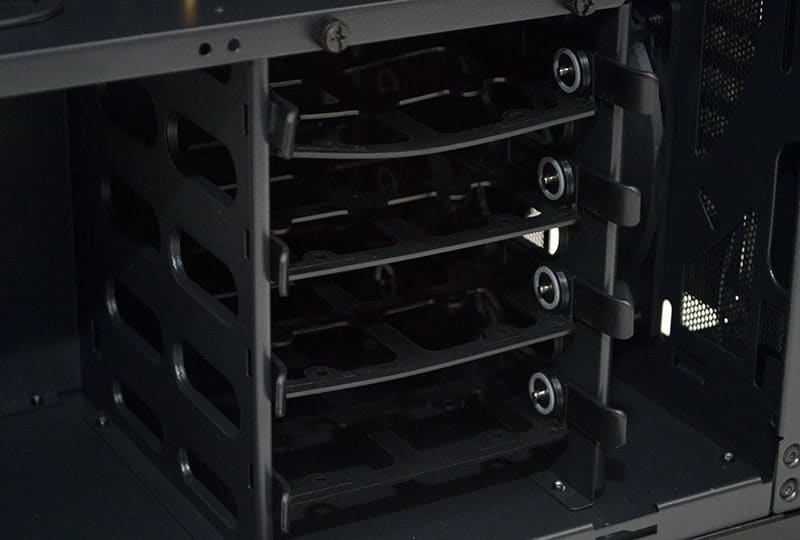
The hard drive trays are tool free for 3.5″ drives and support 2.5″ drives with the included screws. The whole bay can be removed, which will no doubt please chassis modders and water cooling enthusiasts.
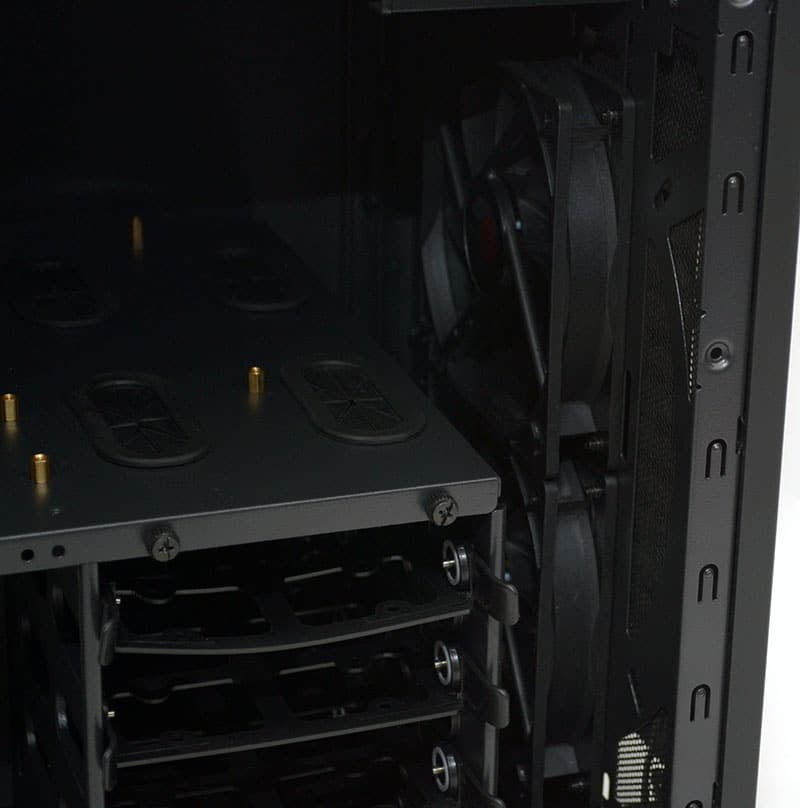
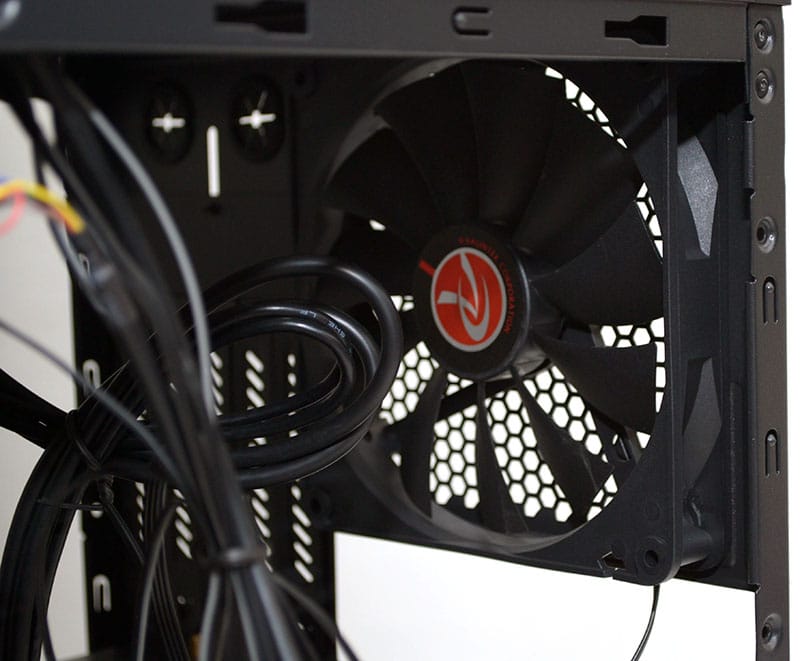
There are two high-quality fans pre-installed in the front of the chassis and there’s more than enough room to spare for a slim radiator running up the front of the chassis. You can get up to a 240mm radiator here or even a 200mm fan if you wanted to swap out the stock fans.
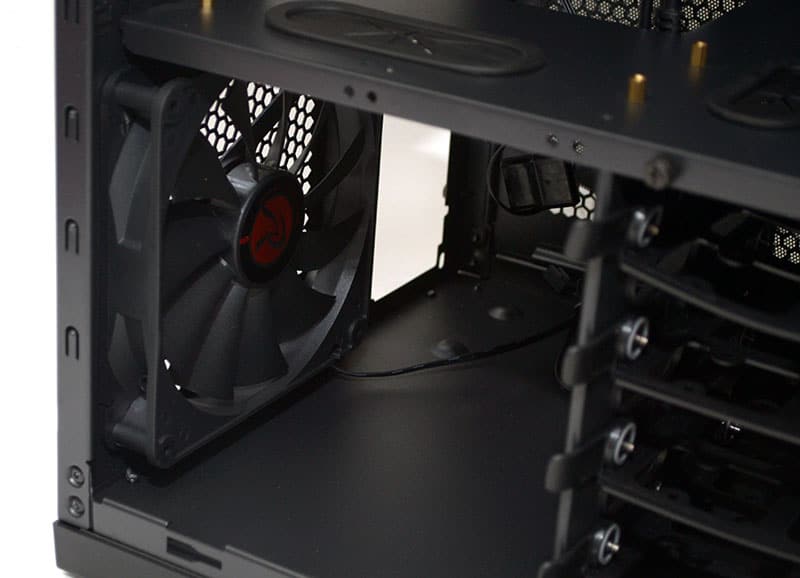
In the base of the chassis you’ll find another 140mm fan pre-installed as well as a good amount of extra space that can be used for cable routing.
With the back panel removed you can better see how much space there is between the motherboard tray and the front fans. The PSU is installed on its side and can be inserted from this side of the chassis. There’s a great amount of space behind the storage bays to deal with excess cables, keeping them away from the fans and the top section of the chassis.
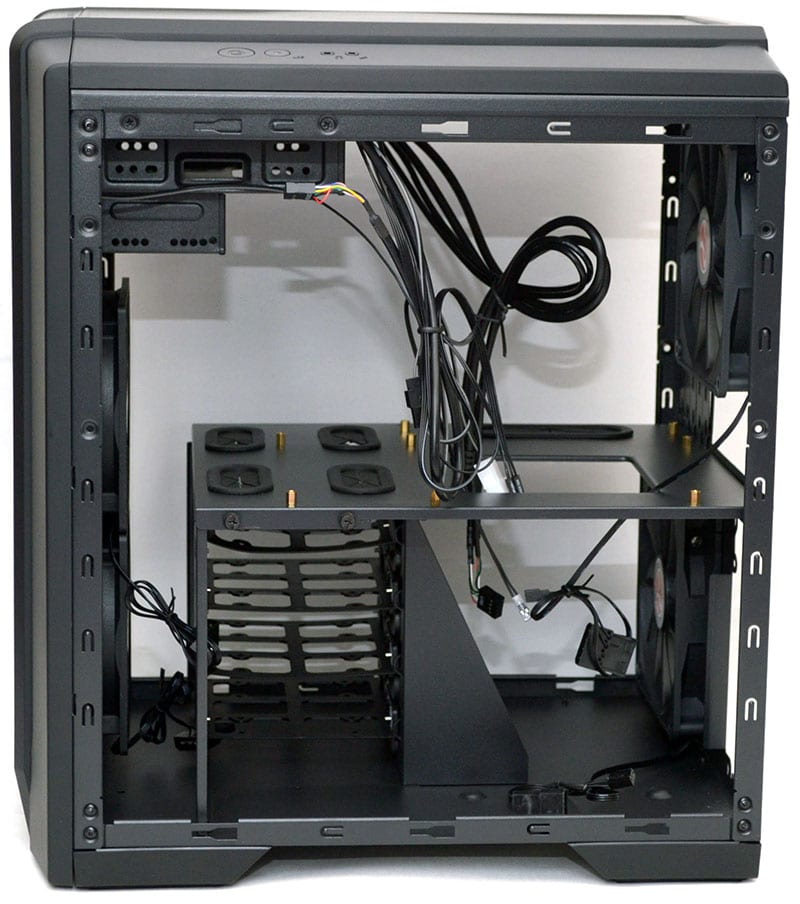
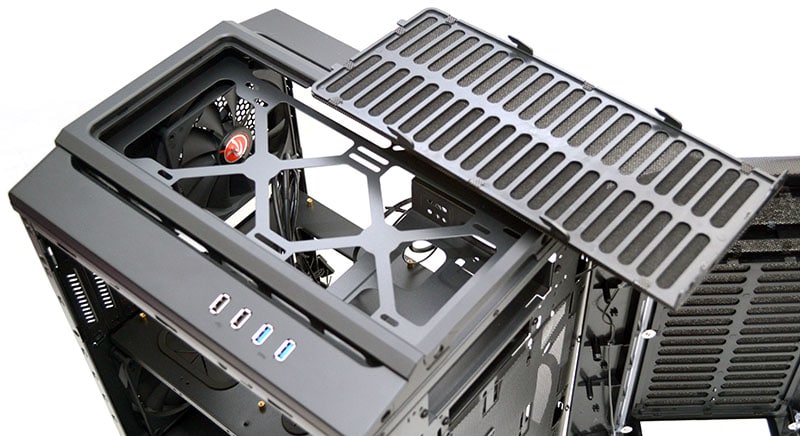
Another 140mm fan installed in the top rear section of the chassis, bringing the total pre-installed fan count to four! Of course, you could remove this and install a 120mm or an AIO cooler if you so desired.
The front panel has two LED lit strips running vertically. There’s a two-part dust filter system, the front panel has a mesh and soft foam, and another mesh that clips into the chassis. It’s not a slide-out washable one, but it’s easy to access and can be easily brushed/hoovered clean. You’ll also find screws to remove the top drive bays, should you need the extra space inside the chassis.
The center of the top panel lifts out, which also has a soft foam filter. Behind this, you’ll find 120/140mm elongated mounting holes, perfect for fitting extra fans up to 2 x 140 or radiators of up to 240mm.