Silverstone SUGO SG09 Small Form Factor Chassis Review
Peter Donnell / 11 years ago
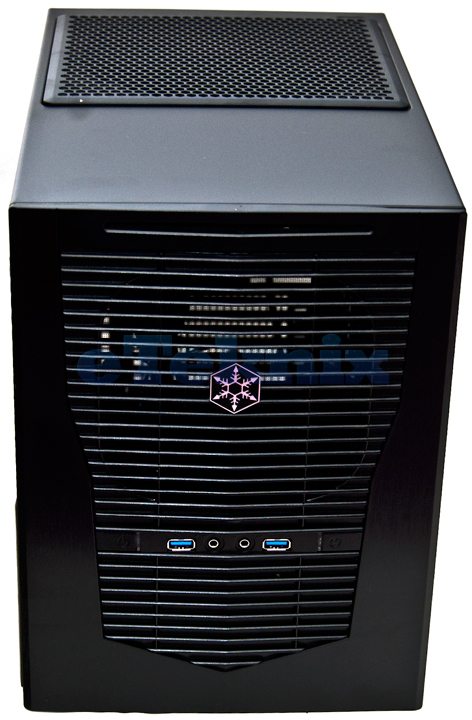
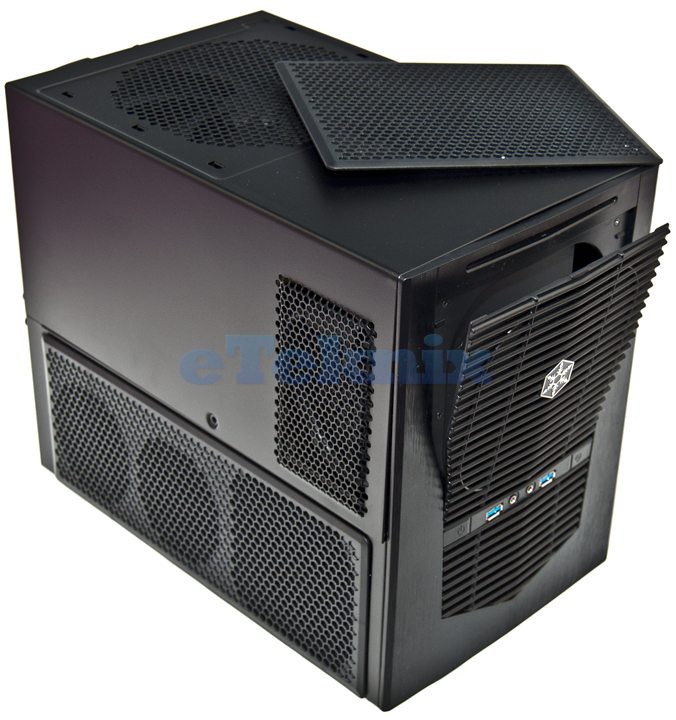
The front of the chassis comes designed with a focus on airflow, a large removable ventilated panel allows for airflow to the front PSU mount as well as the rest of the chassis. Below that you will find a pair of USB 3.0 ports (can be converted to USB 2.0 with included adaptor), headset and microphone jacks as well as the usual power and reset buttons. Also worth noting is one of the most important space saving feature of the SG09, a slim-line slot loading optical drive bay at the top edge of the front panel.
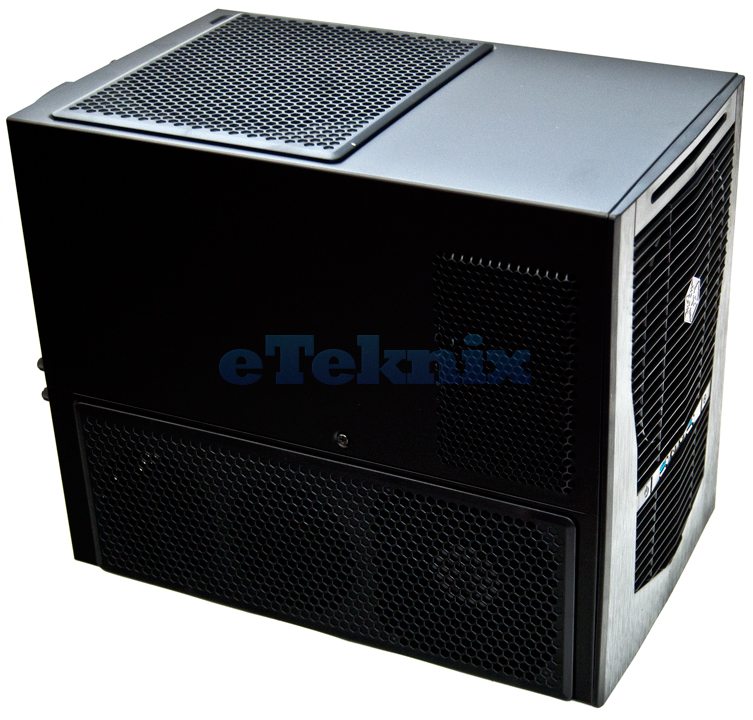
The left side of the chassis features plenty of ventilation, starting with the air vents in the top right corner which provide an exhaust area for the front mounted PSU, this will work in conjunction with the front panel air intake to make sure your PSU has optimum airflow that is independent of air within the rest of the chassis. Below that we have a full width ventilated panel with a 120mm 1200rpm 22dBA fan pre-installed, although this mount is backward compatible with 92mm fans, then a further two 80/92mm fan mounts brings the left side fan capabilities up to three fans. Above that you will also notice a single screw, this is one of the screws required to remove the chassis casing.
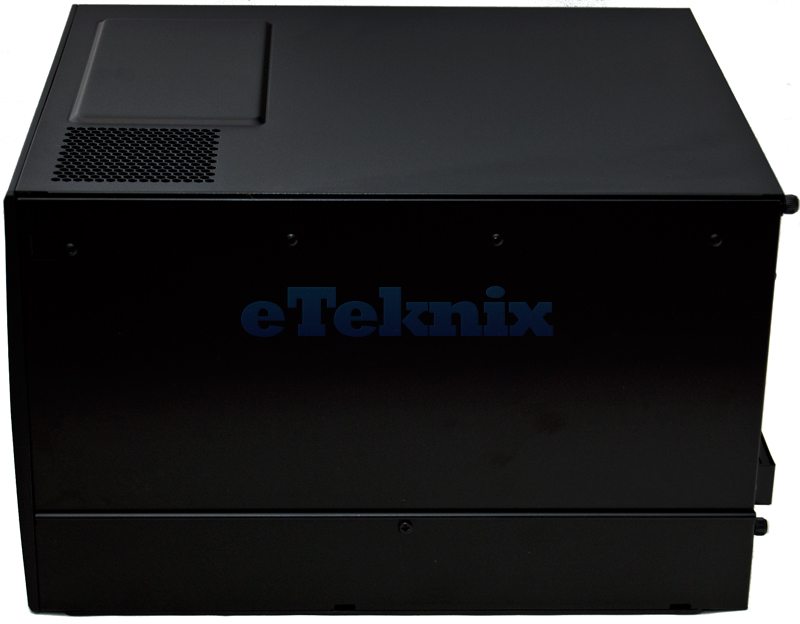
The right side of the chassis features a slightly raised section, this will allow your PSU cables a little more room for fitting, below that you will find yet another 80mm fan mount.
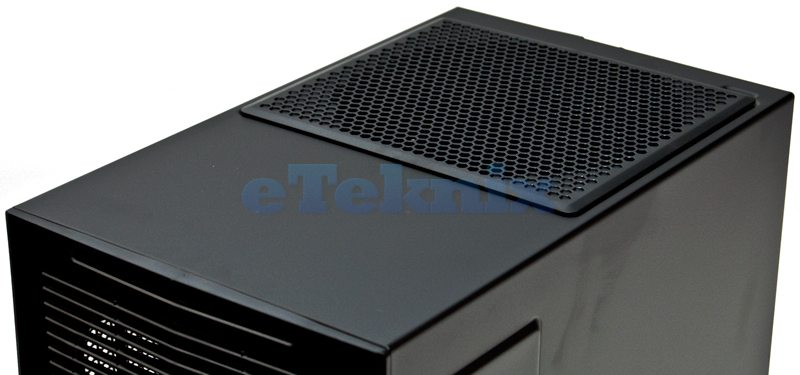
The top of the chassis features an easily removable dust cover and air vent that provides air intake to the 180mm Air Penetrator 700/1200rpm pre-installed fan, although this slot is backward compatible with a 140mm fan should you wish to change it out.
Here you can see how the top and front fan covers can be easily removed for quick and simple maintenance.
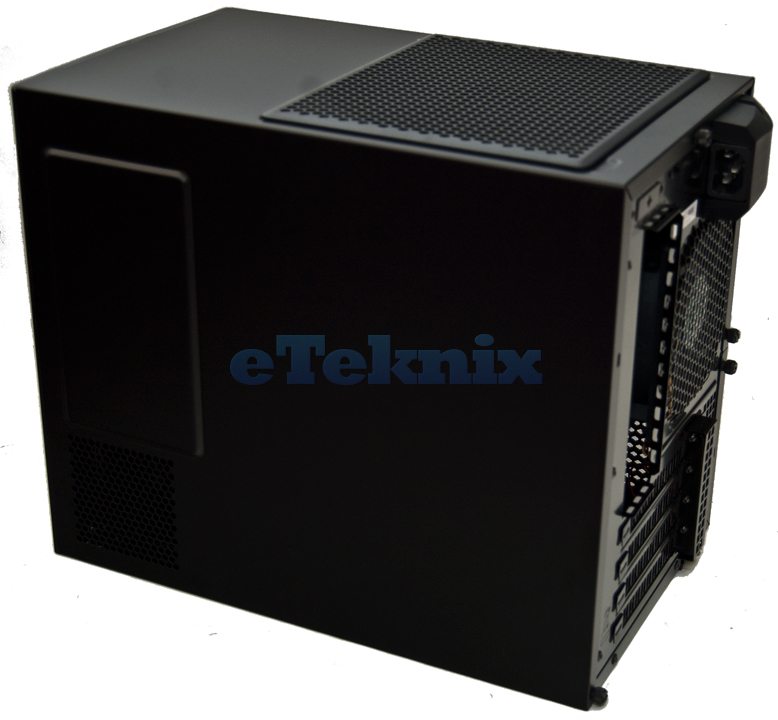
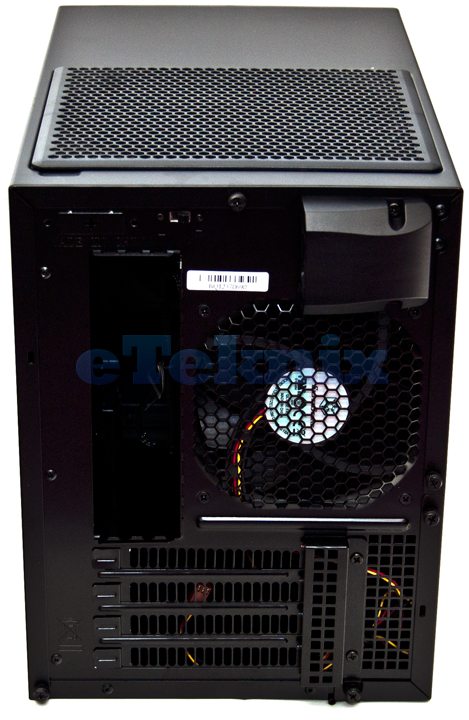
Around the back of the chassis we have the PSU connection which runs an internal extension cable to the front mounted PSU area, further down we have a pre-installed 120mm exhaust fan and room for up to four expansion cards. The expansion card slots come fitted with re-usable ventilated covers and are firmly secured in place thanks to a screw-on guard. Here you can also see four thumb screws around the outside of the chassis which are used to remove the outer casing of the chassis.
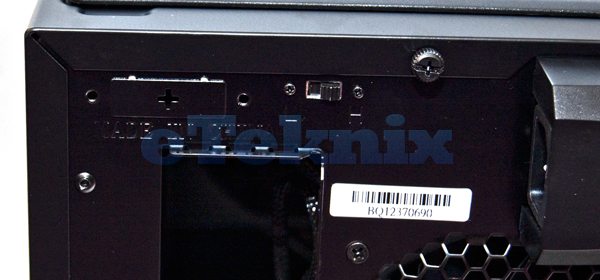
In the top left corner of the back of the chassis we find a simple yet very welcome two speed fan controller, handy for when you need to maximise cooling or of course minimise noise.
The underside of the chassis is fairly uneventful, featuring only a single screw which is used to hold in place some of the chassis’ exterior casing and the left side fan mounting panel.
