Thermaltake Core V21 Stackable Micro-ATX Chassis Review
Peter Donnell / 9 years ago
Introduction
Why have one chassis, when you can have two for twice the price! That’s the motto I’m sticking to for today’s review, because the new chassis from Thermaltake, the Core V21, has a funky trick I would like to show you.
Thermaltake are one of the biggest names in the business and they have a rock solid reputation with the enthusiast PC market, thanks in no small part to their efforts in creating some of the most capable chassis products on the market. The Thermaltake chassis range is packed full of feature heavy chassis’, capable of extreme air and water cooling, holding epic amounts of hardware and there’s no shortage of innovative features along the way; hopefully the new Core V21 is no exception.

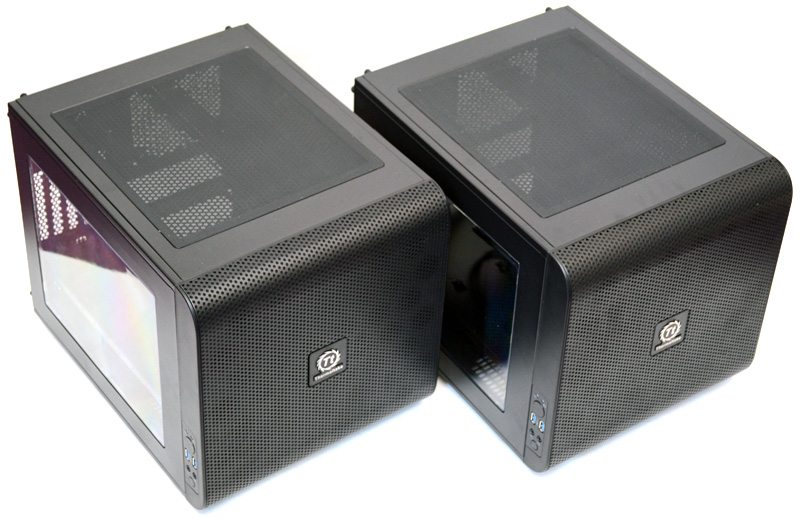
The coolest thing about these cube-style micro-ATX chassis is that you can buy more than one and fix them together to make a bigger chassis; perfect for some enthusiast grade system building.
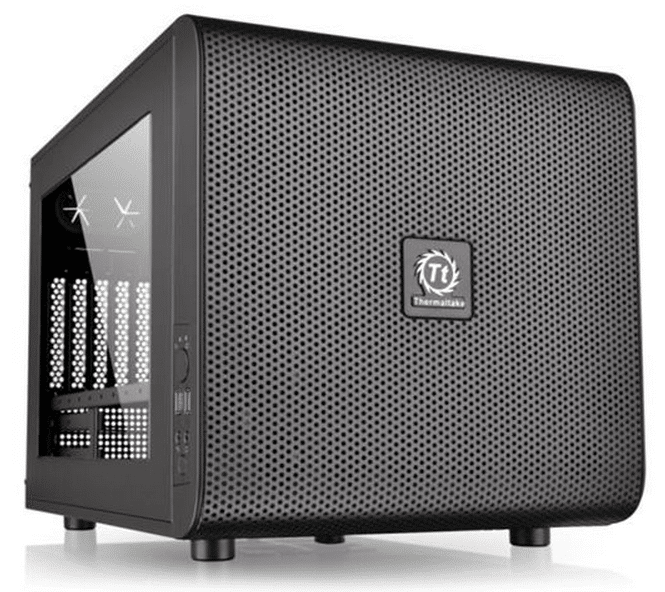
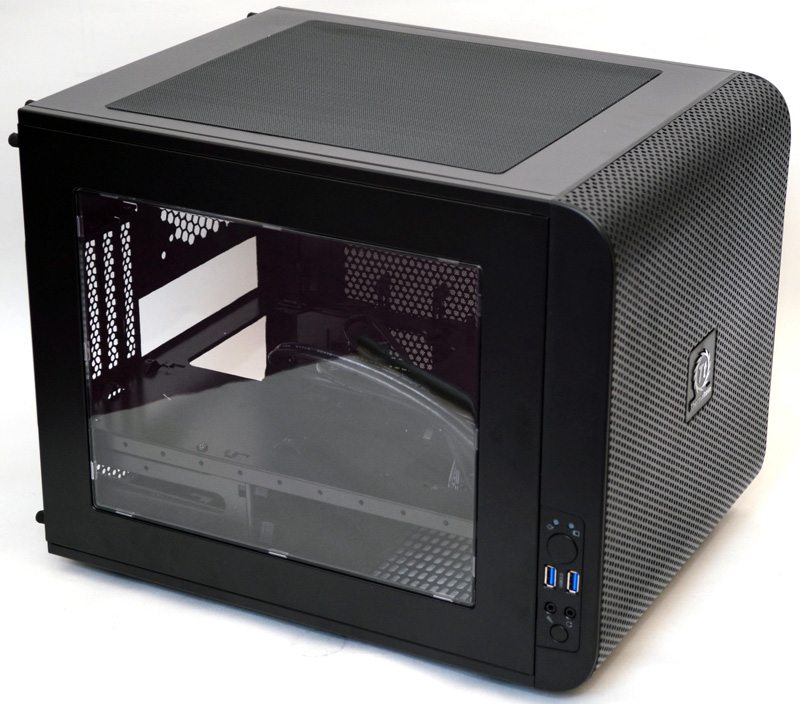
The Core V21 is a cube style chassis, but don’t be fooled, it’s not as small as it may look! There’s a large window panel on the left side, which is held in place by a pair of thumb screws at the back. The side panel has a nice trick too, but we’ll come back to that later.
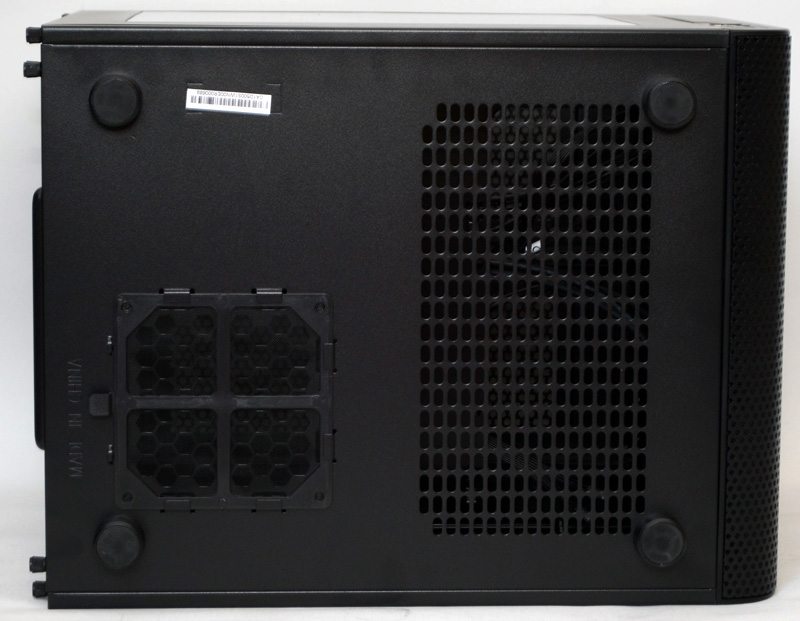
The right side panel has a huge ventilated section, covered with a magnetic dust filter for quick and easy maintenance.
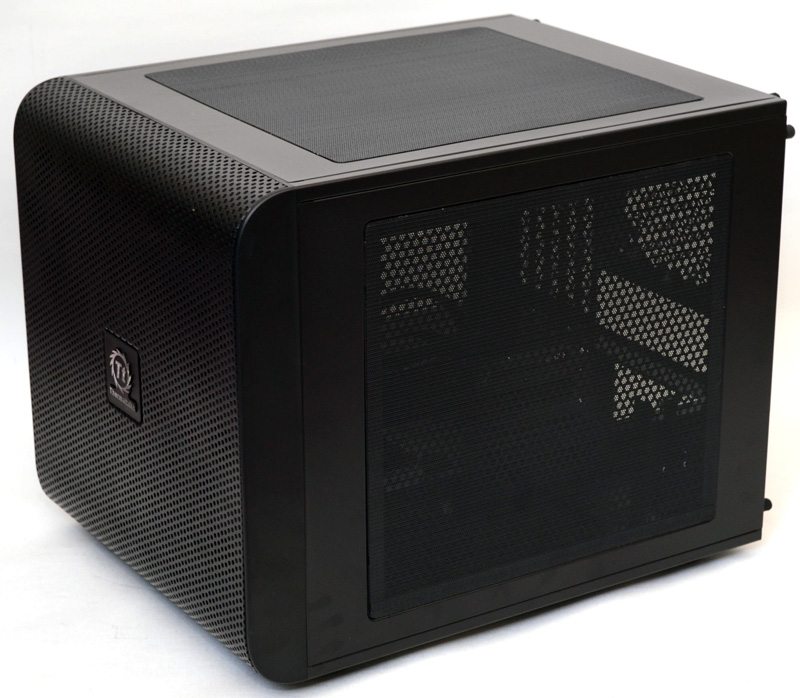
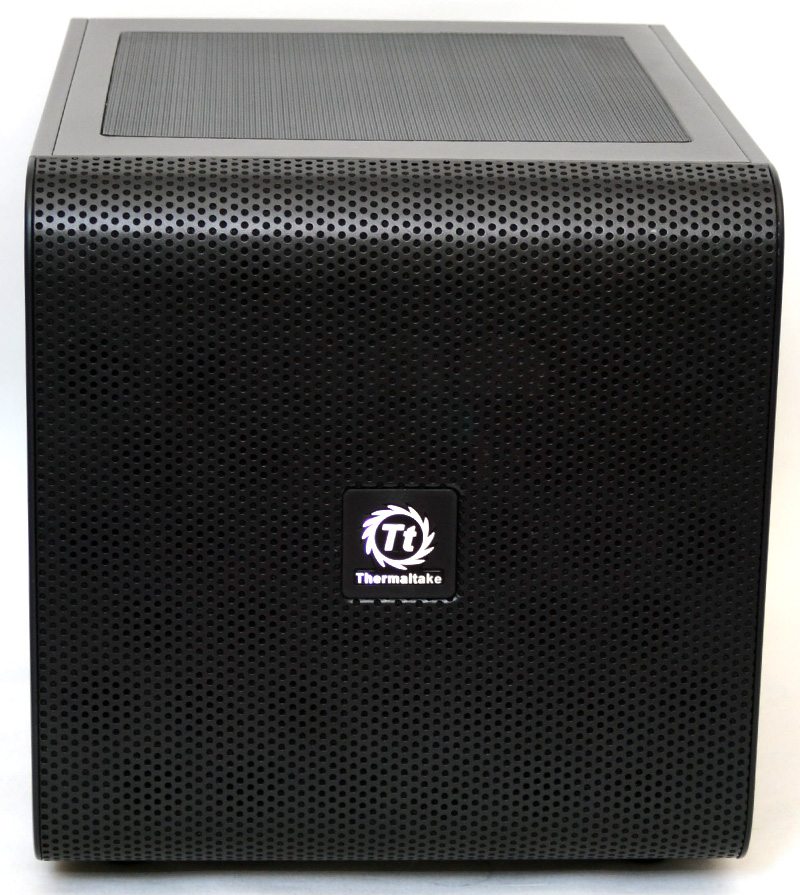
The front panel is styled the same as other “core” series chassis, a thick metal cover with loads of ventilation, as well as that nice looking curve around the top and bottom edges.
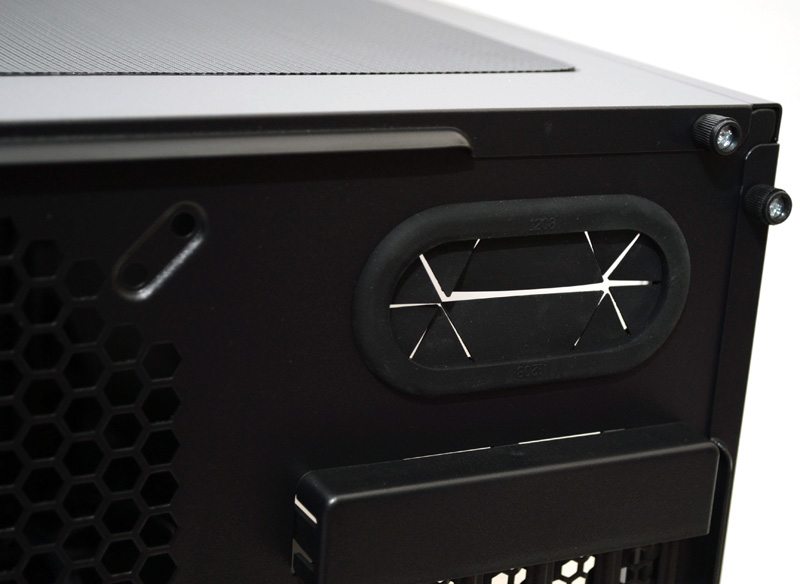
Around the back you’ll find an optional 120/140mm fan mount, a routing grommet, five expansion slots and a small bit of ventilation near the PSU cut-out. Here you can see that each panel, including the top and bottom, is held in place with two thumb screws, as all these panels are removable and interchangeable.
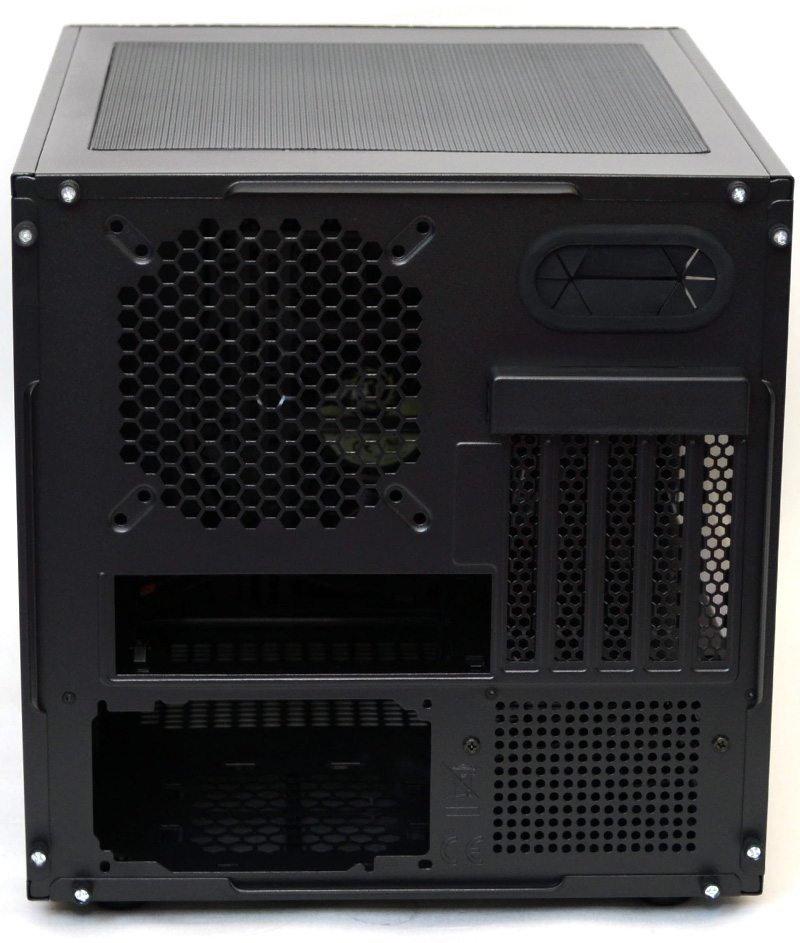
The routing grommet is handy for external water cooling or for running extra cables and controller for things such as LED lighting, or fan switches.
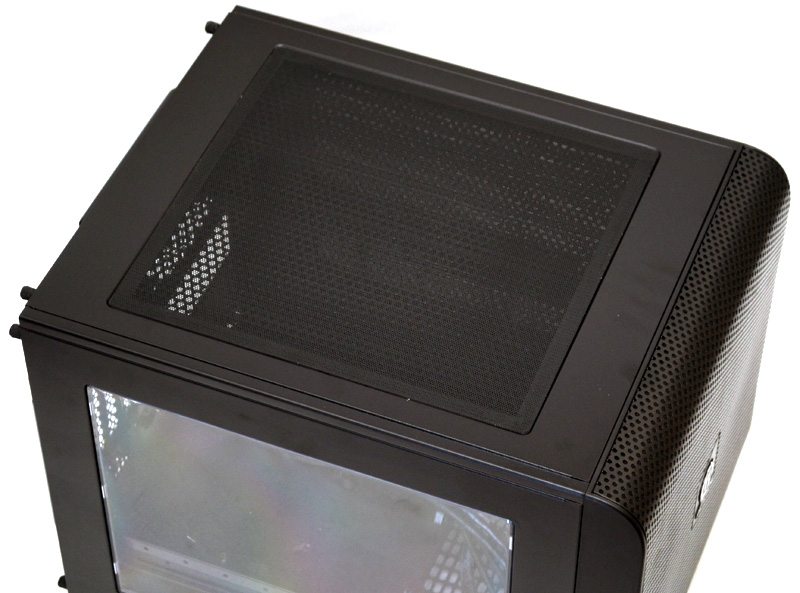
The top panel is identical to the one on the right side of the chassis; as I said before, all side panels are interchangeable with each other.
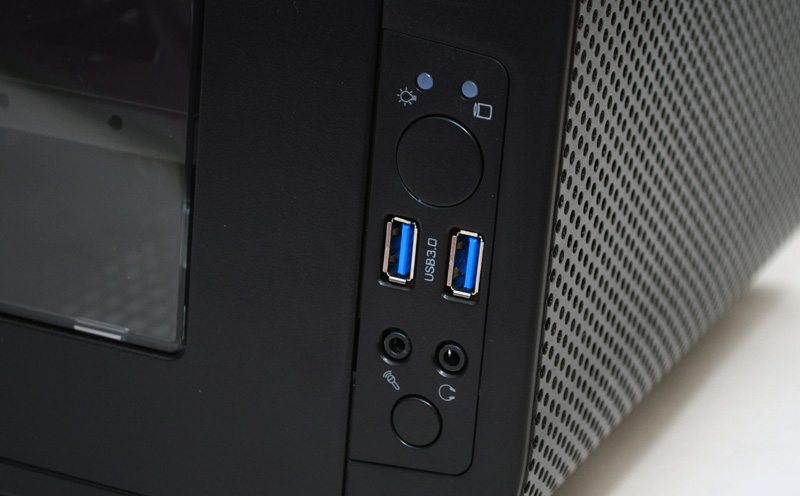
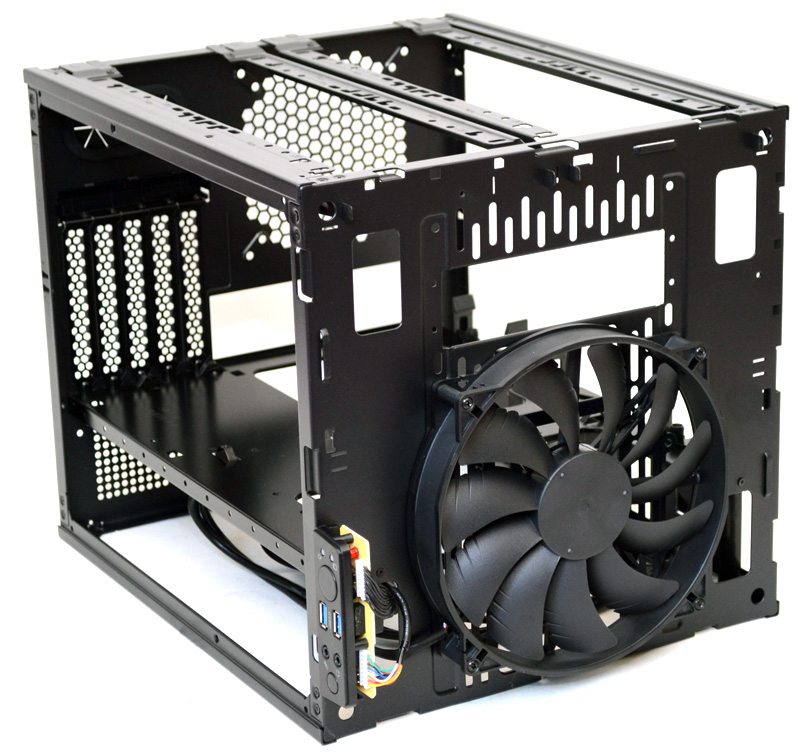
Down the left side of the chassis you will find a small I/O panel with all the usual functions included.
The bottom panel has four large rubber coated feed, which should help reduce vibrations as well as provide good ground clearance for the bottom ventilation, as well as the removable PSU dust filter.
Interior
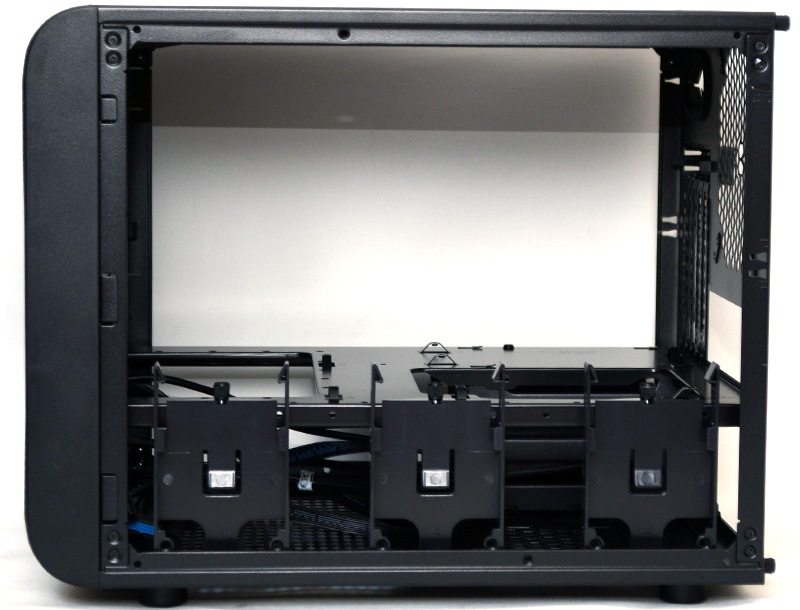
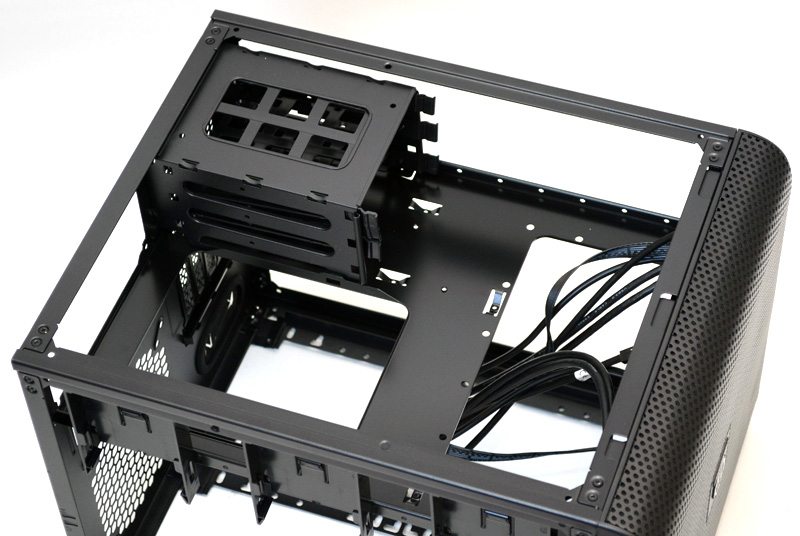
With the left side panel removed we see that there is a huge amount of space in the top section of the chassis, this is great because it frees up a lot of clearance for large CPU coolers, or thick radiators in the top and/or front of the chassis. The lower half looks pretty cramped, but as I said before, this chassis isn’t as small as it looks and there’s still a three bay 3.5″/2.5″ drive caddy and room for an ATX PSU behind that.
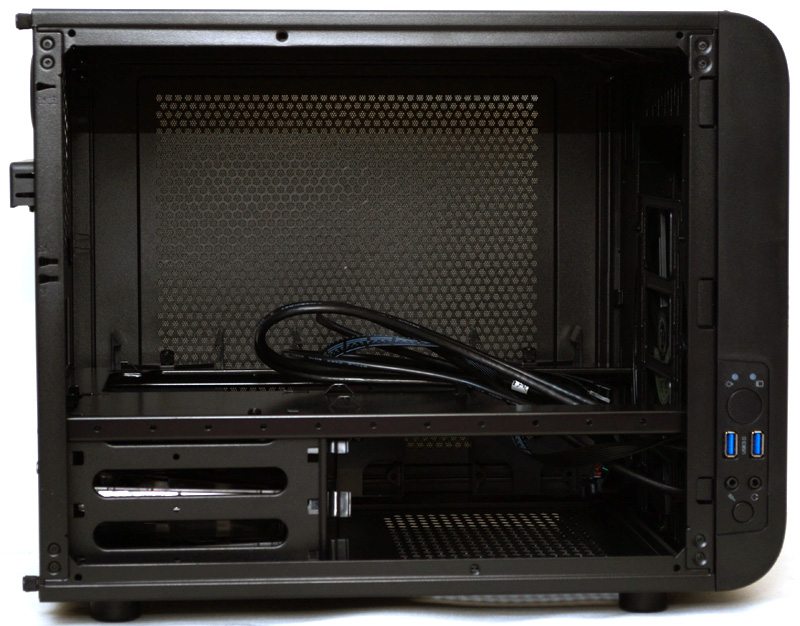
The motherboard stand-offs are built into the chassis, which should speed up the installation process.
On the right side, you’ll find you have even more access to the top compartment and some extra 2.5″ drive mounts on the side.
Each of the three 2.5″ mounts can be removed with a single thumb screw and there’s even a few extra screw holes to allow you to adjust the position of each bracket to suit your needs.
The drive mounts lift out easy enough, but you’ll need to remove all of them while installing your PSU, as it slides in from the right side of the chassis. You can alternatively install the PSU by removing the bottom panel.
Each tray is tool free, but there are two screw holes to help you further secure your drives into place.
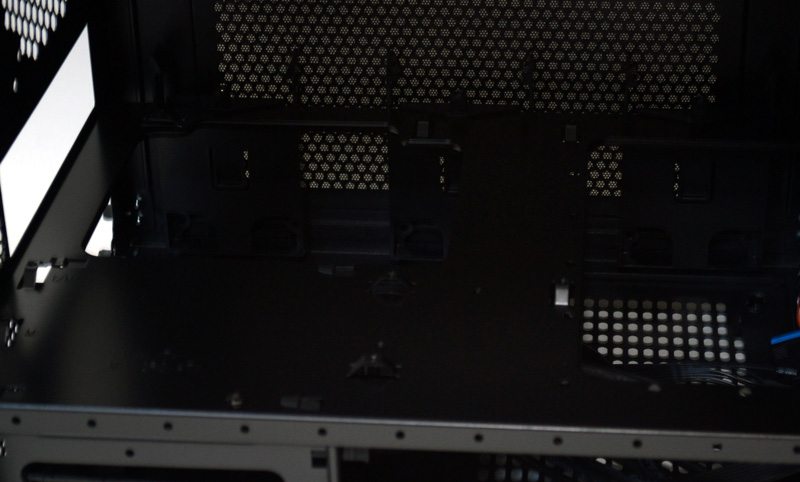
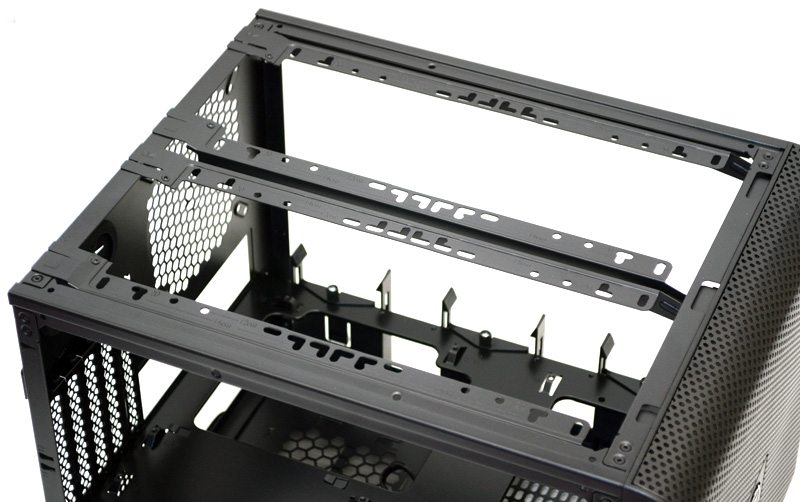
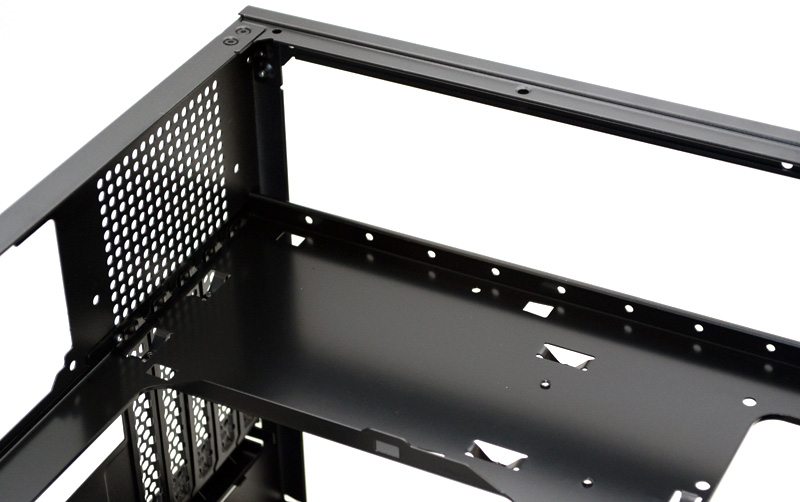
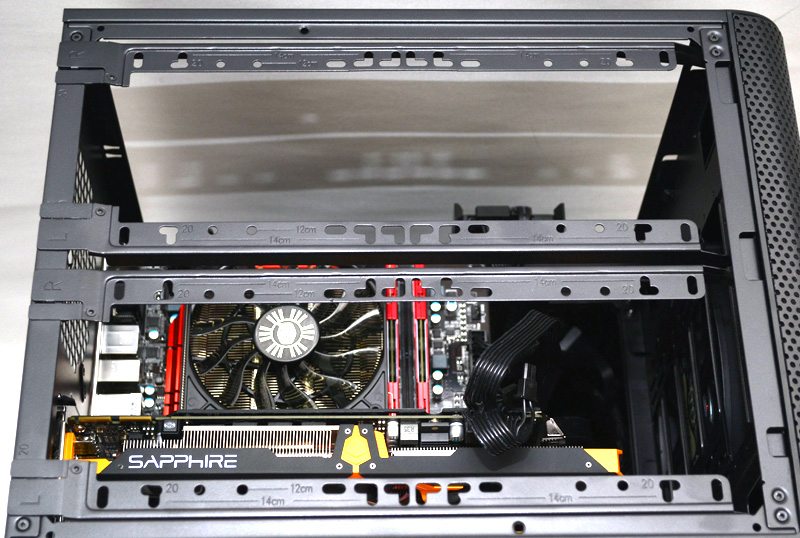
Behind the top panel, you’ll find four clip-in rails with a multitude of mounting holes, perfect for fans and radiators. These rails are adjustable and removable, allowing you to best fit them to the needs of your build, or to allow for the chassis to be stacked.
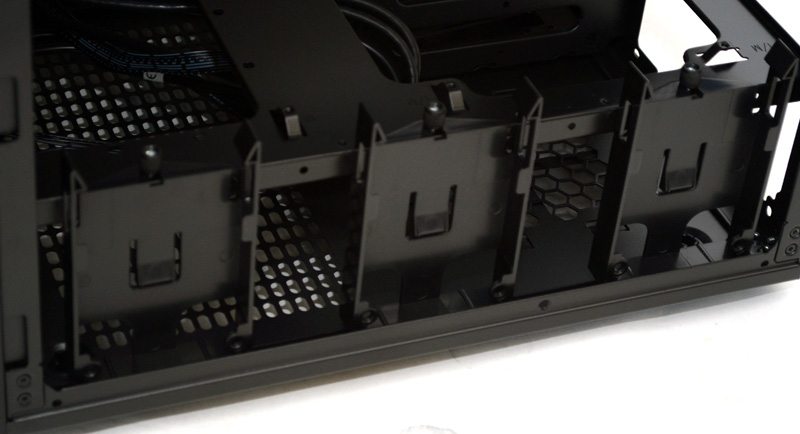
With the bottom cover removed you can get better access to the drive caddy, which can also be completely removed via three simple screws.
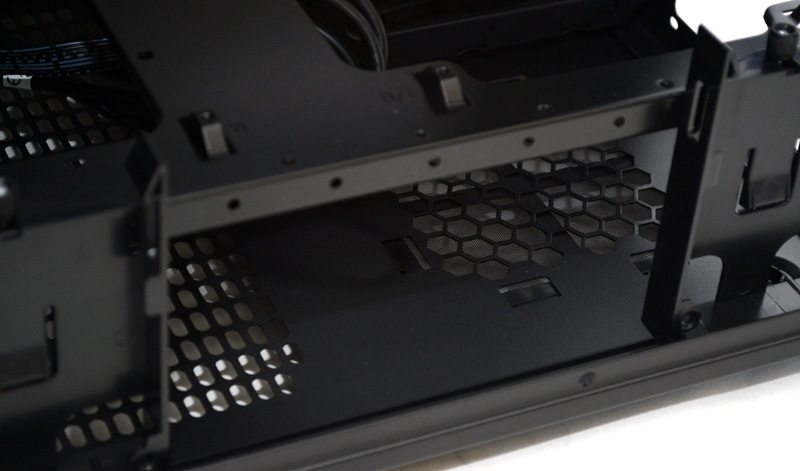
With the drive caddy removed you free up more space for stuffing extra cables, or anything else you would want to put here; something that will no doubt please the modding community.
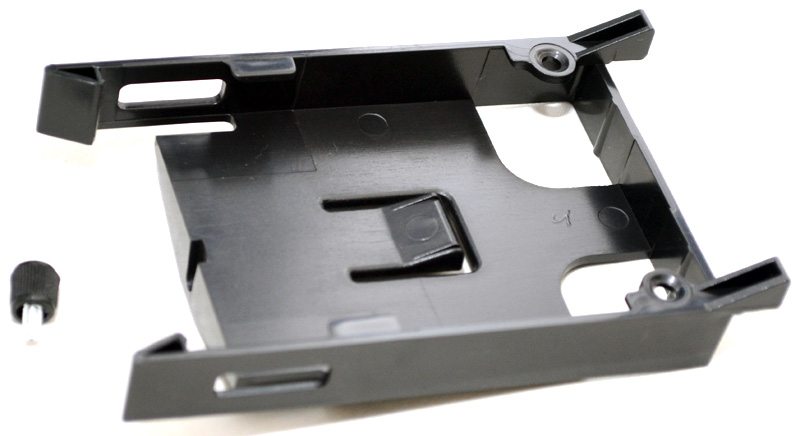
The caddy is fitted with three slide-out trays, each supports 2.5″ or 3.5″ drives.

Behind the front panel, you’ll find a large ventilated panel with a wide range of fan and radiator mounting holes, as well as a massive 200mm fan.
Complete System
The total build took about an hour to complete, which is a little slow, but keep in mind that I had to strip down both of the V21 chassis and bolt them together. Attaching the chassis together was super easy, as it required just a single screw and bolt in each corner.
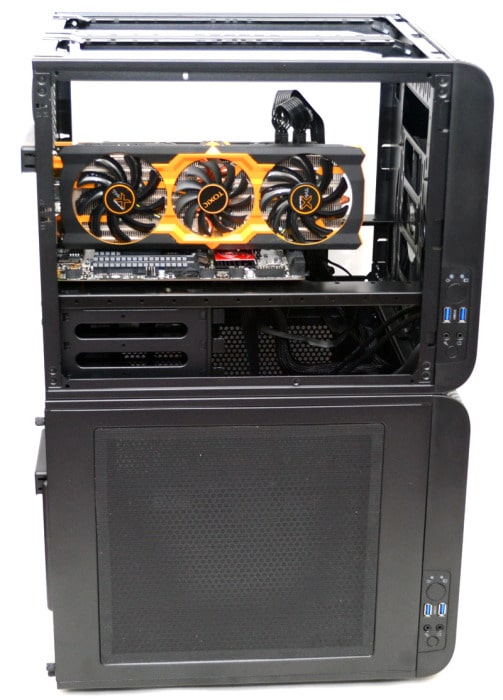
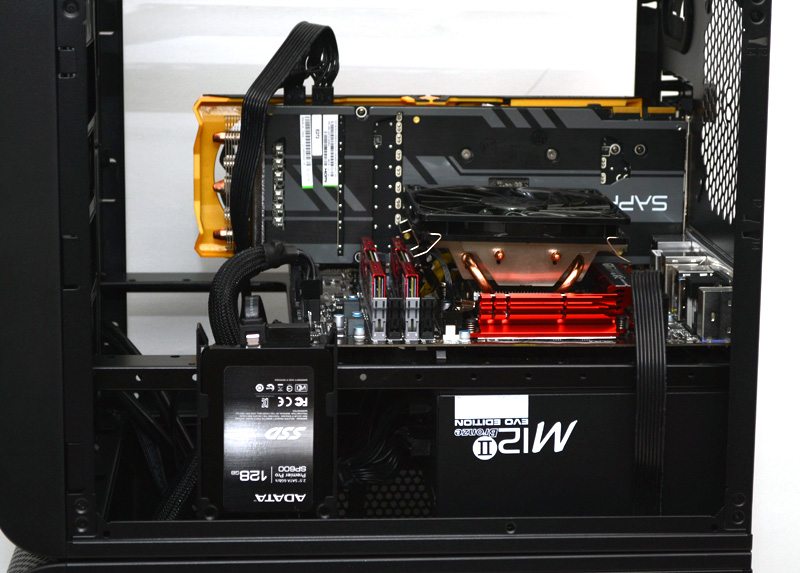
The build looks nice and clean from this angle, which is great as I plan on putting one of the window panels here. The Sapphire R9 270X is a pretty big card, but you can see it fits with plenty of room to spare; great news for those planning on installing extra long graphics cards.
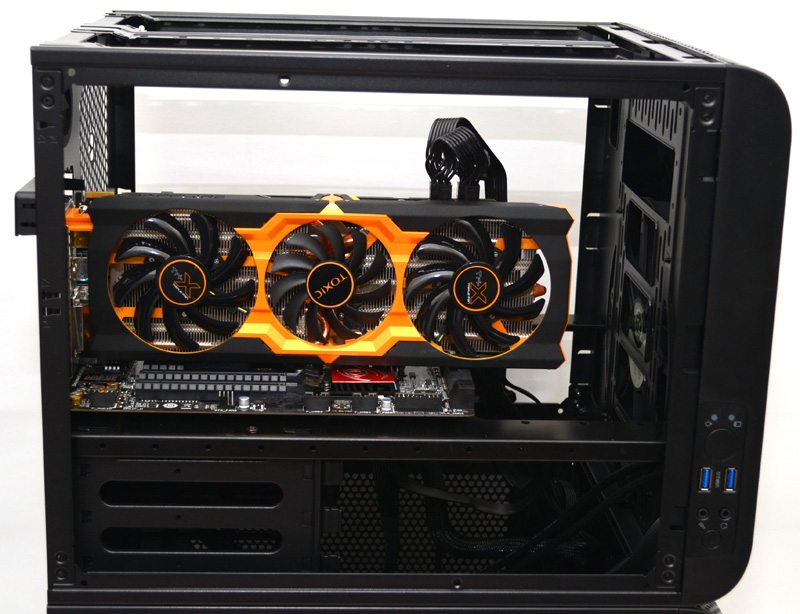
Vertical clearance is excellent, event with our GPU installed there’s room for a thick radiator, or two, in the top of the system.
You could also install a pretty huge air-cooler for your CPU, or even take advantage of the rear fan mount for fans, or an AIO cooler.
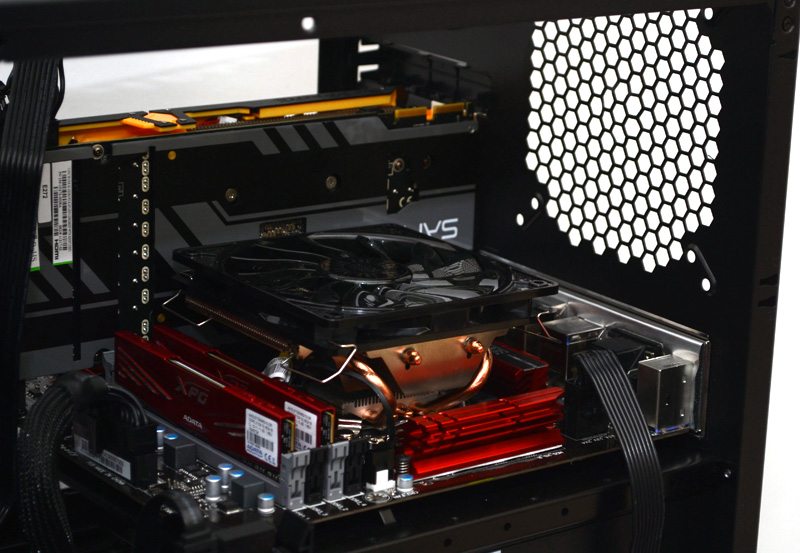
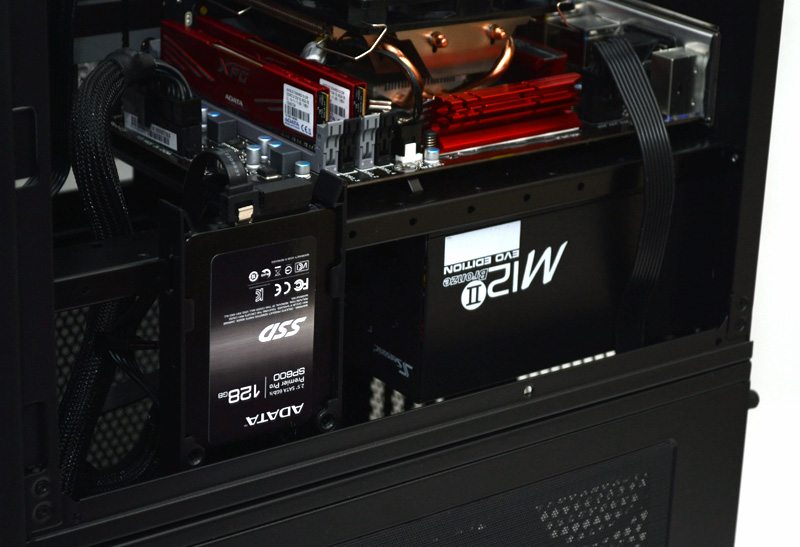
Here you can see the side 2.5″ drive mount, I’ve removed two of them since they’re not needed for my build, giving a much cleaner look overall.
The bottom chassis is actually empty in my build, as it’s here for demonstration purposes, but I took advantage of the extra space to store any excess PSU cables, leaving the cable management up top looking nice and clear.
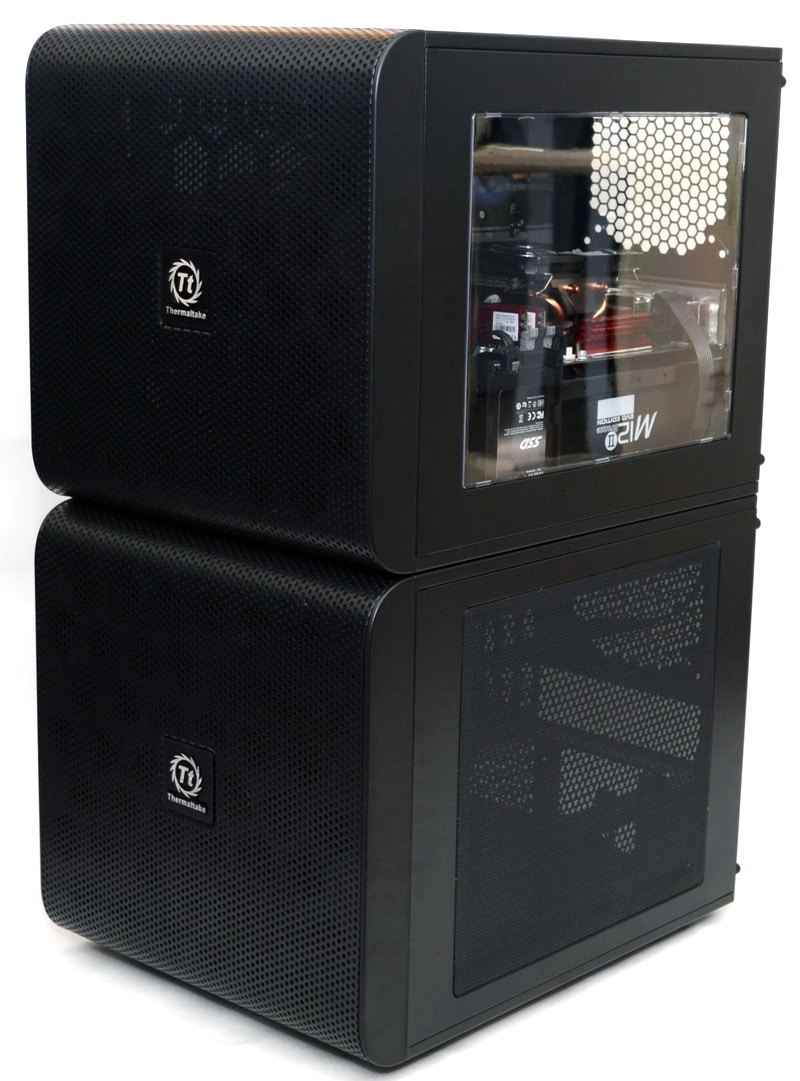
I’ve taken the smart tactic of mixing up the side panels of both chassis. This gives me a window view on both sides of the top chassis and a discrete look on the bottom half.
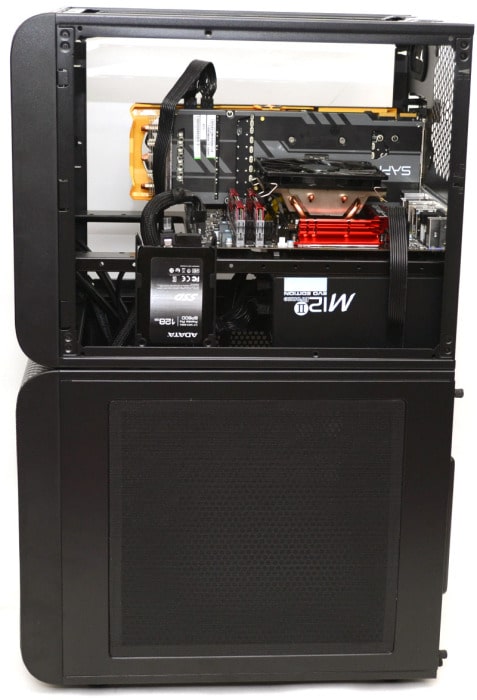
This means I can show off my fancy rig in the top section, and either have a stealthy rig in the base unit, or cram it full of water cooling pump equipment, reservoir, extra hard drives and maybe even a redundant power supply.
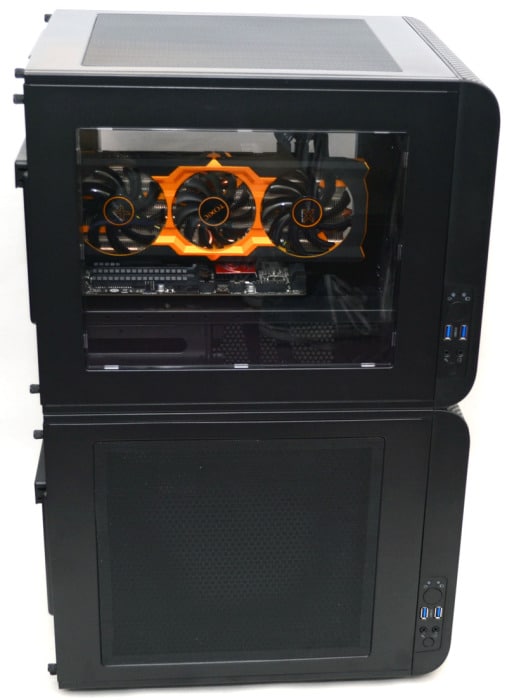
Overall this looks well and truly awesome and it’s certainly unique in terms of design.

As I said before, the panels are interchangeable, so you can actually adjust the orientation of the chassis. Put the bottom panel on the top or the side, you can mount the chassis sideways or upside down if you really wanted to!
The logo is held on by a magnet, so just pop it off.
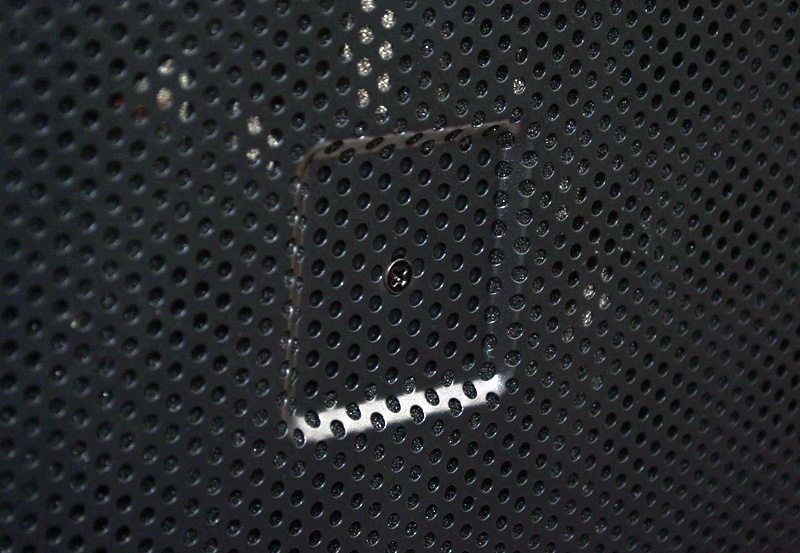
Then orientate it the way you need it, simple.
Finally, here is the right side view, pretty cool having a window on both sides of the build!
Final Thoughts
Pricing
The Thermaltake Core V21 is available from Scan Computers for just £50, which is nothing short of amazing! I actually think this may be one of the best value for money chassis I’ve ever tested! You’ll have a hard time finding something that can compete with it in terms of specification around this price.
Overview
Thermaltake have really outdone themselves this time, the Core V21 is one of the best chassis I’ve ever reviewed! As a single chassis, it’s absolutely stunning, the interior has an incredible amount of space to work with, although that comes as little surprise given that this is one of the biggest cube-style chassis on the market. There’s room for an extensive water cooling configuration thanks to front, top and rear fan/radiator mounts, which is helped along in a big way by the modular mounting rails in the top of the chassis. There’s no compromise here at all, with a large high quality fan in the front, extensive filtered ventilation throughout and superb cable management.
Treat yourself to a second Core V21 and things get even better. The chassis is incredibly easy to stack and opens up a wealth of configuration options. You can stack them vertically as I did today, or you can join them horizontally. This is thanks to the interchangeable side panels, as you can put the base of the chassis on the top and turn the case upside down if you so desired, it’s really up to you how you want to orientate and customise your build. For chassis modders, the Core V21 is a blank slate, ready for whatever crazy ideas you want, although it’s just as impressive in its stock configuration.
Having two Core V21’s means you can have two rigs, or one rig that has extra storage and cooling components stored in the top or bottom section. I really like that I can take the window panel from the second chassis and have both windows on the other chassis, while keeping the other looking more discrete; perfect for hiding cables, hard drives and other components out of the way and, keeping your fancy hardware on show in the other chassis.
Build quality is superb throughout, everything locks into place nicely enough, the chassis feels durable and it’s very easy to work with. However, the thing that impresses me the most isn’t the hardware compatibility, the modular design or the unique style, but the price. How this chassis costs so little is amazing and it’s by far one of the best value for money chassis on the market today.
Pros
- Great build quality
- Stackable design
- Modular interior
- Extensive cooling support
- Dust filters
- Rotatable badge
- Interchangeable side panels
- Very competitive price
- Easy to work with
Cons
- None
“Thermaltake have proven once again that they can create a unique product that is as appealing to first-time builders as it would be to enthusiast chassis modders. It doesn’t matter if you want an affordable chassis for a LAN gaming rig, or a customizable ultra-high-end stacked gaming rig, the Thermaltake Core V21 has got you covered. You will not find a better chassis for the same money.”

Thermaltake Core V21 Stackable Micro-ATX Chassis Review
Thank you Thermaltake for providing us with this sample.


