Thermaltake Suppressor F31 Silent Mid-tower Chassis Review
Peter Donnell / 8 years ago
Introduction
Thermaltake is one of the biggest names in the PC component market, with a huge range of products that range from water coolers to power supplies. We’ve seen a lot of great products from Thermaltake over the years, and today we hope to see another great addition to their already featured packed range.
“The Suppressor F31 Window mid-tower chassis is the new addition to the Suppressor Series to the Thermaltake case line. Featuring the first chassis with 250mm wide and leading-edge sound reduction panels on all sides, expand your cooling options with removable panels for the perfect balance in silent operation and cooling performance. Supporting a range of motherboard platforms from Mini-ITX to ATX solutions, unrivaled liquid cooling expansion and expandability for all high-end GPU solutions users can expect an enthusiast built design they can trust.”
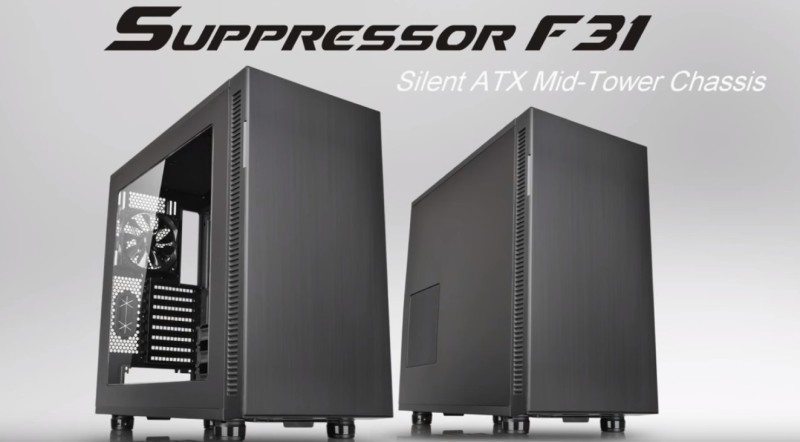
The Thermaltake Suppressor F31 is their latest mid-tower, following on from their F51 chassis which launched earlier this year, designed with a relentless focus on silent performance. It’s been kitted out with thick panels, vast amounts of sound dampening materials, a front panel door and extensive air and water cooling support, giving you all the tools you need to build a power and super quiet system.
https://youtu.be/vkLnHc9Er5o
Equipped with extensive support for fans and radiators, a decent amount of storage, large graphics cards and more, the F31 is certainly a capable product; I can’t wait to take a closer look at this chassis, so let’s jump right in and see.
This chassis is closed up pretty tight, with lots of sound-dampening features to help keep your build as quiet as possible. There’s a very thick side panel on the left with an optional side panel fan mount. The fan mount has a magnetic exterior dust filter for easy maintenance.
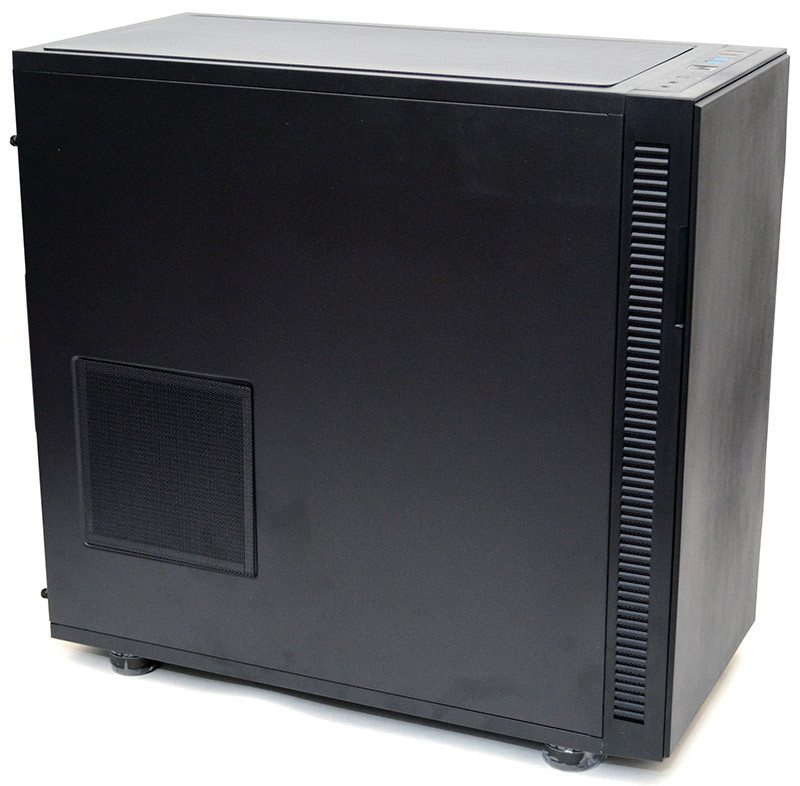
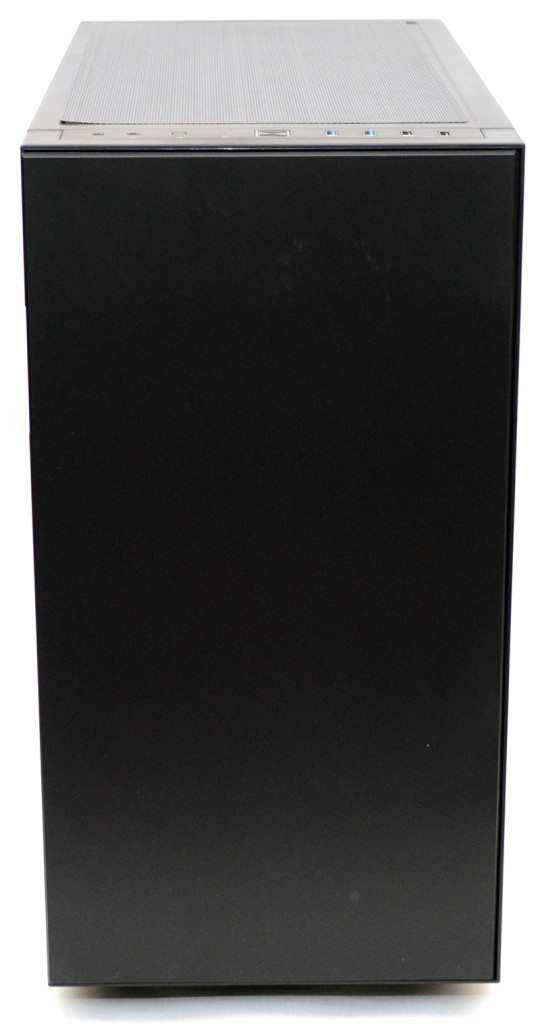
Another thick panel on the right as well as more ventilation down the sides of the front panel to provide airflow to the front mounted cooling.
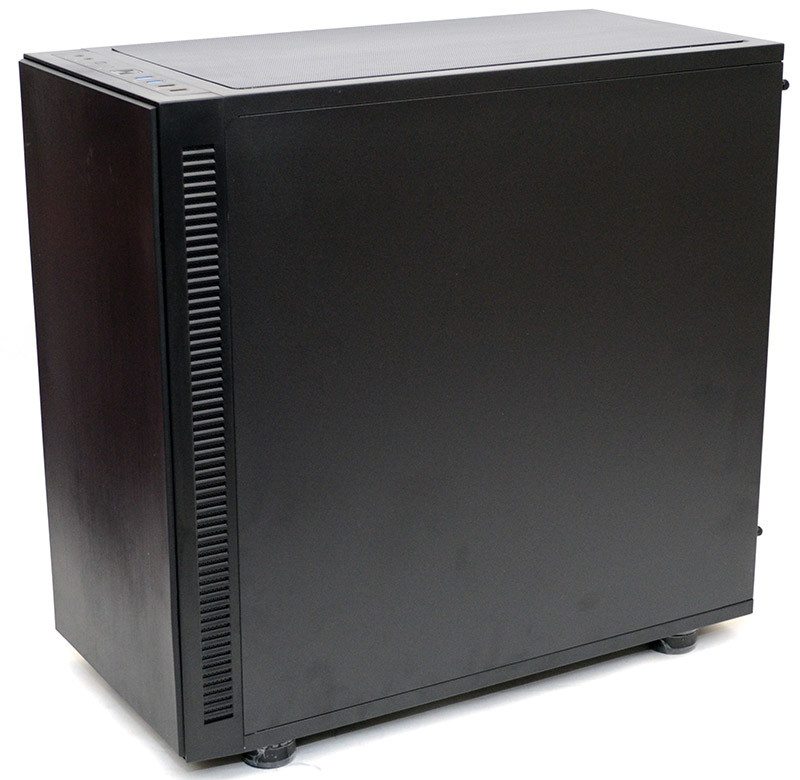
The front panel is just as bold as the rest of the design, with a thick door panel and a lightly textured finished. The design is a little boxey and bland, but I quite like the monolithic appearance.
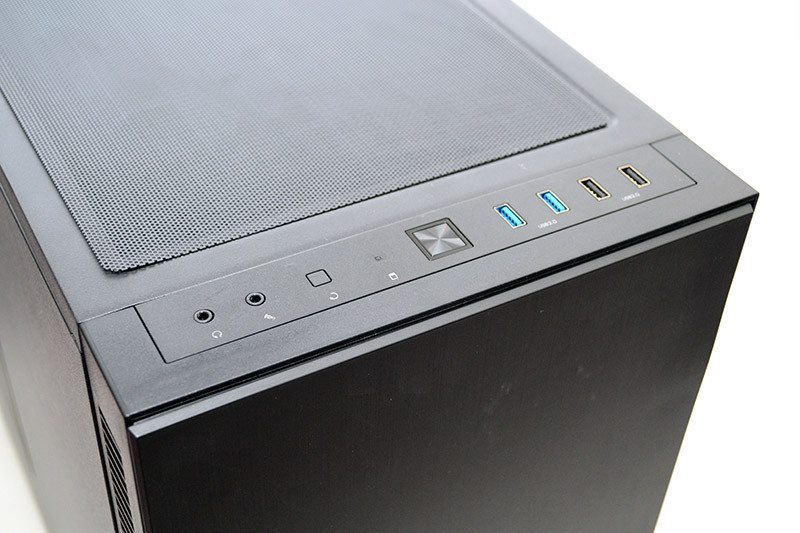
At the top of the front panel, you’ll find HD audio jacks, power controls, dual USB 3.0 ports and dual USB 2.0 ports; that’s decent amount of connectivity.
A few magnets in the front panel help keep the door closed and to help further enhance the noise proofing, there’s a thick lining of sound dampening material on the back of the door.
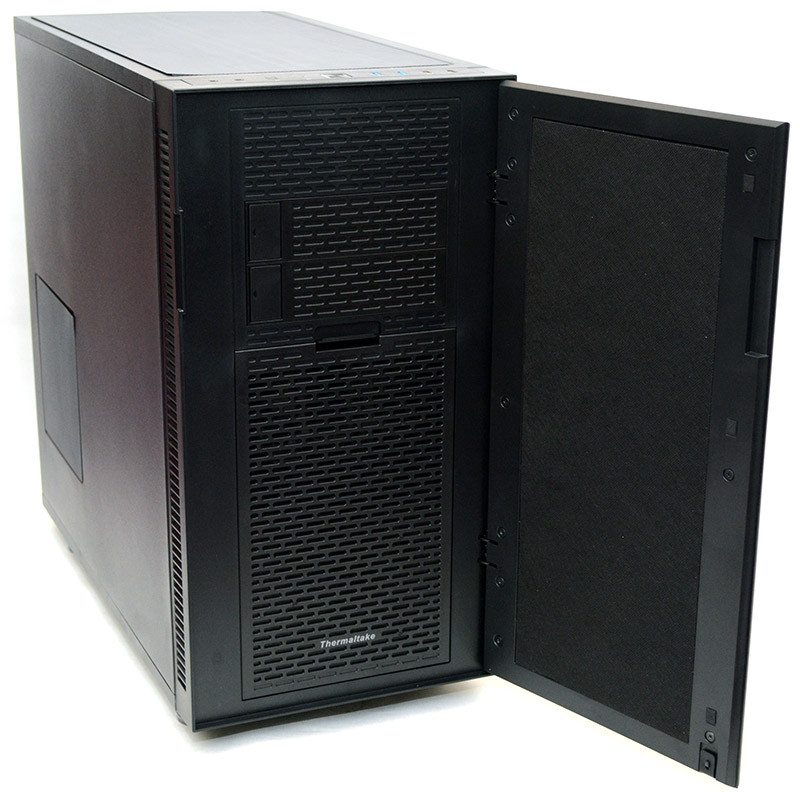
There are two 5.25″ drive bays, each fitted with a quick-release tool-free cover.
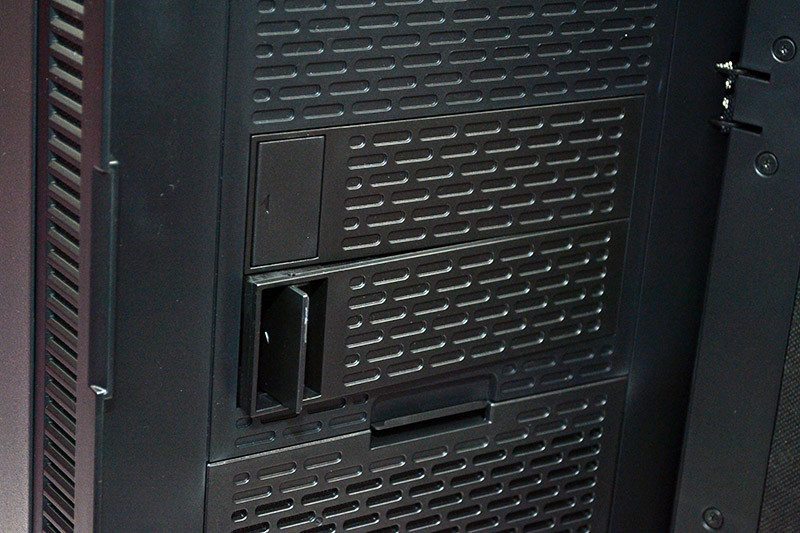
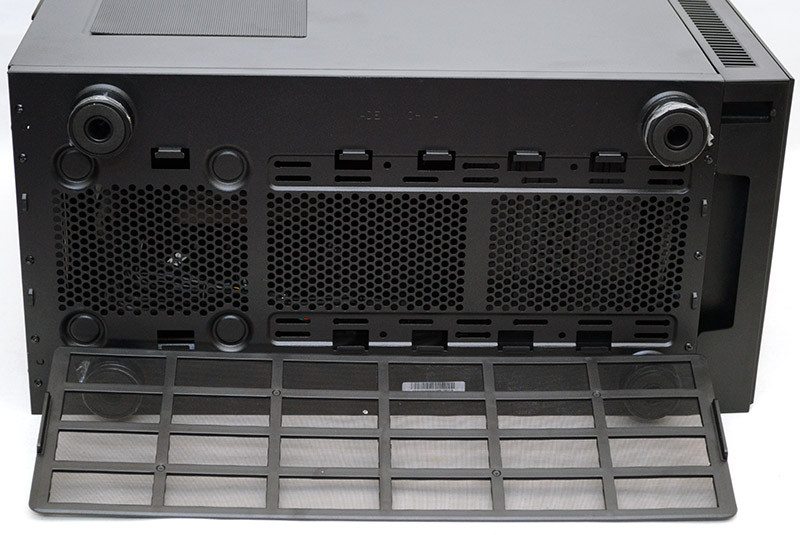
The bottom cover clips out easily enough, allowing you to quickly clean the filter and access the front panel cooling mounts, where you’ll find a pre-installed 120mm fan.

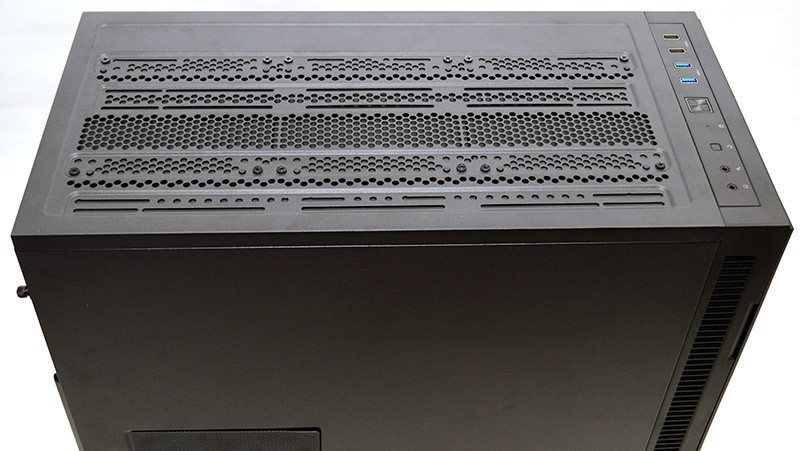
On the top, you’ll find a full-length magnetic dust filter, which is easily removed and cleaned when needed.
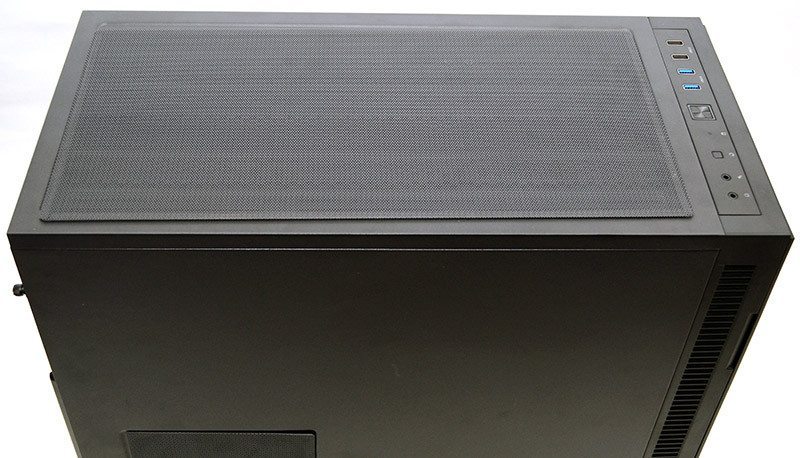
You’ll also notice that under it, the fan mounts as closed off, meaning you can keep them in place for maximum noise dampening, or take them out to install extra cooling as required.
Four sturdy feet on the bottom give good ground clearance for the full-length, slide-out dust filter.
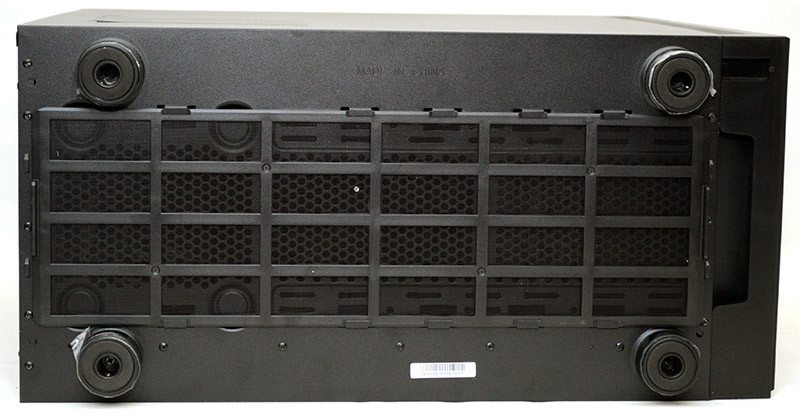
This filter gives clean airflow to the PSU ventilation, as well as any addition base mounted cooling.
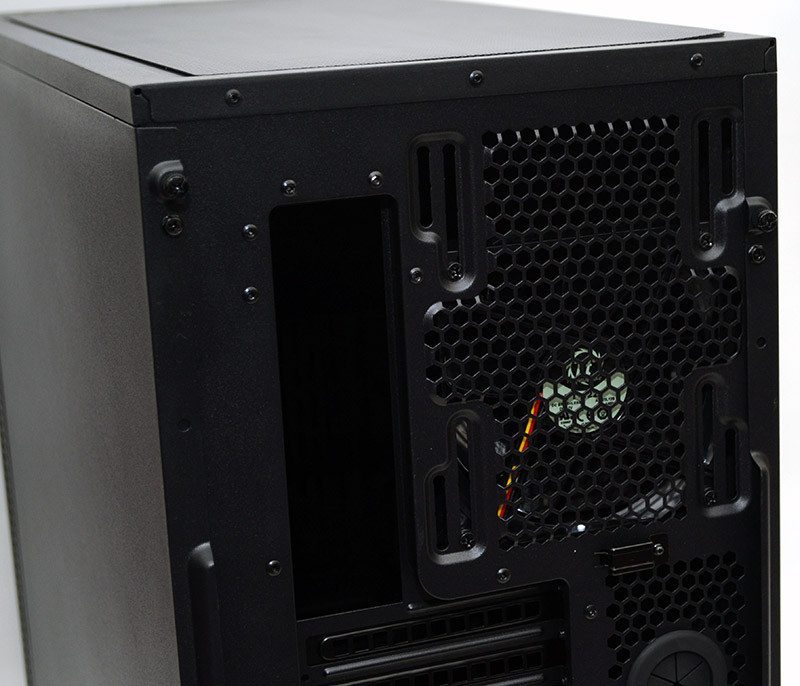
Around the back, you’ll find the side panels are held in place with thumb screws, but also normal chassis screws. I just wish I noticed these extra screws when I struggled for a few minutes wondering why the flipping panel wouldn’t slide off; I have no idea why we need a second set of screws here, but you could always leave the removed if required.
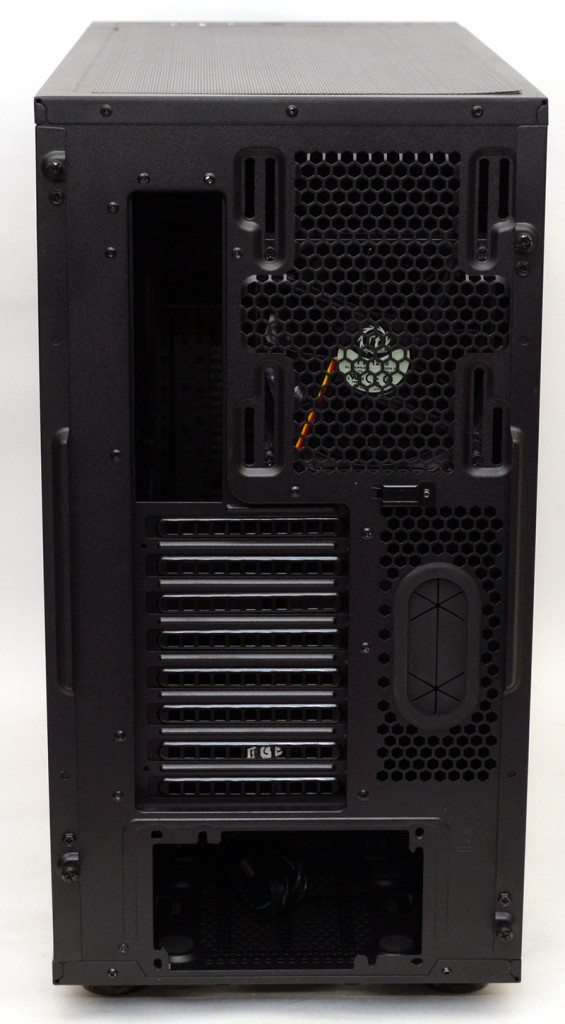
At the top, there’s a single 120mm exhaust fan pre-installed, but there’s also the option to install 140mm cooling if required. The screw holes are elongated to allow more flexibility in the height of the fan/radiator mounting, as this could help prevent hardware conflicts.
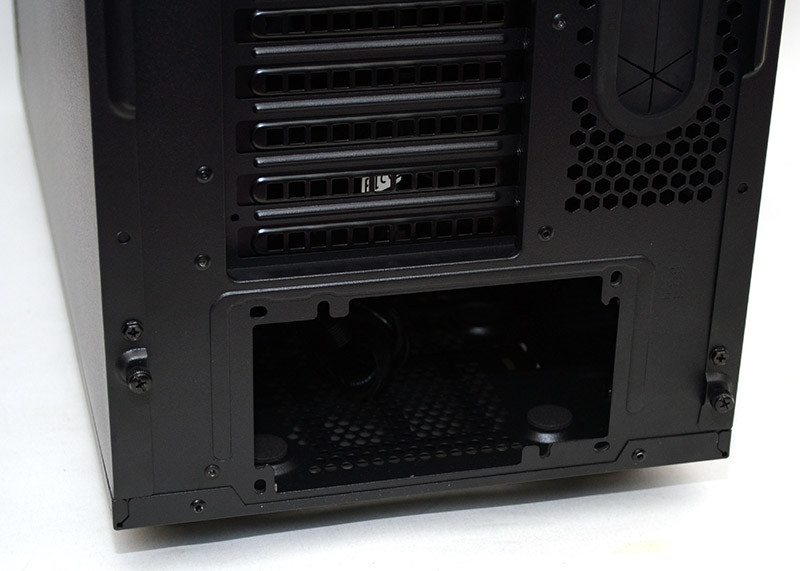
There are eight expansion slots, each fitted with a metal reusable and ventilated cover. There’s also a routing grommet to the right, as well as plenty of extra ventilation.
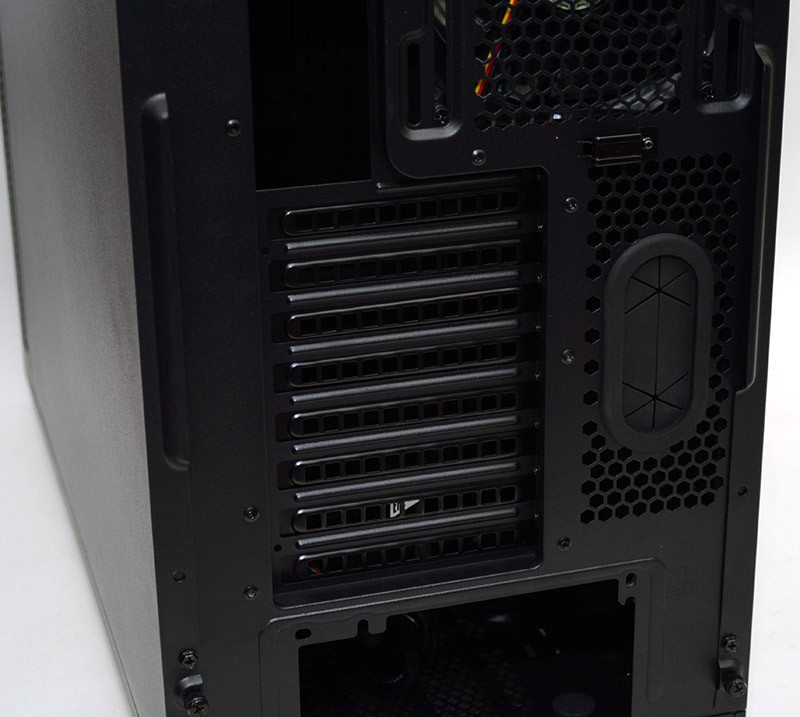
The PSU mounting supports normal and inverted installation, of course, if you mount the PSU with the fan facing downwards, you can take advantage of the bottom dust filter.