ADATA XPG Battlecruiser PC Case Review
Peter Donnell / 5 years ago
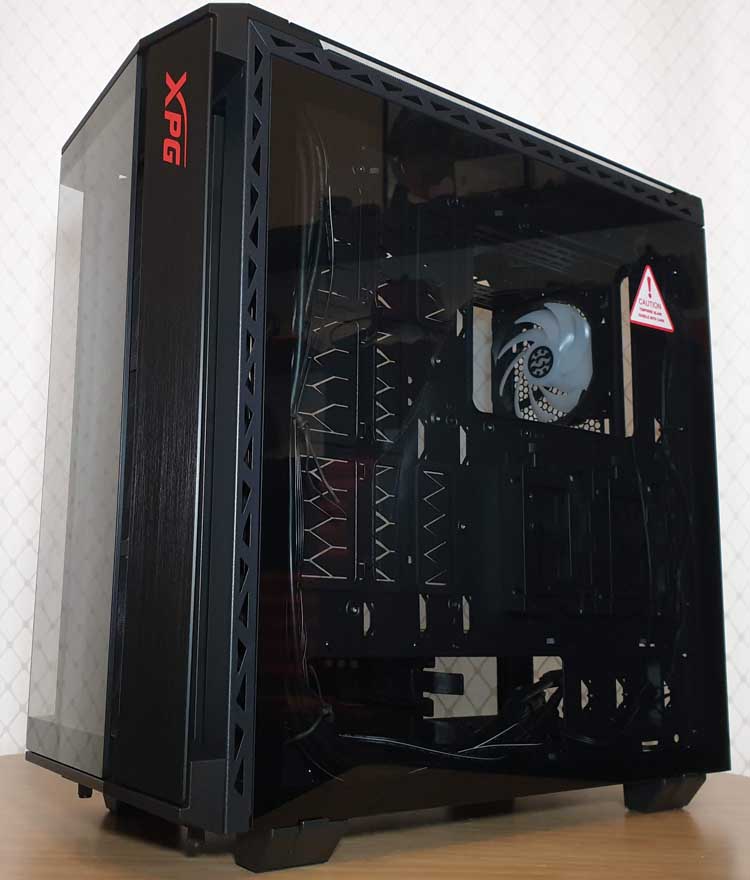
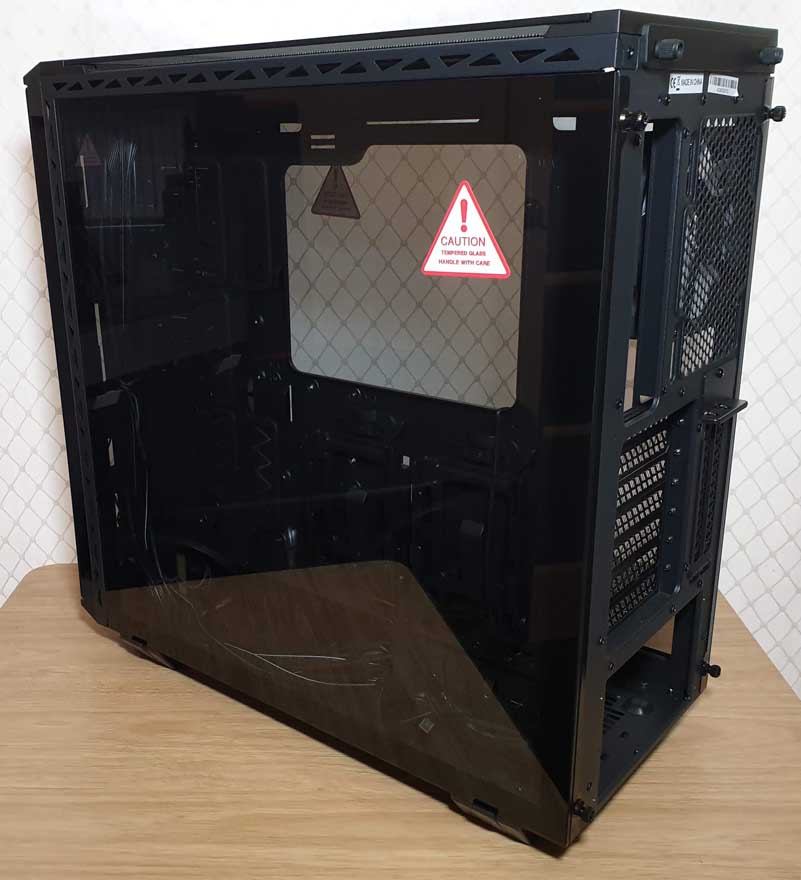
Exterior
First impressions of the Battlecruiser are extremely positive. It’s a pretty cool looking case, and with all that tempered glass, it’s very easy to see what’s going on. The glass is tinted a bit though, which hides some of the fittings and internal cables. Of course, that should make cable routing just a little easier, but it’ll still be tricky since things are obviously exposed.

More Glass
As I said, it has a lot of glass to show off your build. The top panel has side airflow, so you can still mount fans and radiators up here, and there’s a big dust filter behind it too. Best keep a duster handy with this one though, and kids with sticky fingers well clear.

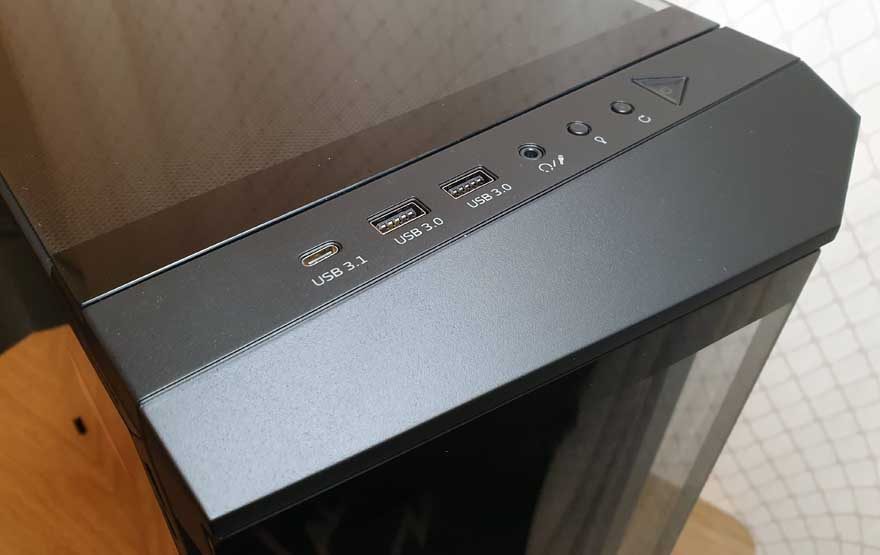
The main I/O panel has a pair of USB 3.0 ports, as well as Type-C, which are all blacked out to keep the aesthetics on point. There’s a single audio jack, which supports 4-pole connectors, or you could use a splitter cable. Of course, there are the usual power controls, and there’s even a front panel LED control button too!
Front Panel
Now, the front panel really does make a bold statement. Of course, it has tempered glass, but it’s set at an angle, with an angled panel on the top and right to break up the design.

Airflow comes from the sides of the panel, and just like the top, there’s a big dust filter fitted snug behind it too.
Branding is kept fairly minimal, with just the XPG logo in the top right of the front panel.
Even MORE Glass
Then we have the right-side panel, another big slab of tinted tempered glass. You’ll be showing off more than your motherboard in this build. I hope you’re a dab hand at cable routing, although as you’ll see soon, this case has you covered there too.
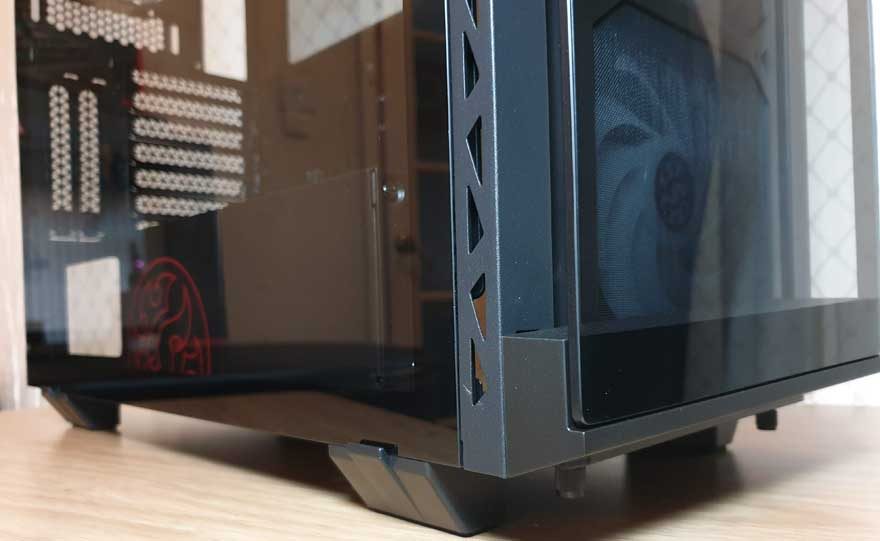
Rear
Around the back, you’ll find another 120mm ARGB fan, matching up with the three installed in the front panel. It has elongated screw mounts too, so it can be height adjusted for compatibility.

Below that, a bunch of reusable expansion slot covers, plus another two in vertical mount should you have a riser cable (sold separately).

Finally, the PSU mount. It’s a huge hole atm, but there’s a mounting bracket included in the box that you’ll need to fit to your PSU first.


