AeroCool Aero-1000 Mid-Tower Chassis Review
Peter Donnell / 9 years ago
Interior
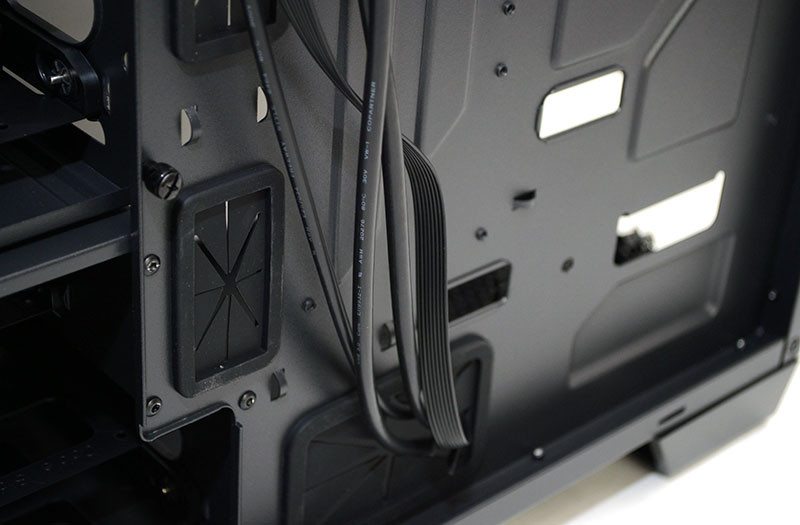
With the side panel removed, we can see that the Aero-1000 is well equipped with a range of cable management routing grommets, as well as a good size CPU cooler mounting cut-out, which should help make the installation process a lot easier.
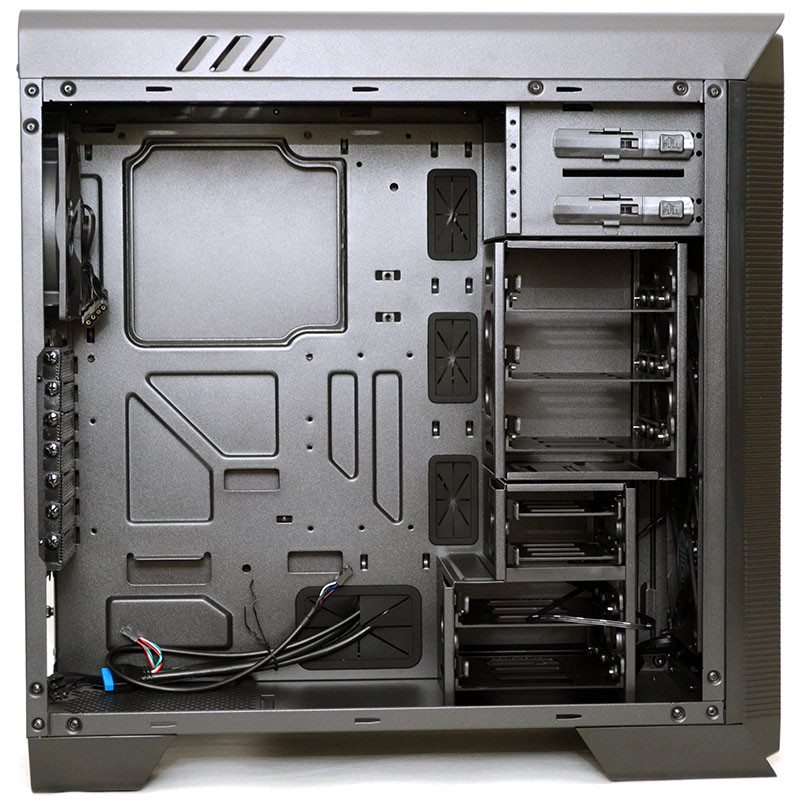
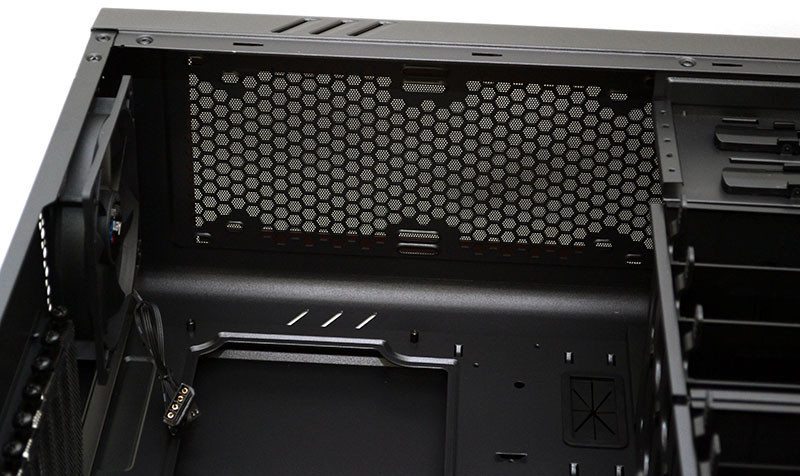
The top of the chassis will hold two 120/140mm fans, or a 240/280mm water cooling radiator.
The 5.25″ drive bays come fitted with tool-free locking mechanisms to allow quick installation/removal of your drives.
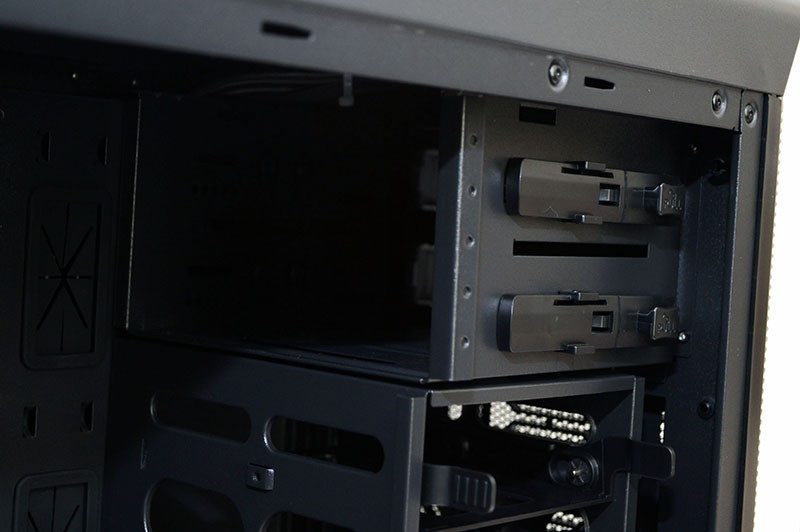
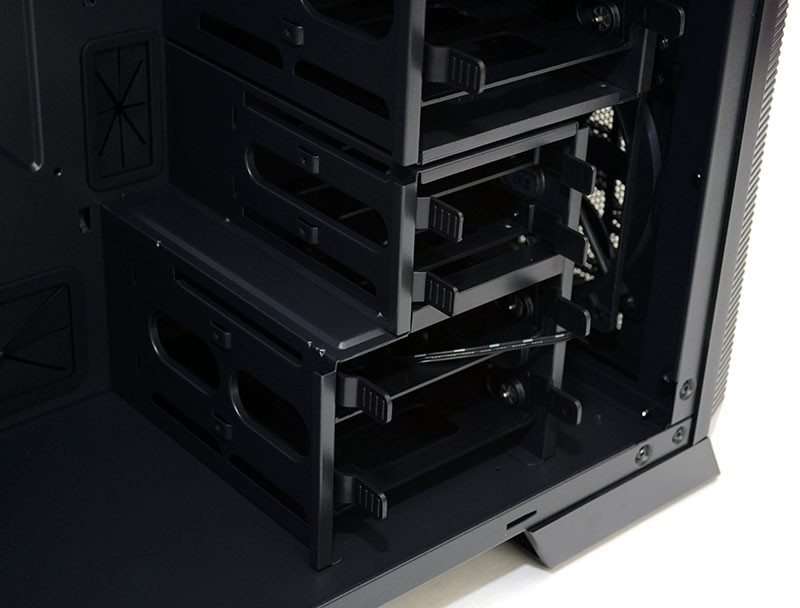
There are three separate hard drive bays, the uppermost for 3.5″ drives, but should you remove this to allow room for super long graphics cards, there’s a 2 x 2.5″ drive bay and another 2 x 3.5″ drive bays in the base of the chassis. Behind the drive bays, you’ll find a pair of 120mm fans, but you can swap these out for 140mm fans if you feel the need. The bottom two hard drive bays are further back that the top bay, which allows room for another radiator of up to 240/280mm.
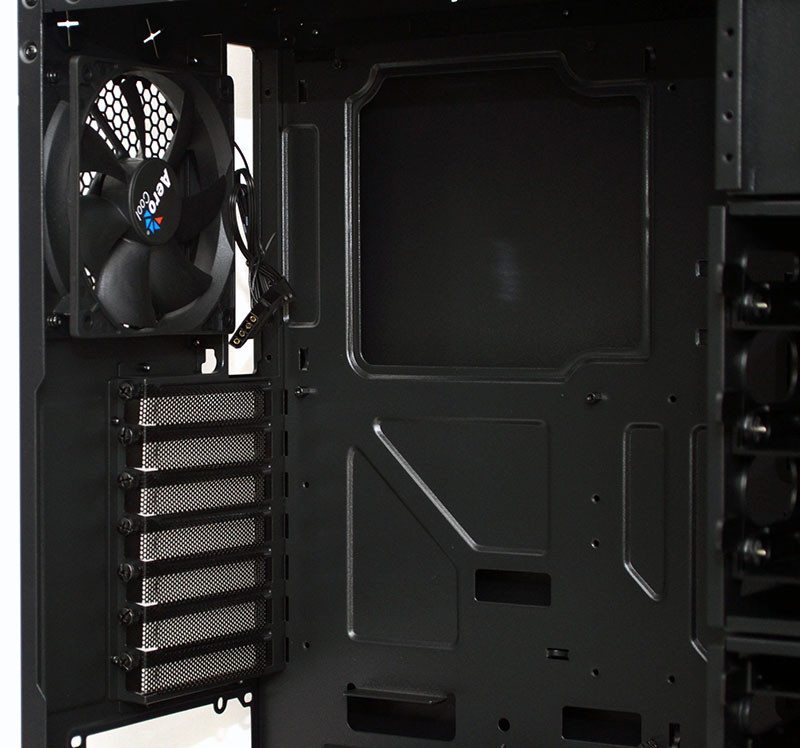
Each of the expansion slots are fitted with easy access thumb screws and reusable covers.
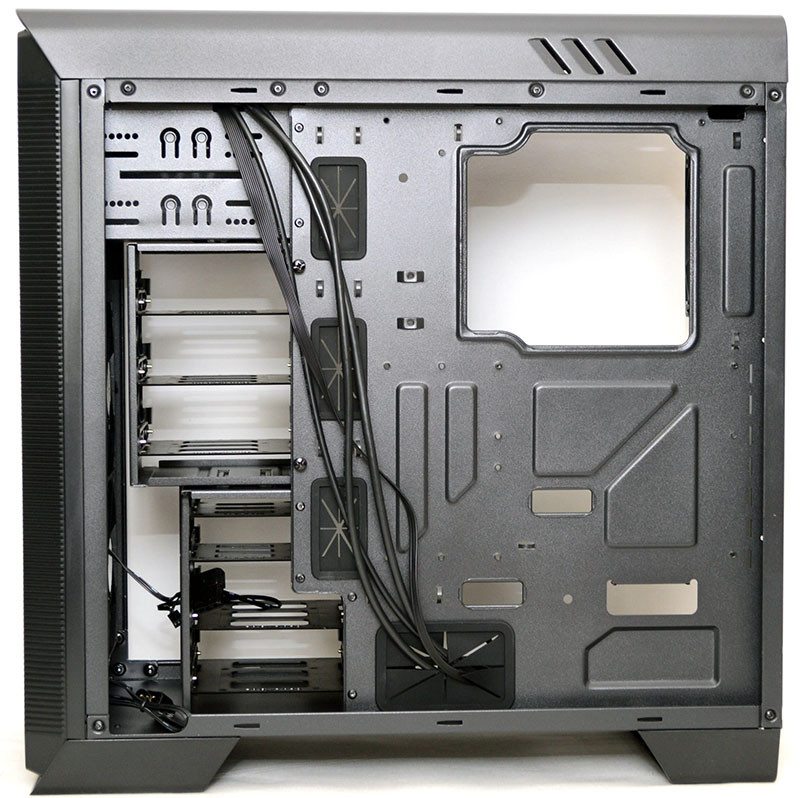
Behind the motherboard, you’ll notice that all internal cables are black, which should help keep your build looking neat and tidy when viewed through the side panel window.
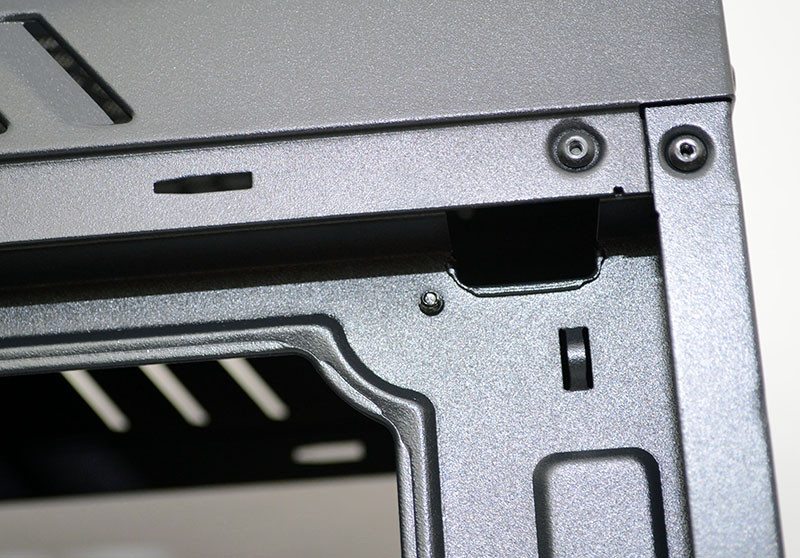
There’s a small cable routing hole at the top rear corner; perfect for routing your CPU power cable.
There’s a lot of space for cable management, so even the lazy will be able to get away with just stuffing excess cables behind the motherboard, but those wanting something a cleaner can use the various cable tie loops that will help keep everything in order.
