Aerocool Dream Box Chassis Kit Review
Peter Donnell / 8 years ago
Complete System
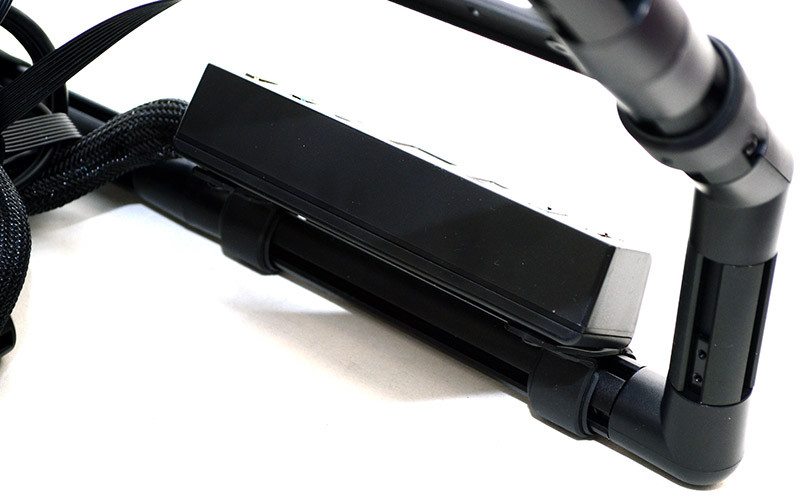
So here we have it, a complete system of sorts and without a doubt, it’s unlike anything we’ve built here at eTeknix before. I aimed for a test bench like format where the access to the graphics card and CPU cooler installation process would be as open as possible, making it easy for testing components. Of course, what you choose to build from this bundle of bits is up to you, but I like that fact that I made something unique to me, even if no one else likes what I did. The motherboard is tilted away, as are the I/O panel and the 2.5″ SSD in the bottom right, creating a more unified and unique look for the build.
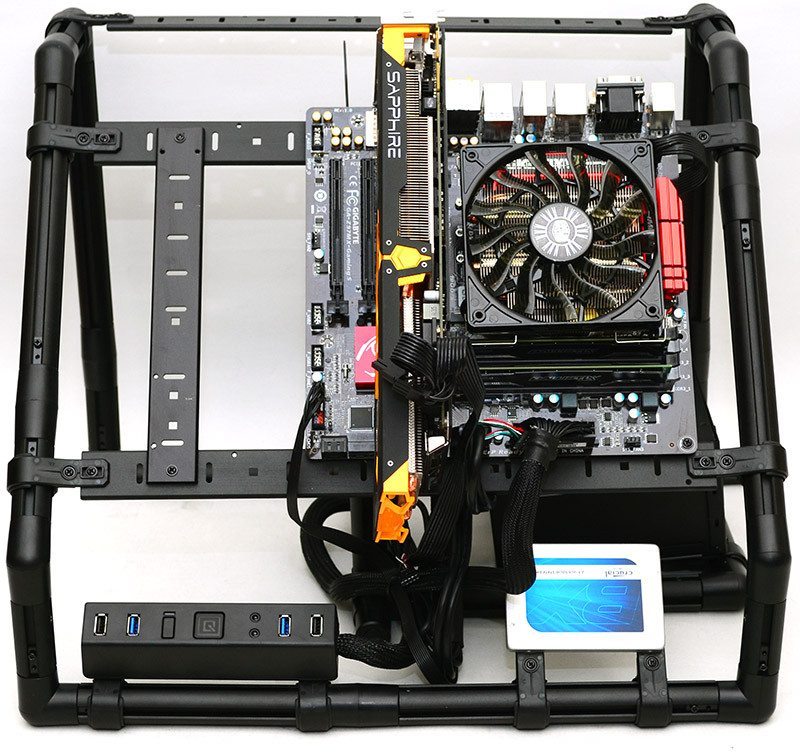
It’s pretty obvious that airflow is not going to be a problem here. I could take a few C-rings and mount a few fans blowing at any bit of hardware I wanted, but for now there really is no point. This could prove incredibly handy for those doing extreme overclocking though, as there’s very little in the way of the components and you really can put things exactly where you want them.
Cable routing wasn’t as easy as I had hoped, but If I was to keep this system in its current format, there’s plenty of scope to cable tie things to the frame and keep it looking a little more organised.
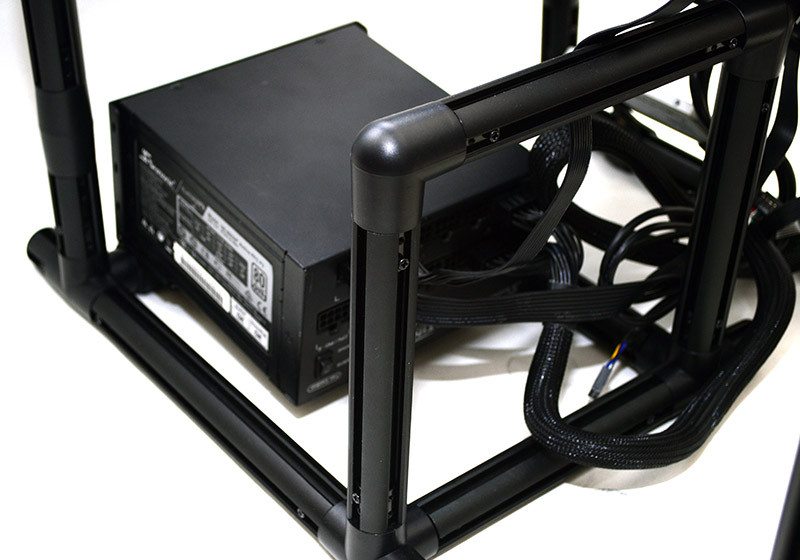
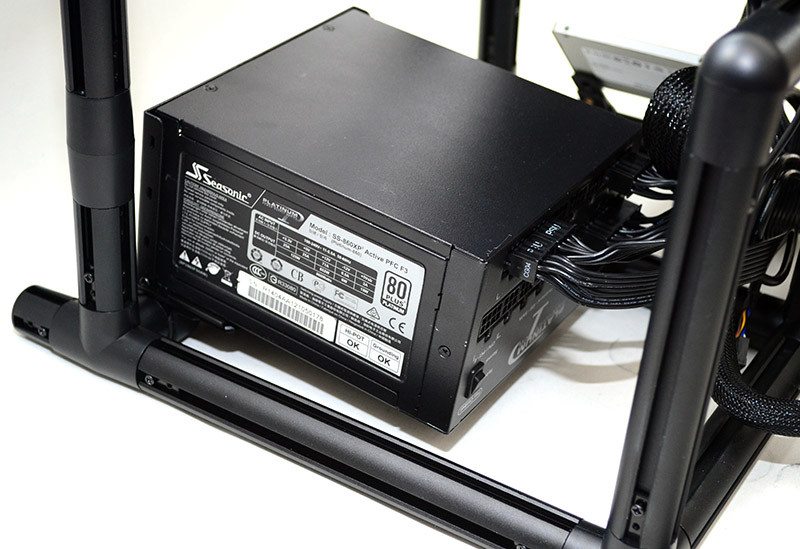
I did put the PSU bracket on backwards before, so when building, I simply turned that around and fitted the PSU. Of course, I also made another error, as there’s nothing to support the back of the PSU from drooping. I didn’t fix this, as I wanted you to see how it looked wrong, and point out that if you do have a problem like this, just get the bits out again, add another bar to suit the size of the PSU and your problem is solved. Need a bigger motherboard, PSU or anything else? It’s only a screwdriver and a few extra components away from being supported.
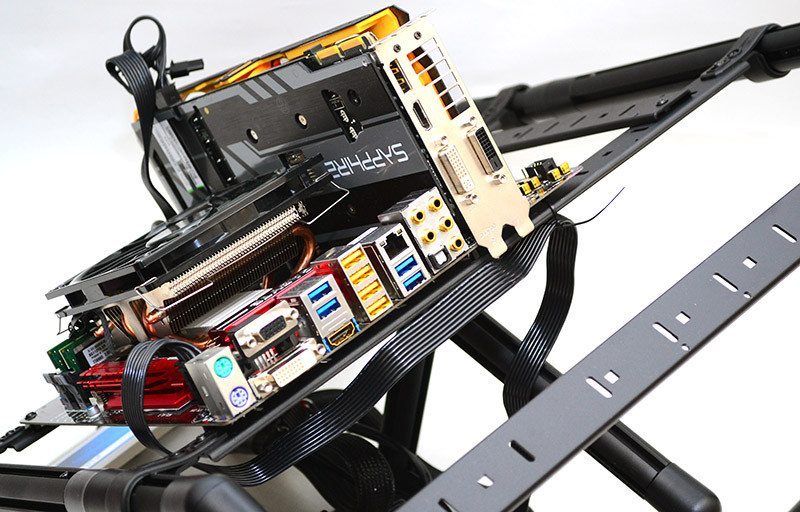
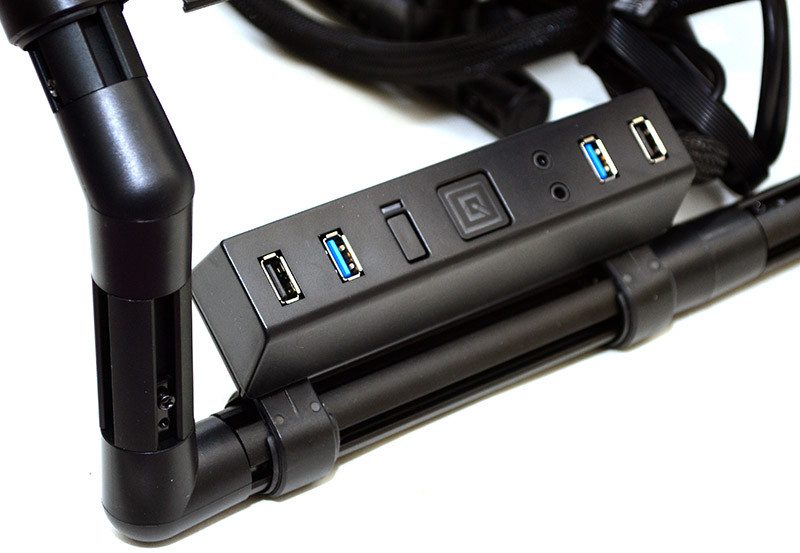
The front I/O panel fitted easily enough.
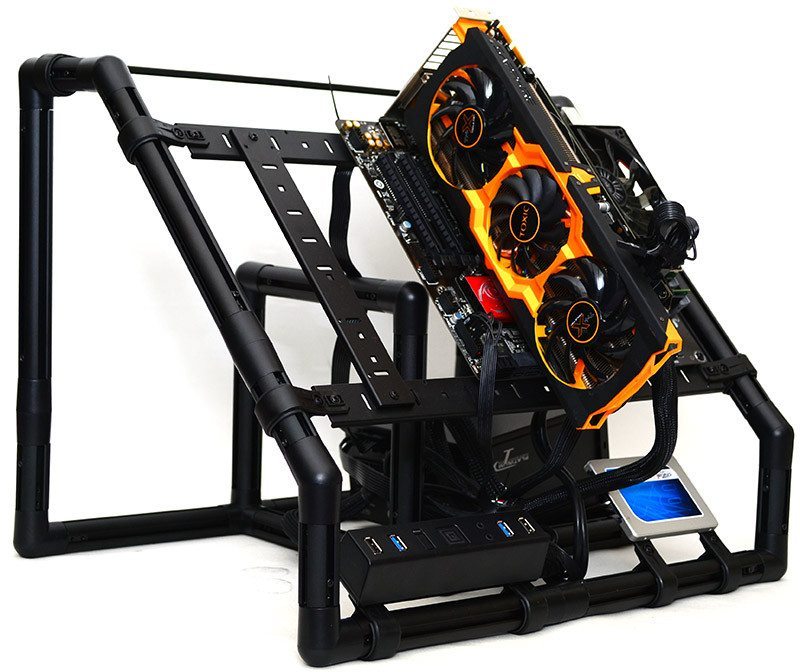
Lots of room to access it from the front and it looks pretty cool mounted at an angle; well, I think it does.
There’s clearly a lot of room back here, so adding hard drives, optical bays and all kinds of cool stuff back here should be easily done; although you’ll likely need a few more bits of out of the box first.
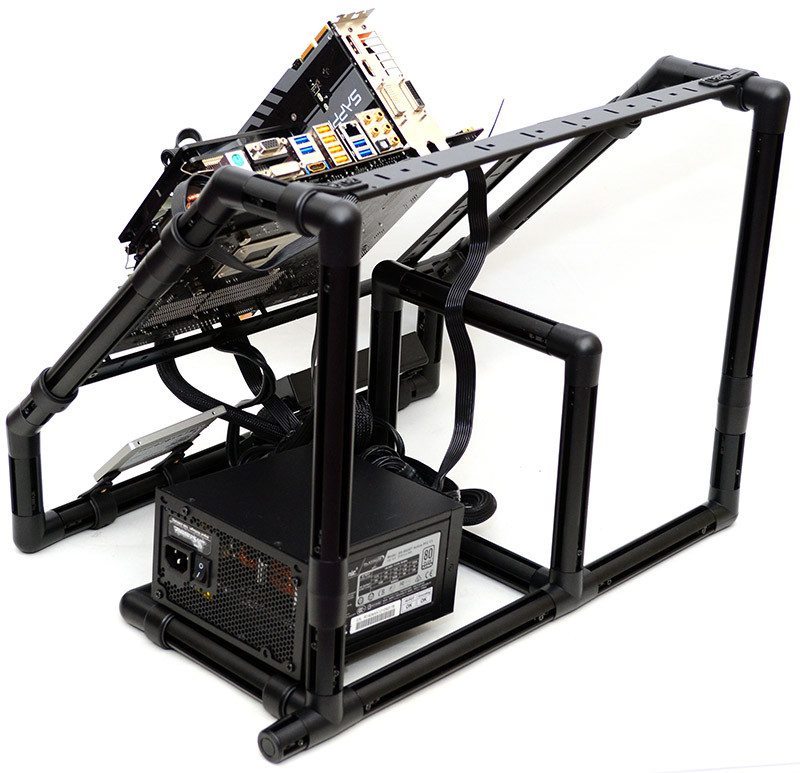
The motherboard I/O is within easy reach, and there’s a good amount of space to take excess cables and hide them behind the motherboard, keeping the view from the front as clean as possible.