A Closer Look
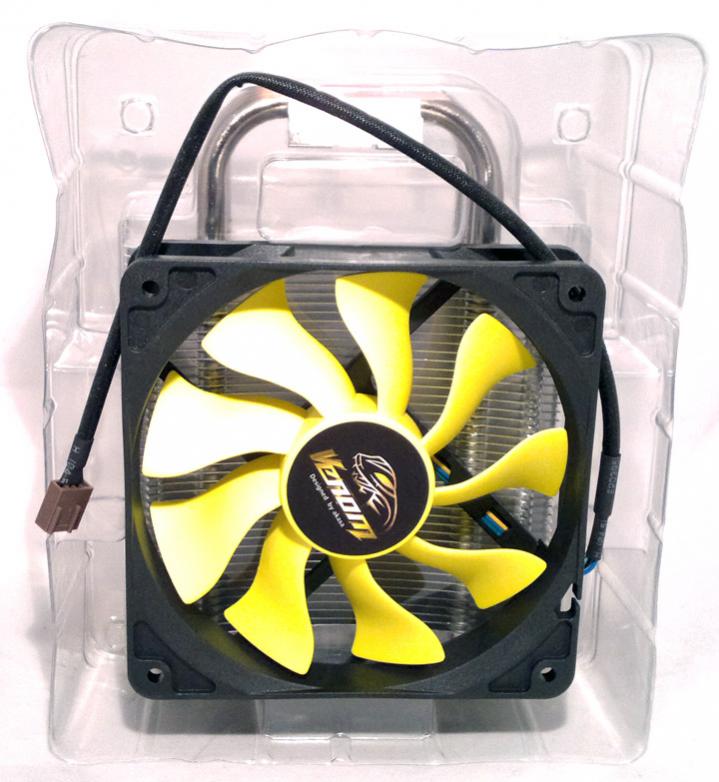
[COLOR=#000000][FONT=Tahoma]Opening up the box will reveal a plastic tray/container and on the front side is the huge 12 cm yellow fan.
[/FONT][/COLOR]
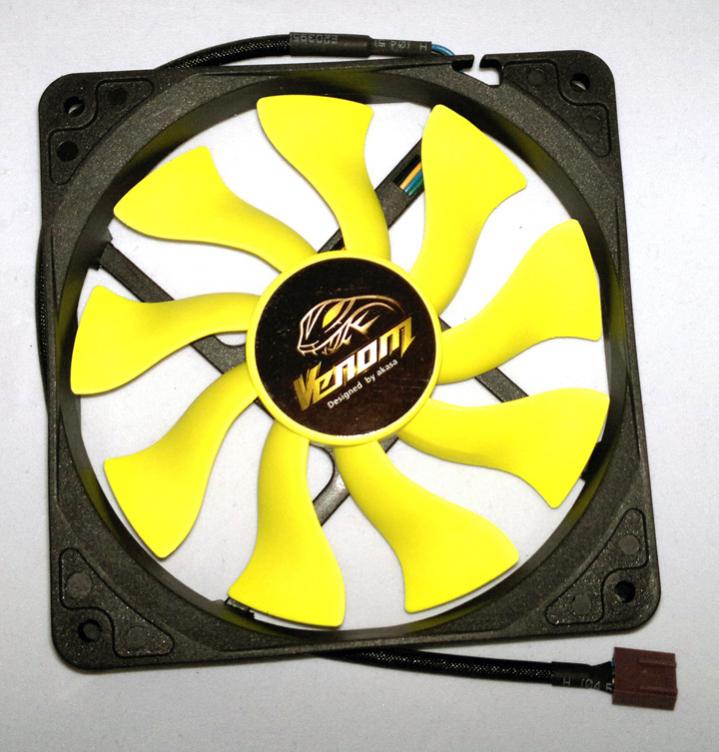
[COLOR=#000000][FONT=Tahoma]Looking at the fan more closely, you can see that it has 9 blades. These are clearly slightly-S-shaped blades. The power cable is the standard affair except it is a bit more robust than others I have seen.
[/FONT][/COLOR]
[COLOR=#000000][FONT=Tahoma]
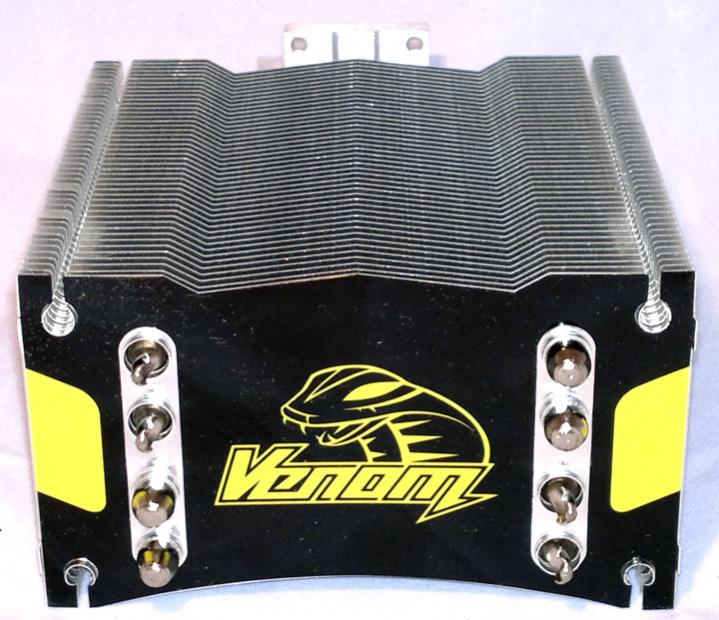
Now looking at the heat sink itself which, is made up of a huge number of very thin fins, which surround the 4 doubled over copper heat pipes. These two features combined gives a huge area of heat transfer while allowing the air to flow through freely. There is also quite a large gap at the bottom of the heat sink to the top of the processor plate which allows for you to insert the AMD fixing attachment.
[/FONT][/COLOR]
[COLOR=#000000][FONT=Tahoma]From the top of the heatsink you can see the Venom logo and the 4 heat pipes as well as 4 columns in the corners which allow for the fan(s) to be fixed on.
[/FONT][/COLOR]
[COLOR=#000000][FONT=Tahoma]At the bottom of the heat sink you will find the processor plate which isn’t quite the standard affair, for one you would normally expect to see a solid copper plate or copper block to transfer as much heat as possible from the CPU to the heat sink. Then the heat pipes would be connected to this or be built into the the copper block. In the case of the Akasa Venom, the heat pipes are the copper block as they have been flattened at the bottom to improve the surface area, however in between these is the same high-grade aluminium that the rest of the heat sink is made of. This leads me to expect an unequal distribution of heat transfer to the heat sink, which would be visible to a thermal camera once the heat sink had been removed – you would see heat stripes on the processor – unfortunately my camera isn’t quite that good. The thermal conductivity of the base would seem to be compromised by this feature.
[/FONT][/COLOR]
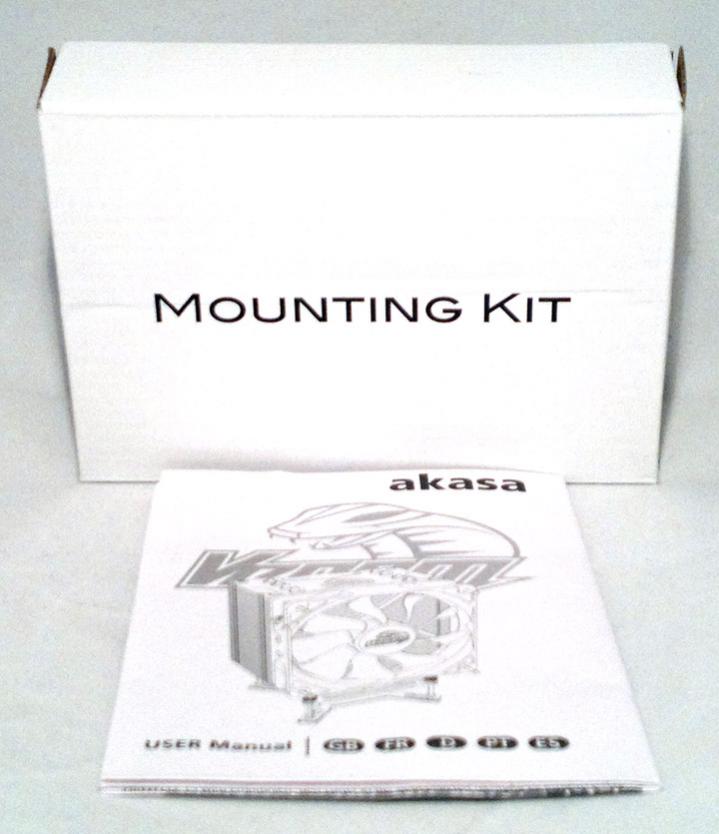
[COLOR=#000000][FONT=Tahoma]Included is of course a user manual which in this case is more of an installation guide. This shows you in nice and succinct steps how to install the heat sink depending on which socket you are using – there is also a labelled picture for each step.
[/FONT][/COLOR]
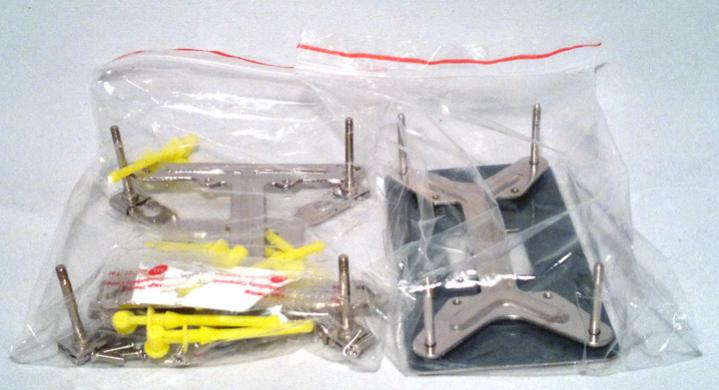
Of course this also includes the mounting kit, the contents of which were outlined in the Packaging and Bundle page. The mounting kit includes everything you need to mount on any AMD or Intel Socket.
Low profile design with an overall height of just 63mm Small but powerful with a…
Premium perforated PU imitation leather Comfortable & breathable cold-foam upholstery Exceptional durability due to high-strength…
Specifically designed for gamers, Nahimic Audio by SteelSeries drastically improves your gaming experience by providing…
PCIe Gen 5 ready, designed with native PCIe 12+4pin modular interface. Compatible with Intel ATX…
CPUCPU ManufacturerAMDCPU SeriesAMD Ryzen 7CPU SocketAM4CPU ArchitectureZen 3CPU Cores8CPU Threads16Memory Controllerdual channelTDP105 WCPU Cooler IncludedNoCPU…
Storage PortsM.2 PCIe 4.0 x42SATA 6G (internal)6ColourPrimary ColourBlackSecondary ColourWhiteWiFi & LANLAN ports1x 2.5 Gbit/sForm FactorMotherboard…