Anidees A17 ATX Mid-Tower Dual-Chamber Chassis Review
Peter Donnell / 8 years ago
Complete System
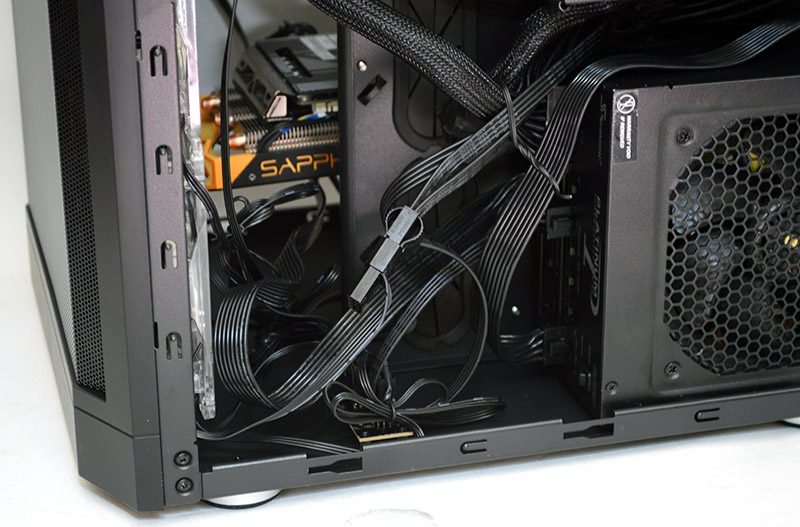
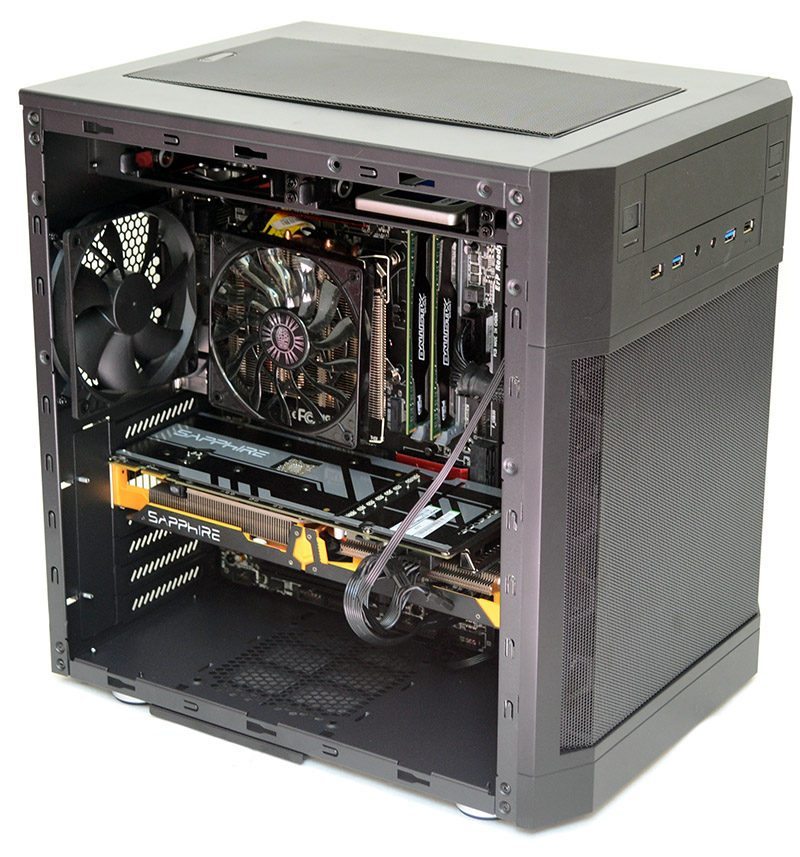
Getting our components installed in here was a breeze. Despite the compact size of the chassis, there’s lots of room to work with thanks to the width a dual chamber design provides. On this side, you can see we’ve got our PSU tucked into the back, and while there are a lot of cables hanging around, they’re mostly out of sight of the other side of the chassis.
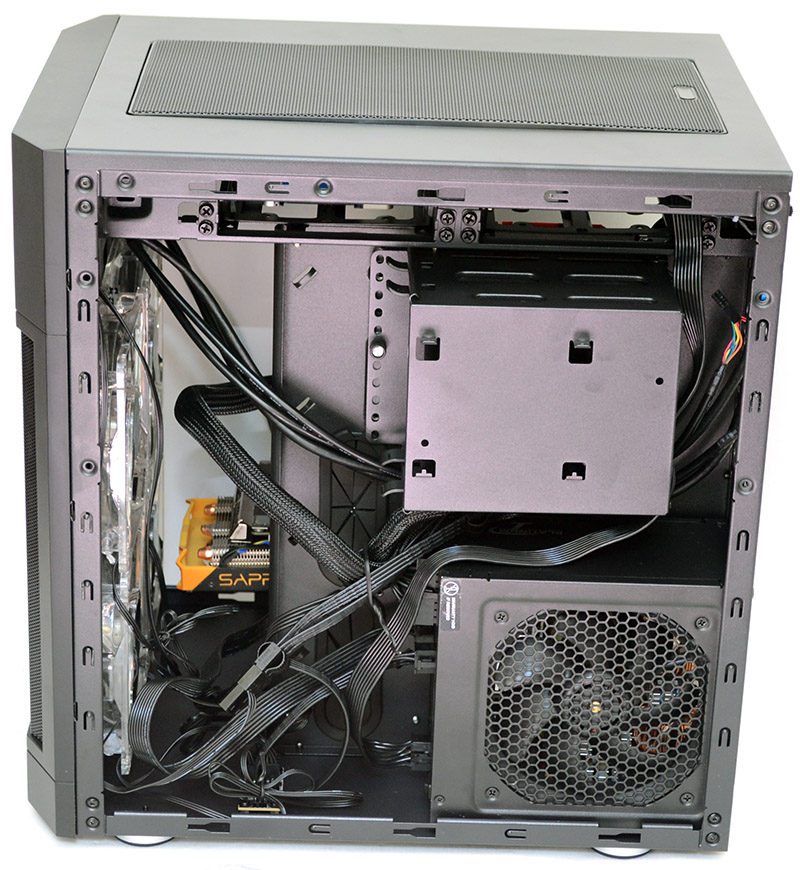
The fan hub placement means it doesn’t conflict with the PSU, and if you’ve got a GPU installed, any cables and connectors should be obstructed from the view the side panel window provides.
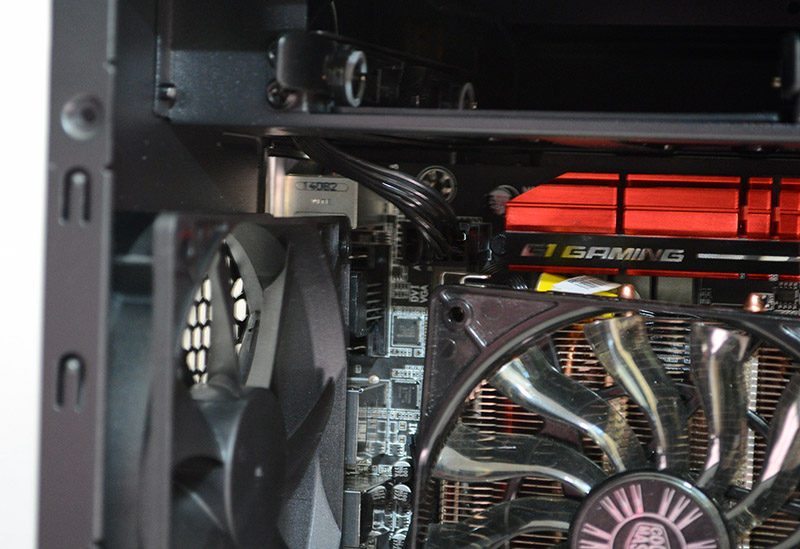
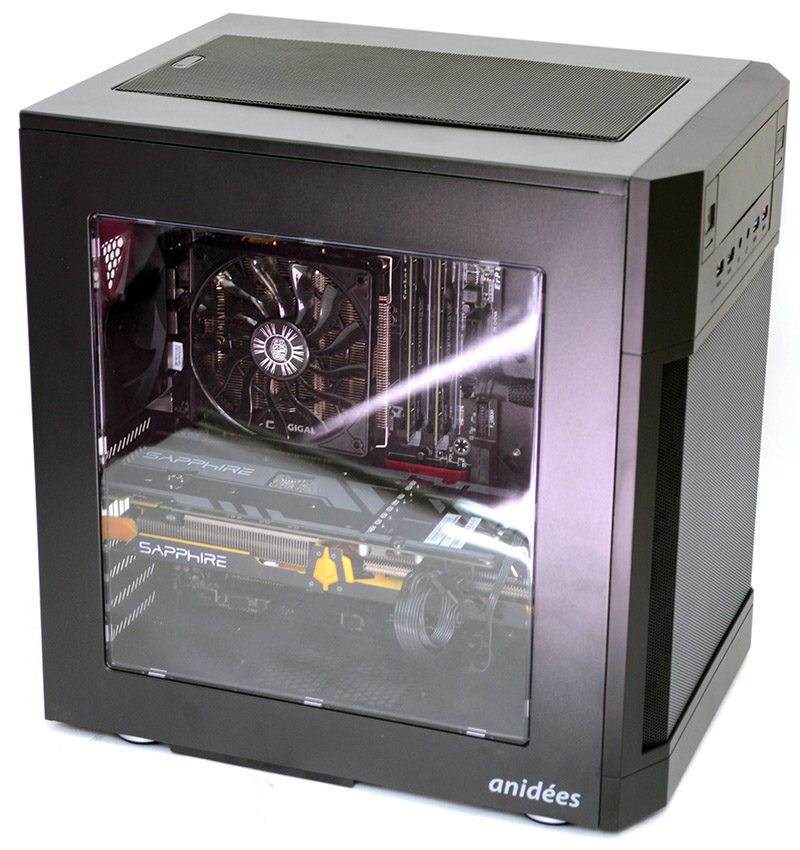
Around the fun side, you can see that the build looks fantastic, with very little excess cable on show. My only gripe here is that the fan cables and some of the I/O cables for the motherboard can’t be fully routed as they’re too short, so either pick up some 2-pin extensions or just learn to live with the cable trailing at an angle and under your GPU; make the cables longer Anidees!
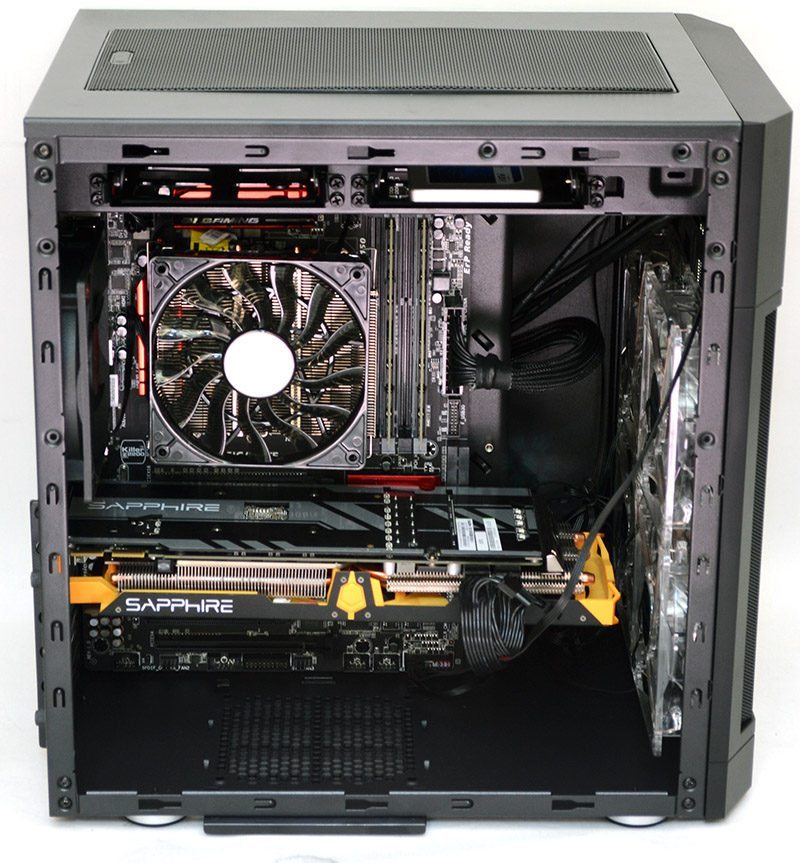
Airflow obviously isn’t going to be a problem with five fans pre-installed and to be honest, while this chassis can handle a good water cooling configuration, there’s not much point, it’s already well equipped for air cooling and you may as well make the most of that.
The top hard drive bays are very nice to have and make it nice and easy to get access to your drives.
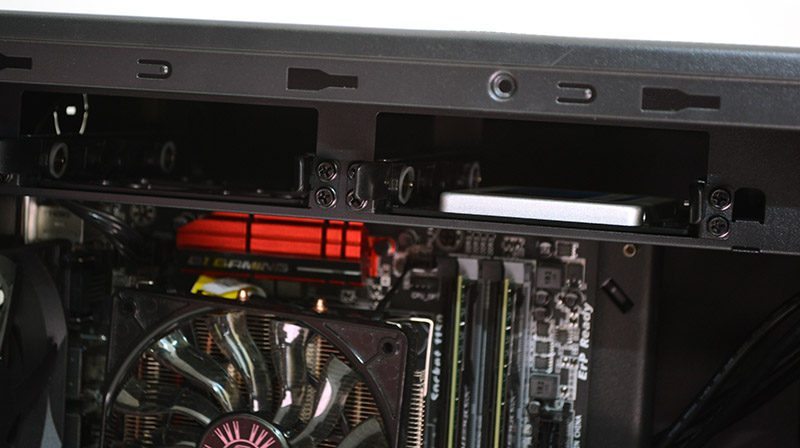
I also discovered a small routing hole to the left of the drive bays, it was a little tight, but just enough to get the motherboard 4+4 pin cable through, helping keep things neat and tidy.
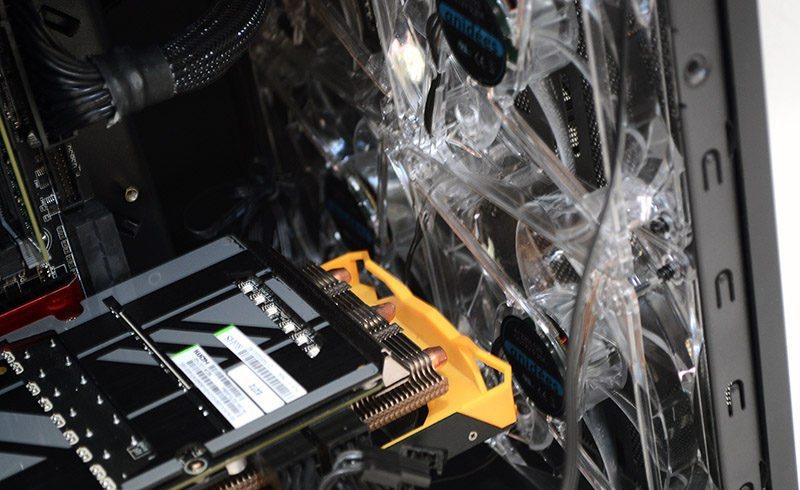
More than enough room for a second GPU here, or even room to mount a 120mm fan or radiator in the base; could come in handy for some of the AIO equipped GPUs on the market.
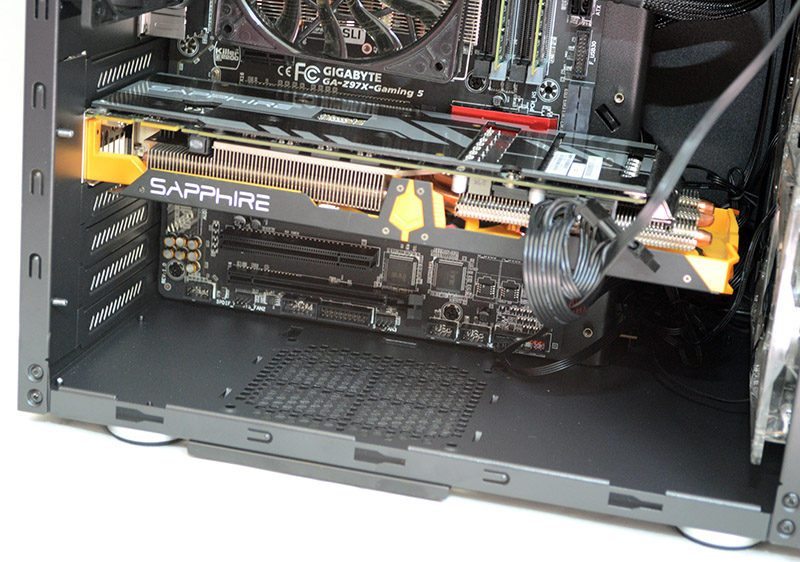
The Sapphire R9 270X Tri-X Toxic certainly isn’t a small card, that’s for sure, but it fit in the A17 with relative ease and with that many fans blowing right into the back of it, it’s unlikely it’ll be getting too hot anytime soon.
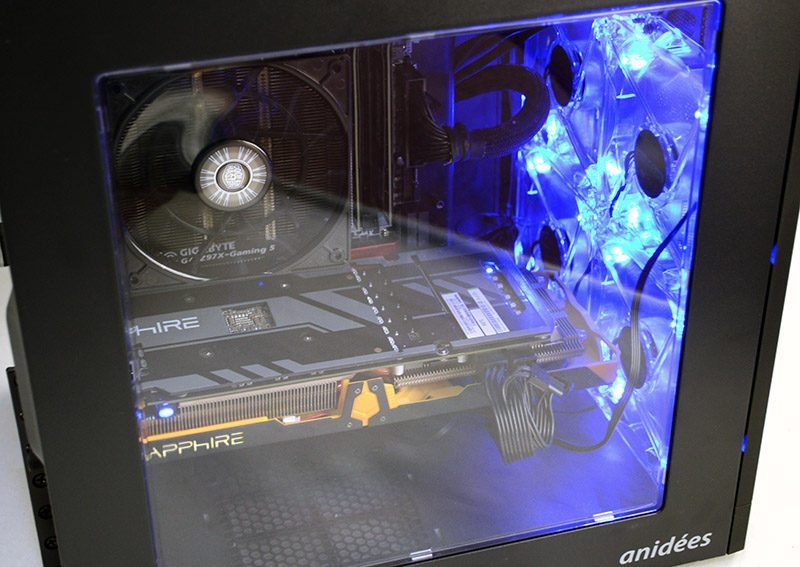
All panels back in place and the build certainly looks impressive, with a very clear view through that side panel window that really motivates you to keep your cable routing neat and tidy.
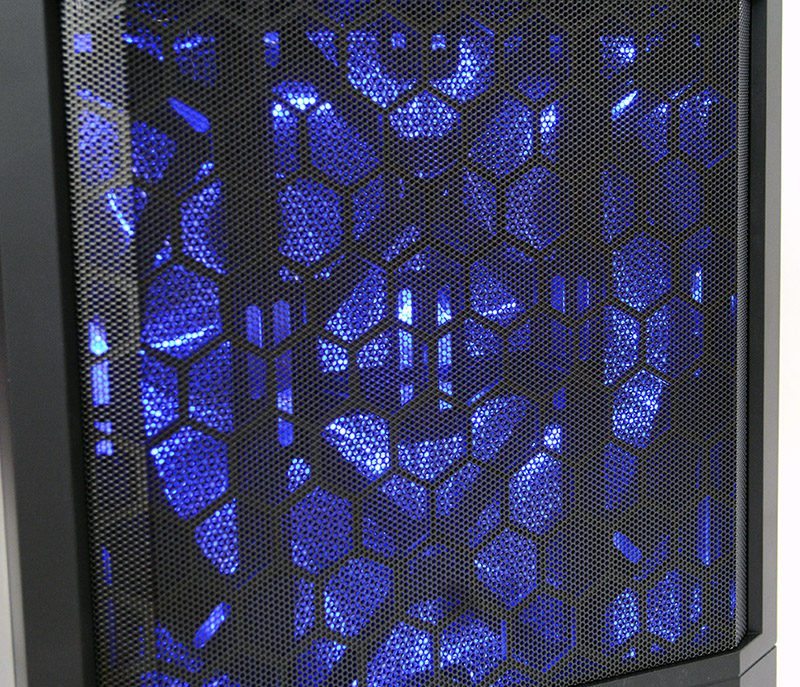
Fire up the fans and bam! Just look at that lovely blue glow from those front panel fans! Even on high, the fans are surprisingly quiet and with the option to turn them (and their lighting) completely off, you can get all the silence you need when you want it, or turn them on low for when you still need some cooling performance, but still maintain some acoustic calmness.
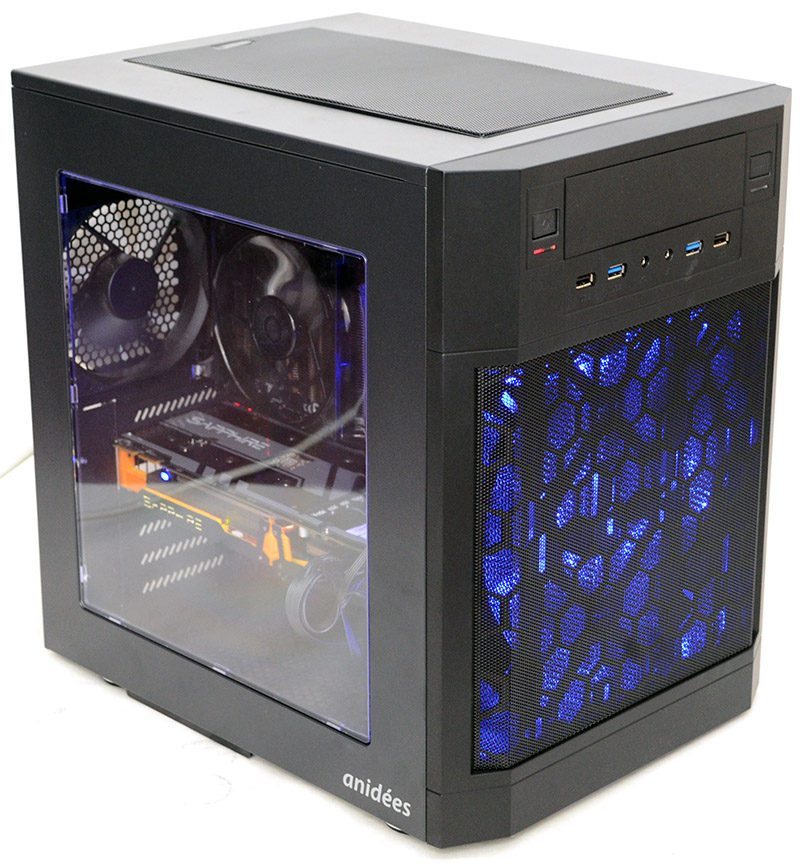
The blue lighting isn’t as overpowering as I expected either, at least given the fact there are four fans with lights.
And it nicely lights up the interior of the chassis too, helping you to show off your components with relative ease.