Antec AX90 Mid-Tower Case Review
Peter Donnell / 12 months ago
A Closer Look – Interior
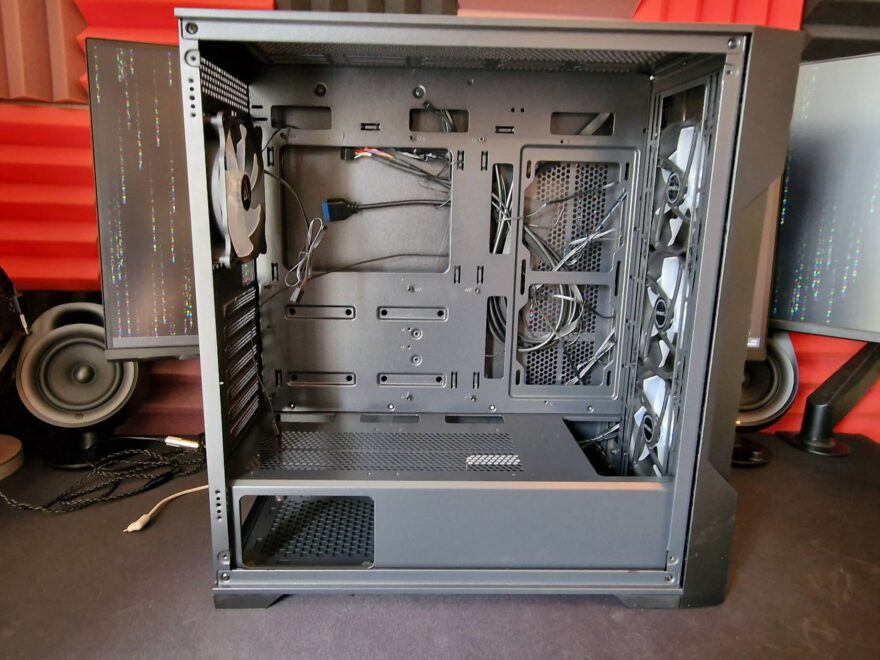
The interior of the AX90 is really nicely laid out, with a very clean main compartment that should ensure you can get a larger motherboard, graphics card and other hardware installed without any major conflicts or getting snagged up on the case interior. There are no rubber grommets on the interior, but there are plenty of cable routing holes surrounding the motherboard, with three large across the top, and two more down the right side. There’s also a large and wide CPU cooler mounting cut-out on the motherboard tray.
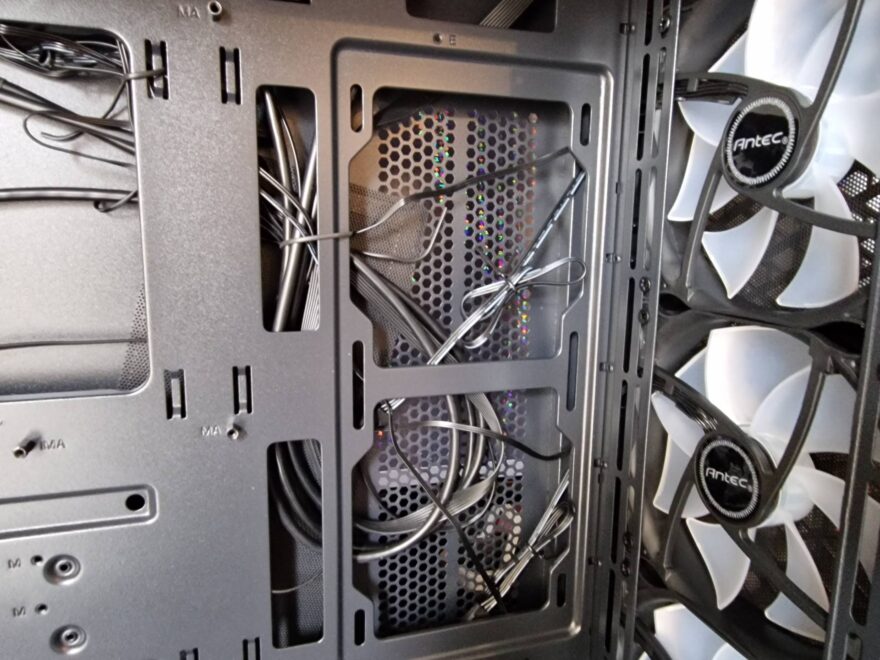
On the right of the motherboard, there are two 120mm fan mounts, which will also support radiators. However, you need to choose to put a radiator on the front or side, you can’t do both. However, you can still have fans on either side with a radiator on the other, giving you up to 11 fans in your build for maximum cooling performance.
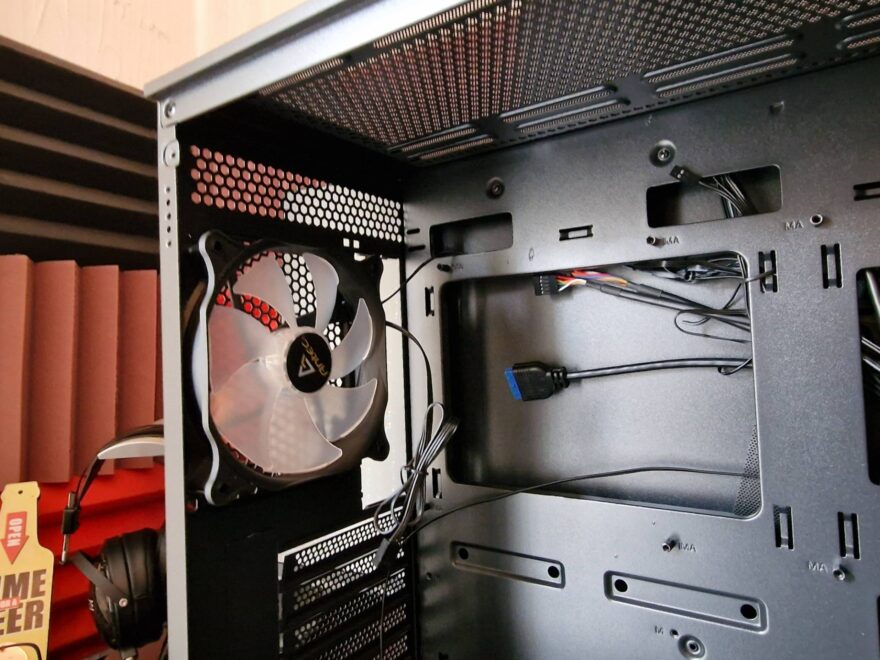
In the back, there’s a 120mm RGB fan pre-installed, which is great, as so many cases either don’t include a rear fan anymore, or if it does, only the front fans are ARGB, so this is a nice bonus.
Of course, in the front, you’ll find three 120mm ARGB fans, which are going to bring in a huge wall of air to cool your system. Honestly, it’s unlikely many systems will need more airflow than what is provided here. But as I said, you can add a lot more cooling on the top and side of this case.

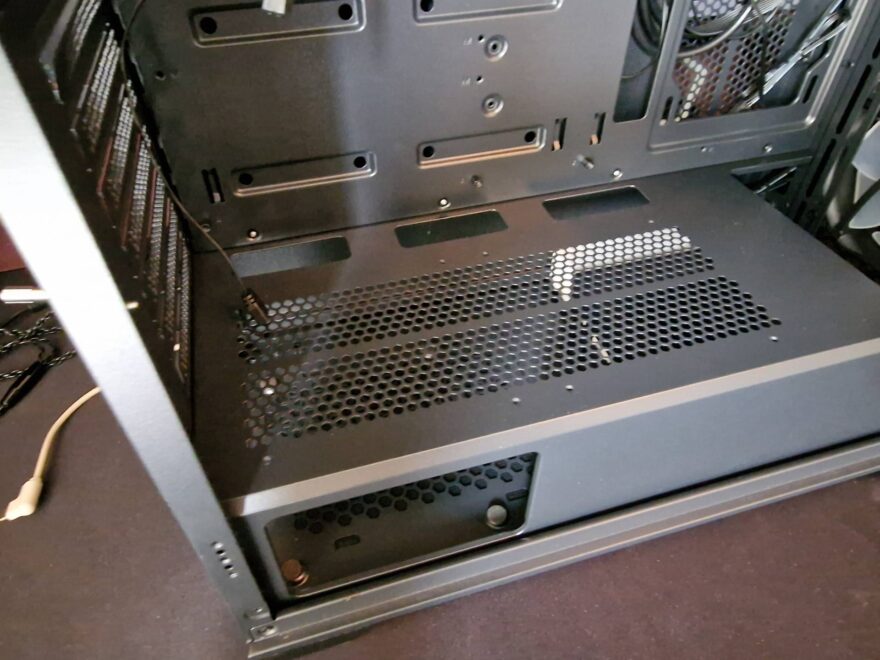
The PSU shroud is built into the case but features a large cut-out towards the front, so you can use the full height of the case for cooling hardware. There are three cable routing cut-outs towards the back. However, I’d have liked one closer to the front to allow for the GPU PSU cable to be passed through more easily.

There’s a good amount of ventilation on the shroud too, which is great, as the solid designs tend to have pockets of warm air build up under them. There’s also a large cut-away for the PSU, so you can show off the PSU design, but all the boring cable stuff will still be kept out of sight.
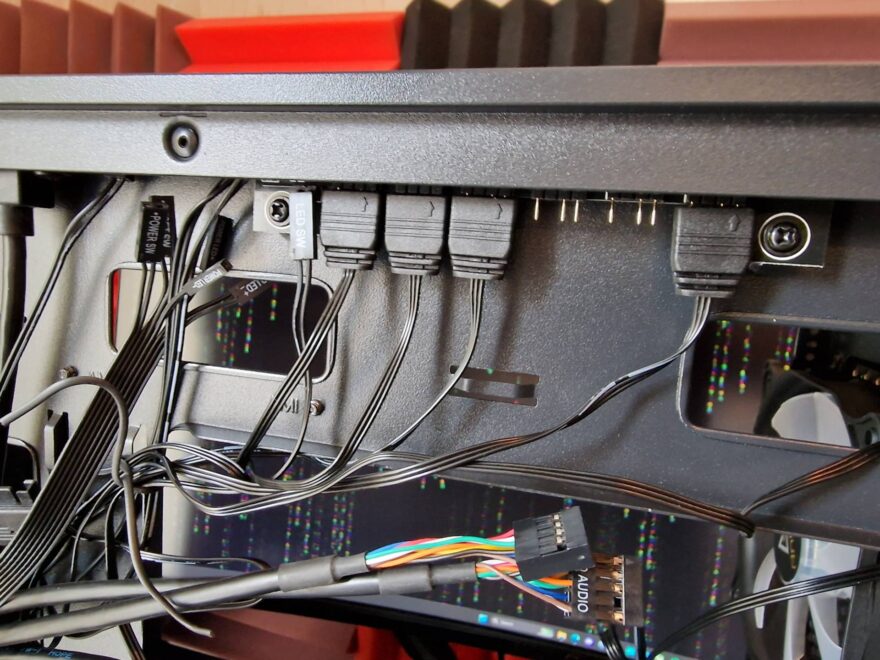
Behind the motherboard, there’s 23mm of room for all your excess cables, and a good number of tie-down points to use some cable ties, keeping things even neater. The default cable setup is a bloody mess though, so it may take some effort to clean this up if you really felt the need.

You can mount 2 x 2.5″ drives right behind the motherboard here.

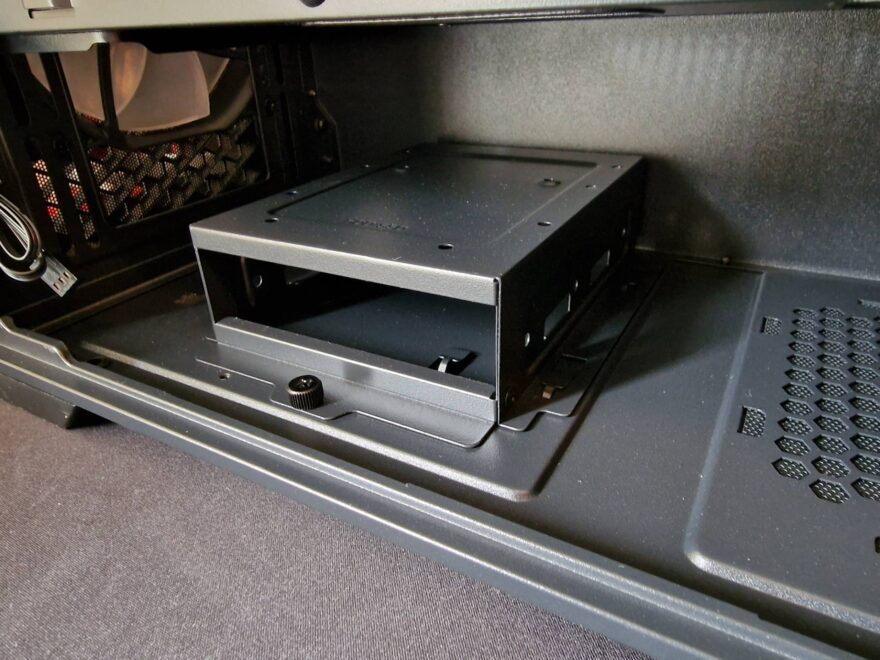
There’s also a drive tray in the bottom which will support 2 x 3.5″ drives or 1 x 3.5″ and 1 x 2.5″ drives.
Finally, the included RGB controller has six channels, allowing you to easily take control of the pre-installed fans, and plenty of additional RGB hardware too. You can control it via your motherboard, or via the button on the case front panel, negating the need for desktop software if you don’t want it.