Asus RT-AC68U 802.11ac Dual-Band Wireless Router Review
Chris Hadley / 10 years ago
A Closer Look
Diving straight into the design that Asus have chosen, we find the majority of the front panel made up of a textured criss-cross type pattern that, aside from the change in colour, is the same as the RP-N53 that we looked at towards the end of last year. Above the textured pattern the router is finished off with a brushed effect band across the top with the Asus branding in a gold type colour and the model name & description printed beside. As far as bold and sophisticated designs go, Asus have outdone themselves here with a product that stands out from the rest of the crowd.
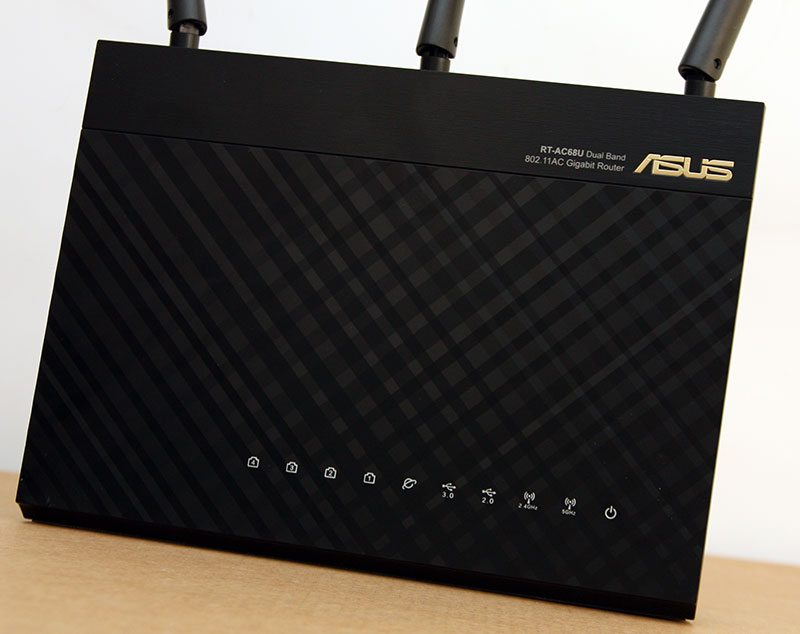
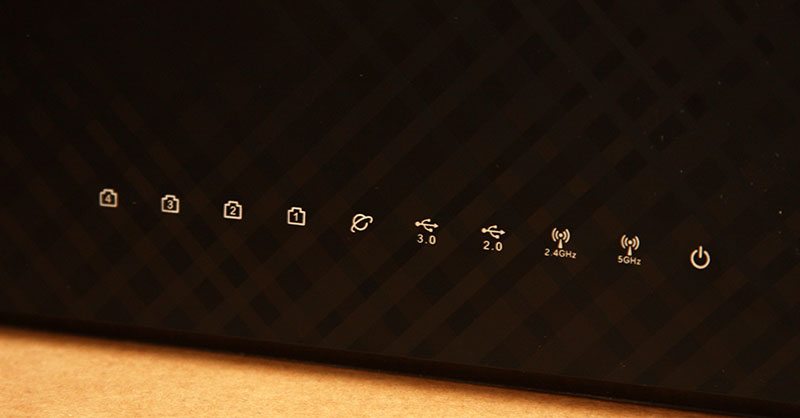
Along the front we find a line of printed symbols for a number of the routers connectivity options and once turned on, a blue LED shines through the black plastic to indicate the status and activity on each connection.
When moving up to the higher end of the wireless specification as we have here, wireless connectivity and signal strength is of a high priority and it is fundamental for the super fast 1300Mbps connection speeds that the 5GHz band is able to deliver. When it comes to which way you should have each individual antennae positioned, there are a number of theories and arguments out there, but my recommendation is as seen below with the middle antenna straight up vertical from the router and the other two positioned to point out towards the back of the router at 45 degree angles and tilted back slightly. This orientation I have found to be the most efficient and successful when it comes to signal strength, coverage and performance.
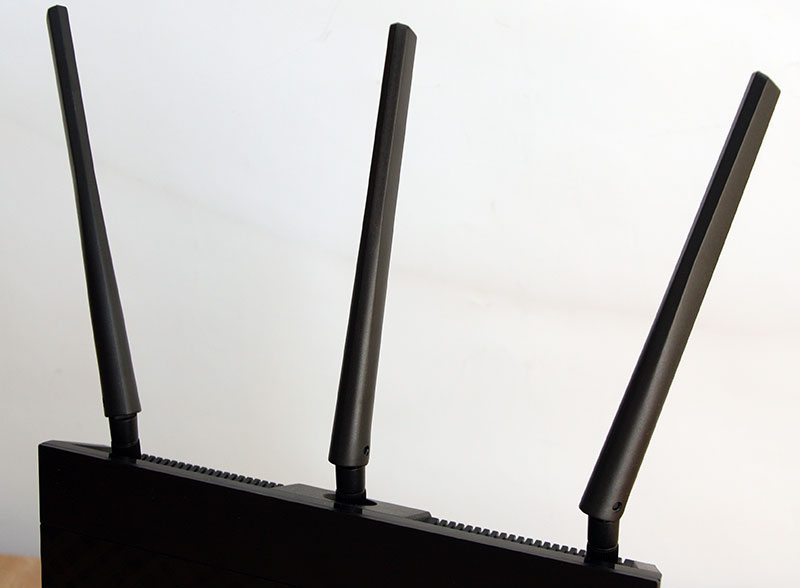
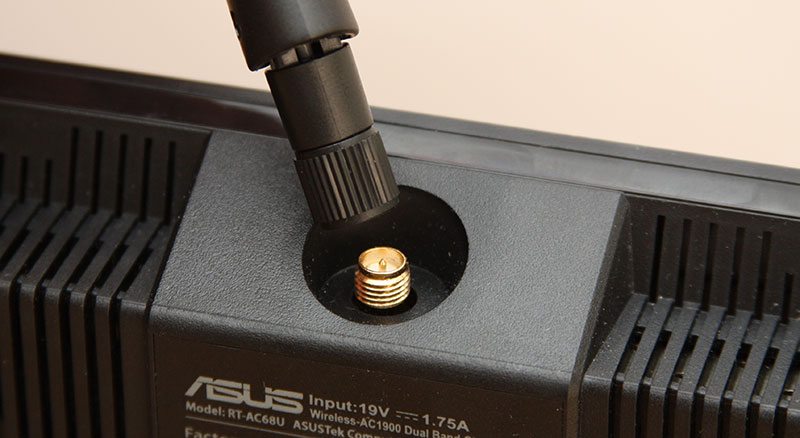
Out of the box the routers external antenna do come separate and will need fitting before use. Each of the antenna connect to the router through a set of screw-fit RP-SMA terminals and take only a matter of seconds to put into place.
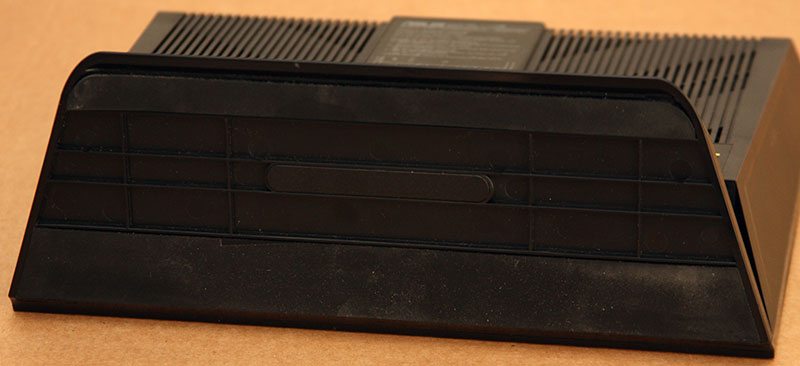
Moving around to the back of the router we can see first of all that there is stacks of ventilation on offer to keep the system cool. Unlike lower performing models, today’s high-end bits of networking kit do produce a fair amount of heat and naturally this has to go somewhere.
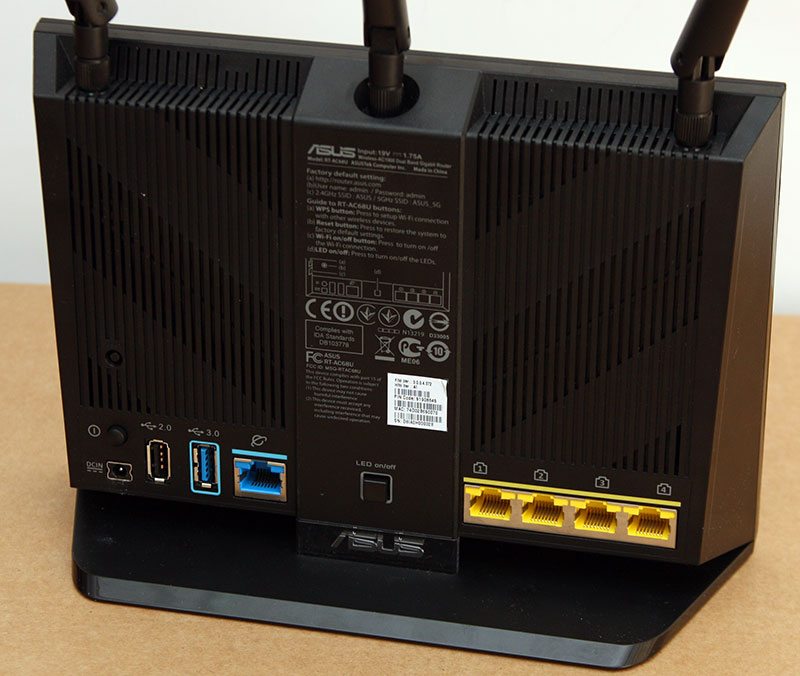
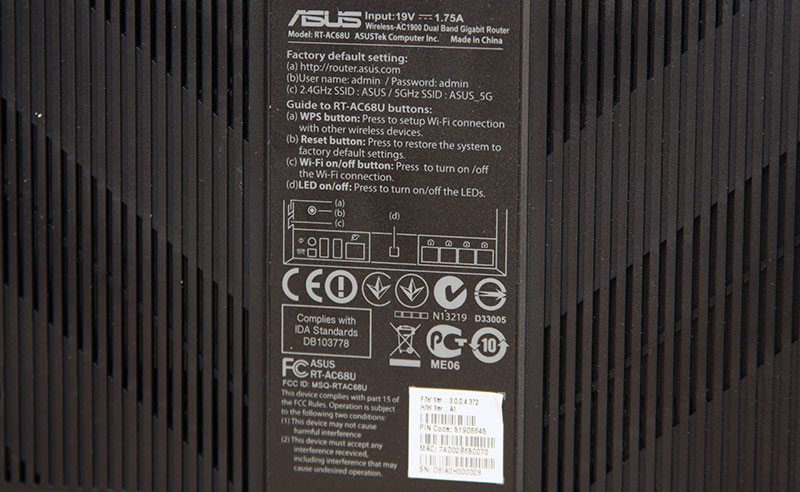
Nestled in the middle of the back is a long label which amongst the usual Mac address, serial number and revision information also gives us that routers default factory settings including username, password and SSIDs (no encryption is set in a factory state).
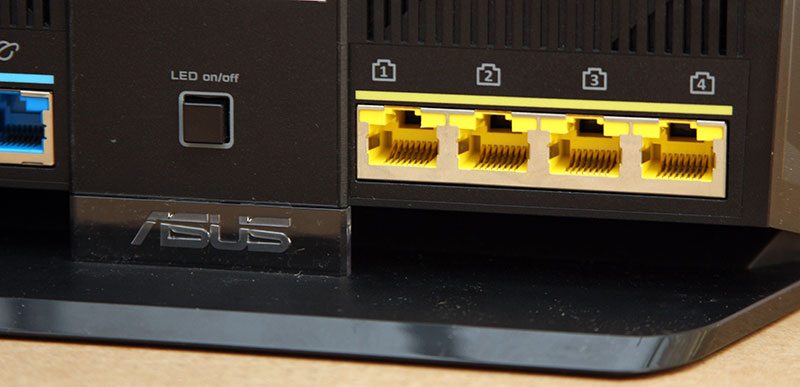
Working from the left and along the line of connectivity options, we have a DC power jack with a power button above, a reset button offset further up the case to prevent being pressed accidentally, a USB2.0 and USB3.0 port, Gigabit WAN and an LED On/Off button which simply disables all the front panel LEDs when the router is up and running. In addition to the front panel LEDs, the Asus logo on the rear of the router below the power button also lights up when the router is on.
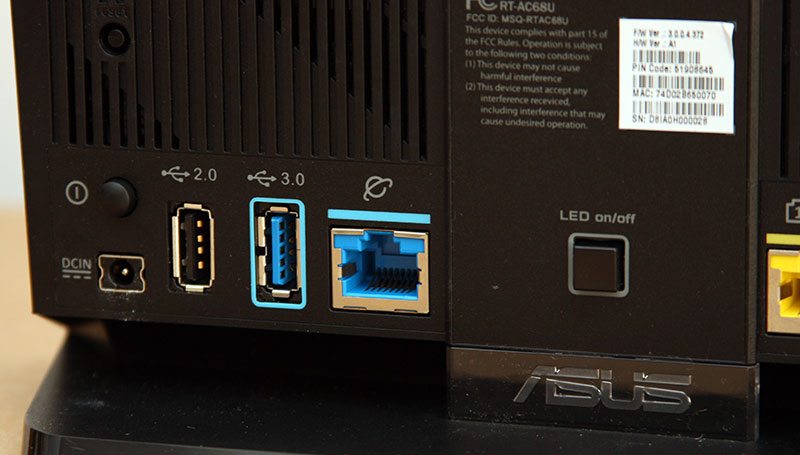
To the right of the LED switch there are an additional four Gigabit Ethernet ports for LAN connections.
One thing that I’ve found with a few vertically aligned routers is that they can be a little unstable and Asus are also aware of this too. A pair of long rubber feet keep the unit firmly in place and stop it from moving around too much.
Moving on to the warranty voiding part of the review, I first of all have to give it to Asus on this one, the RT-AC68U is one well put together bit of kit. Compared to a large number of other products that I’ve reviewed, this router put up a fair fight in order to get it open; that said though it isn’t intended to be taken apart by the end-user so ease of access is of no concern.
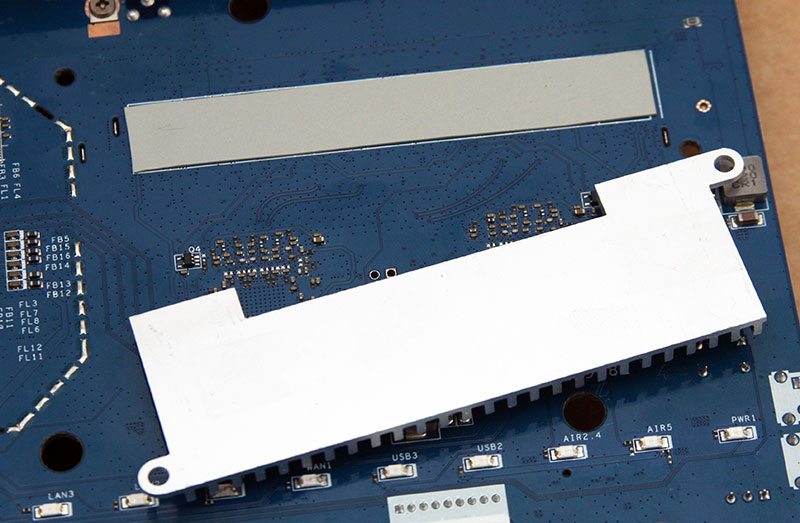
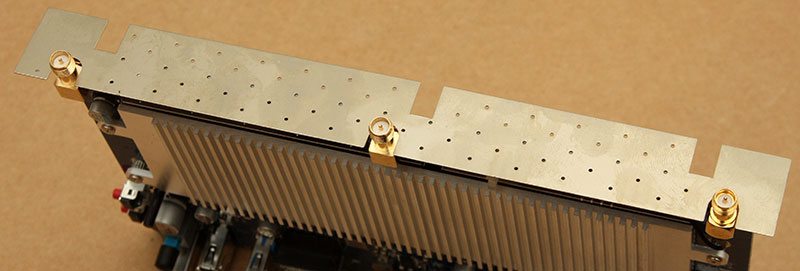
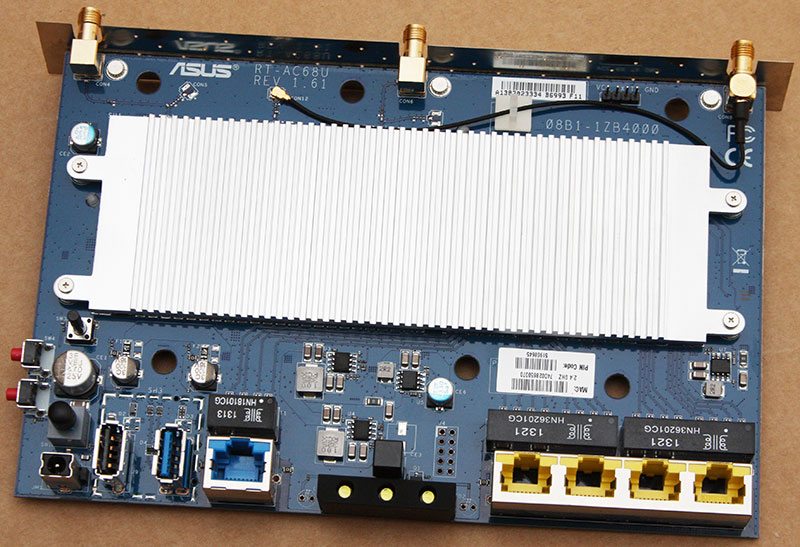
Lifting the motherboard out of the router casing, the first thing that we find is a metal plate that runs along the top of the PCB. This plate acts as a barrier between the core components and the antennae to prevent any undue interference from affecting the wireless reception and communication.
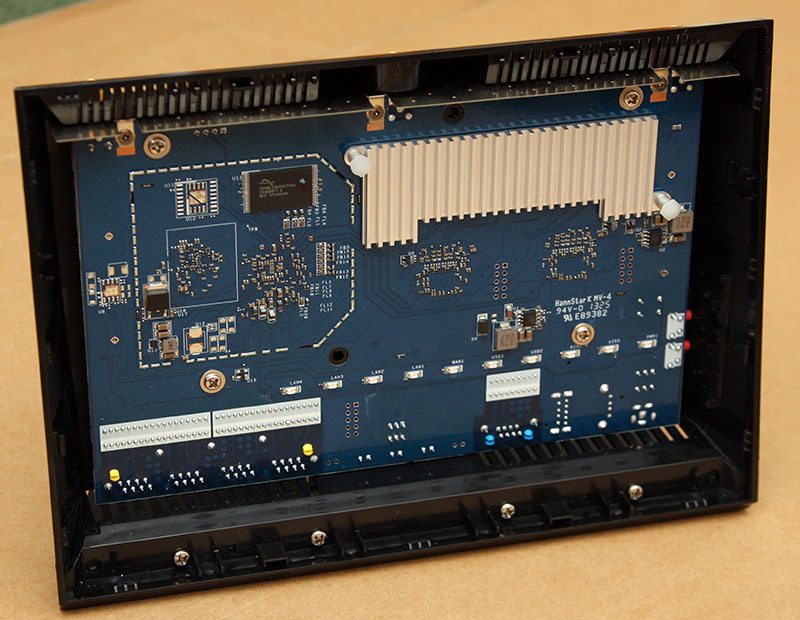
On the back side of the board we find the majority of the routers components including all of the physical interfaces that run along the back of the router. A large metal heatsink covers around one-third of the board and appears to cover the core components.
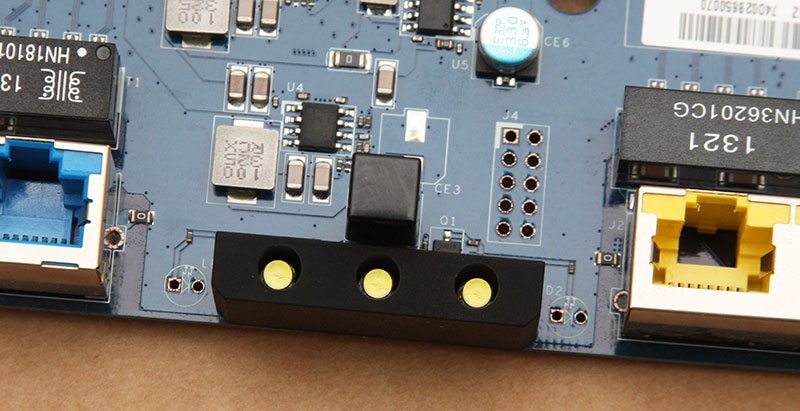
Going back to the LED switch that I touched on above, the Asus branding on the rear of the router is lit by three LEDs that are mounted at the bottom of the board.
Lifting the heatsink off of the board we find two sections on the board, each covered with a metal casing to shield the components that lie beneath. Unfortunately for us, this design and build does limit how far I can delve into the system as removing these is not that straight forward and replacing them is virtually impossible afterwards. This said though, I am able to give details on what CPU and wireless transponders have been used. Processor wise, Asus have selected a Broadcom BCM4708A dual-core ARM A9 1GHz package with a pair or Broadcom BCM4360 transceivers for each of the wireless bands.
Whilst many routers these days utilise a 802.11n transceiver for the 2.4GHz band and an ac equivalent for the 5GHz band, Asus have used 802.11ac transceivers for both bands, which beside a super fast 1300Mbps speed on the 5GHz band also allows for up to 600Mbps on the 2.4GHz band in a technology known as TurboQAM. Once paired up with the 3.x antennae array this is how we get the super fast speed that is needed to push consumer wireless through to the next level.

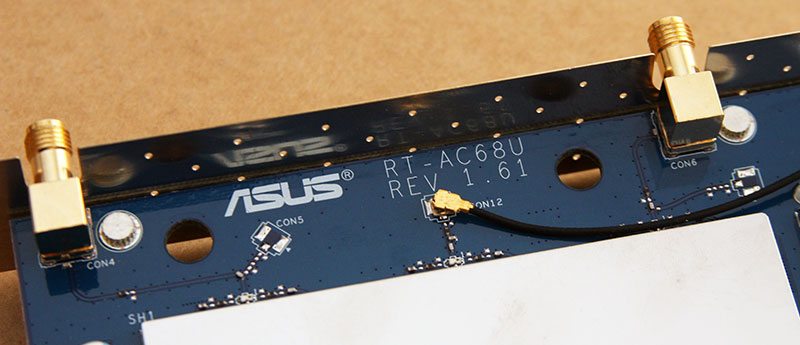
Noting the internal SMA terminals for each of the antennae, two of the terminals are soldered directly to the PCB, whilst the third runs through an external cable to the other side of the board where it is mounted.
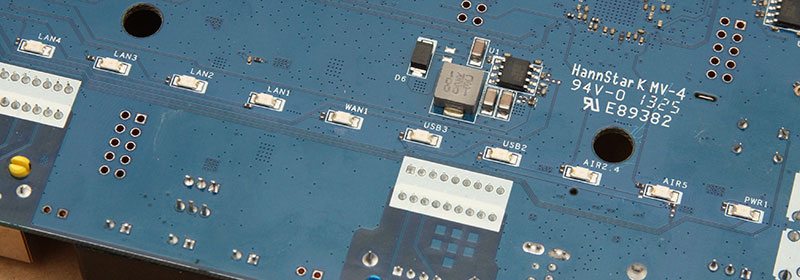
Turning the board over, the front face of the board is a lot more spacious due to the majority of the components and interfaces residing on the other side.
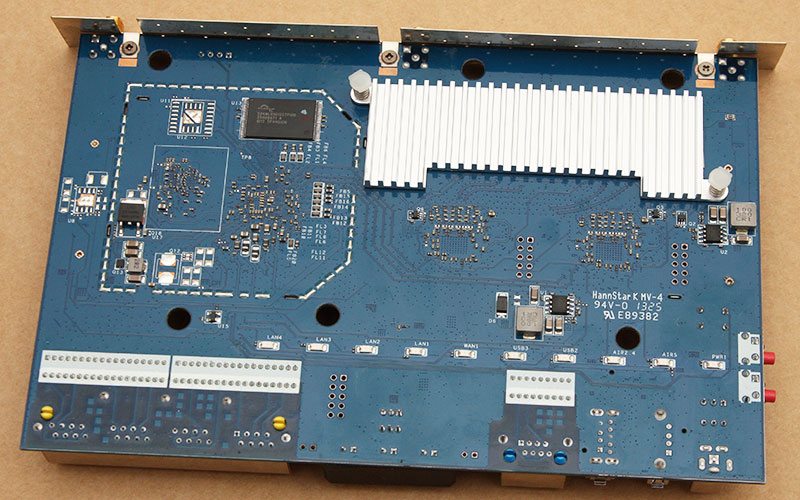
Running in a line we find a series of SMB LEDs, each of which relates to the status markings seen on the front of the router when up and running.
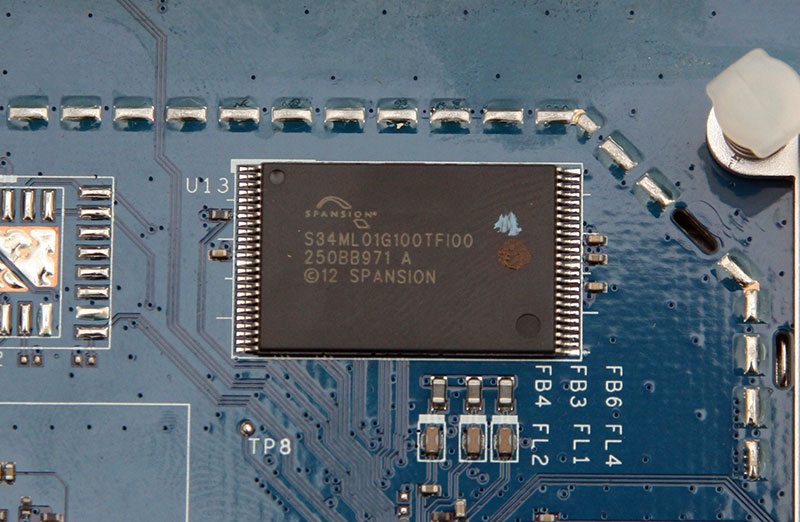
Although the core components are found on the other side of the board, we do have a Spansion branded S34ML01G100TF100 package, providing 128MB of NAND flash for the system firmware and OS to run from.
Lifting off the heatisnk which sits towards the top of the board, there is little more than a long thermal contact pad that runs along the PCB. This indicates to us that the 5GHz transceivers are set towards this side of the board as they are known to generate more heat than those running on the 2.4GHz band.