ASUS X99-A II (LGA2011-3) Motherboard Review
John Williamson / 8 years ago
BIOS and Overclocking
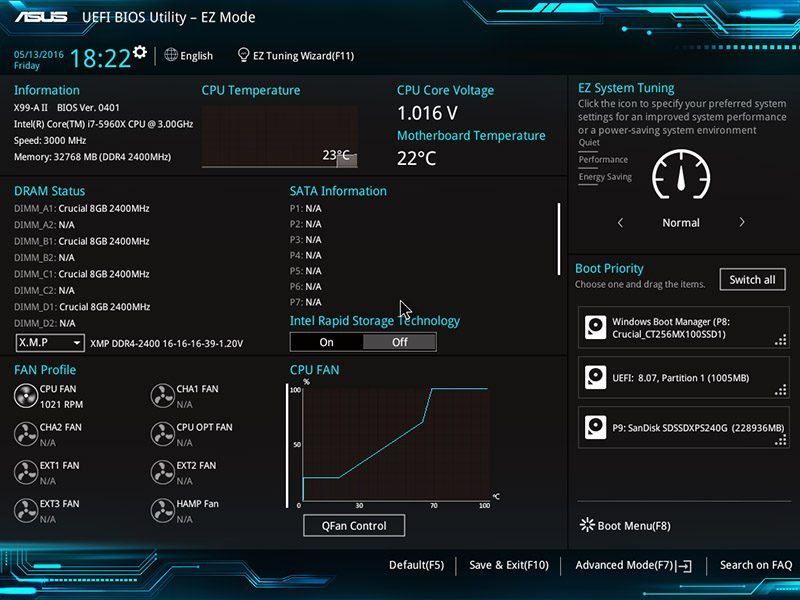
ASUS’ UEFI BIOS is brimming with options to tweak every aspect of your system and presented using a slick user-interface. The BIOS is divided into two modes, the EZ BIOS for beginners, and an advanced section which caters to users with a high level of technical expertise. The EZ mode’s main page lists essential system parameters, allows you to adjust the cooling RPM values and set an XMP profile. It’s also really simple to modify the boot order and select from a number of pre-configured performance settings. In this particular case, the turquoise text and black backgrounds are a beautiful combination and one of the best I’ve seen in terms of being able to read values in a quick manner.
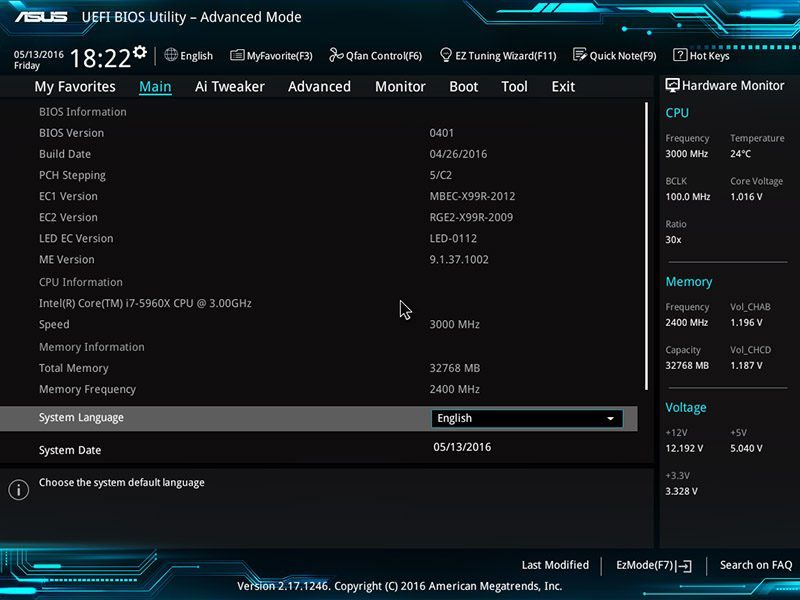
Here we can see the advanced mode containing a huge selection of variables which provides everything you need to customise the system to your specific requirements. On the main page, you can view essential system information such as motherboard model, BIOS version, CPU ID and much more.
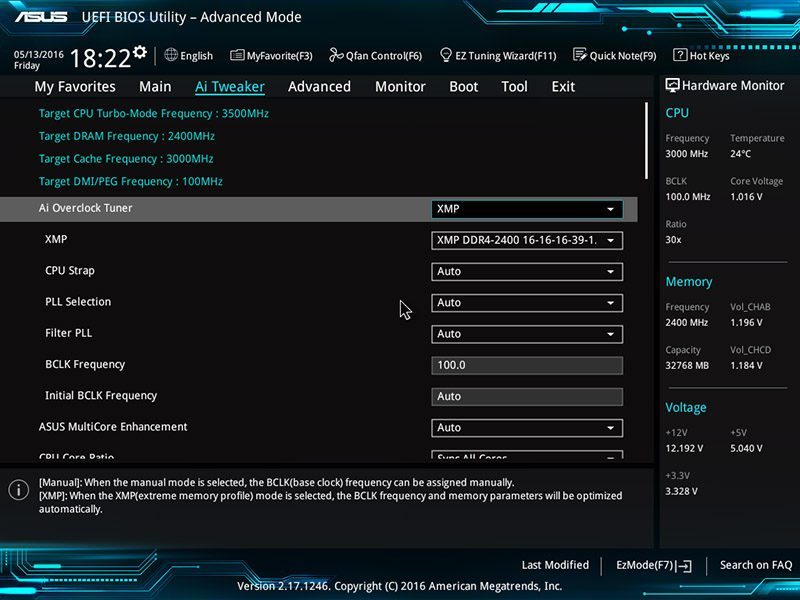
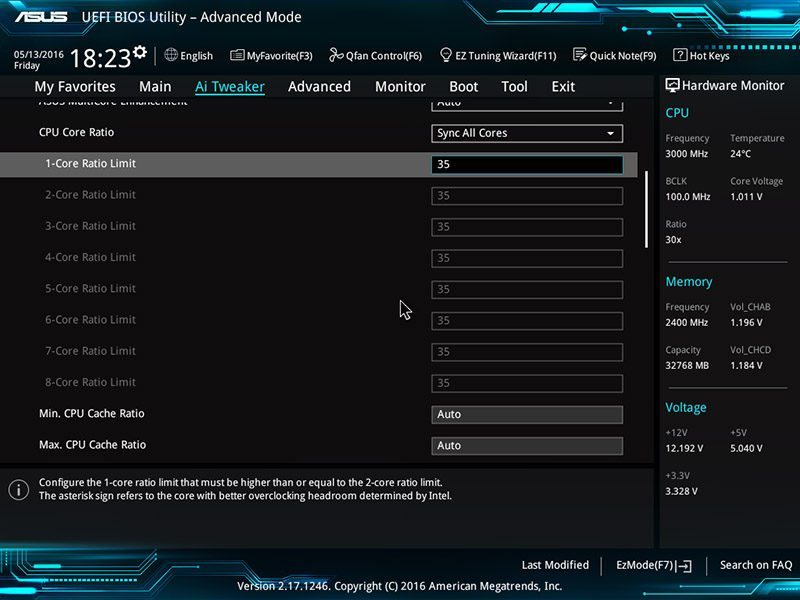
ASUS’ AI Tweaker is the section you need to navigate to when setting the XMP profile, adjusting BCLK frequency and other overclocking alterations. The hardware monitor and target frequency details really help to keep an eye out for the effect of manual tweaks.
It’s possible to manually set the multiplier per core which offers excellent flexibility. However, if you’re just opting for a basic overclock, all you have to do is insert the desired multiplier and select sync all cores.
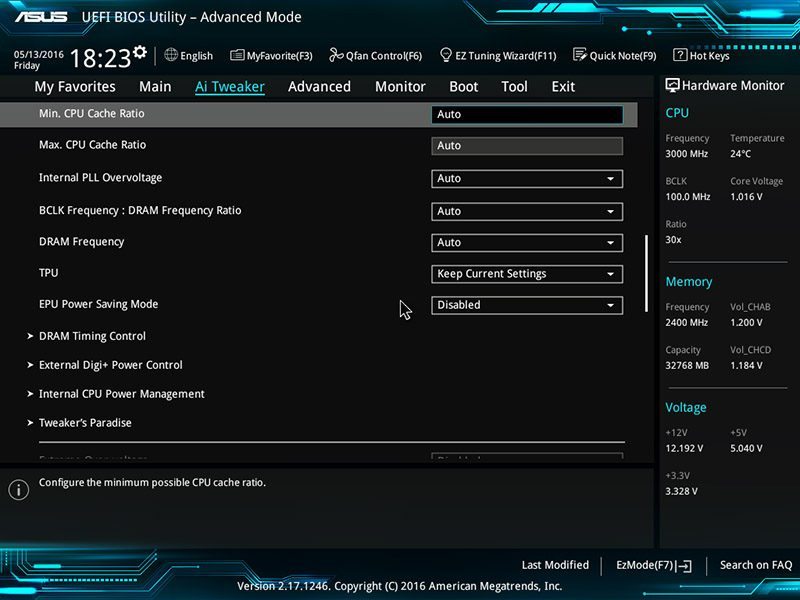
Overclocking experts can optimise memory timings, change power settings and perform other minor alternations to improve system stability when trying to eke out every last MHz.
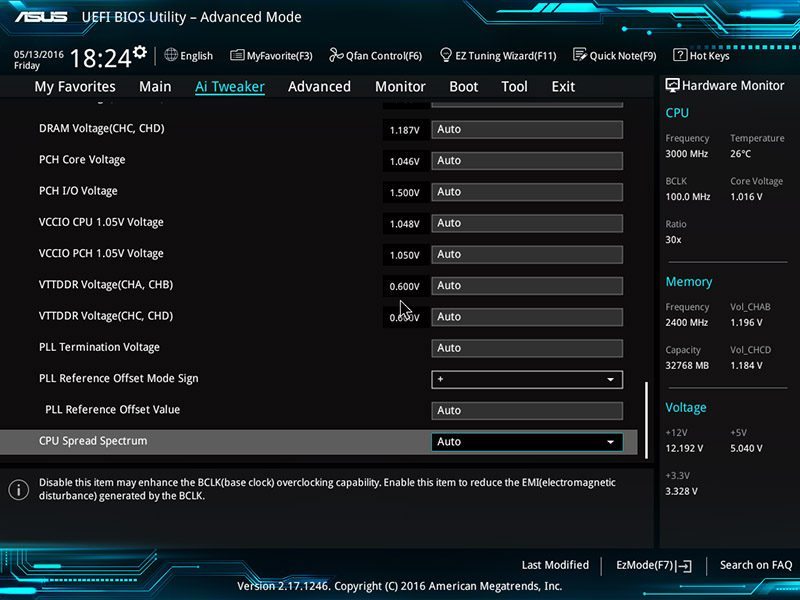
Further down is the voltage area for the CPU, DRAM, VCCIO, PCH and Standby. The majority of users will simply need to adjust the CPU Core voltage to correspond with multiplier changes.
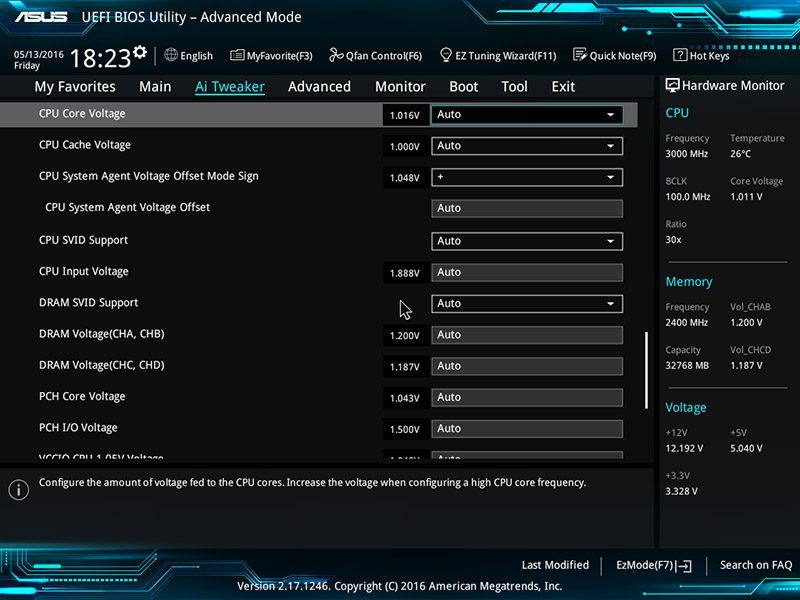
This screen is a perfect example of how many options you’re provided with and you can tweak a huge array of voltages. It’s absolutely brilliant and caters towards professional overclockers.
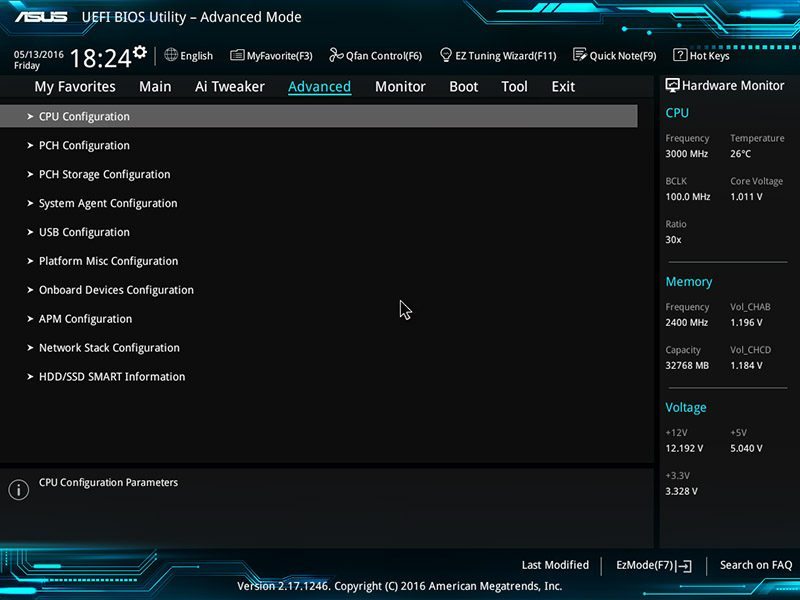
The advanced tab contains a large number of sub-menus to change the chipset settings, USB configuration and even display your storage’s SMART status.
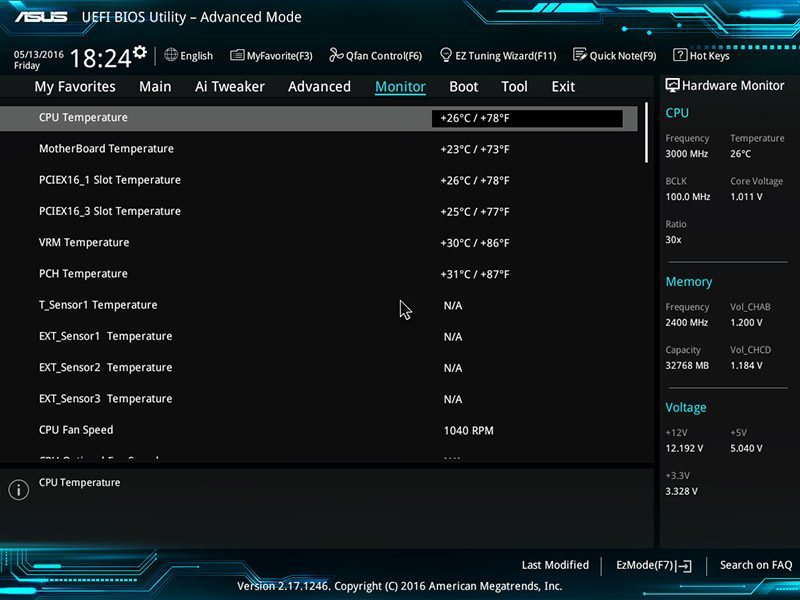
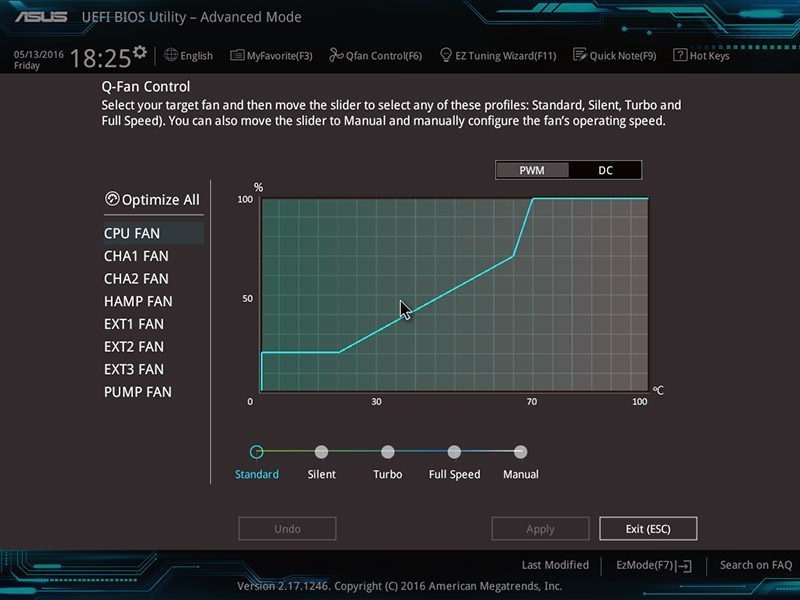
Next up is the monitor section which allows you to manually configure RPM values for each fan or initiate the Q-Fan tuning utility. This detects the CPU’s thermal output under load and finds a suitable balance between temperatures and noise output.
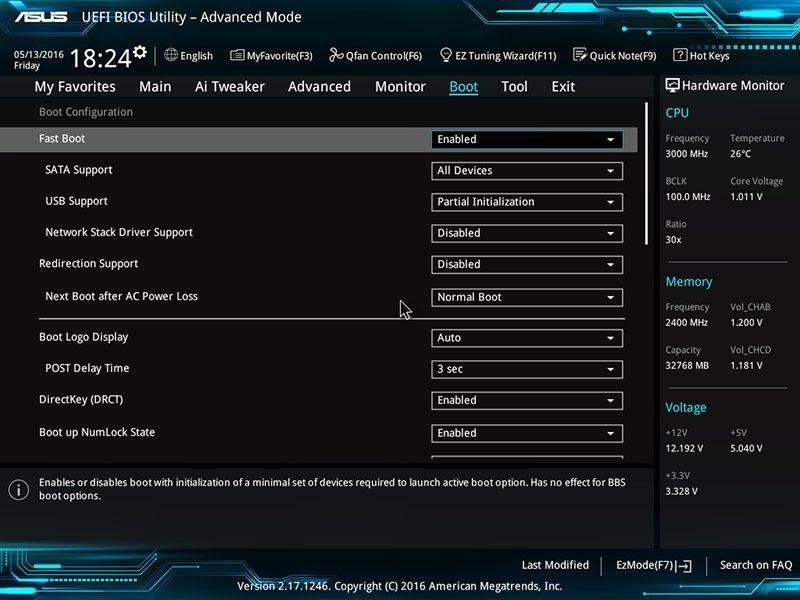
Here we can see the boot tab which houses various options to enable/disable fast boot, change the POST delay time and more. Honestly, you shouldn’t have to alter any of these variables as the default values will be perfectly fine in the majority of usage scenarios.
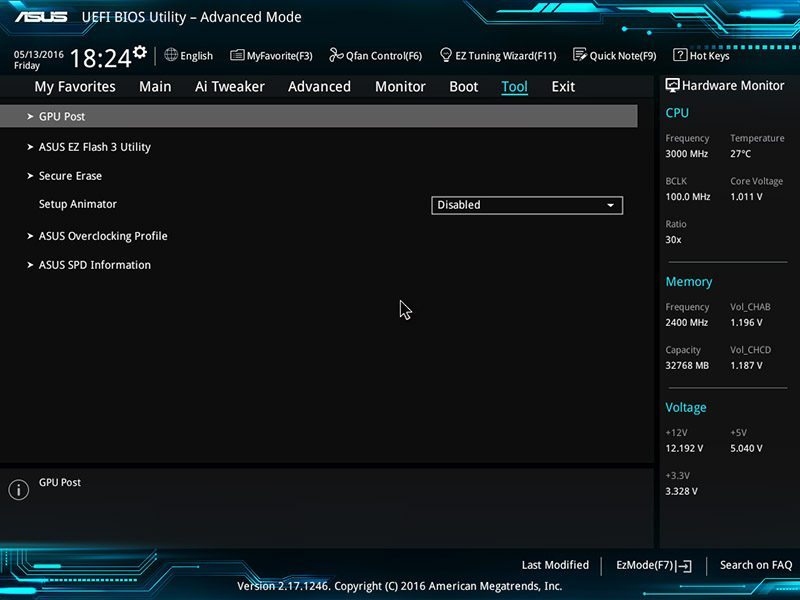
On the tool page, you can access the BIOS update utility, securely erase sensitive data and even investigate the current PCI-E configuration. The BIOS provides a visual indication of the current setup and operating speed of your GPU.
The GPU Post screen provides a wonderful visual indication of the current PCI-E setup and informs the user of each card’s operating speed.

ASUS’ Q-Fan control is incredibly useful to set an RPM fan curve, choose from various presets or allow the BIOS to detect your cooling hardware and optimise the fan speeds.
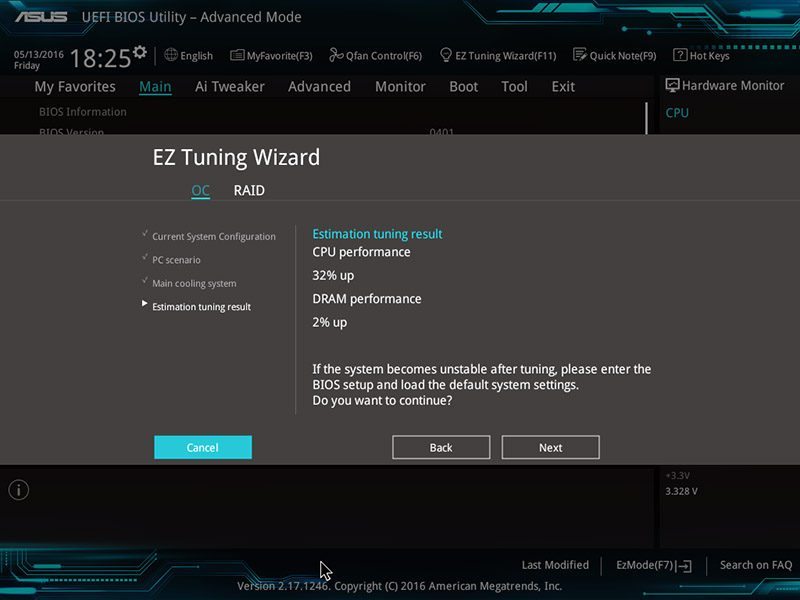
The EZ Tuning Wizard is a wonderful concept and asks you some rudimentary questions about your cooling hardware to accurately gauge the optimal settings for an automated overclock. This is very useful for users who want to leverage extra performance but feel intimated by the overclocking procedure.
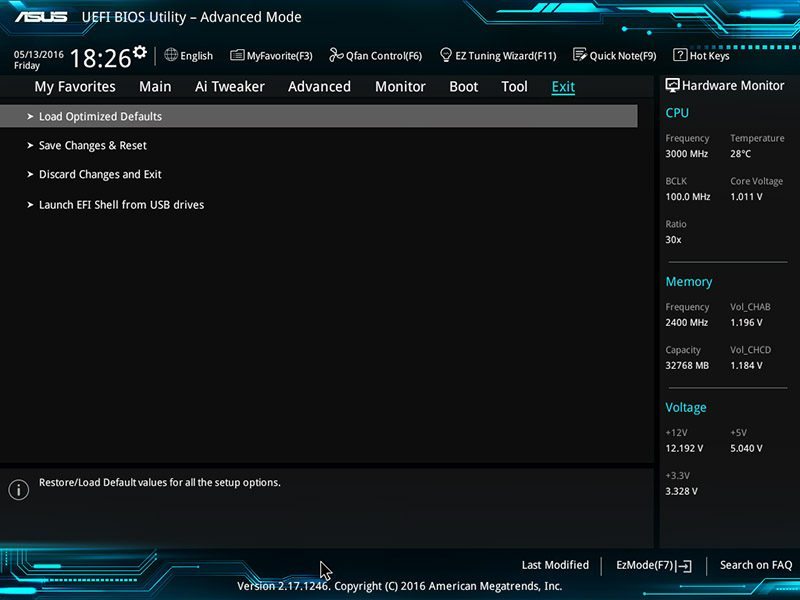
The final page allows you to load optimised defaults, save any changes you’ve made or disregard manual alterations.
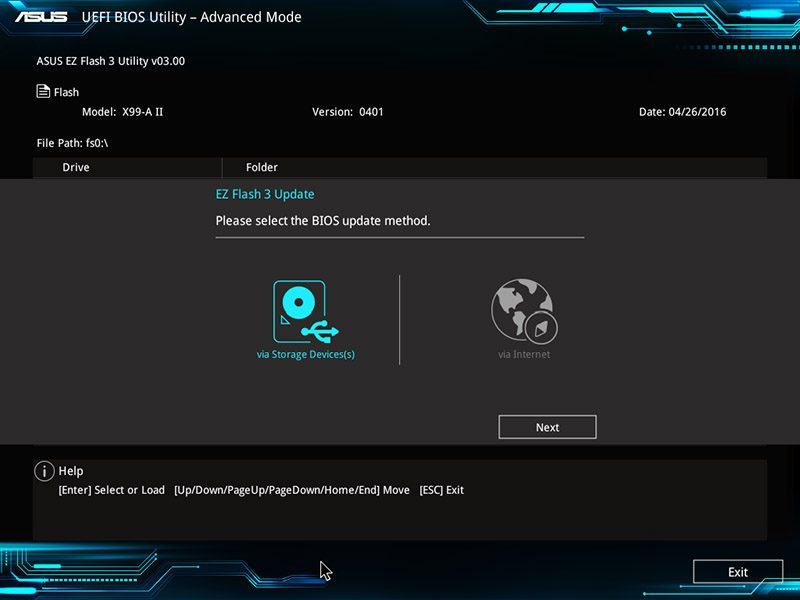
ASUS’ EZ Flash 3 Utility makes updating the BIOS an absolute breeze either via a downloaded file or direct network connection.
Overclocking
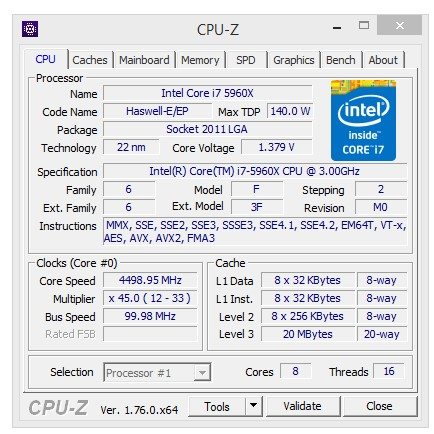
Overclocking the 5960X on this particular motherboard was incredibly easy and I managed to attain 4.5GHz using a respectable 1.379V. Initially, I did try to break the 4.5GHz barrier but this just isn’t possible on our CPU sample because it requires too much voltage and overheats the cores under load.