AVerMedia GC573 Live Gamer 4K HDR Capture Card Review
Peter Donnell / 5 years ago
A Closer Look and Performance
The capture card its self is pretty fantastic looking. For those who build their systems to look as good as they perform, this is a good thing. Obviously, it’s a PCIe device, so be sure you have a spare PCIe lane for it. If you’re running a mini-ITX system and also want a GPU, it’s a no-go. However, keep in mind, AVerMedia makes external capture devices for such scenarios. Of course, those external ones are handy for laptop users too.
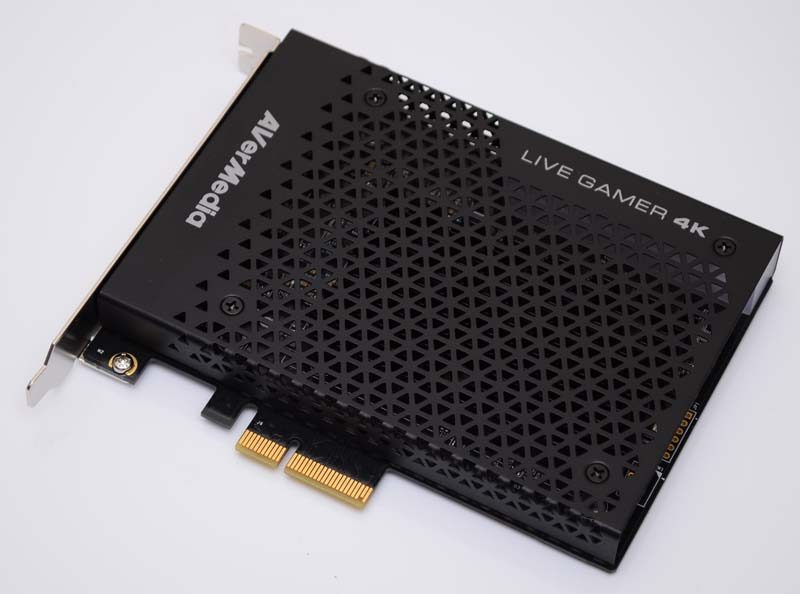
The chassis of the card is made from metal, giving it fantastic strength and passive heat dissipation. There’s loads of ventilation on it too, and no fans means no noise.

Down the side, a simple AVerMedia logo, and of course, it’s RGB; hell yeah!

Finally, on the rear of the card, a pair of HDMI ports. One is input, the other output. This means you can connect something like a PS4 to input, and then output back to your TV while having the PC do the capture. It’s pretty straight forward, so let’s plug it in and have a tinker!

Setup & Performance
Getting up and running really couldn’t be much easier. For the beginners out there, it’s as simple as putting it in a PCIe slot, and installing the software/drivers from the AVerMedia website. It runs through all the usual updates, and it’s pretty much sorted within a few minutes.

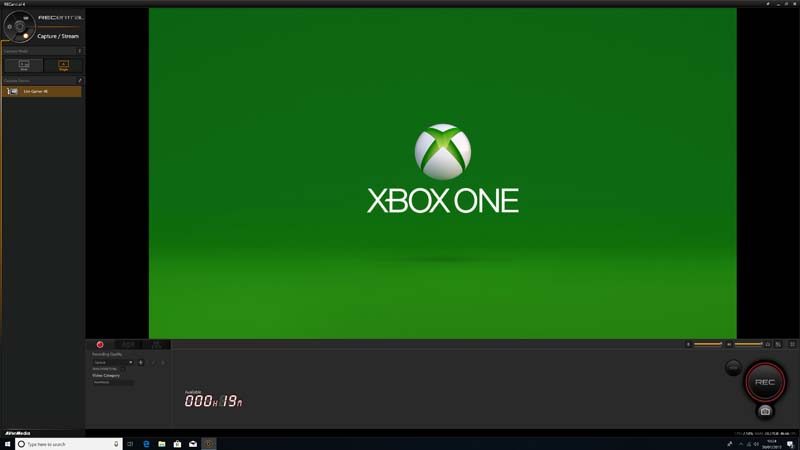
Xbox One
Of course, you’ll need to run a HDMI cable from the device you want to capture, to the capture card. We tested the Xbox One first and were greeted with an HDCP issue almost immediately. It turns out that’s because I had used NetFlix or some other protected app. This is fixed by holding down the power button on the Xbox, reboot, and you’re good to go. If you load Netflix or similar, then you’ll need to reboot again to clear it. However, for gaming, you shouldn’t have such issues.
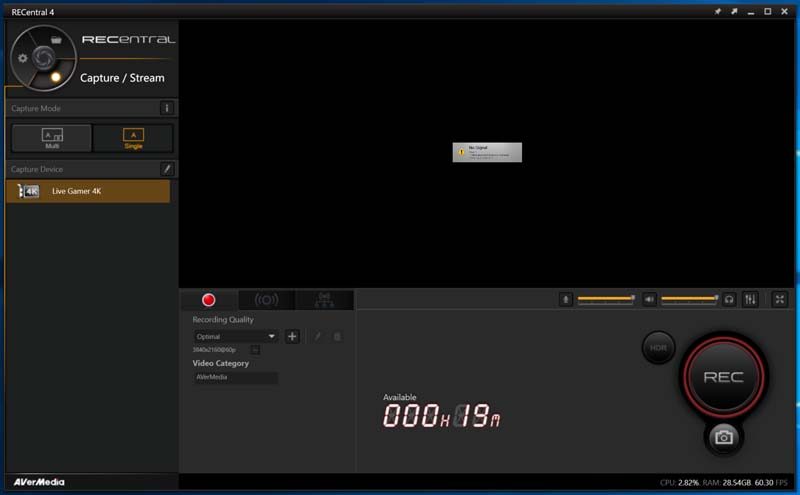
Obviously, this isn’t the Xbox One X, so recording at 4K is pretty pointless here. You can choose the codec you would like to use, such as HVEC or the Nvidia one, since I have an Nvidia GPU which can offload that process. For most users, leaving things at default, or using the built-in recording quality profiles will be more than enough. For pros, you likely already know more about what you see here than I need to tell you.

Refresh Rates
Depending on your source, select the maximum frame rate of your hardware. For the Xbox One, that’ll be 1080p and 60 FPS. If you’re gaming on a high refresh rate display and would like to capture that, you can go up to 240 FPS at 1080p. However, 4K is limited to 60 FPS. Again, it’s all pretty straight forward stuff.

Audio
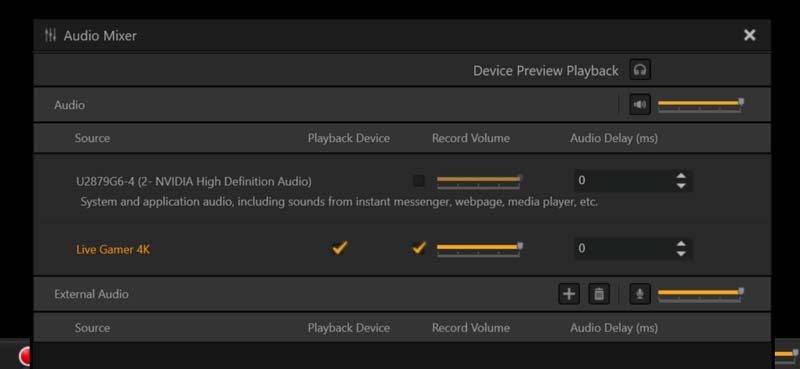
The audio is recorded as it is sent from the HDMI, and will allow surround sound recording. However, you can also change the bitrate should you need to. Honestly, I see no reason to drop this below the default of 256 unless file sizes are of absolute importance to you. Or perhaps you have no intention of using the original audio at all.

Mixing it Up
Some advanced features are on offer, allowing you to mix audio sources, which can be handy if recording desktop footage, using headsets, and other media players. Or you can focus the recording to only record the capture its self. Fortunately, you can add delays here too, ensuring everything is perfectly synced. We had no issues and chose to leave all at the default settings.
Social
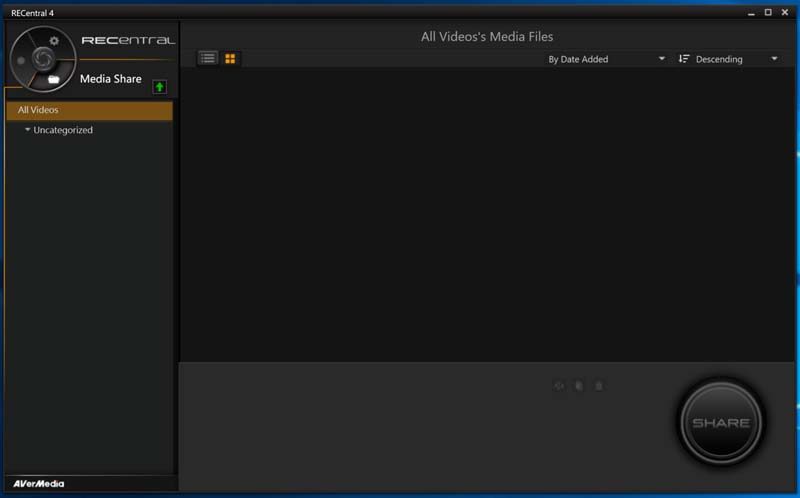
If you sign into your social media accounts within the app, you can access the share library directly and upload from there. Of course, if you want more freedom, the files are saved to your designated folder (c:/users/username/AVermedia/ by default). There you can do whatever you want just like any other file on your system.
Lag?
Not any that I can see, it was immediate and perfectly clear. You can full screen the stream window, hiding the toolbars too. Honestly, I was quite happy playing my Xbox on the PC monitor right through the capture card. Zero issues, no quality drop, it just works perfectly well.
Screenshot and Video
A nice and simple too is that you don’t just have to rely on the video capture. It can capture high high-resolution screenshots of your games too. Of course, these are scaled down to 800px wide fit our site, but you get the idea. You can do this on its own, or while capturing video. Below are some demo files I recorded with Soul Calibur VI on PC at 4K max graphics, Halo 3 in Halo MMC on Xbox One and Sunset Overdrive on Xbox One. All three short clips were recorded at 60 FPS, with the settings otherwise seen in the screenshots above. This is a “look at my gaming skills” demo, just a simple plug, play, record, upload demonstration captured using the included software.
Soul Calibur VI PC 4K 60 FPS

Halo MMC – Halo 3 Xbox One 1080p 60FPS

Sunset Overdrive Xbox One 1080p 60FPS


