AWD-IT Alpha Doom Gaming PC Review
John Williamson / 8 years ago
A Closer Look
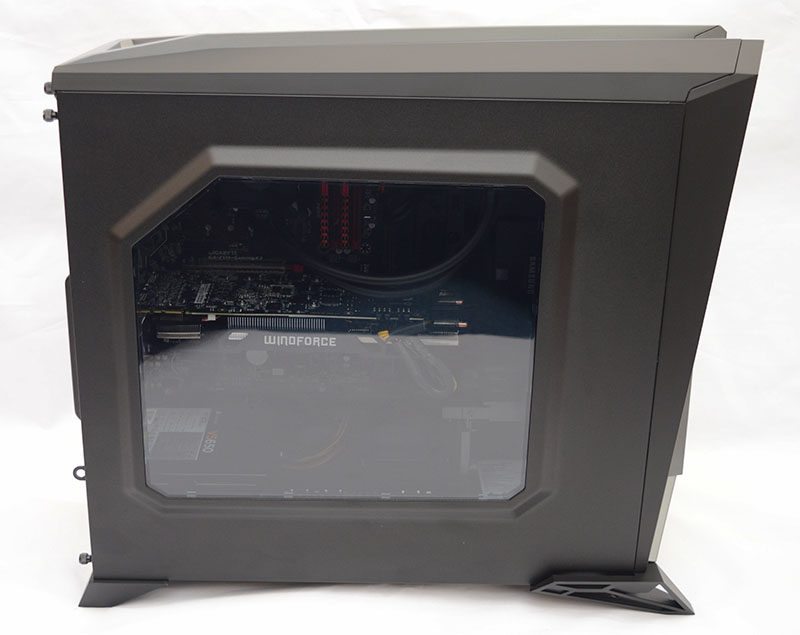
One major oversight is the lack of protection for the internal components which could cause some complications. AWD-IT should have cushioned the essential parts using a foam pack or air bags. Thankfully, this is easily fixed and the excellent packaging in other departments means you shouldn’t encounter any faulty components or misaligned cables. The chassis features a really striking design with distinctive lines and side panels which slide through the chassis’ feet. The tinted side panel window allows you to view the graphics card, memory, CPU cooler and much more.
Once the side panel has been removed, we can see the extremely organised cable arrangement and attractive colour coordination. The contrast of red and black components is always a popular move and evokes a stylish feel.
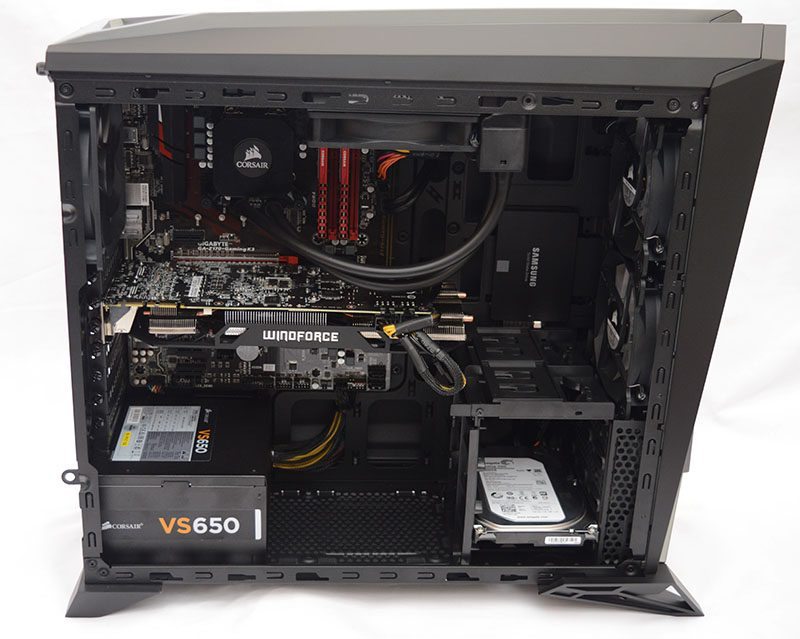
On another note, the Corsair H45 liquid cooler is installed in a central position to reach the CPU without impacting on airflow from the rear fan. This also means the tubing is the perfect length and greatly enhances the system’s aesthetic appeal.

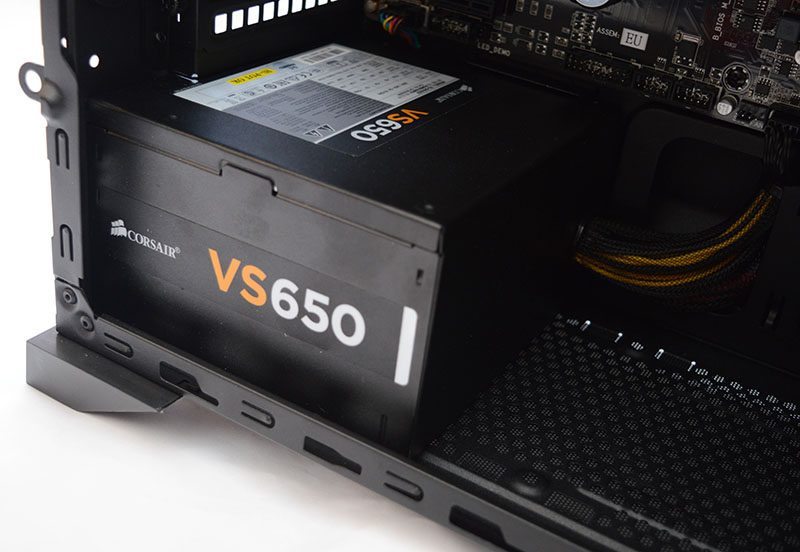
The Corsair VS650 power supply’s non-modular design can complicate matters when attempting to create a tidy build. Thankfully, this wasn’t an issue and all the cables in the front section are routed in a professional manner.
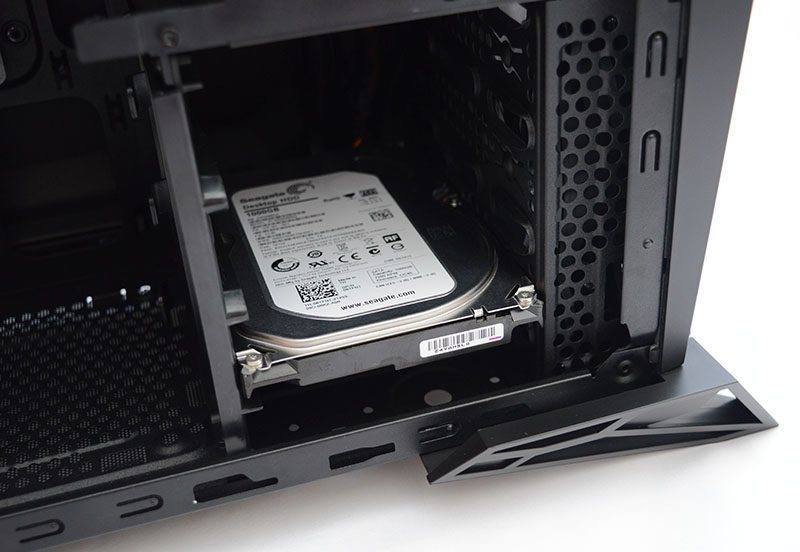
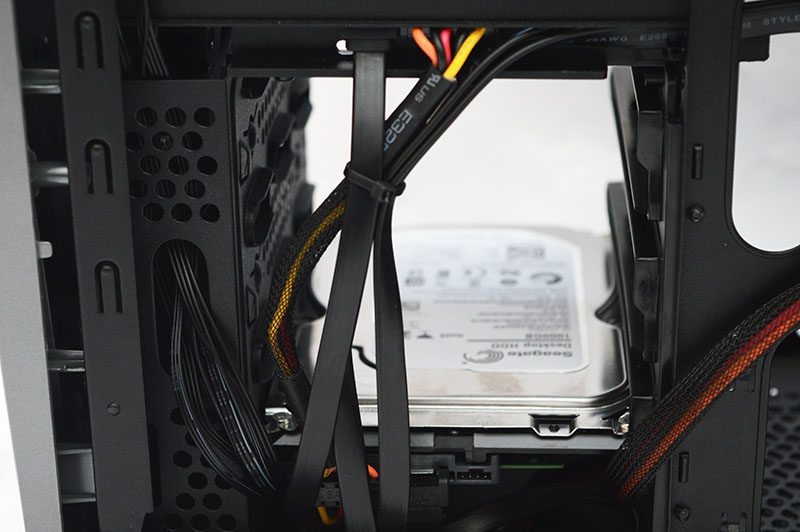
Here we can see the mechanical hard disk has been mounted correctly and there’s enough room to easily slot in extra drives.
AWD-IT have grouped the graphics card’s PCI-E power connectors together in a proficient way using zip-ties and a logical cable run. The trailing cable which stems from the rear section is positioned across the GPU’s PCB. This cuts down on clutter and makes the overall appearance look cleaner when viewing through the side panel window.

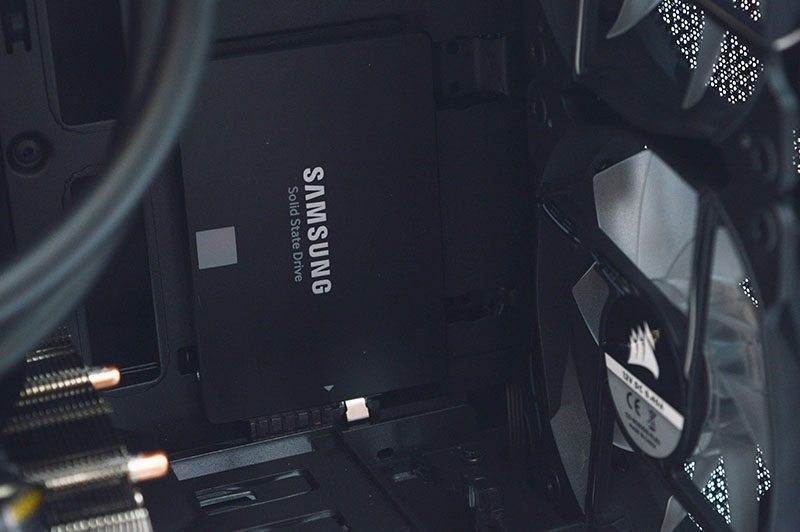
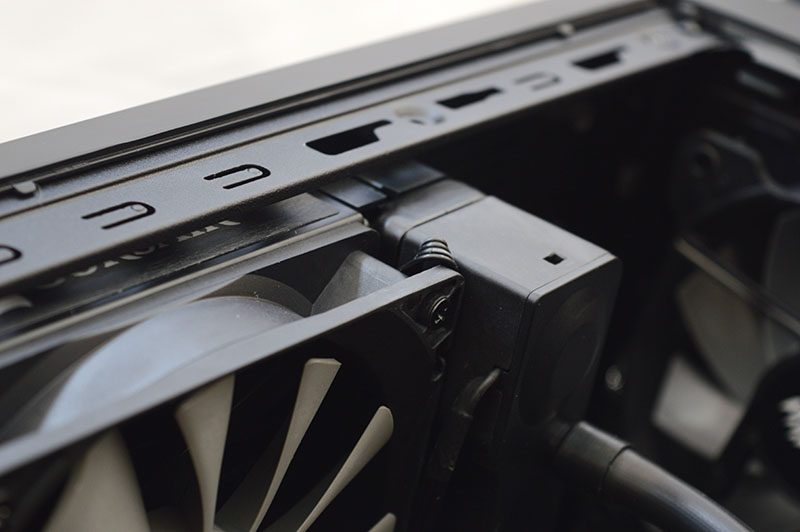
The chassis contains three 120mm red LED fans in the front section which can be controlled using an integrated fan controller. Also, notice how little wiring is visible from the SSD mount.
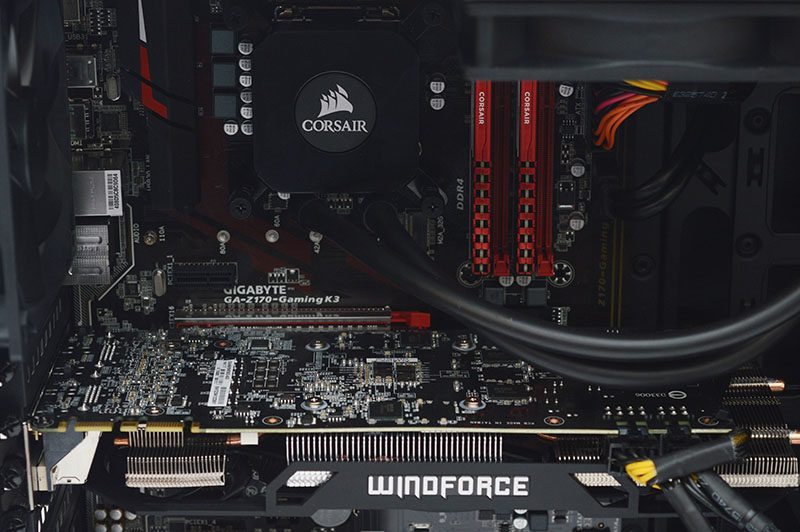
Personally, I’m not overly keen on the closed looped cooler’s square block and unsightly Corsair logo. Perhaps, something like the H80i GT would be the better option due to the illuminated logo and two-tone pump design. On the other hand, this would increase the asking price by a decent margin. The motherboard’s subtle red highlights and PCB lighting contrasts with the Corsair memory to form an absolutely stunning appearance. Additionally, the PCI-E stainless steel shielding looks fantastic and adds to the premium feel. Please note, the graphics card’s WINDFORCE logo cannot be lit up or customised like the G1 Gaming model.
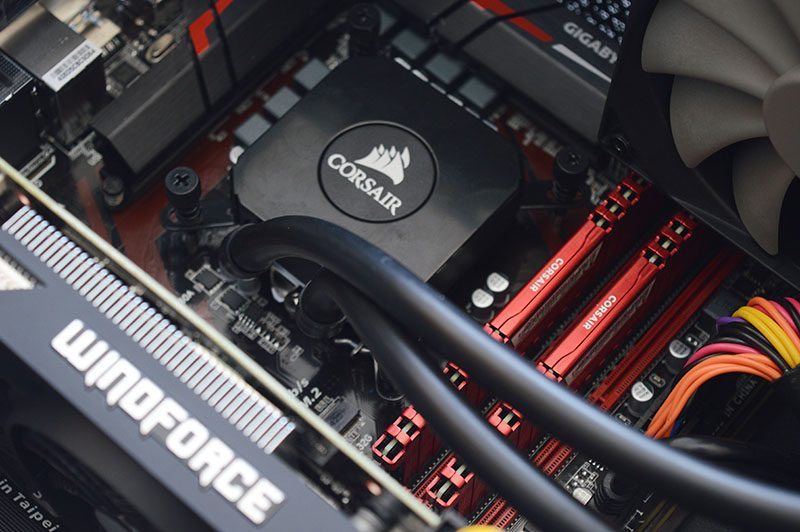
Here we can see the pump is mounted perfectly with even pressure applied to each corner. This is vital on Skylake processors because overtightening could cause the CPU to flex and become inoperable. Saying that, this is a fairly rare phenomenon and usually resigned to large air coolers with a heavy mounting pressure. The Corsair memory’s glossy red finish is spectacular and a suitable choice for this particular configuration.
The Corsair H45 liquid cooler’s fan cabling is routed superbly between the radiator and fan’s frame. This helps contribute towards a gorgeous finish and keeps trailing cables to a bare minimum.
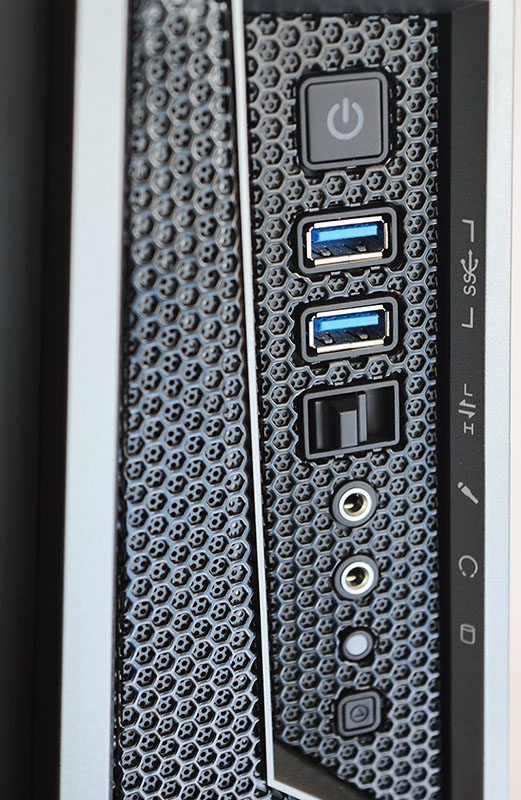
The chassis’ front I/O includes a power button, two USB 3.0, fan speed mode switch, microphone jack, headphone jack, HDD indicator LED and a reset button.
AWD-IT have done a splendid job with the system’s cable management and employed zip-ties and chassis cut-outs to keep everything relatively tidy. However, it’s certainly not the best example I’ve seen and could benefit from a more organised arrangement. The cables aren’t very flush with the chassis’ frame and tend to protrude slightly. Nevertheless, it’s still worthy of praise given the non-modular power supply and restrictions imposed by the usual chassis design.

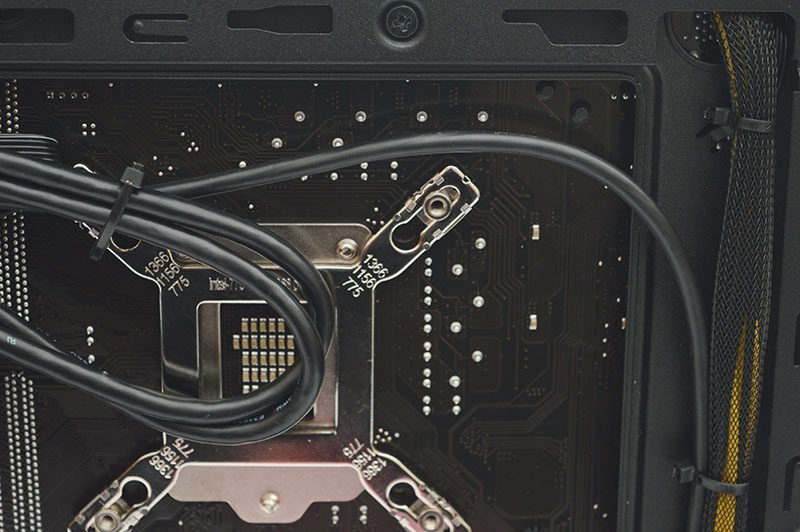
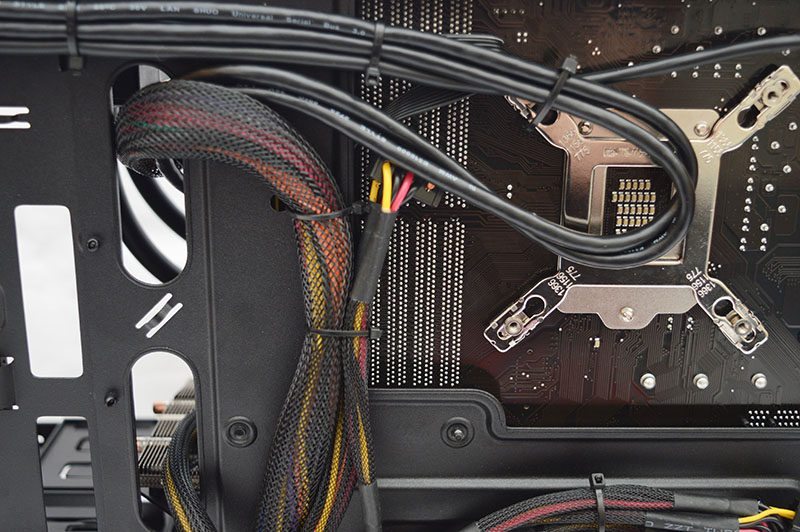
Around the CPU cut-out, there is a large selection of cables held together including the front I/O, 24-pin and SATA power. Perhaps a more efficient option would be to place the I/O cables behind the top section where the side panel attaches. Although, this would be tricky given the USB 3.0 header’s short length.
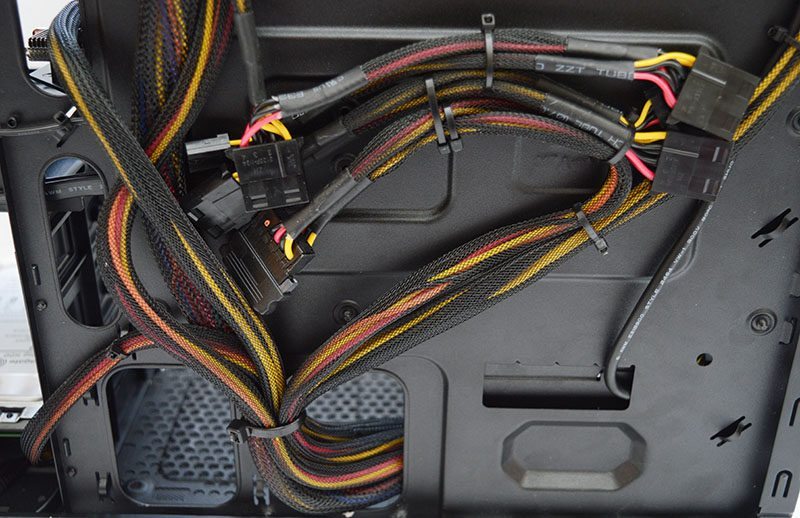
Next up, we can see the extra Molex power and SATA cables are held in place using zip-ties which make closing the side panel door an easy task.
The mechanical hard drive cables are routed in a clean manner and there are loads of free space around the HDD cage to insert more storage devices at a later date.
AWD-IT decided to couple the front cabling to the 8-pin EPS which adds more rigidity to cables’ current positioning.