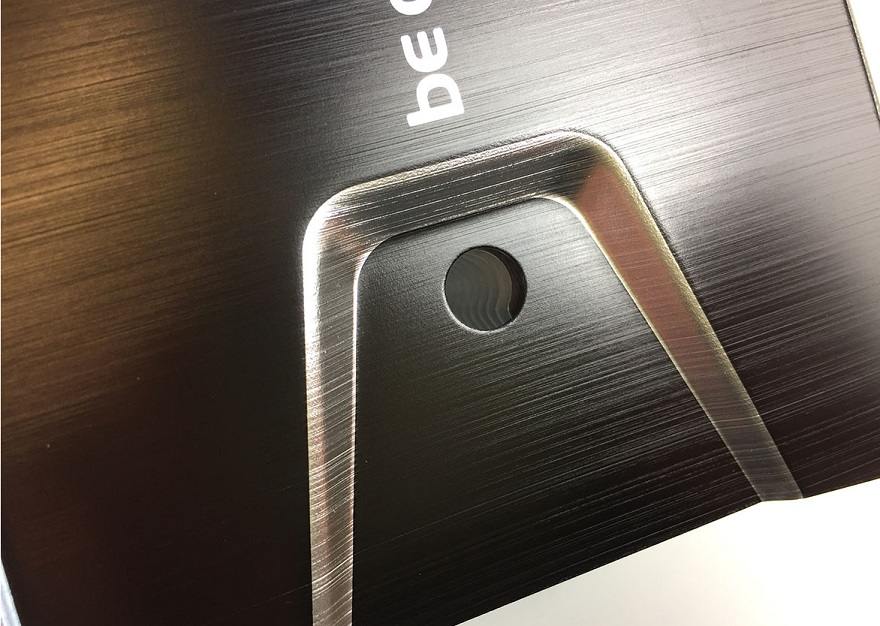
be quiet! Shadow Rock 3 CPU Cooler Review
Mike Sanders / 4 years ago
Installation
So, taking a moment for confession time here, we’re always mildly nervous when a be quiet! cooler arrives. Largely because they used to use what could only be described as one of the worst installation methods ever created.
Fortunately, be quiet! did listen to the criticism and since then, significant improvements have been made to ensure that it is a much simpler process. That doesn’t mean to say, however, that it’s all entirely plain sailing!
Mounting
So, in terms of mounting this to your system, is it as bad as the design seen in the Dark Rock 3? Lord no! Significant improvements have definitely been made. Is it as simple as it could be though? The short answer is no.
Firstly, the base mounting system is unnecessarily complicated and involves rubber washers, etc. It’s the kind of fiddly work that doesn’t suit someone as ham-fisted as me.
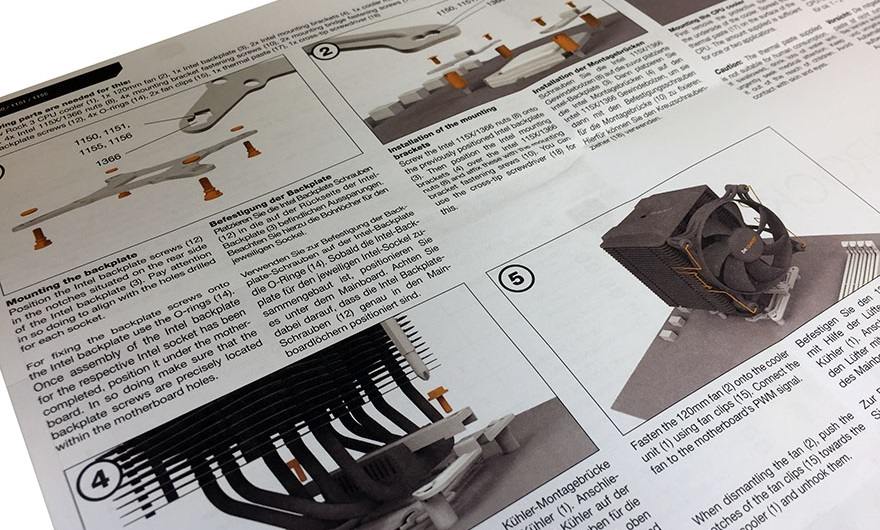
You are, however, provided with an excellent manual which is (compared to many alternative brands) of high-quality and looks like it was pretty expensive to produce with its glossy cover, detailed writing, and color diagrams.
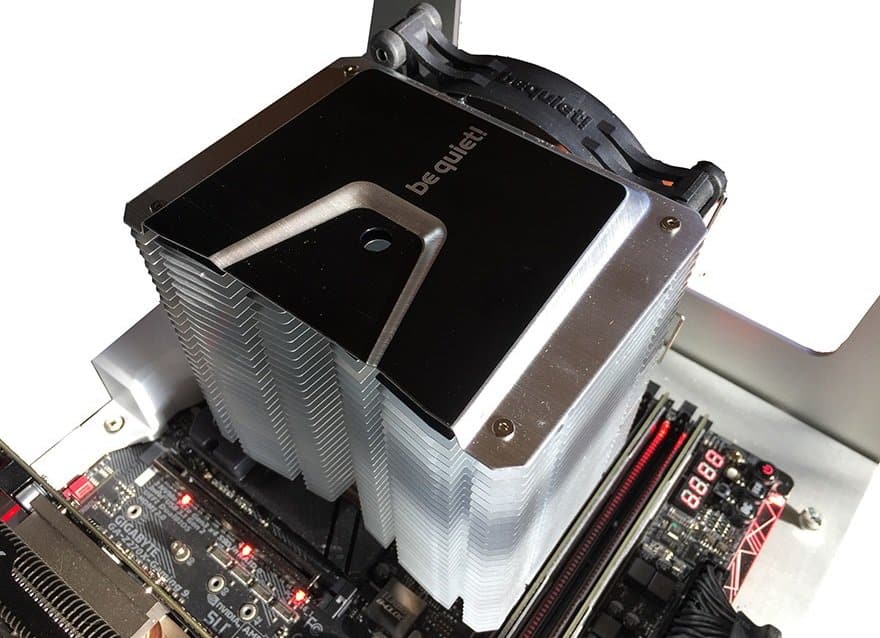
The be quiet! Shadow Rock 3 does include the semi-unusual system of installing the 2nd mounting screw through the cooler itself. Not a major problem in it of itself, but getting the screw in place (for you to get ready to tighten with the screwdriver) is again, some nimble work on your fingers.
On the plus side though, at least be quiet! does provide you with a suitable screwdriver to get the job done!
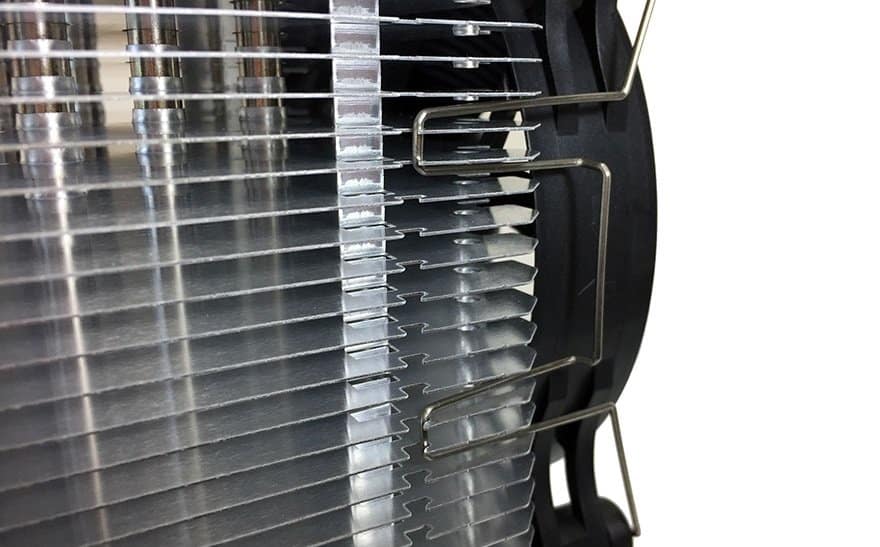
As a final note, one thing I can applaud be quiet! for is designing what I consider to be one of the best fan mounting systems ever made. Two small clips, very little pressure required to install them, and they stay firmly in place! Exactly what you want if you’re installing this to a motherboard already located within a chassis.
Video
You do have to love be quiet! for providing you with not only a good quality instruction manual for the Shadow Rock 3, but also by putting together a video showing you exactly how to install this on your system.
If you do, therefore, want a more ‘glossy’ interpretation of how to install it, check it out below!
Overall Thoughts
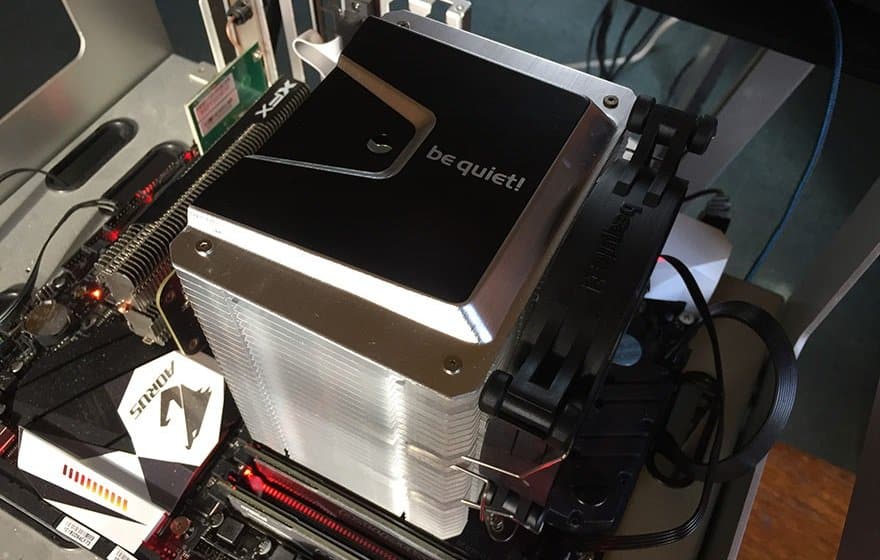
From out of the box and onto our test system, the be quiet! Shadow Rock 3 took me around 15-20 minutes to install. Largely due to insistence of be quiet! trying to re-invent the wheel with its mounting designs.
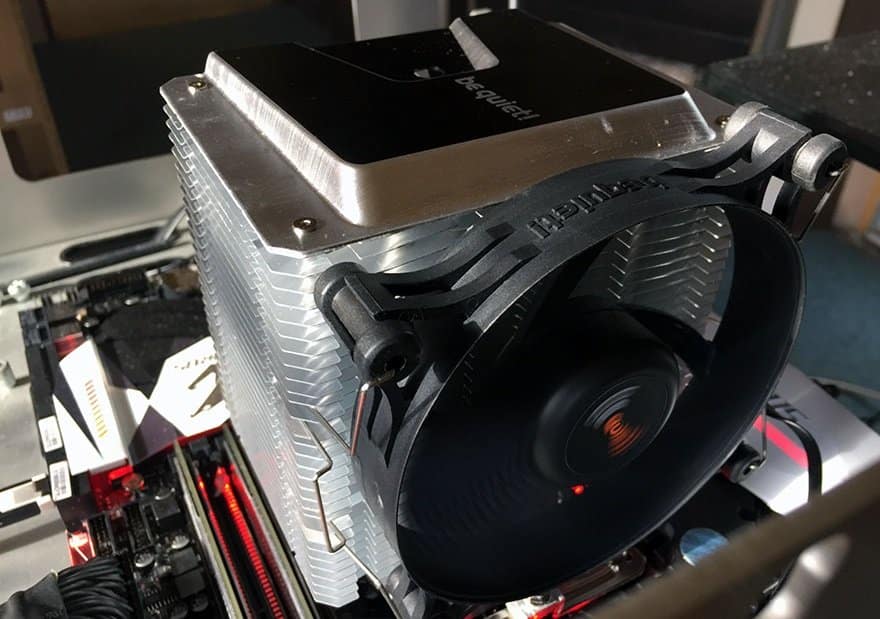
While it is significantly better than seen in prior releases, there is still (no matter the manufacturer) some installation methods that just work well. While this method isn’t overly complicated, I consider it to be mildly vexatious from the standpoint that (in certain aspects) its work best suited to piano playing fingers than my pudgy 10 digits!