be quiet! Silent Base 802 Case Review
Peter Donnell / 3 years ago
Interior
To open the side panels, just push the big button on the rear of the case and it’ll pop forwards a little. You them simply lift it up and away from the case.

The side panels each come fitted with a huge panel of noise dampening materials.
It’s not usually this thick though, and at 10mm thick, it’s a hefty chunk of material!

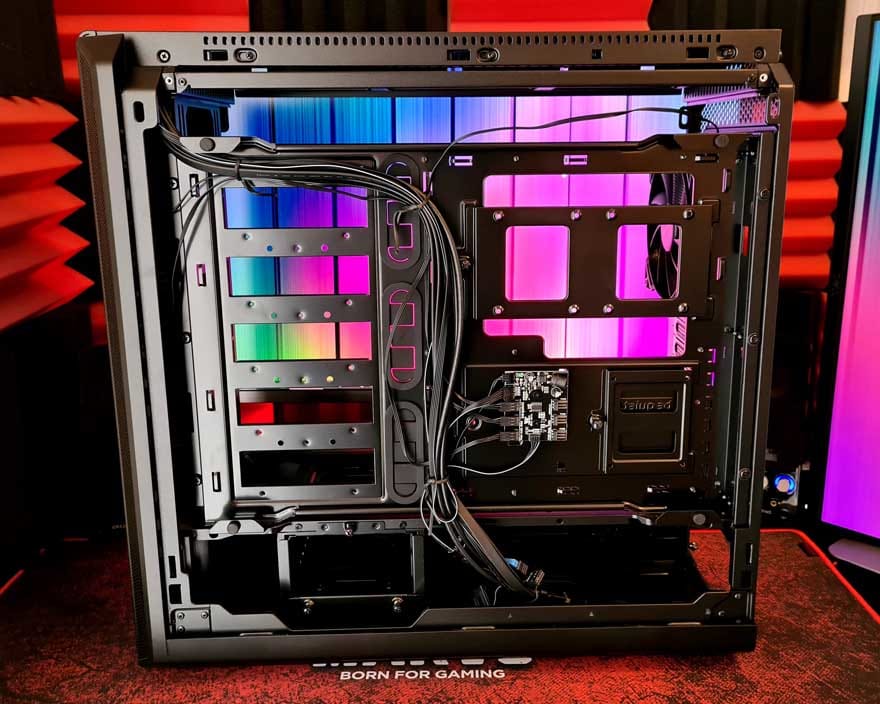
The interior of this case looks fantastic, which is great news for those of you getting the tempered glass model. It’s going to be something worthy of showing off! There’s a lot of space in here too, and a lot of practical features, so it’s not just form over function. There are large cable routing cut-outs all around the motherboard, as well as some cable routing grommets to the right.

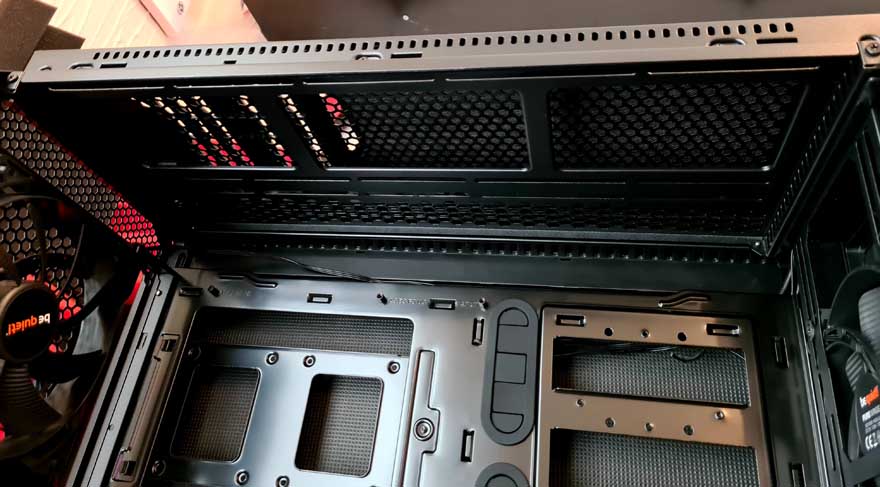
There’s a full-length PSU shroud built into the case too. Interesting, this has a similar removable cover design like the top of the case.

In the rear, you’ll find there are internal screws for the expansion slots, but there’s plenty of room here, so getting a screwdriver to them shouldn’t be an issue.

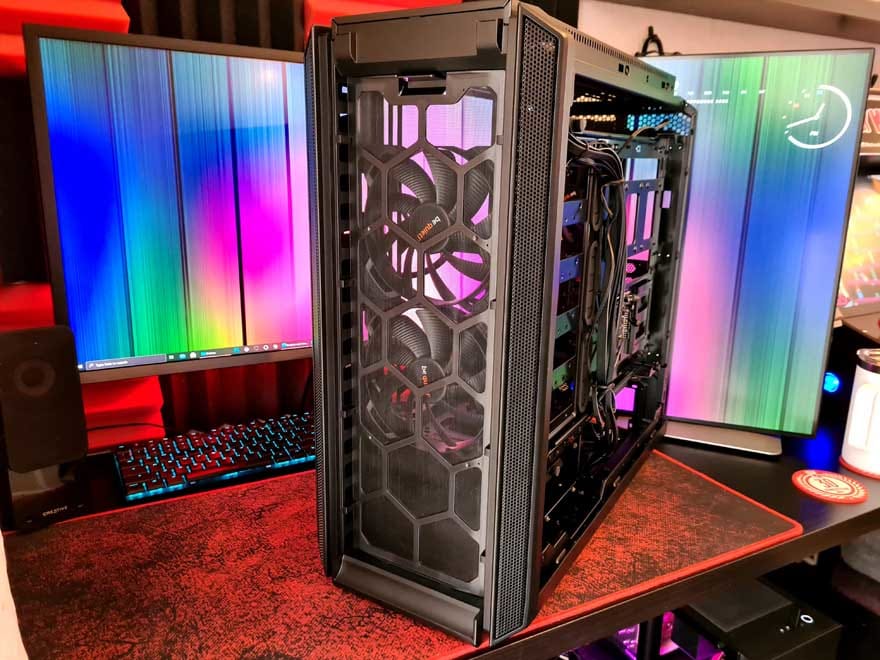
There’s the first of those lovely be quiet! fans that come pre-installed. I know these are whisper quiet, so they’re a perfect fit for this case.

While there are two more in the front, you’ll also find options for 120mm and 140mm fans and radiators here.

With the front cover removed from the shroud, you can even use the full height of the case for radiators.

Plus, there’s just as much room in the top, allowing you to install up to a 420mm radiator in the front, or 360mm in the top should you want to go for a really extreme build.
On the other side, another thick panel with more of that lovely material on the interior.

Behind that, you’ll find a plethora of cable routing options. There are a fair few cables as standard, but they’re all black and vaguely routed to the right places.
There are two SSD mounts tucked right behind the motherboard.

Plus a third one just below that.

There are chunky rubber stoppers for the side panels, ensuring nothing rattles and vibrates.

There’s a built-in fan control switch on the front panel, which pairs up with this six channel hub behind the motherboard. Just remember to hook it up to your motherboard for PWM control in the AUTO mode.

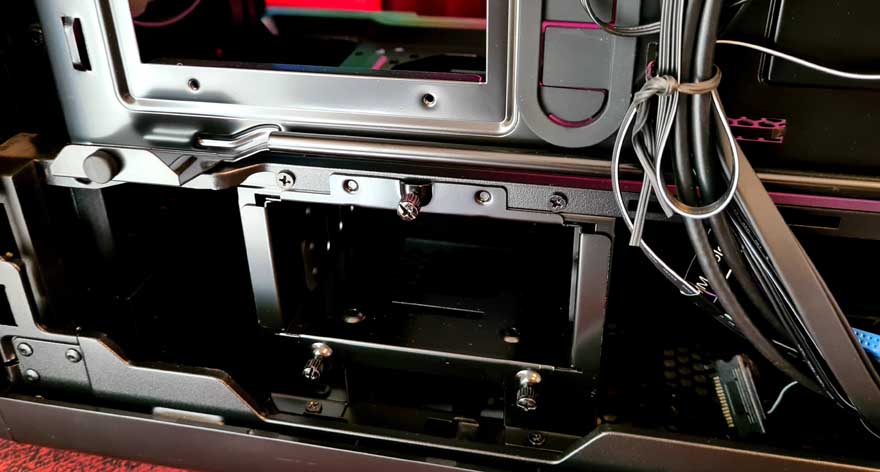
Tucked below the shroud, you’ll find a movable and removable HDD tray.
Fancy yourself a bit of modding? You’ll be happy to see the cases uses accessible and fairly standard screws and hardware in its assembly. This means a basic tool set is all you’ll ever need to completely disassemble the case; perfect if you plan to cut and paint parts of it.

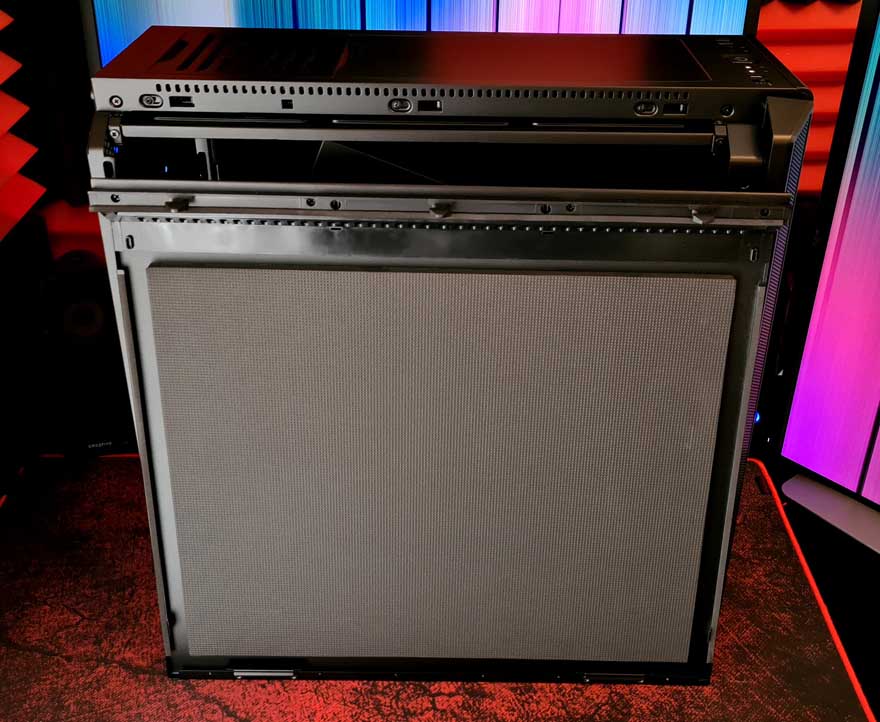
The layers just keep on coming with this case. The heavy duty front panel can be pulled away too, which has even more noise isolation materials behind it.
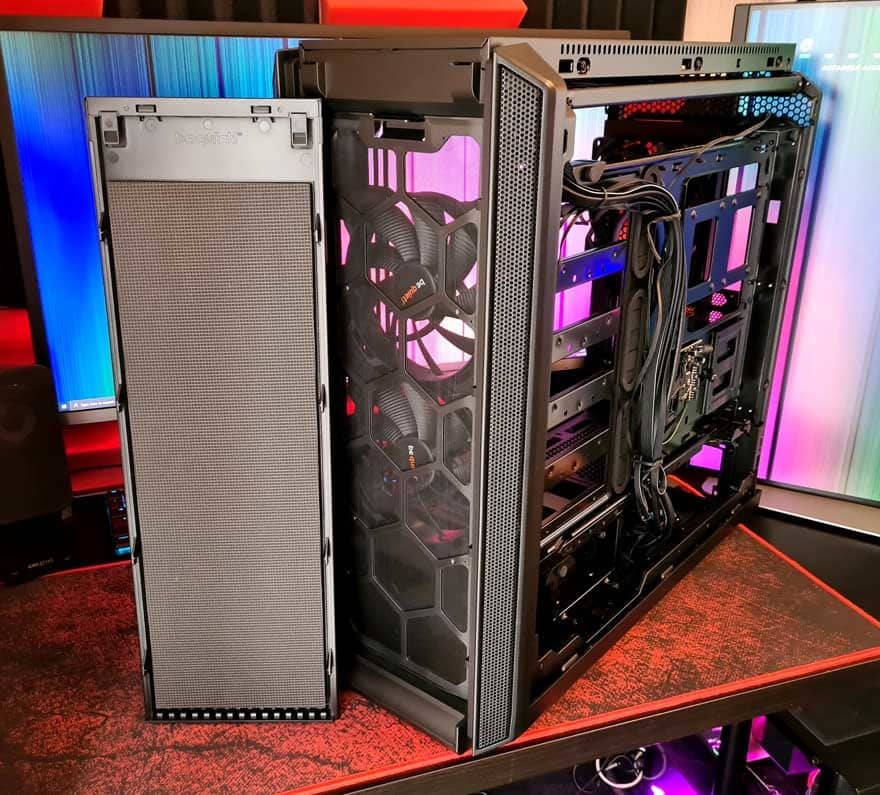
There a tight fitting dust filter which is recessed back a bit, allowing clean air from all of the side and bottom ventilation…
Of course, behind that, you’ll find those lovely fans too!


