BitFenix Aurora Mid-Tower Chassis Review
Peter Donnell / 8 years ago
A Closer Look – Interior
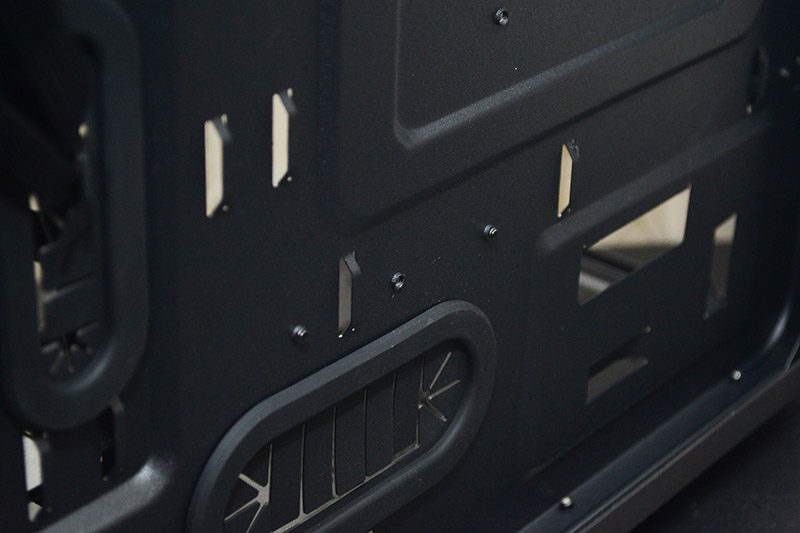
Lifting off that tinted glass panel, we finally get a good look at the interior. It comes painted with a matte finish black paint, which explains why things were so hard to see through the tinted glass. There’s a good size CPU cooler mounting cut-out, as well as a few cable routing grommets around the backplate, but other than that, things look pretty straight forward here.
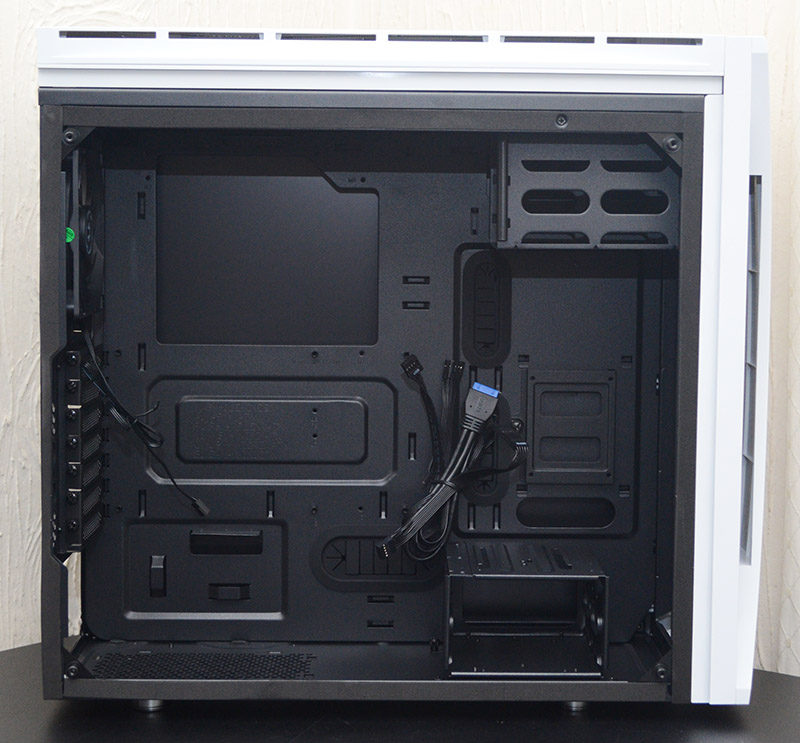
There’s excellent clearance above the motherboard, with room for two 120/140mm fans, or 120/240/280mm radiators.
The 5.25″ drive bay seems a little redundant given there’s no I/O for it on the front panel, but these can easily be used as extra HDD storage bays too if required.
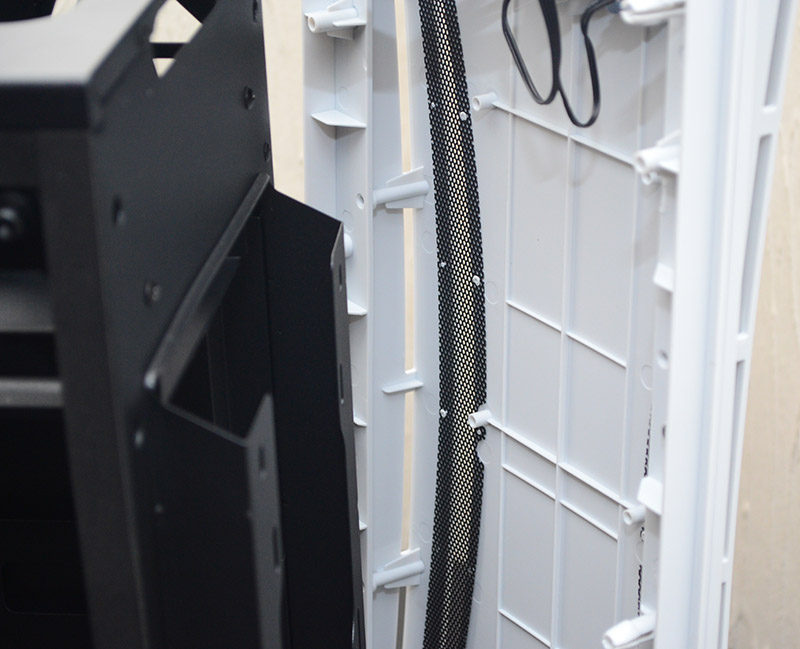
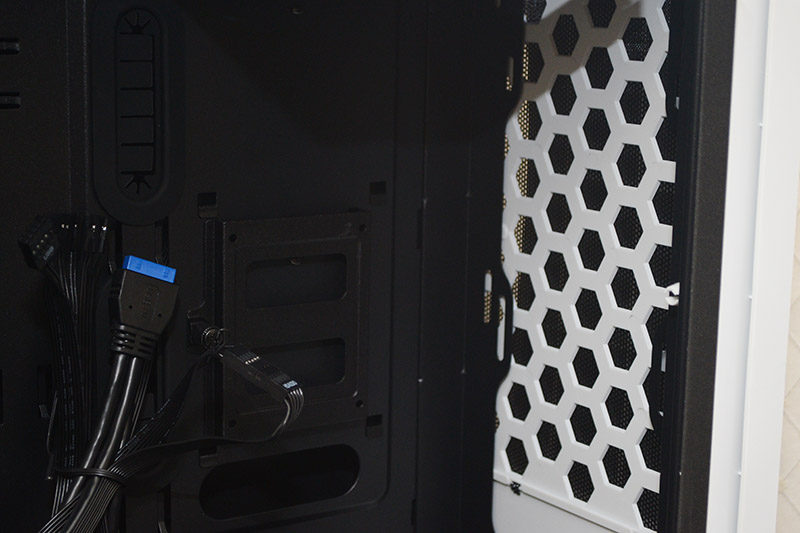
The front panel has room for 2 x 120/140mm fans, or 120/240/280mm radiators, just like you find in the top panel.
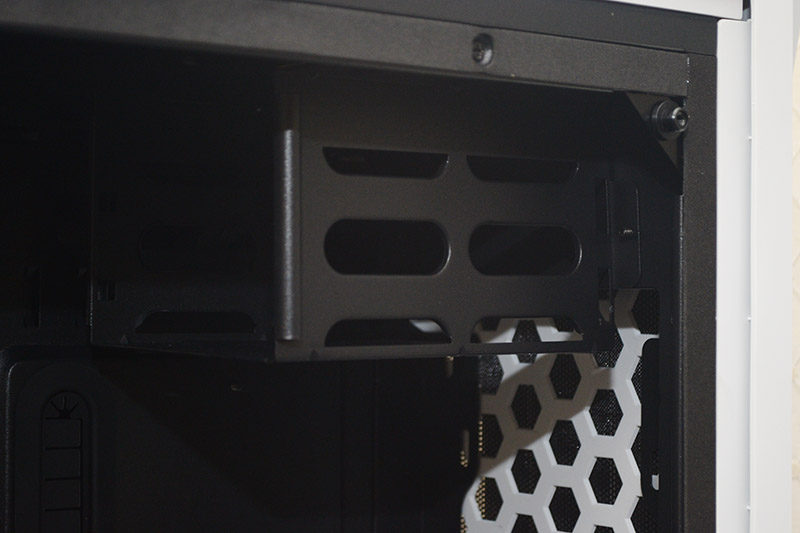
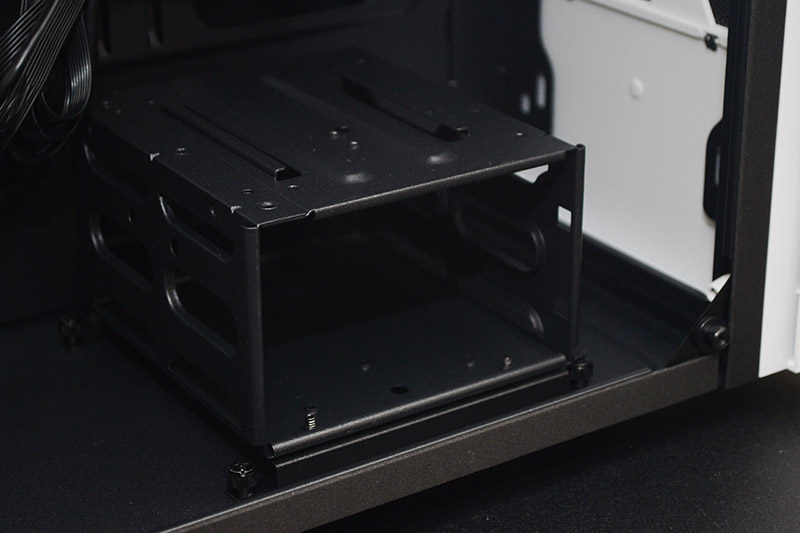
A removable HDD bay in the base of the chassis offers up two 3.5″ hard drive bays.
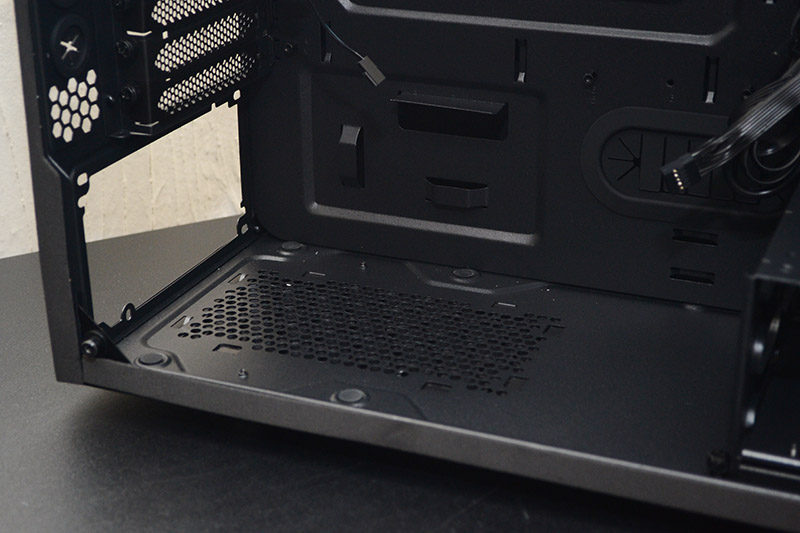
There’s loads of room here for a large PSU, as well as any excess cables that you may need to store beyond the rear cable routing space.
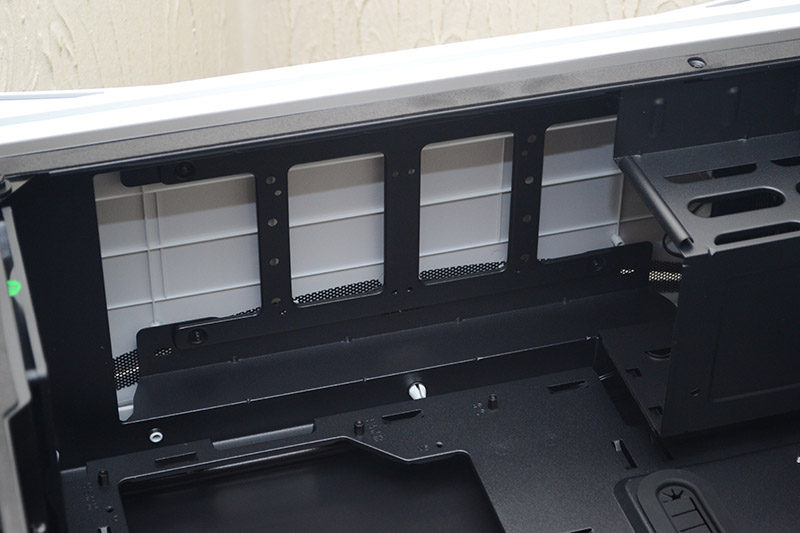
Each of the seven expansion slots come fitted with reusable metal covers and thumb screws, allowing for easy installation/removal of your expansion cards.
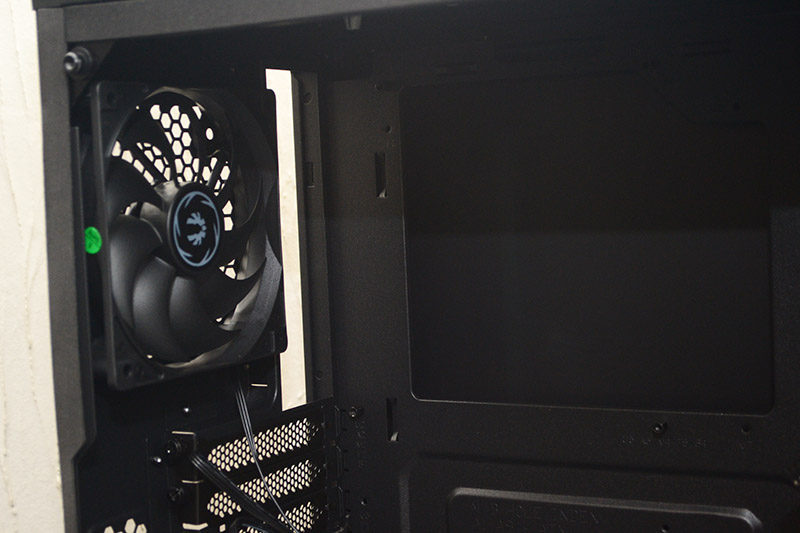
There is only one fan pre-installed with the Aurora, one of BitFenix’s own 120mm models which comes with a 3-pin PWM header.
Behind the motherboard, there’s a fairly reasonable amount of cable management space, nothing too crazy, but certainly enough to work with for a chassis of this specification.
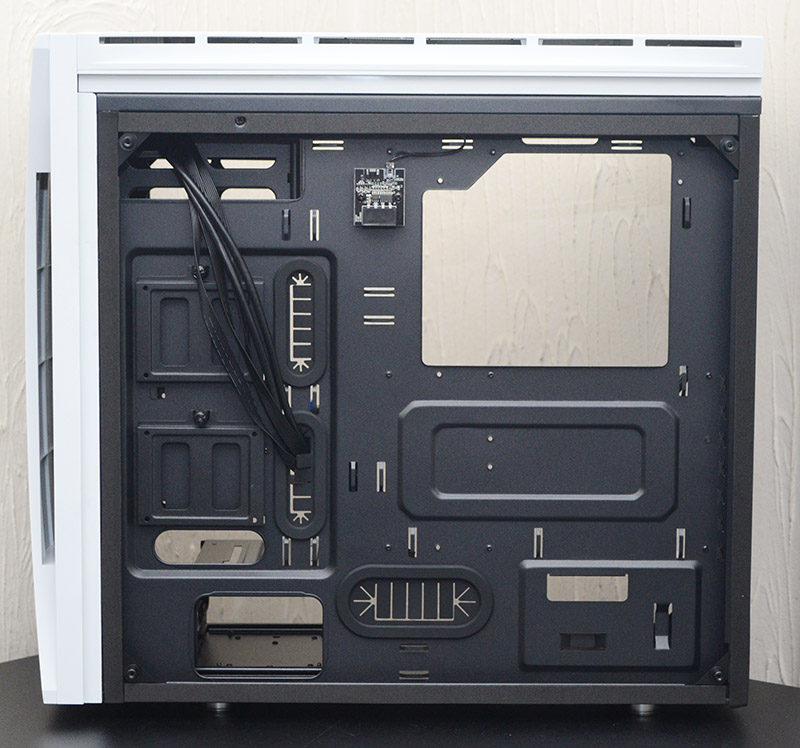
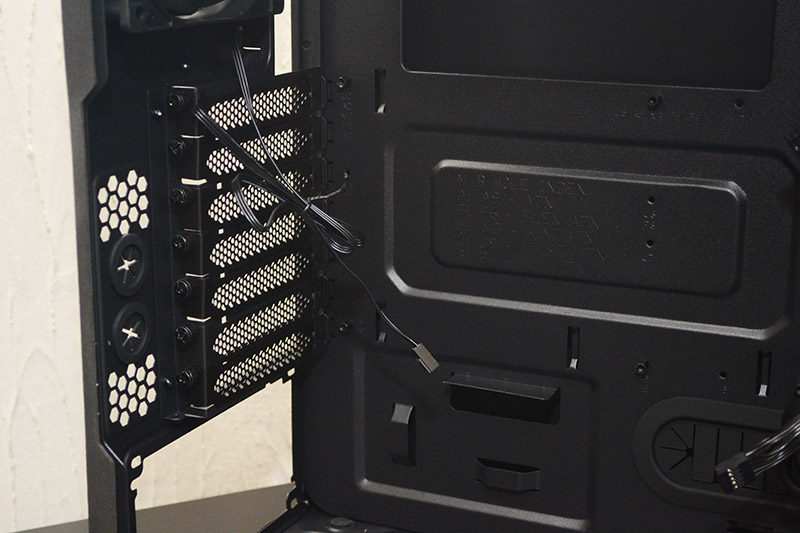
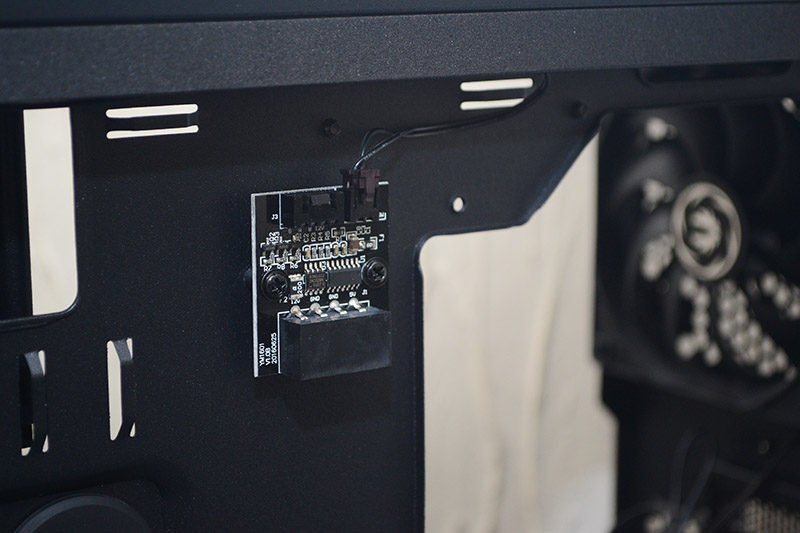
Tucked into the top, a small Molex powered PCB deals with the lighting features of the chassis.
There are two removable 2.5″ HDD brackets mounted at the back too, allowing you to expand your storage and keep your build looking neat and tidy.
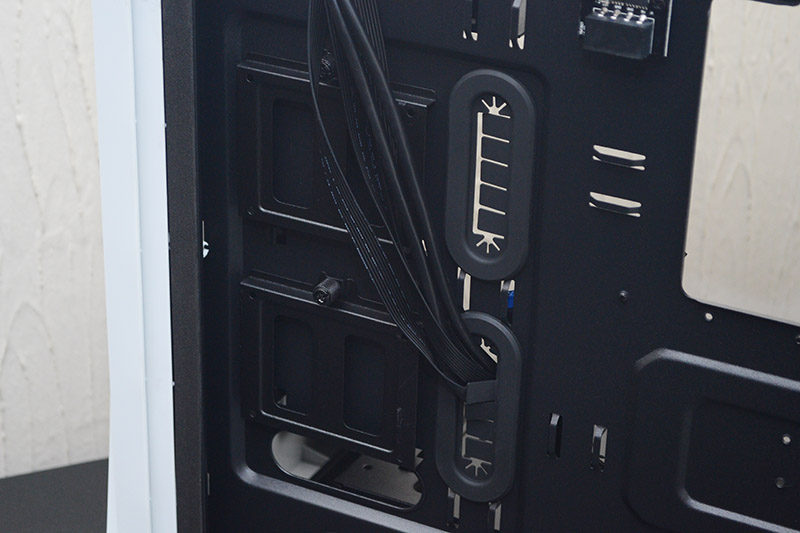
There’s a reasonable amount of cable routing holes dotted in the usual places, as well as a lot of cable tie hoops to help you strap down any excess cables.
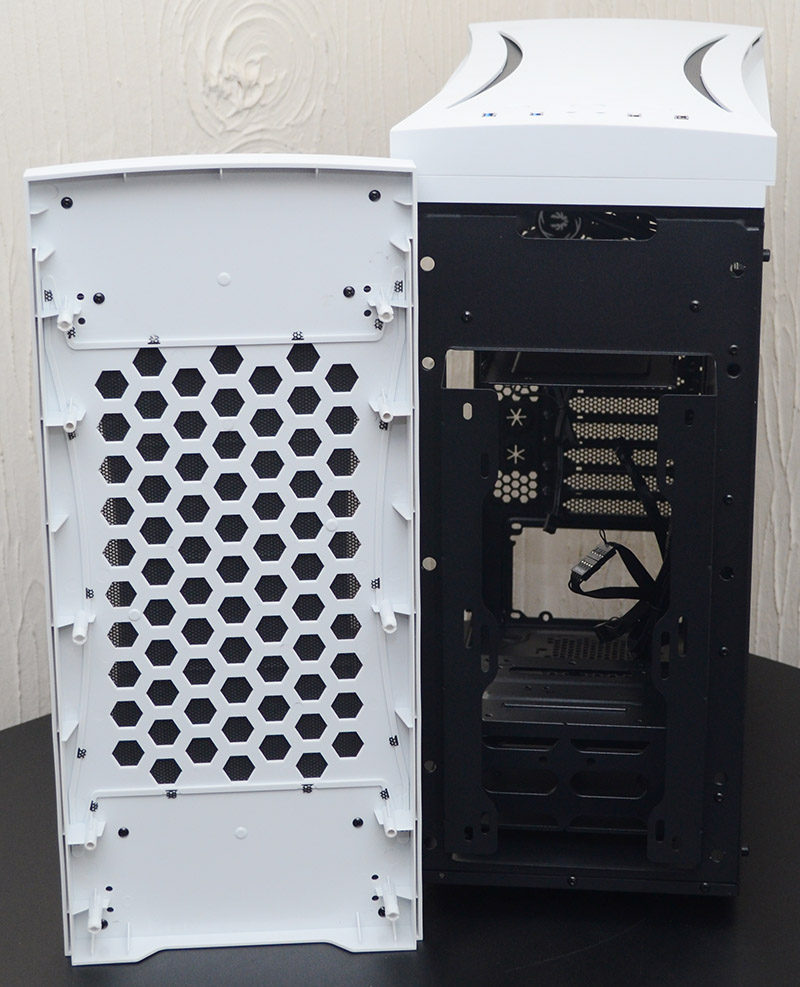
For the front panel, you can pull it away from the chassis, allowing you to easily install fans/radiators in the front, as well as clean out the fixed mesh dust filters.
Pull off the top panel and you can easily access the fan/radiator mounts here, as well as the removable water cooling expansion bracket.

Finally, more mesh filters in the top panel, nothing fancy by a long shot, but they’ll get the job done.