BitFenix Prodigy M Micro-ATX Chassis Review
Peter Donnell / 10 years ago
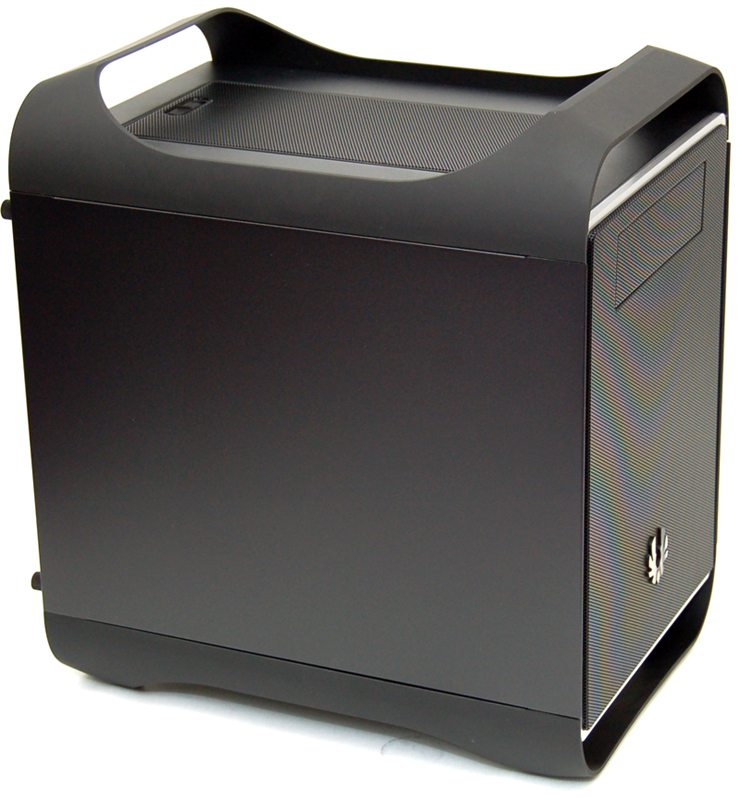
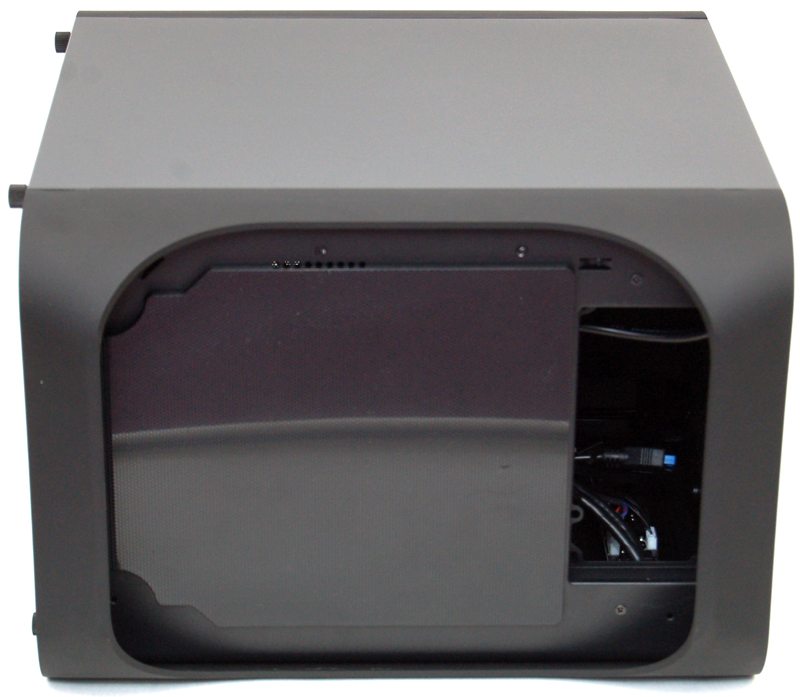
As I said before, the new model is pretty much identical to the old Prodigy from most angles. There is a thick steel side panel on the left that is held in place by a pair of quick release thumb screws.
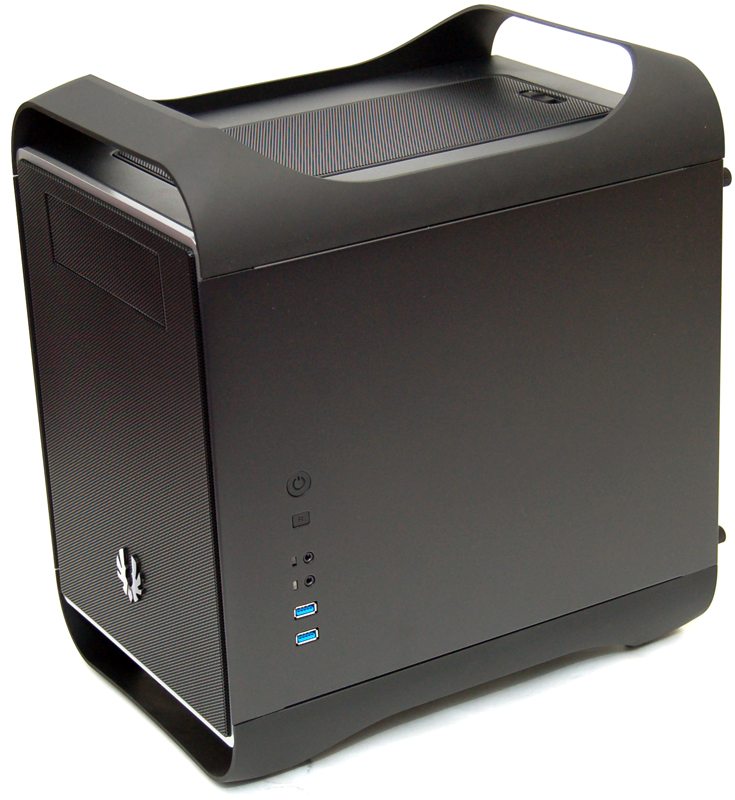
The right side panel is also held in place with thumb screws, but also features the main I/O panel. This includes a power button, reset button, HD audio jacks, two LED indicatiors and a pair of USB 3.0 ports.
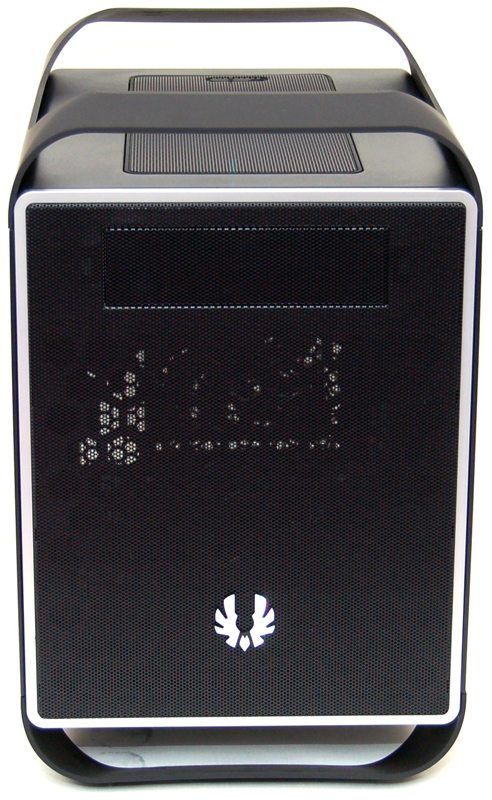
The front panel is nicely ventilated thanks to a mesh front panel. There is a single 5.25″ bay cover at the top (screwed on from the reverse of the panel), a reflective BitFenix logo on the front and a silver plastic trim around the edge of the chassis.
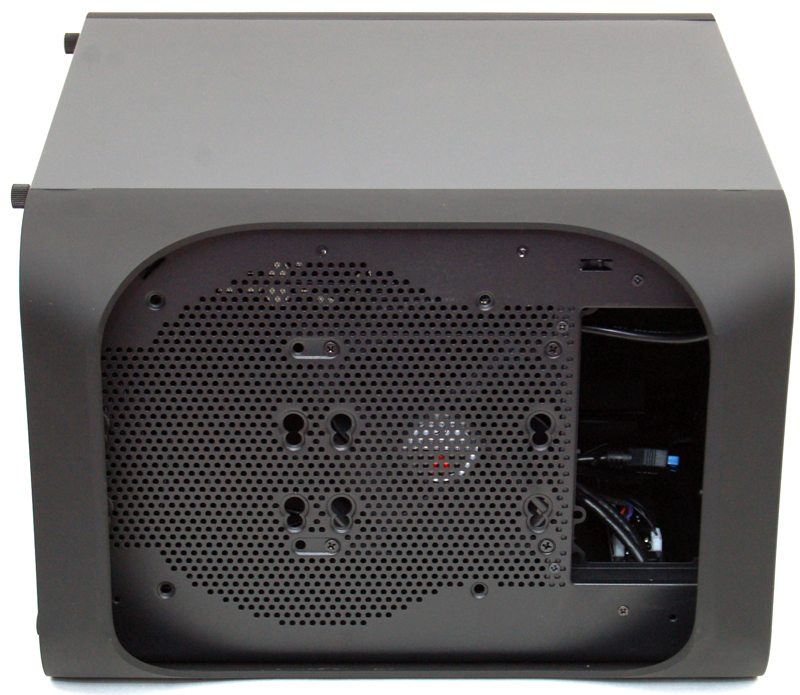
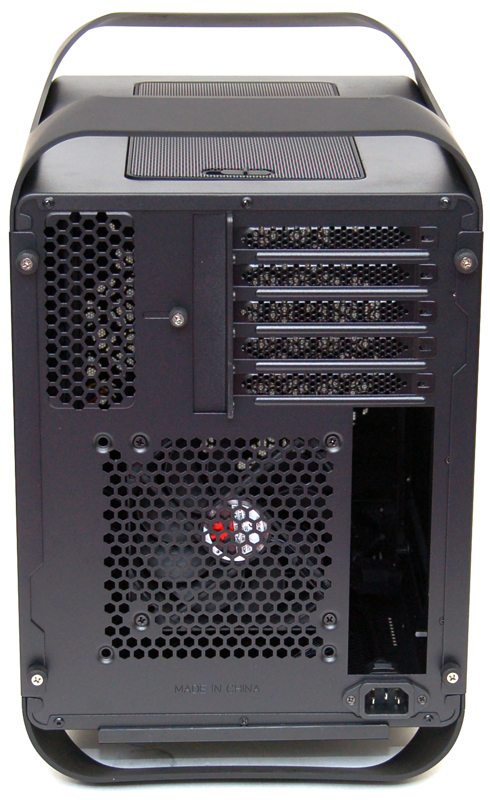
The first major difference between the old Prodigy and the new one is the rear. The motherboard in inverse mounted, as are your expansion cards. There is some ventilation in the top left, five expansion slots on the right, a 120mm / 140mm fan mount with a pre-installed 120mm fan and finally a 3 pin power socket. The PSU is front mounted, so a short extension cable runs through the chassis to accommodate it.
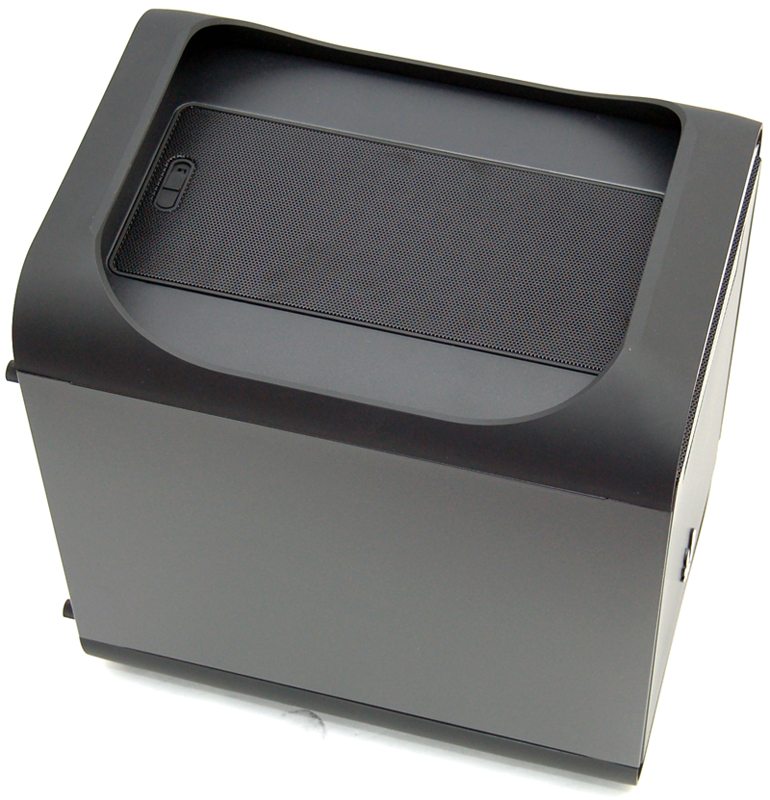
The top panel features a pair of flexible handles that have the BitFenix SofTouch finish to them. They’re fairly study to act as carry handles, but I would have preferred them to be reinforced further for this purpose. There is a full long ventilated panel with a simple slide lock mechanism.
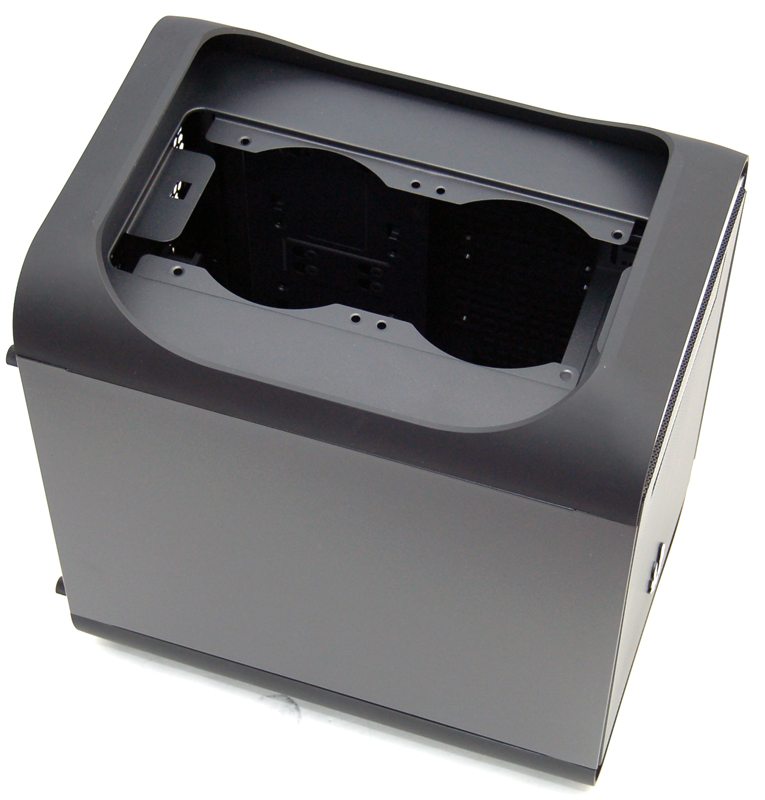
There are two 120mm fan mounts on the underside, and you may even get a 240mm radiator here dependant on your system configuration (more on that later).
On the underside we have the PSU exhaust on the right (this is at the front of the chassis) and on the left we have a plastic heat shield which is held in place with small magnets. Slightly annoying is that the heat shield is the same on as used on the Phenom mATX chassis, it even has two cut outs for the feet which the Phenom has, but this chassis doesn’t. Not a big deal, just feels a little lazy to reuse a panel designed for another product.
Under that panel you will find some hard drive mounts, as well as fan mounts for two 120mm fans, or a 230mm fan. The heat shield is optional and is designed to prevent the PSU airflow blowing back into the bottom of the case when you have HDD’s mounted in the bottom. However, there is a 120mm fan pre-installed as an exhaust fan, this conflicts with the heat shield as it would block the airflow, in short, move the fan or remove the heat shield.