Cooler Master CM 690 III Mid Tower Chassis Review
Peter Donnell / 11 years ago
Interior
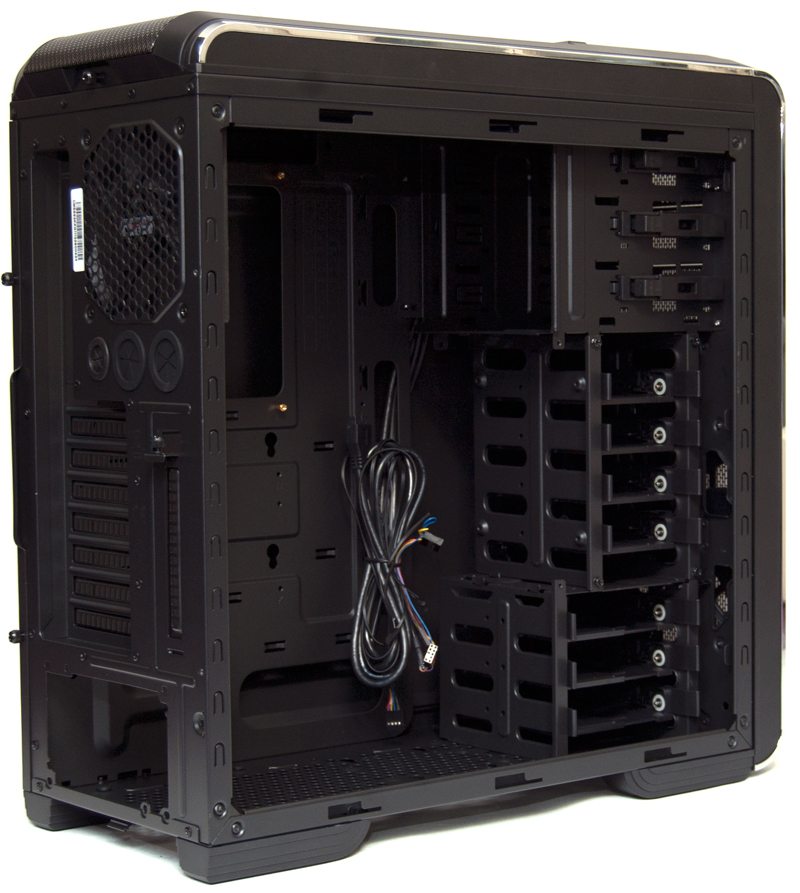
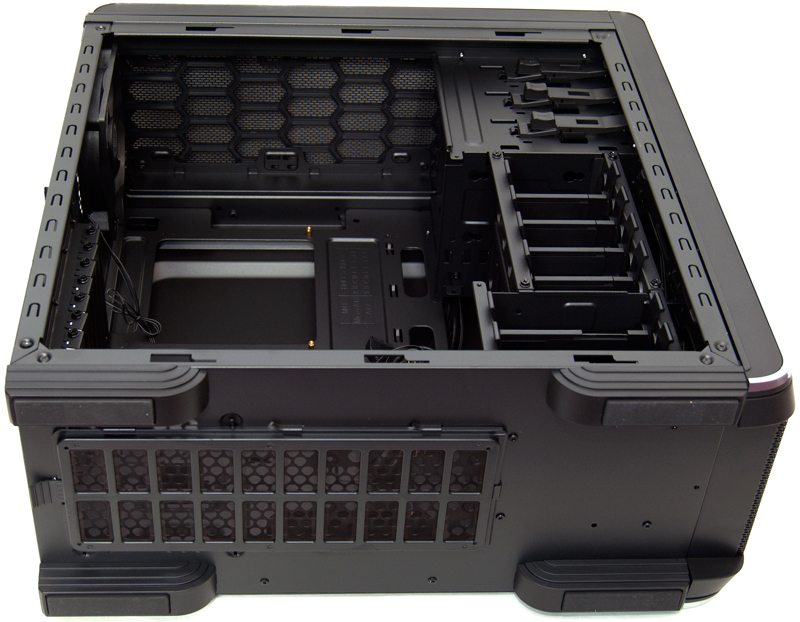
With the side panel removed we can see that Cooler Master have given the 690 III a powder black paint job on the interior, giving a nice clean and uniform look inside and out. This is also improved upon thanks to black fixtures and fittings with the only dash of colour coming from the HD audio and USB 2.0 cables.
The motherboard back plate features a large CPU cooler mounting cut-out, and there are four more cut-outs for cable routing around the edge.
The rear 120mm fan is pushed back a little and this extra space will work well for those wanting to install a 120mm radiator in the back, as conflicts with the CPU block and other components will be much less likely.

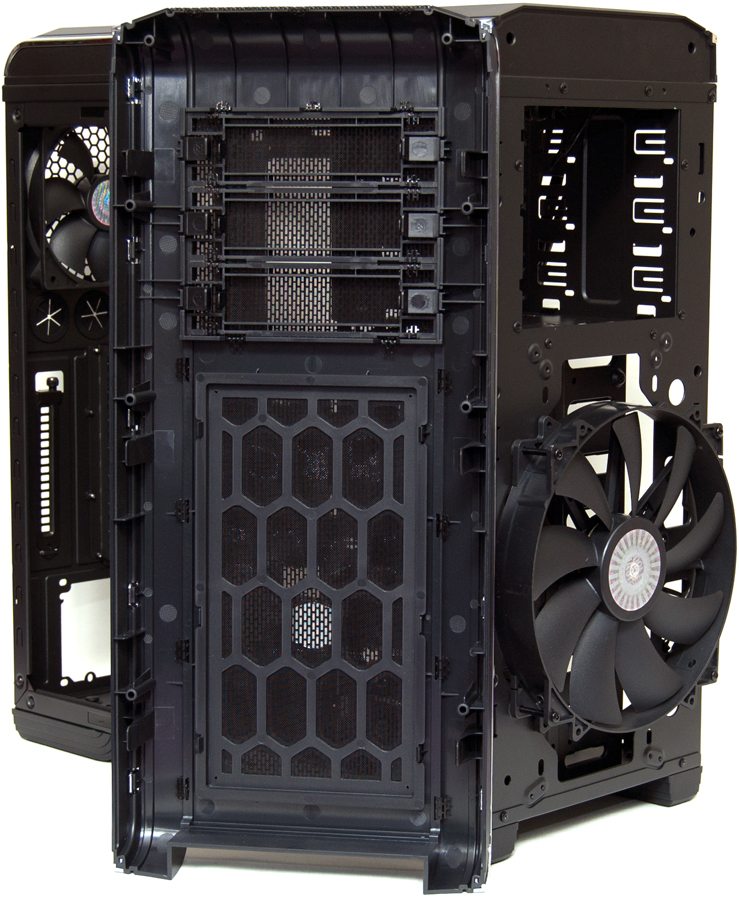
There are three quick release 5.25″ drive bays at the top. Out of the box the chassis is configured for 2.5″ drives in the middle bay and 3.5″ / 2.5″ drives in the lower bay, however, the walls of the middle bay can be unscrewed, removing the bay completely, or you can widen it to support 3.5″ drives, while each of the trays features a clip that allows you to extend the width, meaning one size of tray fits all bays.
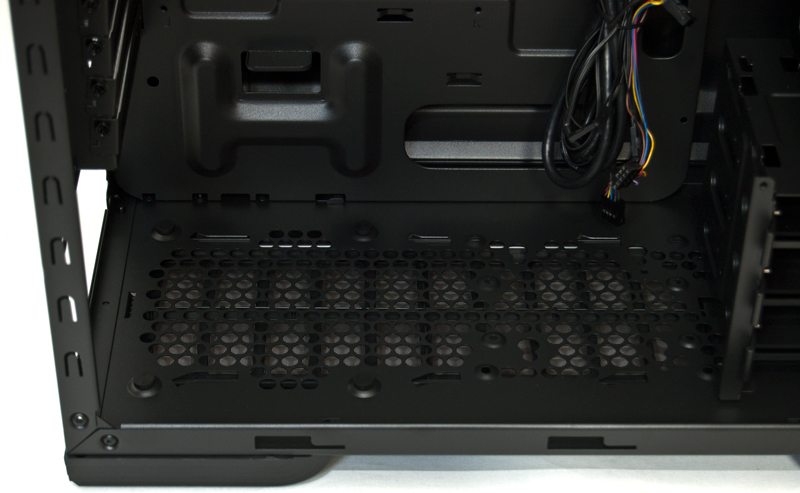
In the base we can see there are four rubber pegs that will provide a nice base for the PSU, while on the right we see four screw holes, perfect for mounting a 120mm fan and for taking full advantage of the large bottom mounted dust filter.
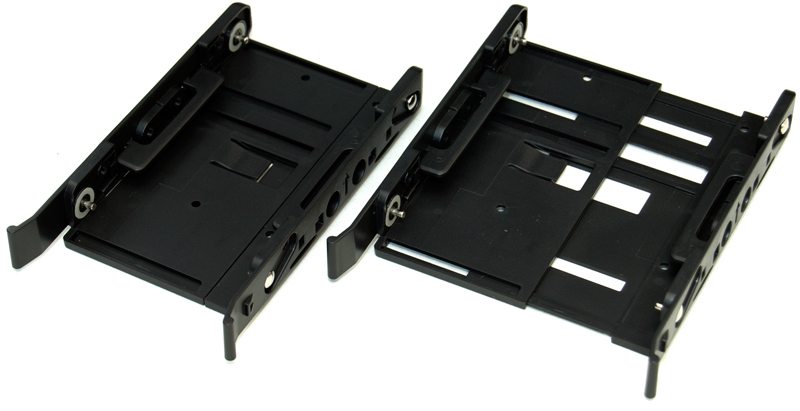
Here you can see the HDD trays, on the left in its “closed” setup for 2.5″ drives, while in the “open” setup on the right you can install either 2.5″ or 3.5″ drives.
The top of the chassis supports 2 x 120mm fans or a 240mm radiator. Plus there is some extra cable routing holes near the top of the motherboard to allow for the extra cables for your top mounted cooling.
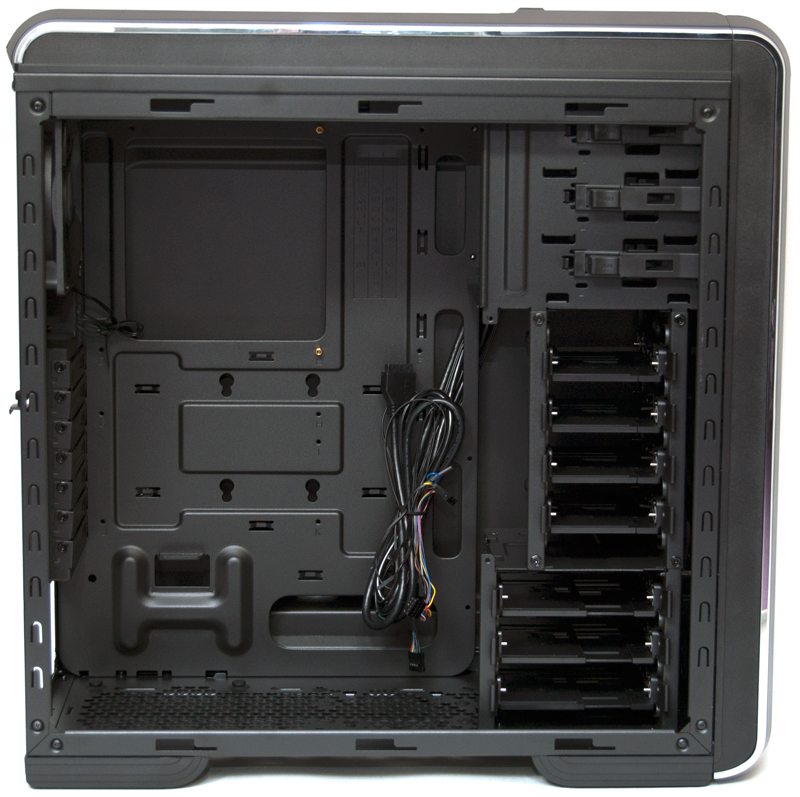
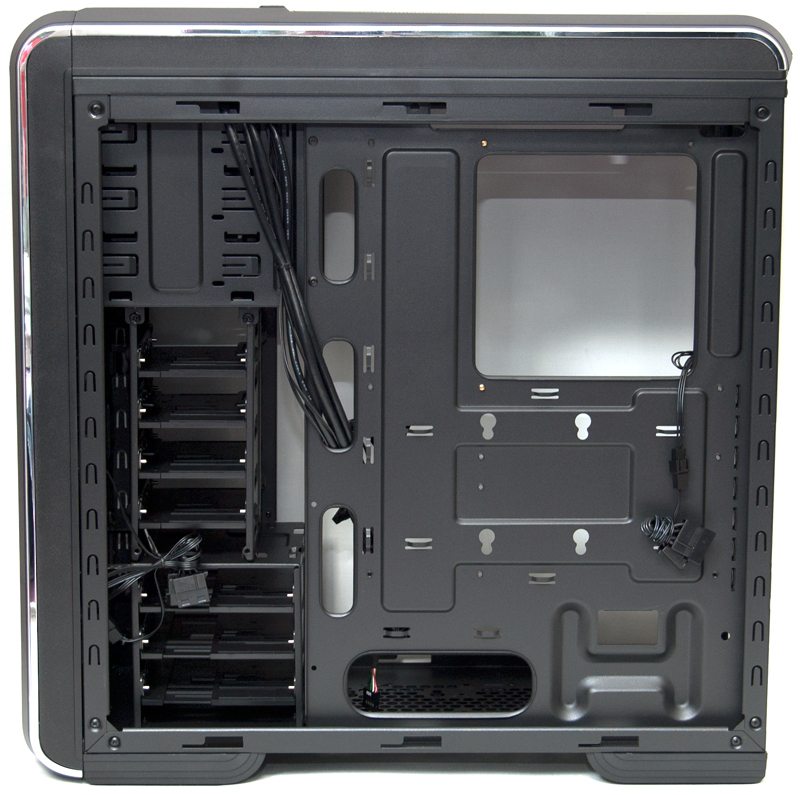
There are a load of cable tied own loops behind the motherboard, handy for keeping everything locked in place. Here you can also see that all the included fans come fitted with 3pin connections, but also removable 3pin to molex pass through adaptors to ensure maximum compatibility. Just below the CPU cooler cut-out you will notice four keyhole shape cut-outs, these are for stealth mounting a single 2.5″ hard drive, handy should you wish to remove some of the hard drive bays to make way for extra cooling or super long graphics cards.
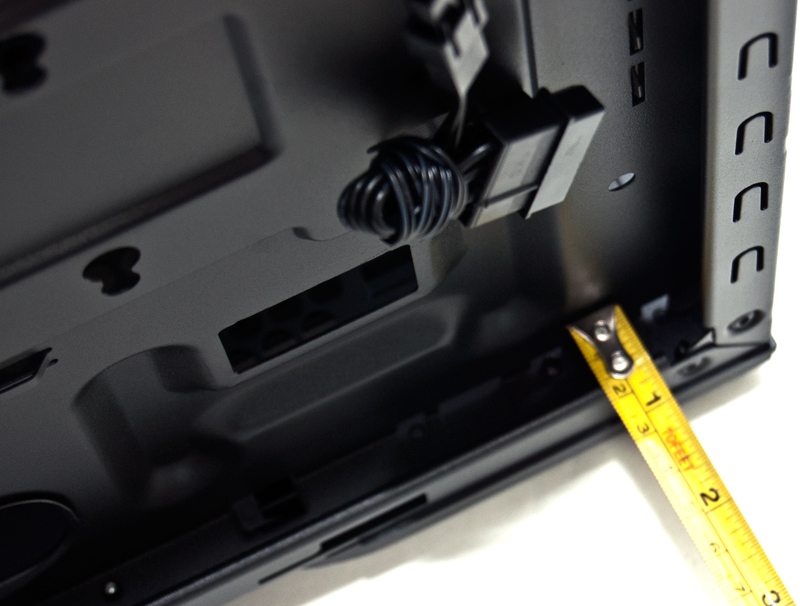
There is 15mm of cable routing space here, but up to 10mm extra is provided by the sloped side panel and there is also a little more room on the rear of the HDD bays.
The top filter is easy to remove, allowing you to brush out the filters, install / remove fans, etc.
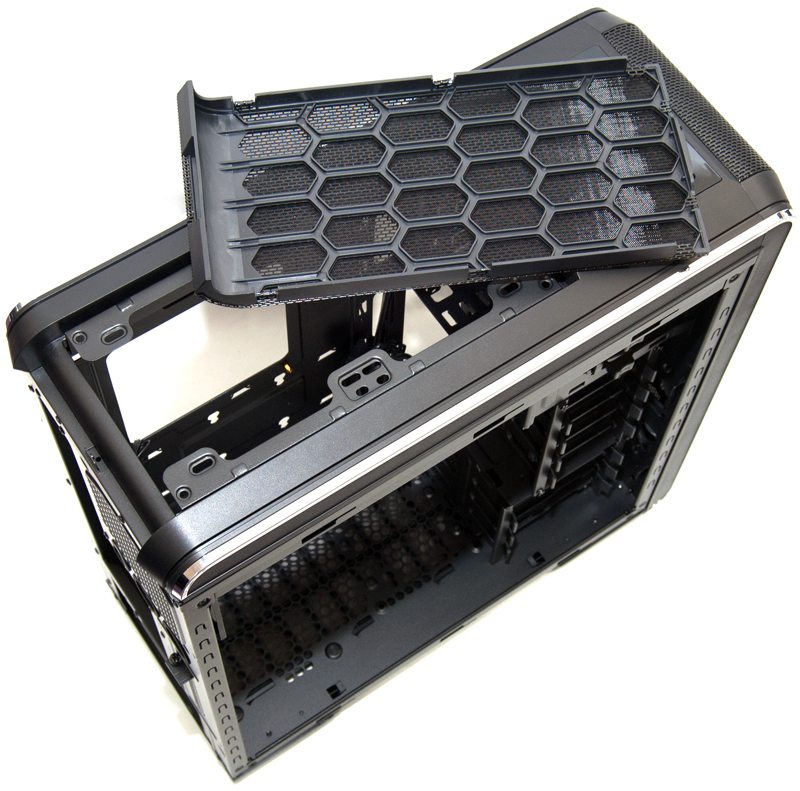
The front panel is held in place by clips that are accessed from inside the chassis, behind that you will find a huge 200mm intake fan, but also mounts that are compatible with 2 x 120mm or 2 x 140mm fans.