Cooler Master Hyper 212X CPU Cooler Review
Peter Donnell / 8 years ago
Installation
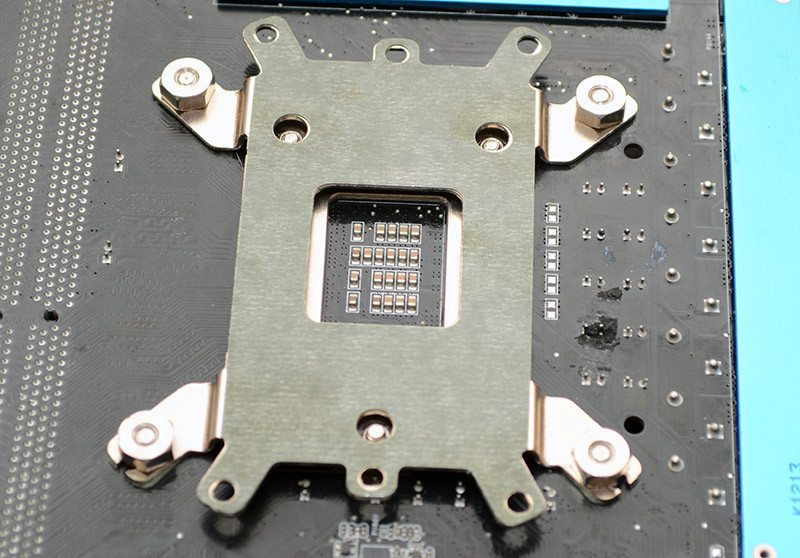
Getting this cooler installed on your motherboard and CPU of choice couldn’t be much simpler. The universal backplate drops into place easily enough and is held in place by four screws (front side) and four bolts (back). This is easily done, as it can all be done tool-free, although a special screwdriver to bolt adaptor is included should you need to tighten them further.
Here are the four screws as seen from the other side.
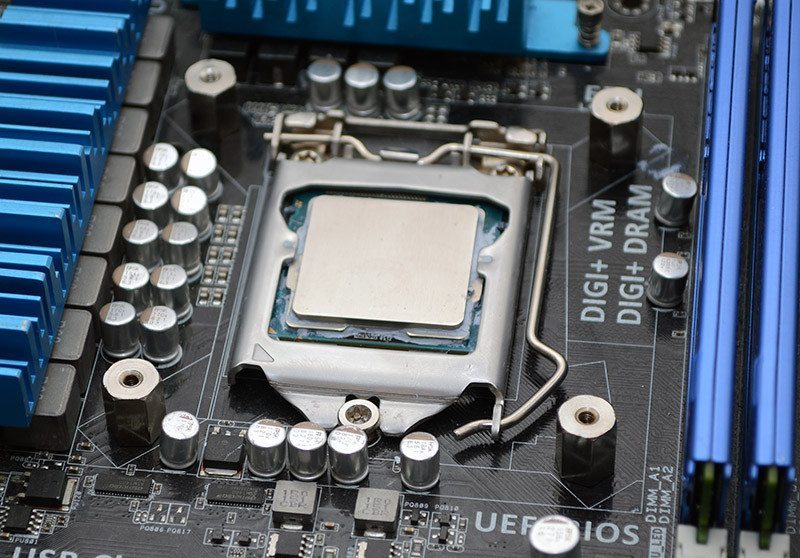
The universal mounting X bar is adjustable to suit each socket type, simply apply thermal paste, put the cooler and mounting bar in place and screw the four corners down.
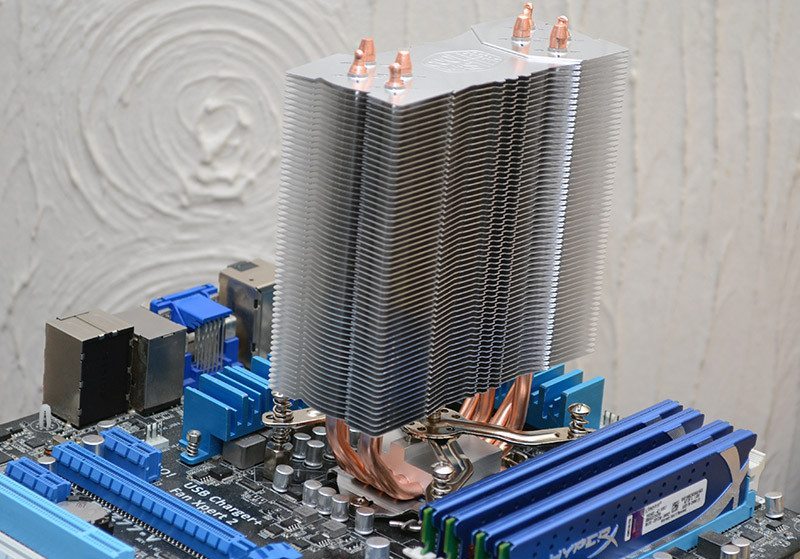
Once fitted, you can see that there’s a lot of clearance around the main components of the motherboard, minimising the chance of component conflicts.
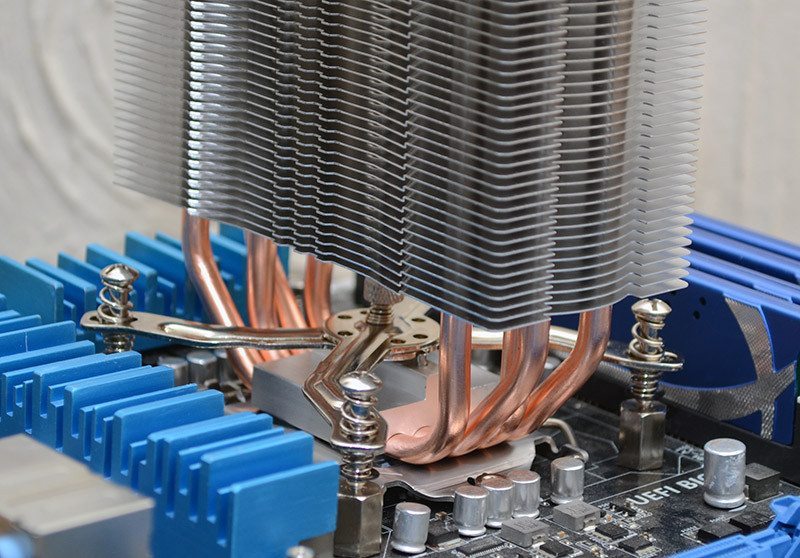
There’s also zero chance of it causing compatibility issues with your RAM, thanks to the slim tower design.


