Cooler Master MasterCase H500P Chassis Review
Peter Donnell / 6 years ago
A Closer Look – Interior
Lifting away that big glass window reveals a very spacious interior. Obviously, it was hardly going to be small in here. There’s a massive cut-out for the CPU cooler mount, a few cable routing holes at the top and bottom, and three large grommets to the right of the motherboard. Fitting an E-ATX motherboard, a few huge graphics cards, and some water cooling gear, isn’t going to be an issue here.
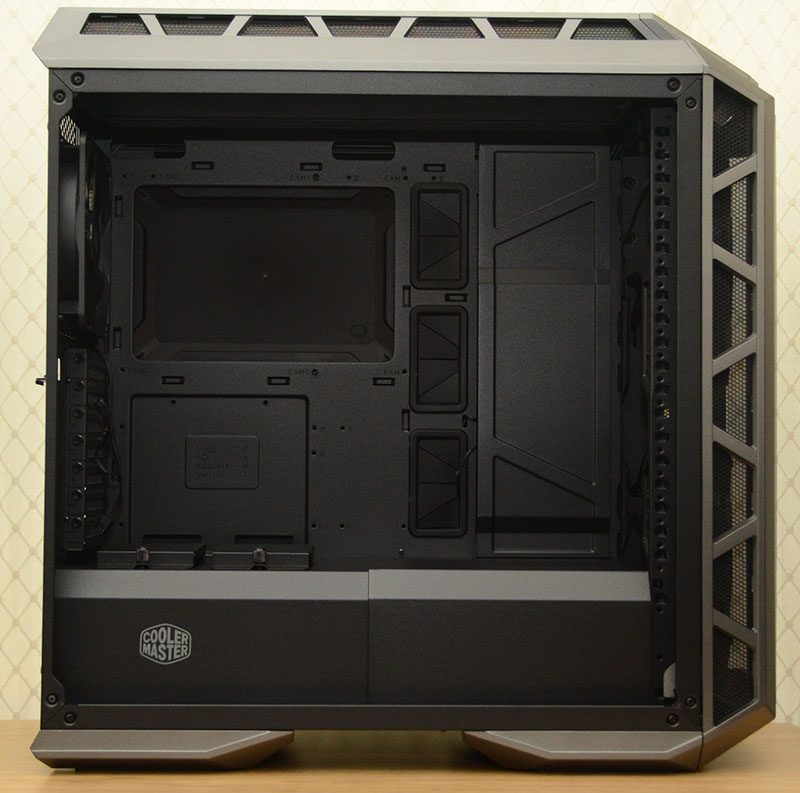
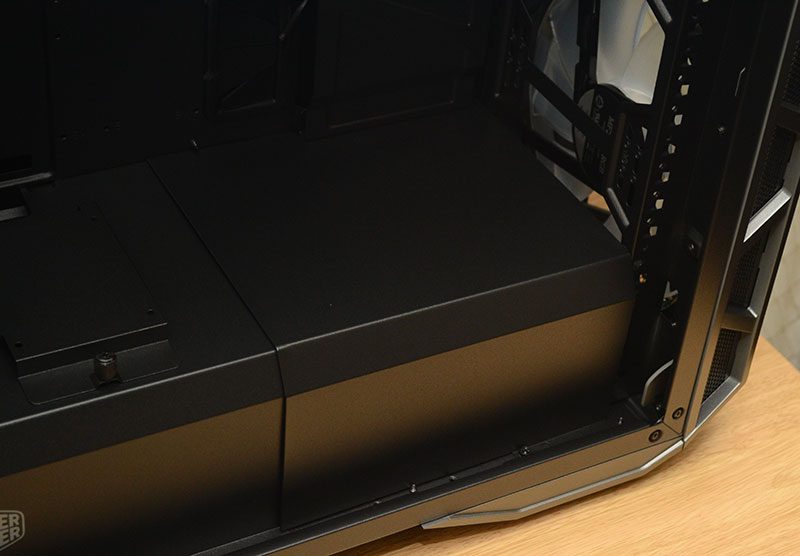
The base of the chassis features a two-part PSU cover. It’s a plastic guard that screws in place, if anything, it’s too well secured. To remove it, you have to under two screws per each section on the inside of the chassis, two more at the rear, and the left most needs unscrewing behind the chassis too. This is OK, but a simple thumb screw or two would have done the trick.

Tucked into the top, two dedicated 2.5″ drive mounts with quick release mounts. There’s some routing space behind it for cables too, which is nice.

One slight oversight is no cable routing hole to pass cables vertically to the GPU. You can remove the front most section and leave it out though, which would free up more room for radiators in the front.
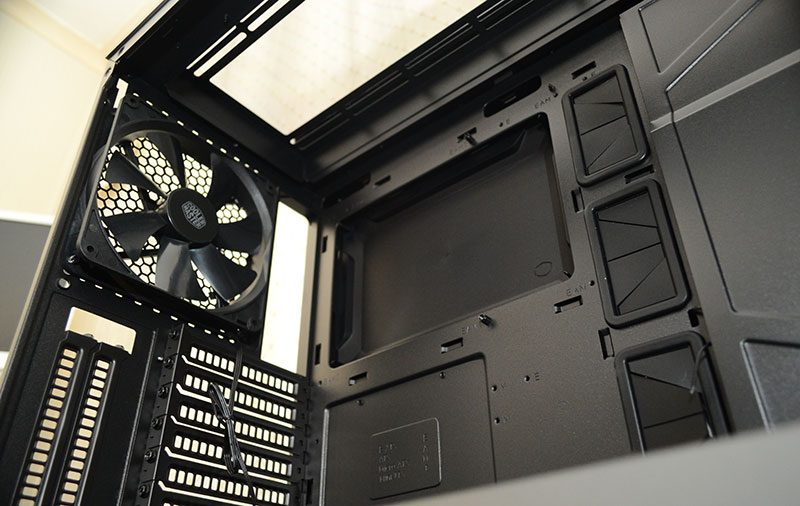
There’s certainly room for lots of radiator here, and thicker designs should fit with ease. You’ll notice the 200mm fans are mounted ahead of the 120/140mm mounts, rather than on the same panel.

There’s a tremendous amount of clearance up top too, so radiators shouldn’t conflict with your motherboard.

The same in the rear, with plenty of room for a 120/140mm radiator in the back.
Behind the Motherboard
Talk about super clean! There are cover panels on the left, and behind the motherboard to hide cables and keep things neat and tidy. However, I can’t for the life of me understand why. There’s no window on this side, so you’re not going to see any of this. Especially the cover right behind the motherboard, I mean, what purpose is that serving? It looks great, it looks clean, but it’s a solution to a problem that doesn’t exist on this chassis.
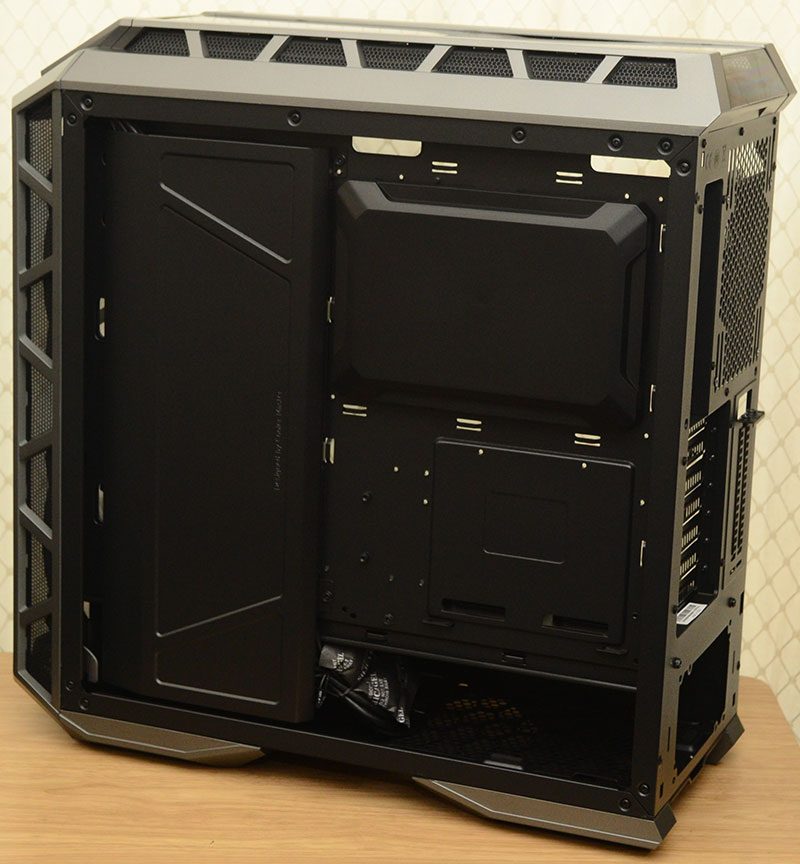
With the cover removed, you can find plenty of cable routing space. I fear that panel may actually be hard to reinstall if you’re rocking a lot of thick cables back here.

The PSU cover was a pain to remove, but with it gone, you can install your PSU from this side. The HDD bays require you to remove it too, as they cannot be accessed from the rear.


