Corsair Carbide 400Q Mid-Tower Chassis Review
Peter Donnell / 8 years ago
Interior
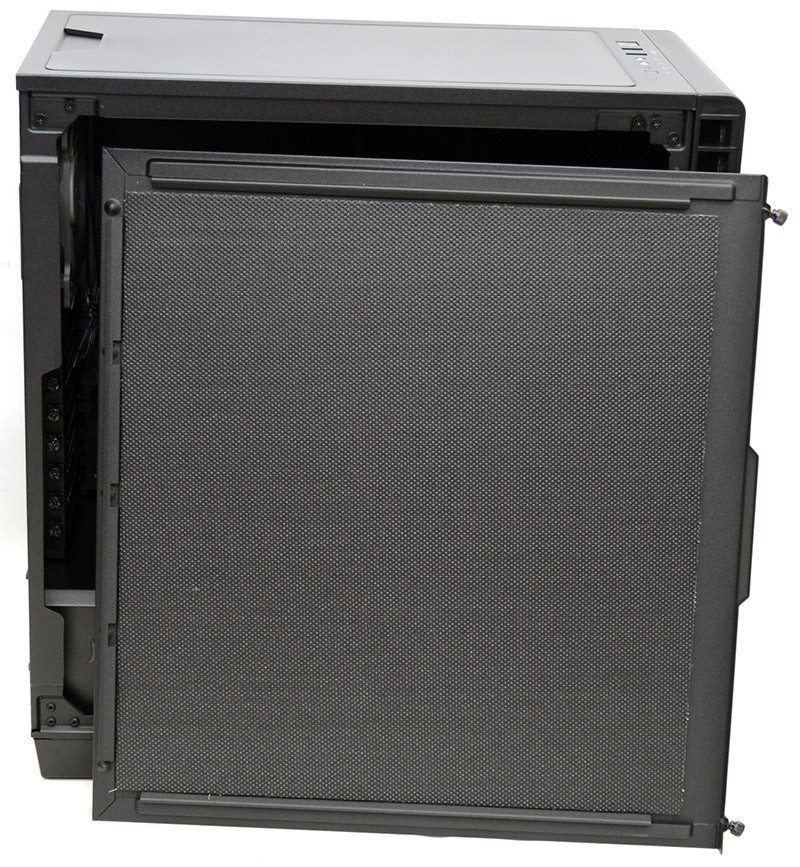
The right side panel can be removed via two thumb screws and on the inside, you’ll find a thick layer of noise dampening material.
The main compartment of the chassis is certainly specious, as all the hard drive bays are tucked around the back of the chassis. This means you’ve got more room for thick radiators, long graphics cards and other high-end hardware. There’s a large CPU cooler mounting cut-out behind the motherboard, and all the standoffs are pre-installed; both of which should speed up the installation process.
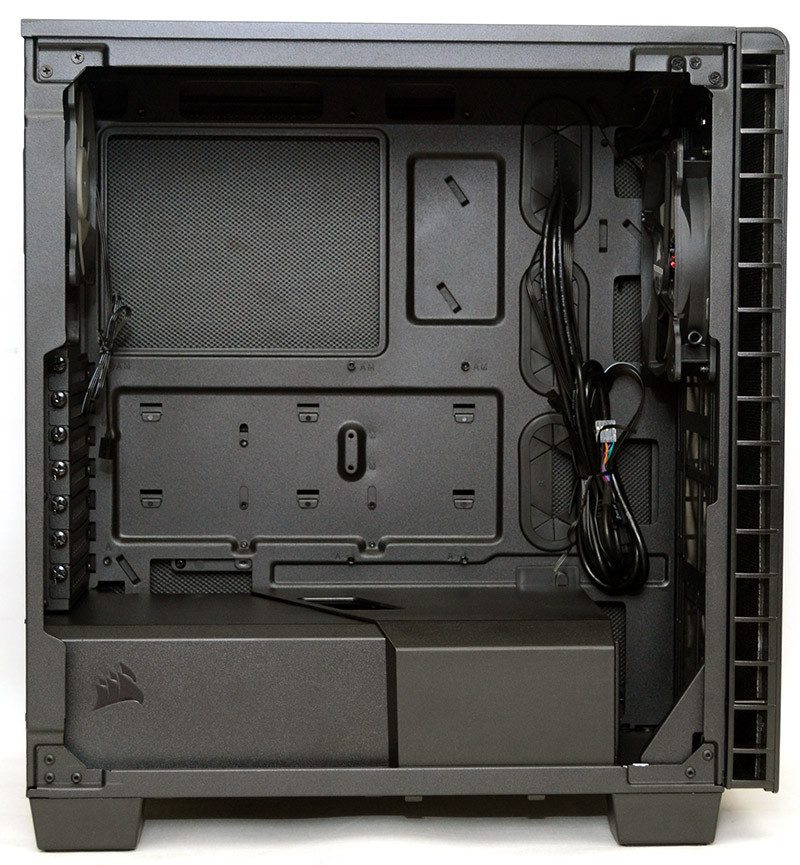
As with many new chassis’ this year, the 400 series feature a PSU shroud. This certainly a welcome addition, as it really cleans up the visuals and helps greatly with cable management. There’s even a cable pass-through for your GPU cables.

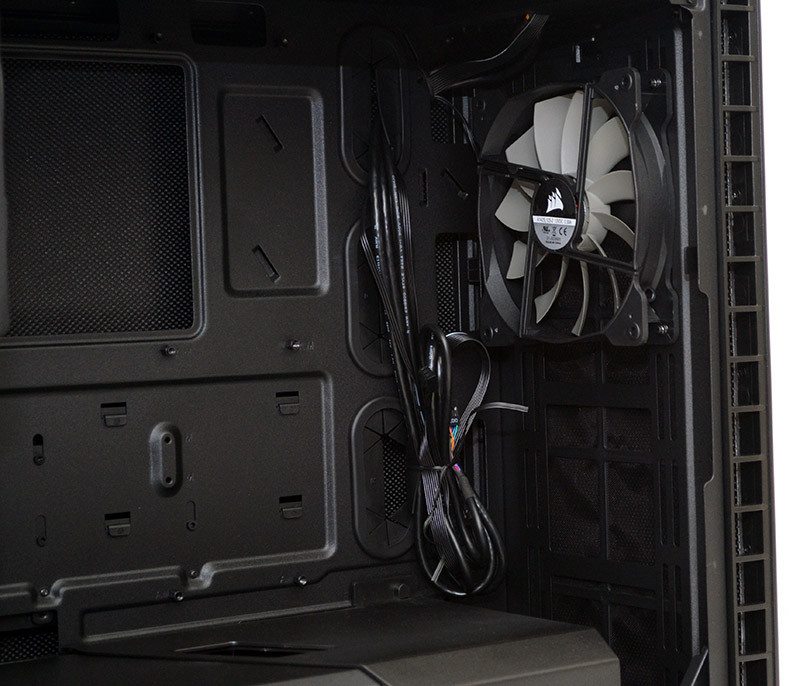
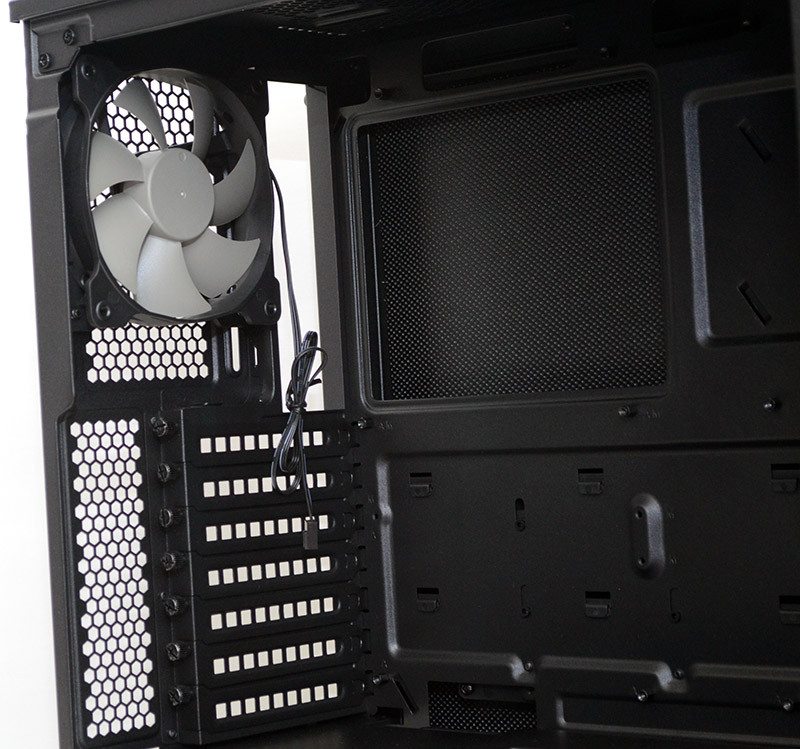
In the front, you’ll find a 140mm fan as the main intake, and you can see there’s a full height slide out dust filter in there too, so airflow should be clean and plentiful.
All of the expansion slots are fitted with thumbscrews for easy installation/removal of your components, and there’s a good bit of extra ventilation here too.
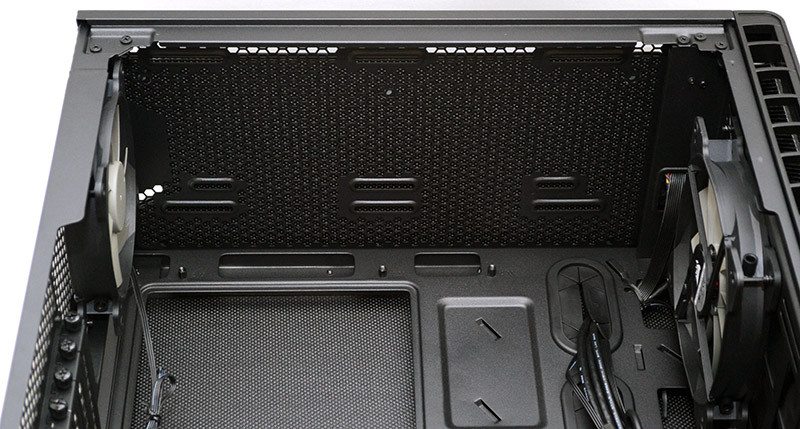
At the top, three cable routing cutouts to help you deal with any power and fan cables that you need at the top of the motherboard.
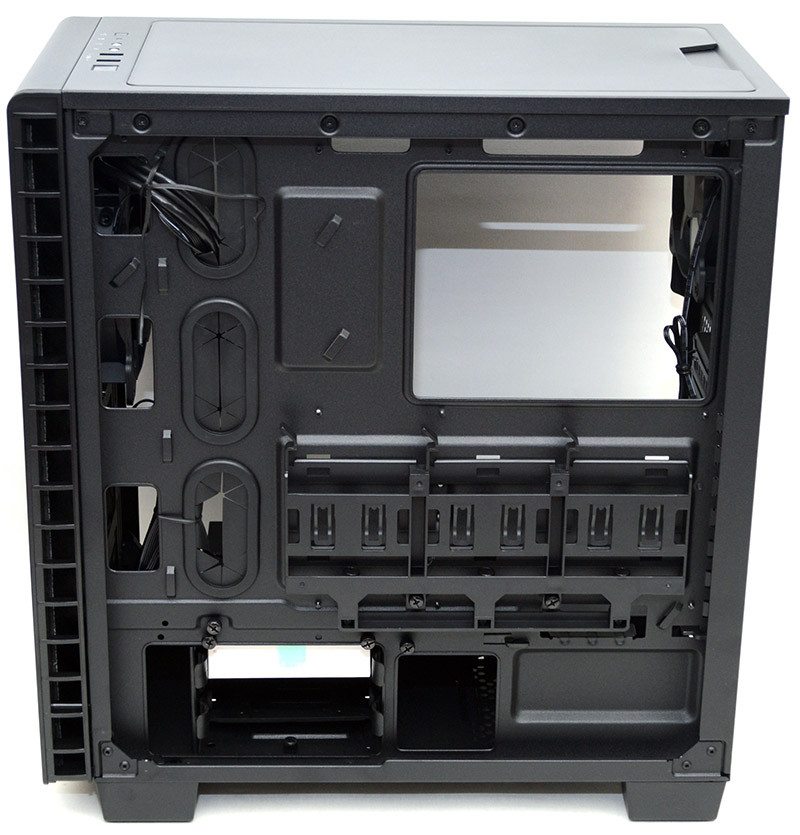
The left side panel also features a large section of noise dampening material, which should further reduce noise and vibrations from within the chassis.

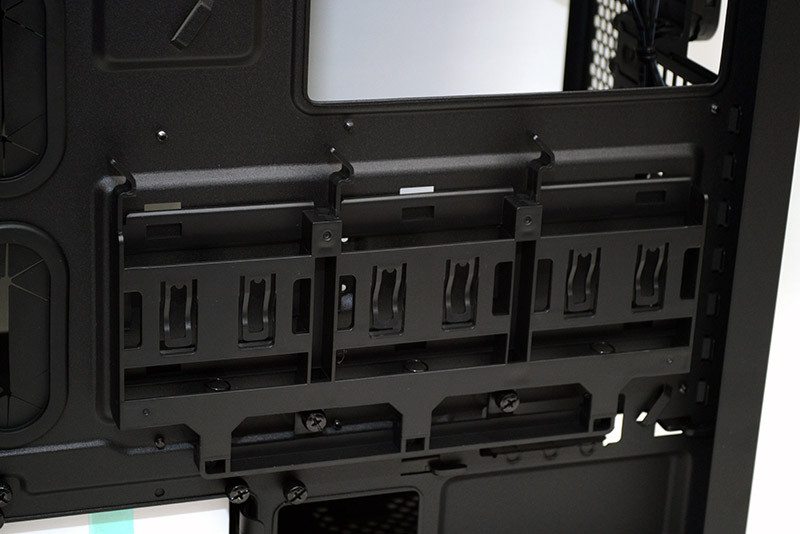
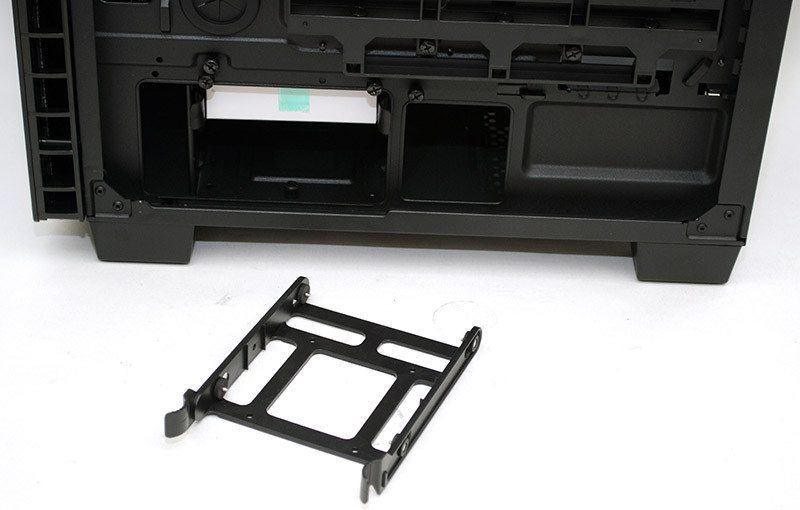
There are three large cable routing grommets, surrounded by a great range of cable tie loops to help you keep everything neat and tidy. There are three dedicated 2.5″ drive mounts, which can all be removed should you need to, and even then, there are two 2.5/3.5″ drive trays in the bottom for even more storage, hidden nicely below the PSU shroud.
These drive bays are tool-free too, so getting things installed should be nice and easy.
The bottom trays are tool free for 3.5″ drives, but you’ll need the included screws for any 2.5″ drives here.
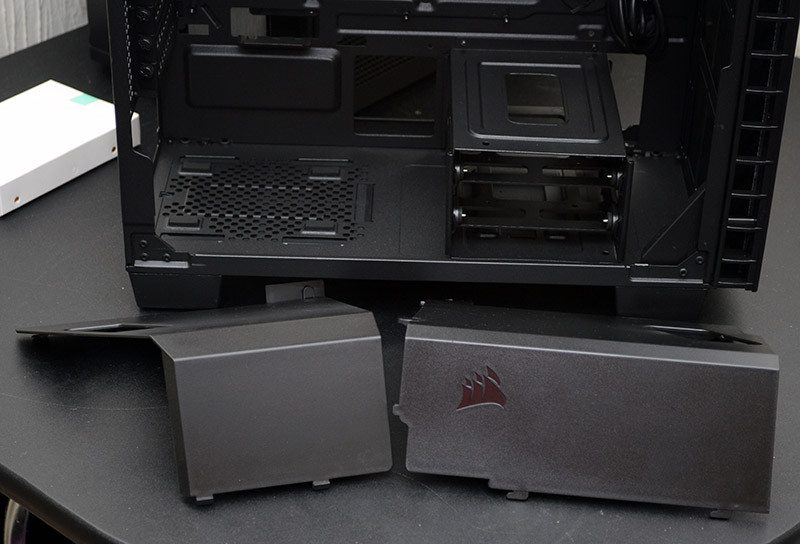
Finally, the PSU shroud can be removed via two thumb screws at the rear, and it comes out in two pieces, which makes it easier to maneuver between installing and removing it.