Corsair Carbide Air 240 Micro-ATX Chassis Review
Peter Donnell / 10 years ago
Interior
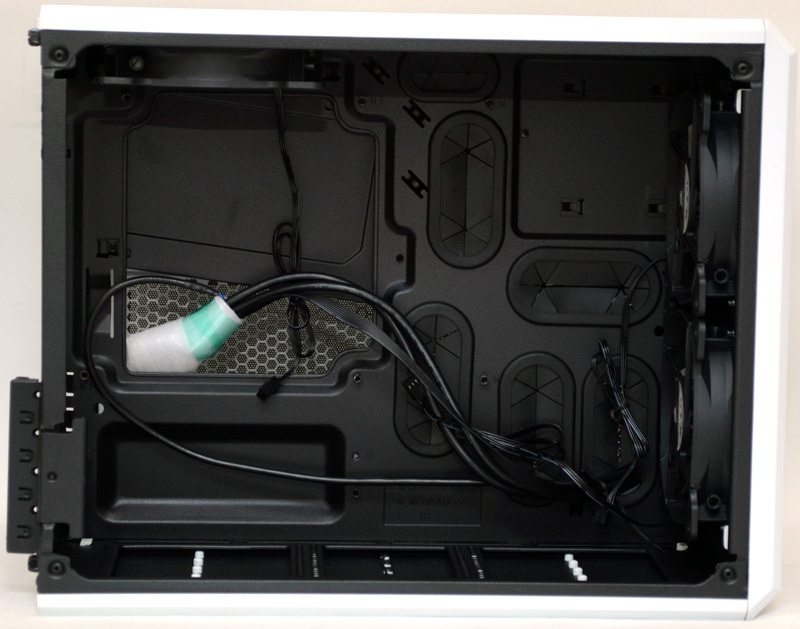
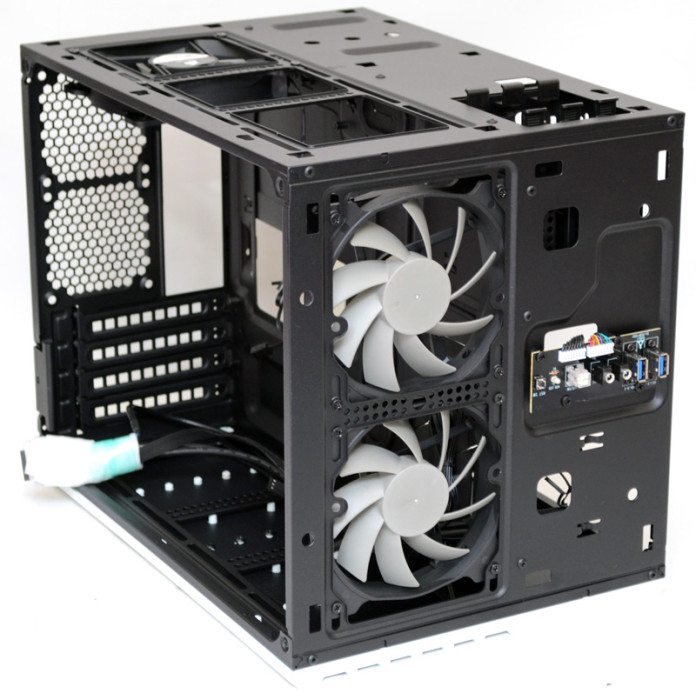
The interior of chassis is split into two compartments, lets call this the front compartment. Here you’ll find room for mini-ITX and micro-ATX motherboards, installation of which should be nice and easy as all motherboard stand-offs are pre-installed. There is a huge CPU cooler mounting cut-out and there are five large and one small high quality rubber grommets dotted around to aid with cable management.
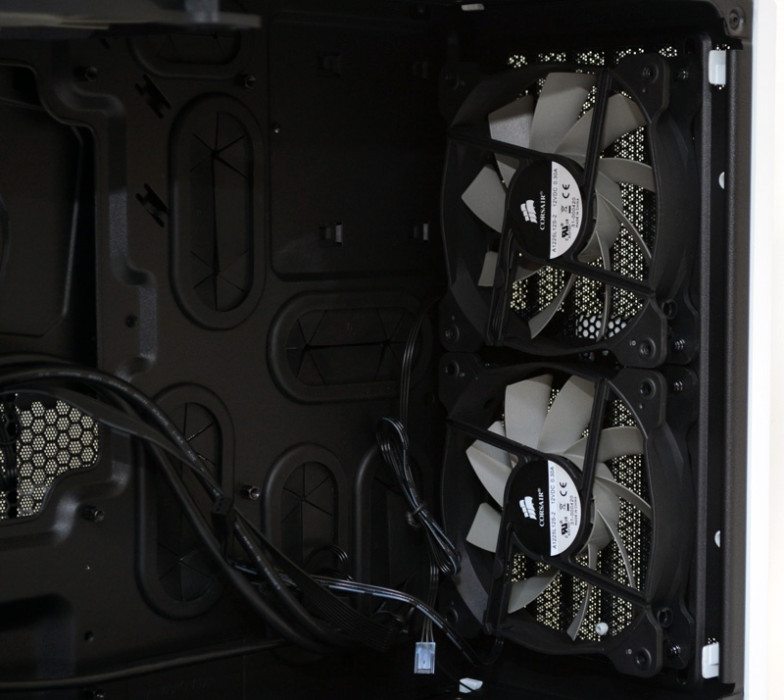
In the front you’ll find two high quality Corsair 120mm fans, although you can also install a 240mm radiator here if you wish.
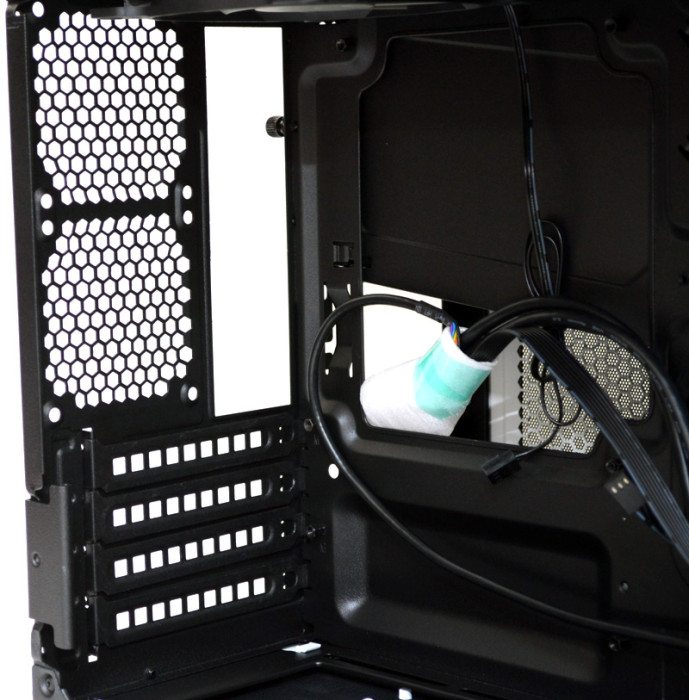
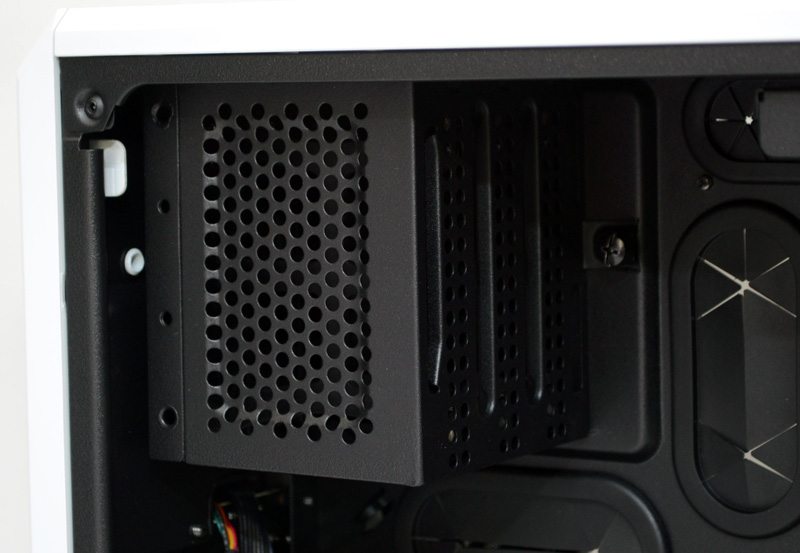
The expansion bays come with a metal locking level, this acts as a tool free installation clamp. You can still mount with screws if needed, but if you’re after a quicker solution it’ll come in very handy.
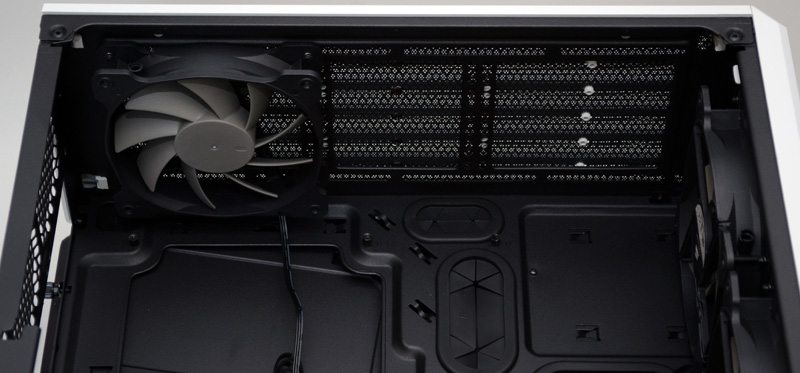
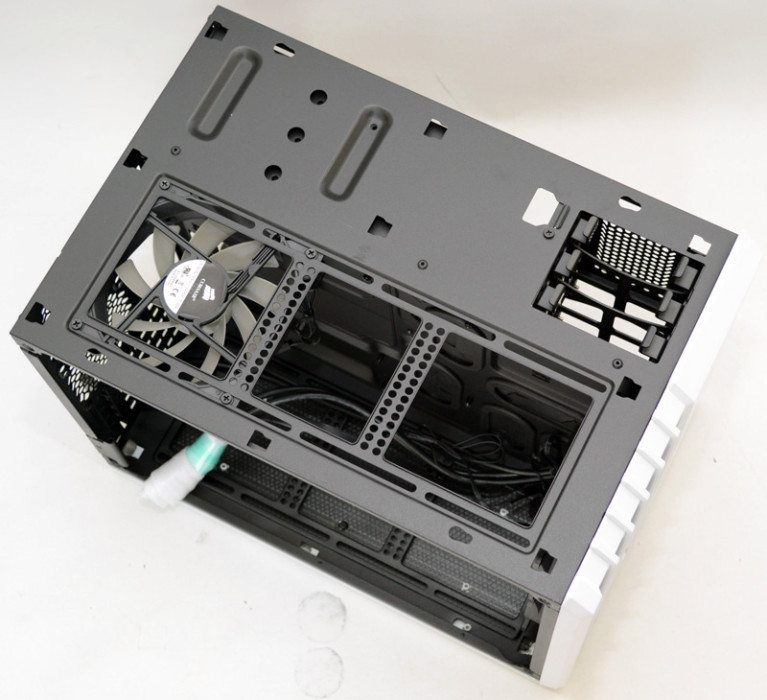
In the top you’ll find a universal mounting rack that runs the length of the chassis with a single 120mm fan pre-installed.
Another universal mount in the base of the chassis, with room for another 240mm radiatorm but only if you’re using a mini-ITX motherboard.
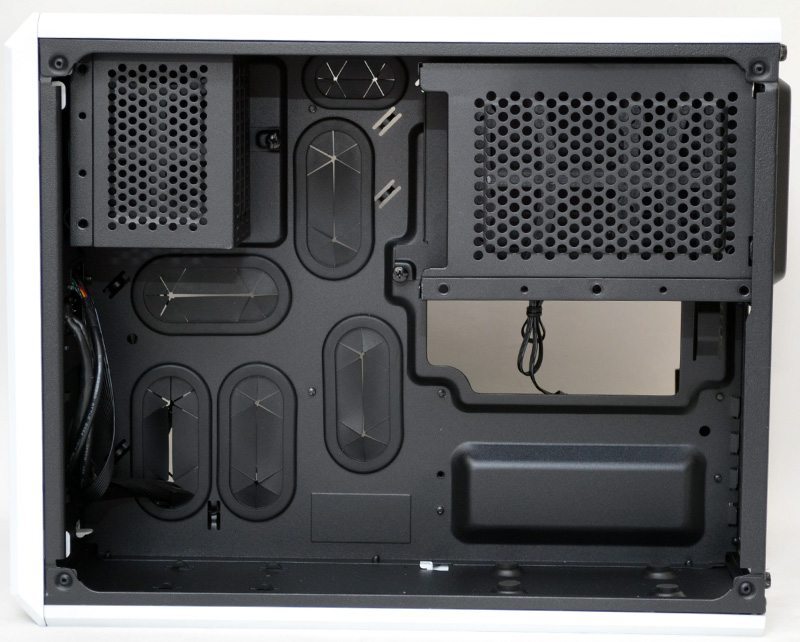
The back compartment is broken up with a removable 2.5″ drive caddy in the top left and a removable 3.5″ caddy in the top right. There is loads of cable routing space here and a few cable tie loops to help you get everything neat and tidy. The PSU is mounted into the bottom left corner.
The cover at the back of the chassis can be removed with a thumb screw, allowing you quick access to the three 3.5″ drive trays, although these can also be used to mount 2.5″ drives if you wish.
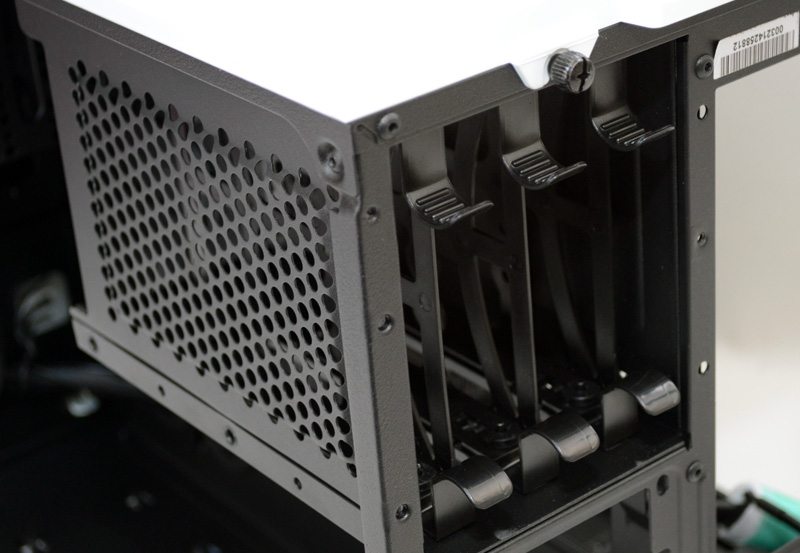
The caddy can be removed completely, making installation of a CPU cooler much easier once the motherboard is already installed. It also frees up more room for cables and modifications should you not need those extra drive bays.
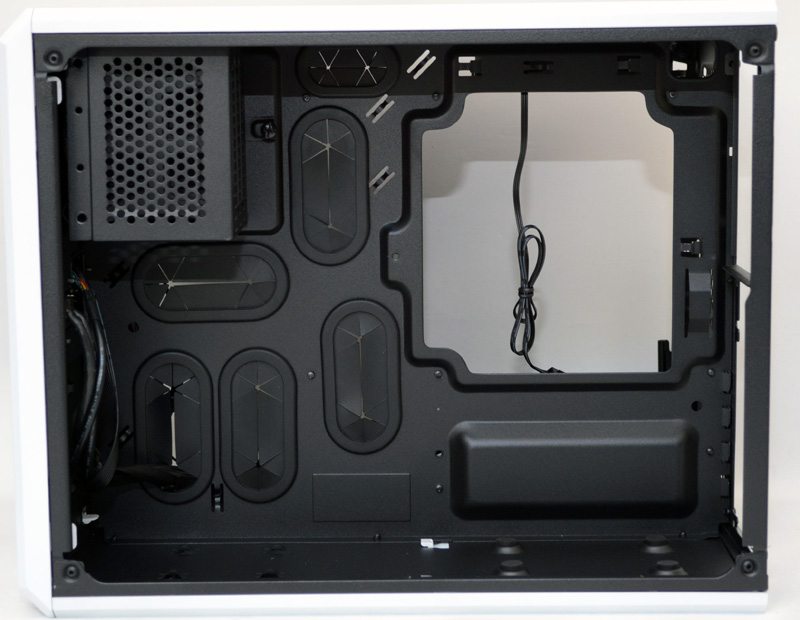
The 2.5″ drive bays are also completely removable with a single thumb screw, which should clear more than enough vertical height behind the motherboard, this will prove popular with chassis modders as you can free up a lot of room for water cooling equipment such as pumps.
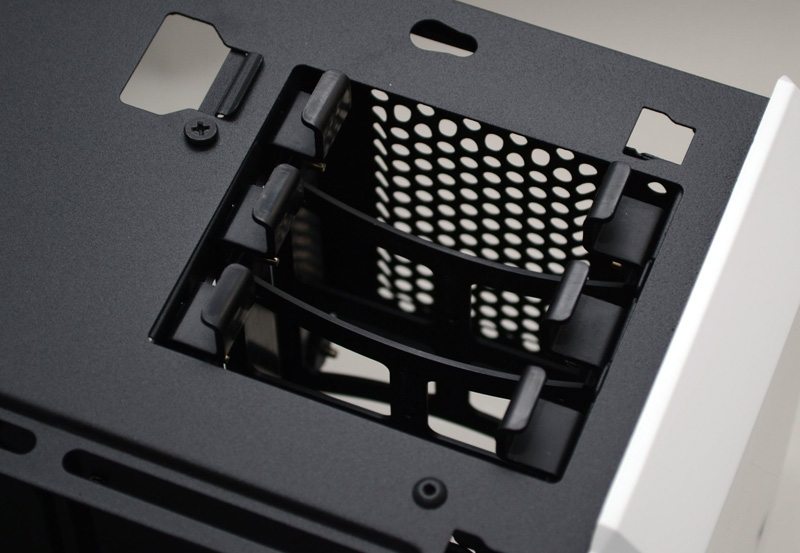
The top panel is held in place with a pair of thumb screws, behind which you can better see the universal fan rails at the top of the chassis.
Under the top panel you can also gain access to the 2.5″ drive trays.
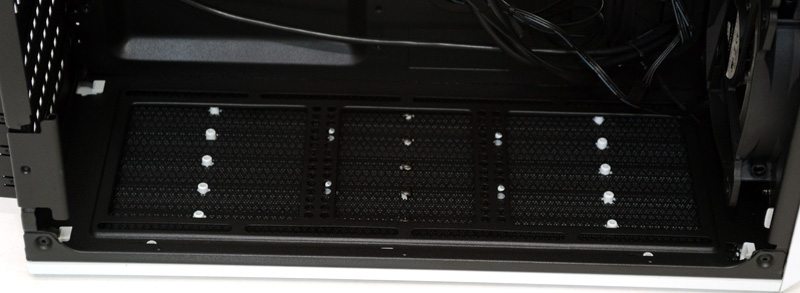
The bottom panel can be completely removed to gain better access to the base fan mounts for the front section.

And to complete the set, the front panel can be removed to access the front fan / radiator mounts.
That right, all five panels can be completely removed, all of which feature dust filtering in one form or another on any panel ventilation.


