Corsair Graphite 380T Mini-ITX Chassis Review
Peter Donnell / 10 years ago
Interior
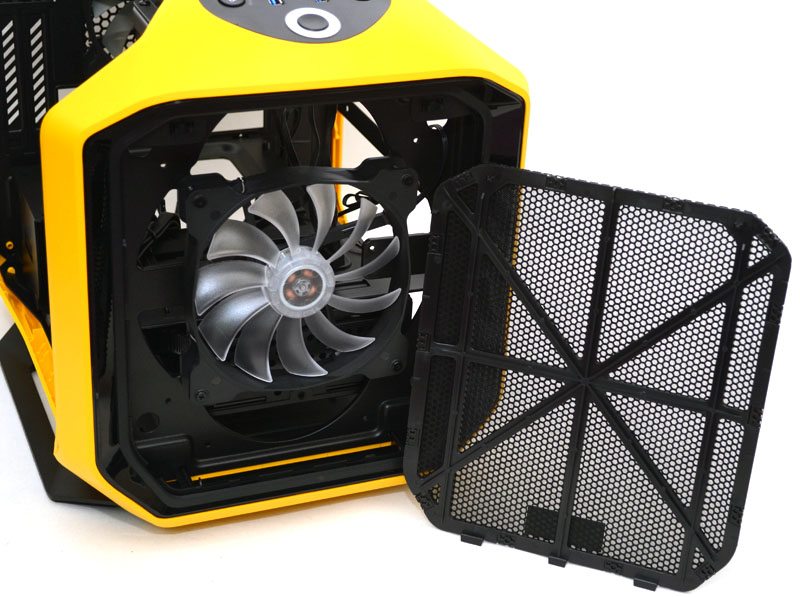
Here you can see the back of the side panel, the large mesh section is reinforced by plenty of plastic strips, allowing for a lot of extra ventilation.
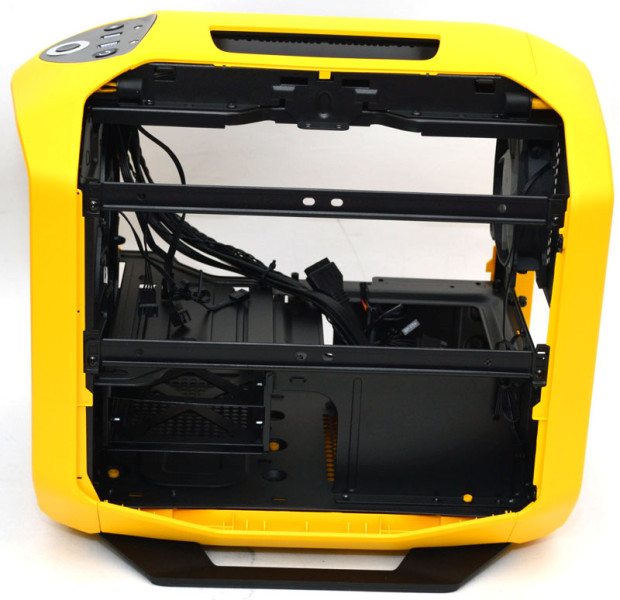
Lifting the panel out gives you easy access to the main top section of the chassis interior as well as the storage bays at the bottom.
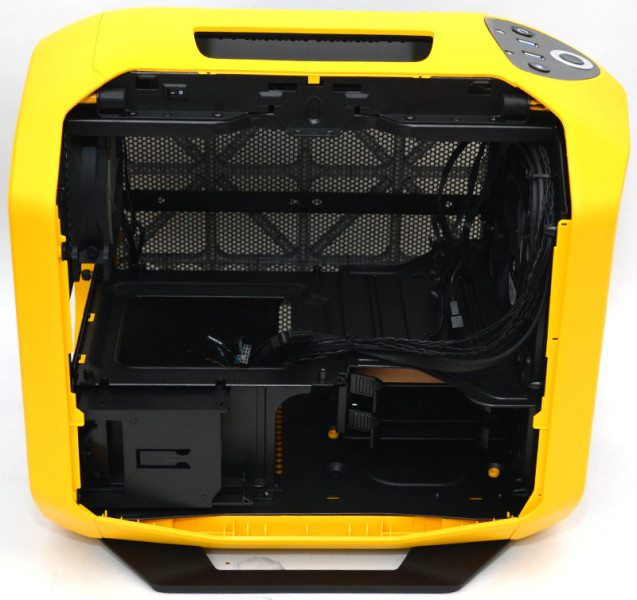
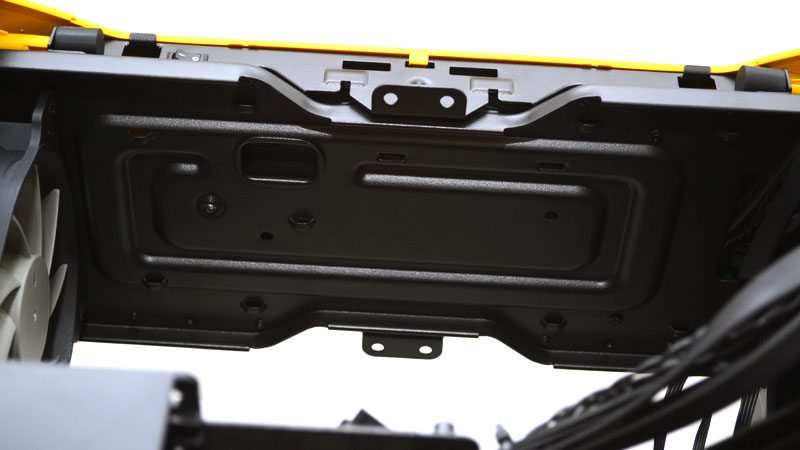
Motherboard stand-offs are pre-installed and there is a huge cut-away in the base to help with installation of cooler and other components.
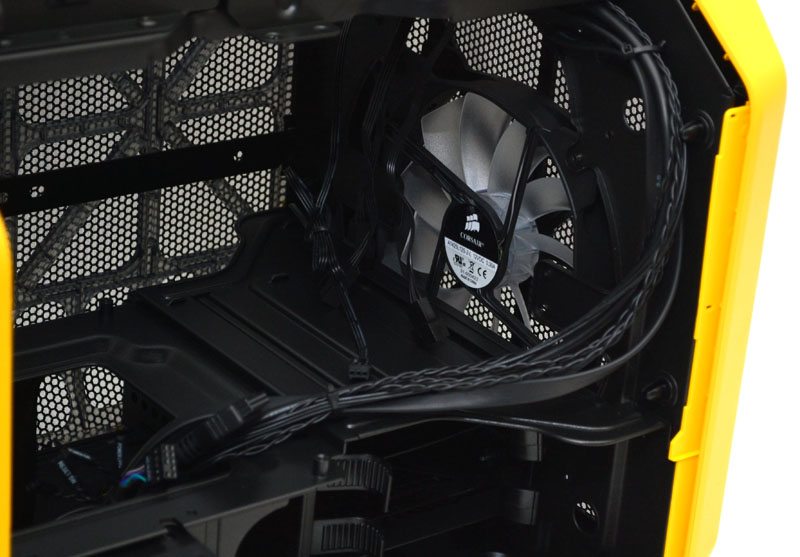
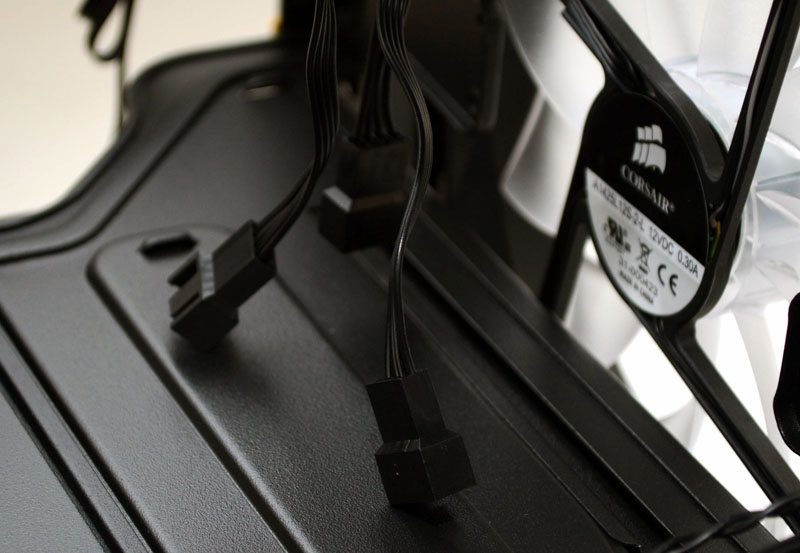
In the front you’ll find a 140mm fan pre-installed.
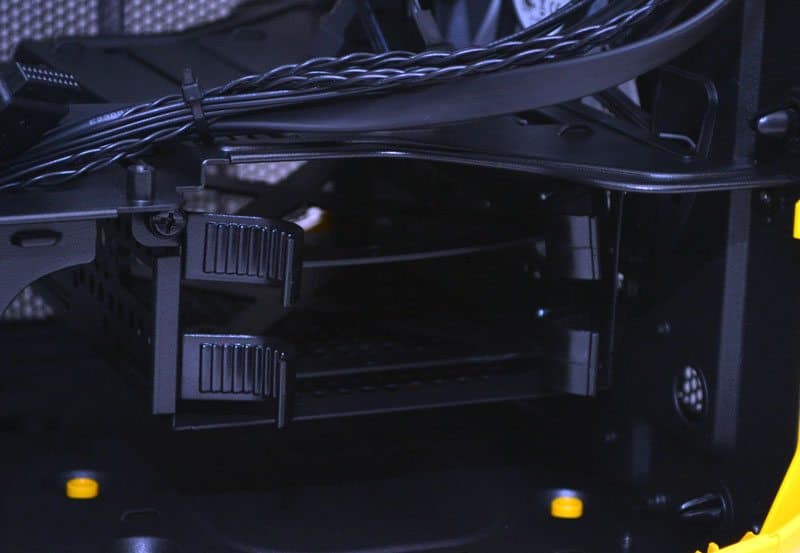
In the bottom left are two slide-in 2.5″ drive bays.
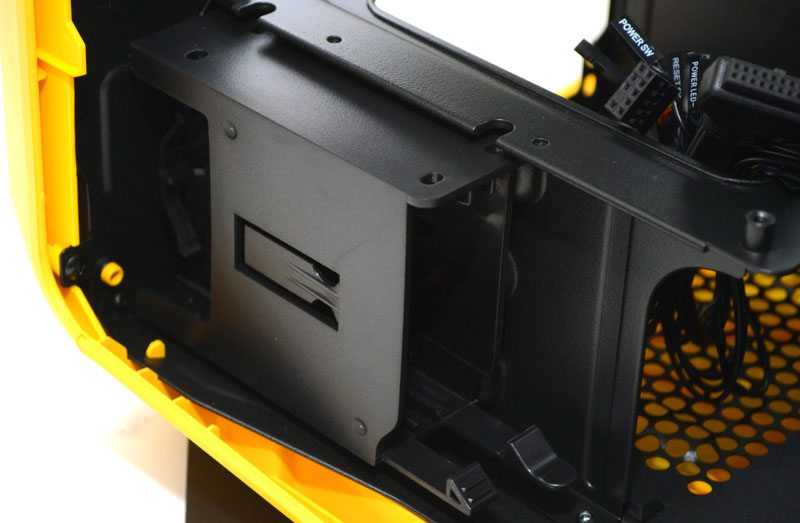
In the bottom right are two 3.5″ / 2.5″ drive bays, these can be completely removed via the single thumb screw in the top left.
The drive trays come with tool free fittings for 3.5″ drives, and there are screws included in the box for fitting 2.5″ drives.
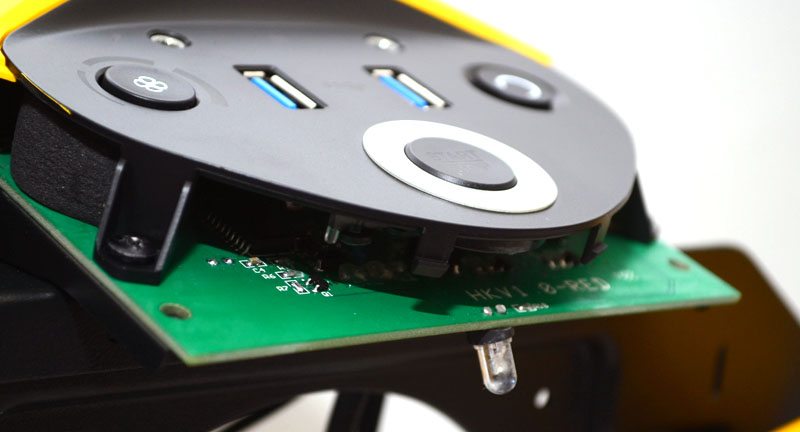
At the top of the chassis, just behind the handle for the side panel, you’ll find a small switch which controls the white LED lighting that is fitted into the chassis.
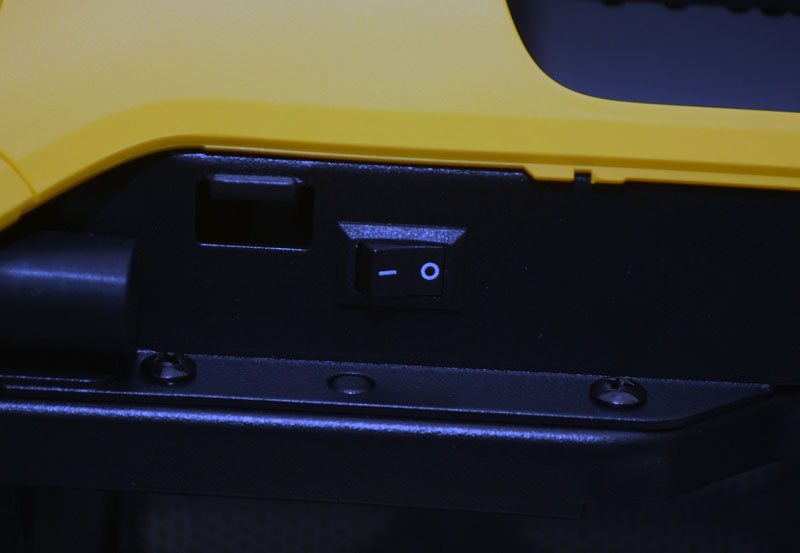
The fan controller comes with support for three fans.
All interior cables are nicely finished and there is a flat USB 3.0 cable which is always a nice help for cable routing and management.
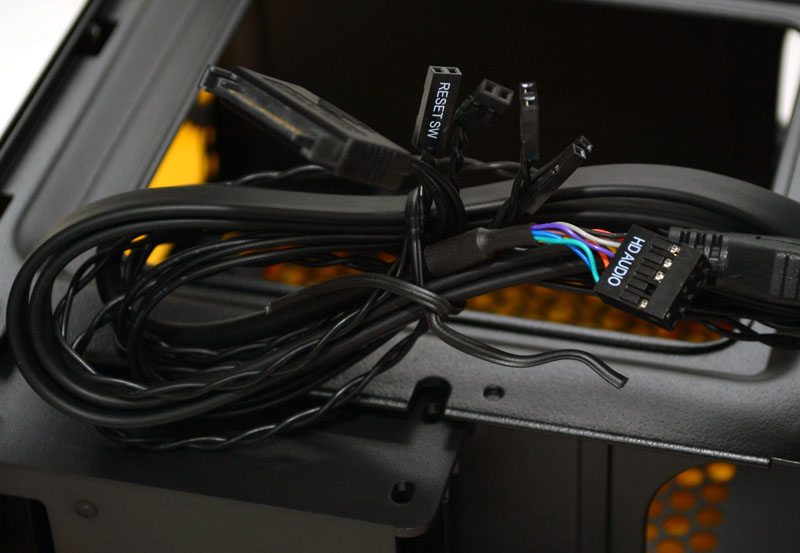
In the top of the chassis are some other routing areas and loads of cable tie loops to help you keep everything in check. There is also a small white LED light to the bottom left corner of the routing hole.
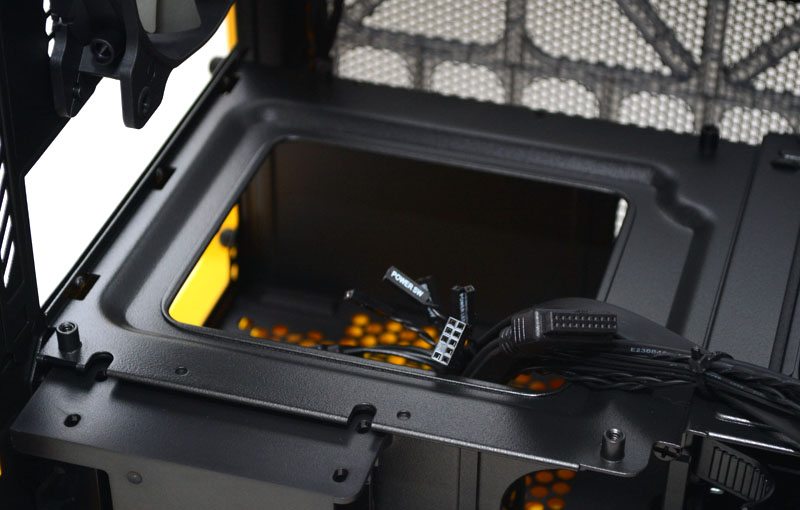
Behind the right panel there isn’t really anything else to see that you can’t see from the other side. The main feature here would be the two bars that run the length of the chassis, these are perfect for mounting fans or radiators; you can easily get a 240mm radiator here.
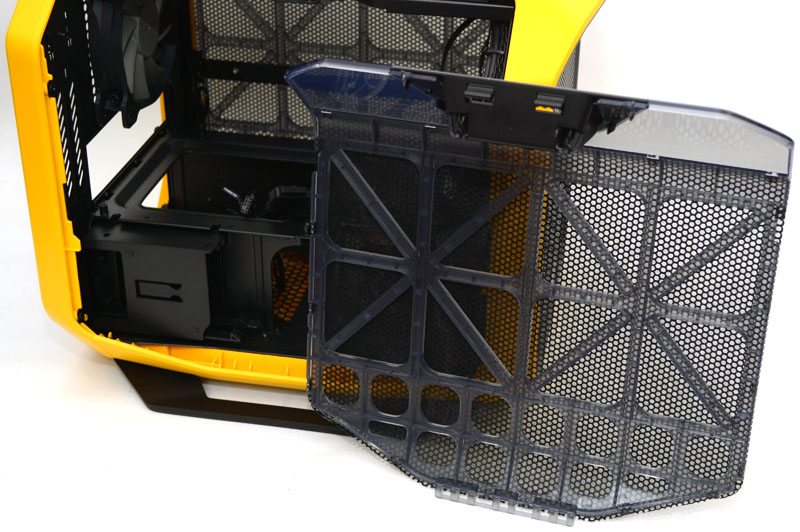
The front panel is held in place by two push-click clips, one in the top left and the other in the top right. Once release you can simply lift the panel out to gain access to the front cooling mounts. Dependant on your use of the hard drive bays, you can install a radiator here, 2 x 120mm fans, 1 x 140mm fan, 1 x 200mm fans or of course you can just use the stock 140mm that is pre-installed.
The front panel can be removed with a moderate tug, not that you should need to take it off really, but you can. I actually did need to remove it in our build section, but we’ll come back to why in a little bit.
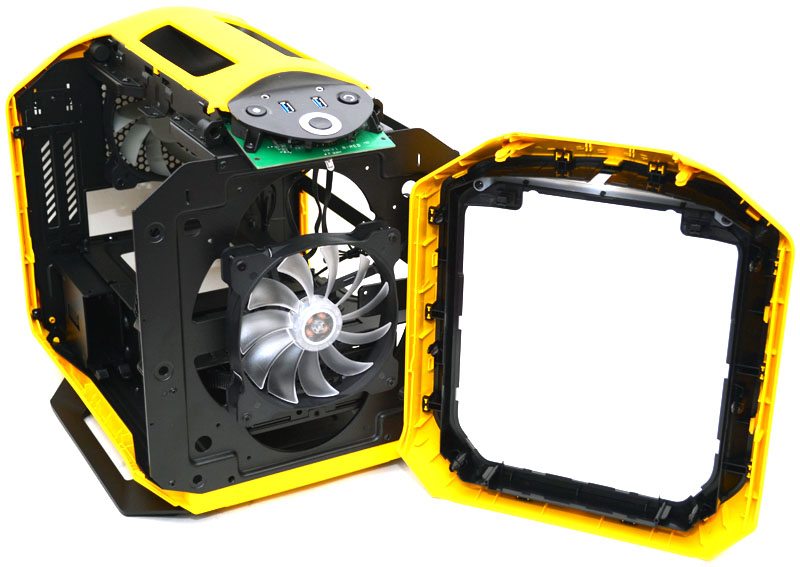
The I/O panel PCB can be seen behind the front panel, where you will also notice a small LED light, this lights up a plastic strip on the top edge of the front panel.