Corsair Hydro Series H5 SF AIO CPU Cooler Review
Peter Donnell / 8 years ago
Installation
The universal backplate is easily installed, just slide the screws to the required socket size and put it on the back of the motherboard.
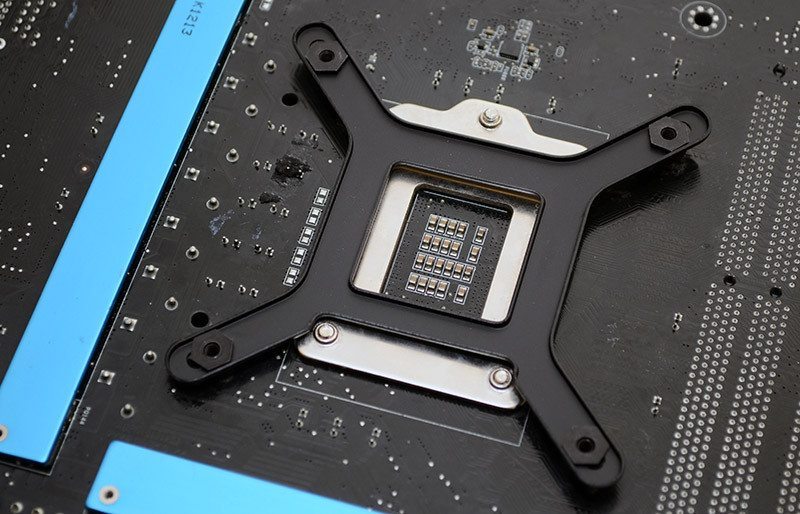
Four retention screws hold the bracket to the back of the motherboard, as well as providing screw points for the pump.
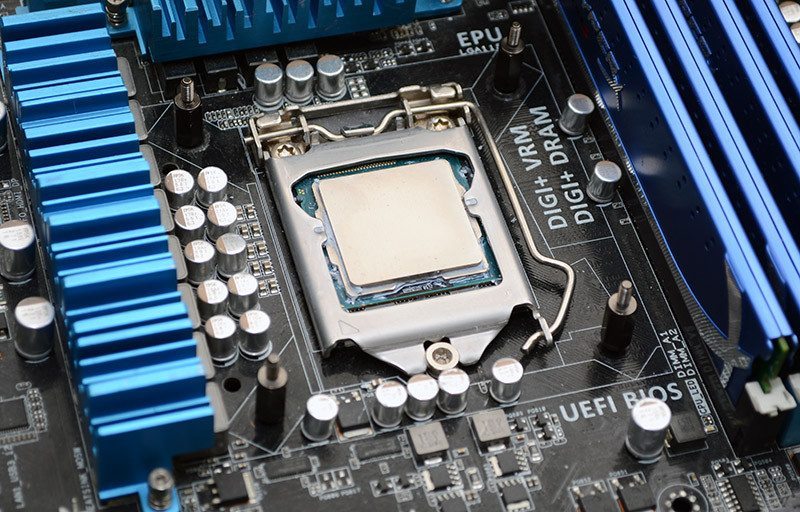
Clip the Intel or AMD bracket over the pump, which is held on by two small magnets, then simply use the included thumbscrews to hold it down. Nice and easy. It’s worth noting that we haven’t used the correct installer bracket for the radiator here, as it’s not suited to our test bench, but this won’t impact performance and we’ll demo it on the correct bracket in a moment.
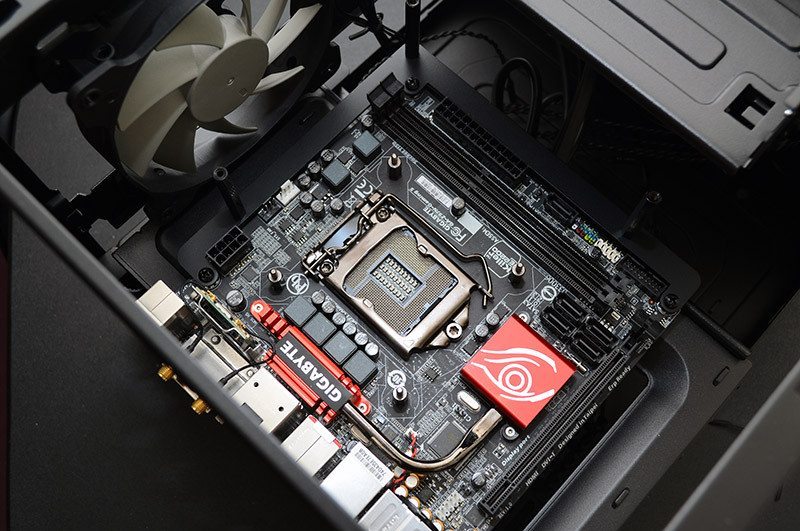
Now that we’ve seen it sitting on our test bench, what’s this thing like in a real world system build? As it’s certainly no common cooler design! First up, install the backplate as usual, and get your motherboard in place. However, three of the screws that hold the motherboard in place will now also hold the cooling mount in place around the edge of the motherboard!
You then add four rather large screws to the top of the bracket, giving us three points with which to support the radiator above the motherboard.
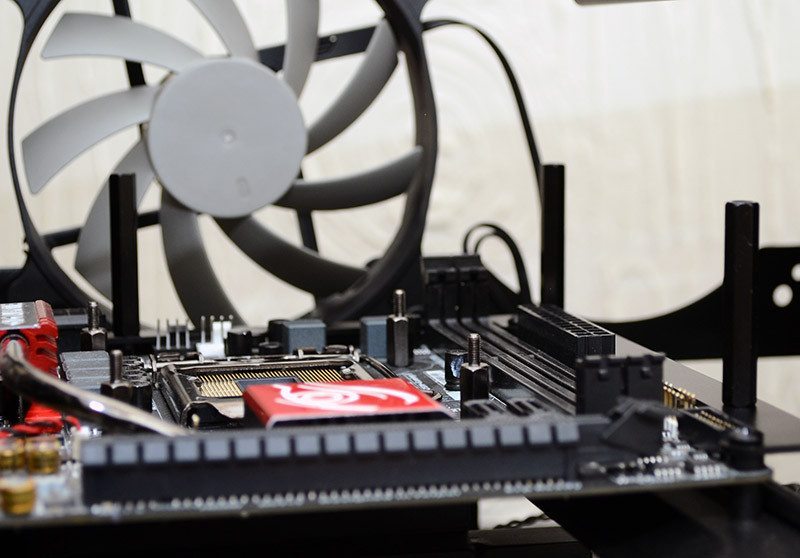
The housing of the radiator was certainly not easy to get in place, but it wasn’t exactly impossible either. The pipes are pretty strong, so they take a modest amount of persuasion to get the radiator down onto those pegs.
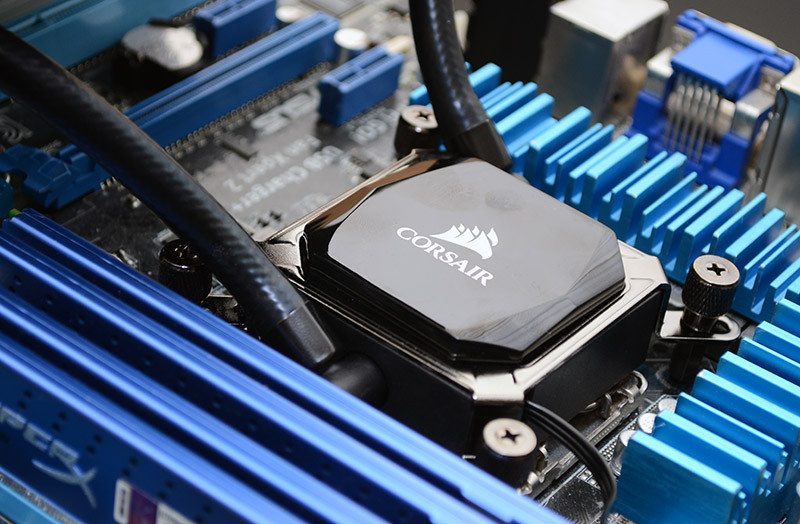
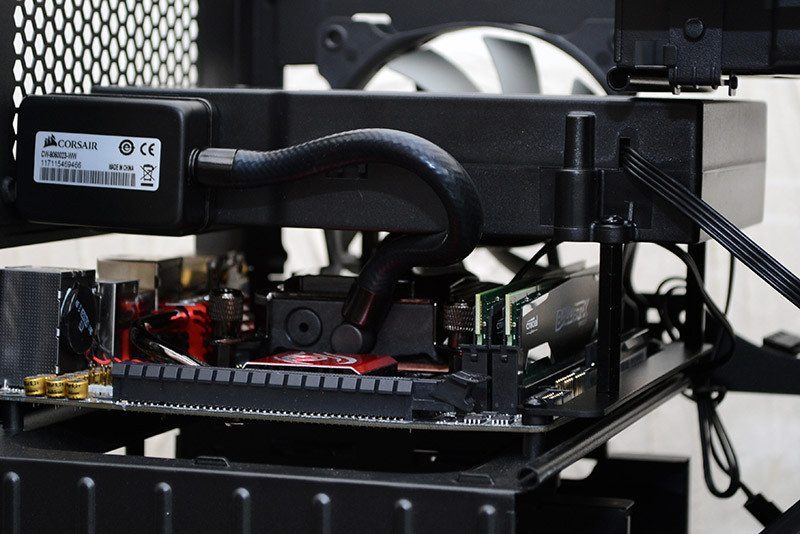
As you can see, the radiator is just a little above the pump, so obviously you tighten those pump thumb screws first. I’d have taken that picture, but I didn’t have three hands at the time.
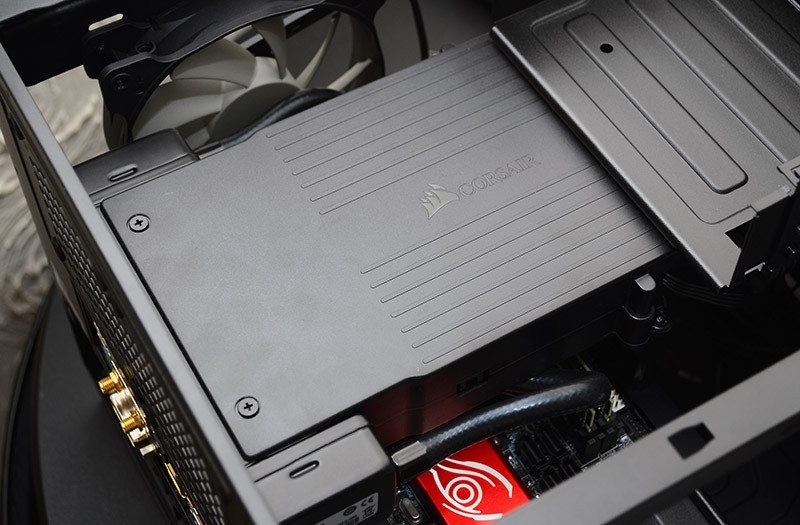
One thing I really like here is that it doesn’t block the PCIe bay, meaning it shouldn’t dictate your GPU choices at all.
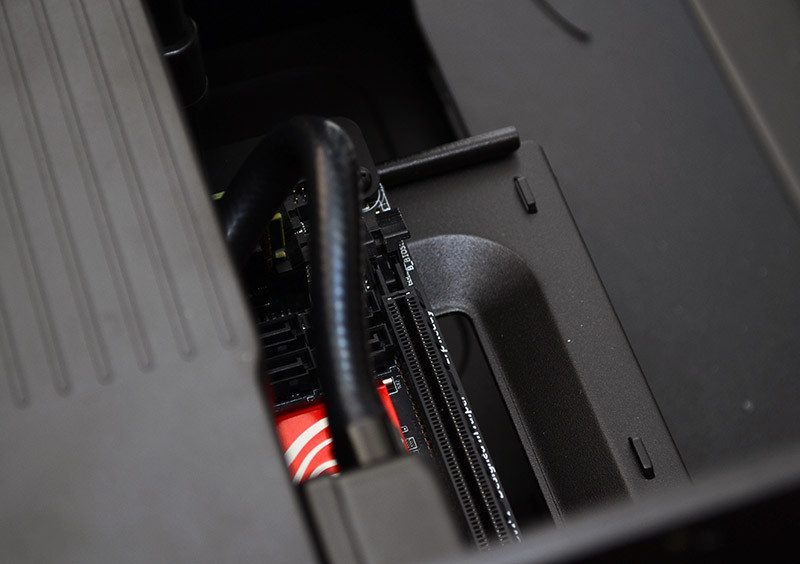
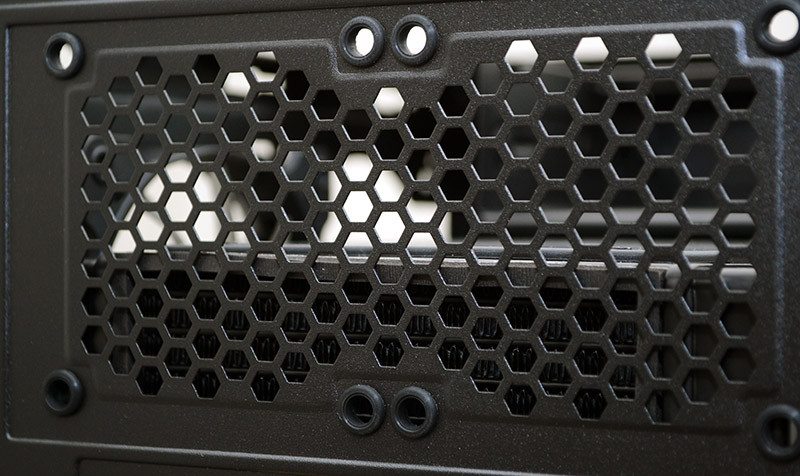
The rear vent is certainly not a common form factor, but in the Corsair 250D, it has a perfect place to vent its heat through those dual 80mm fan grilles at the back.
From the side profile, you can see it hovering above the motherboard; it certainly looks strange, but kinda cool too. Obviously, if we had a GPU in the way, you wouldn’t be seeing this.

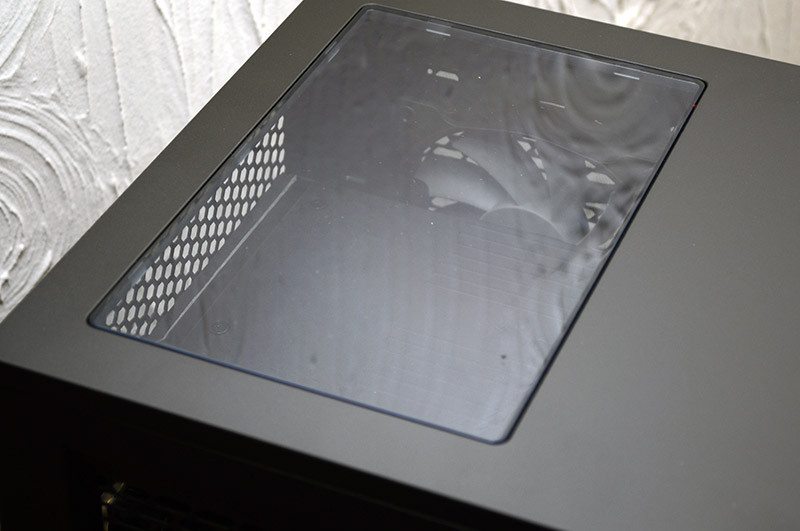
Finally, a view from the top, it’s almost like a motherboard shroud, giving the system a very uniform and tidy look overall.