Corsair Obsidian 750D Full-Tower Chassis Review
Peter Donnell / 11 years ago
Exterior
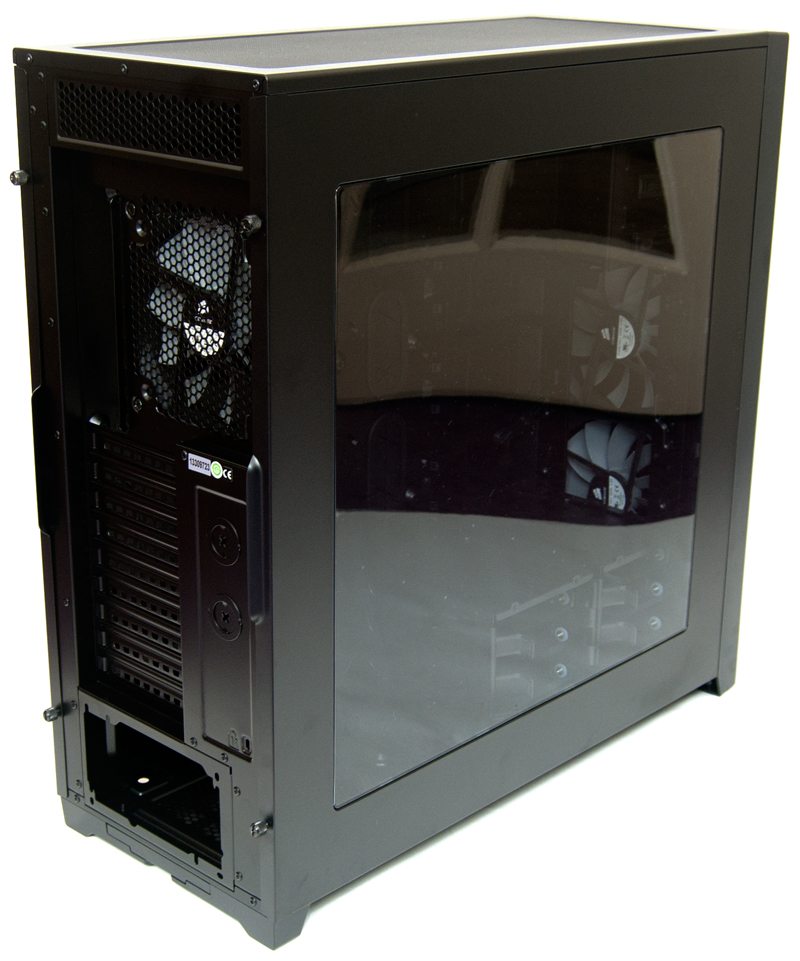
The left side panel features a massive clear perspex window, giving a very clear view of the chassis interior.
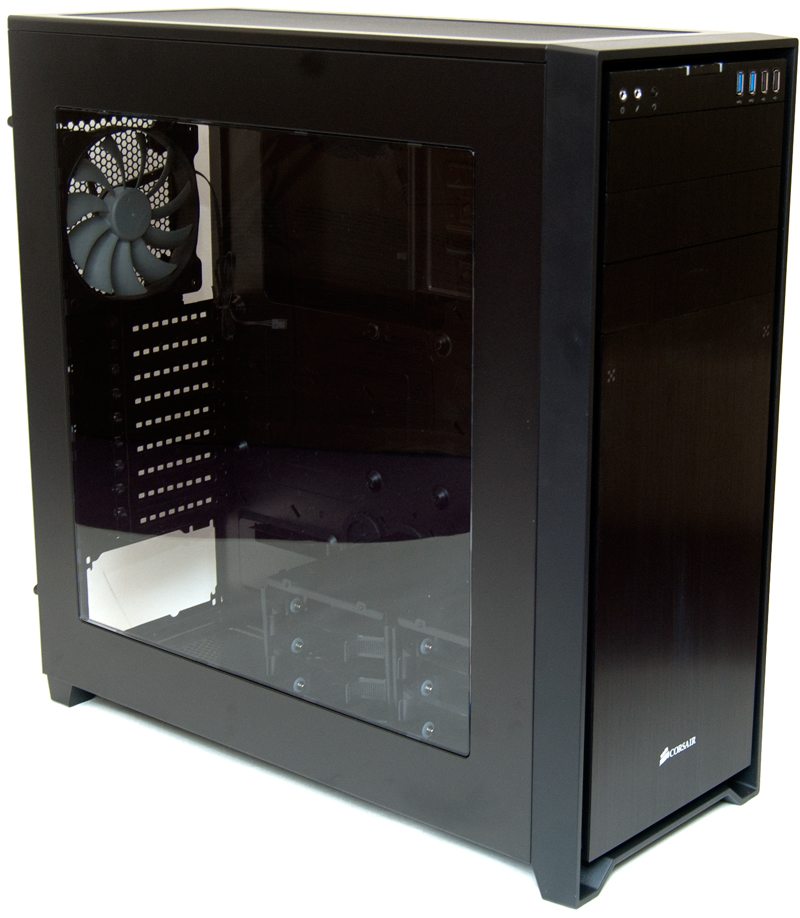
The panel is pretty reflective when taking pictures but this is mostly due to the fact the chassis interior is finished in matt black. The side panels are held in place with quick release thumb screws and this makes for easy access.
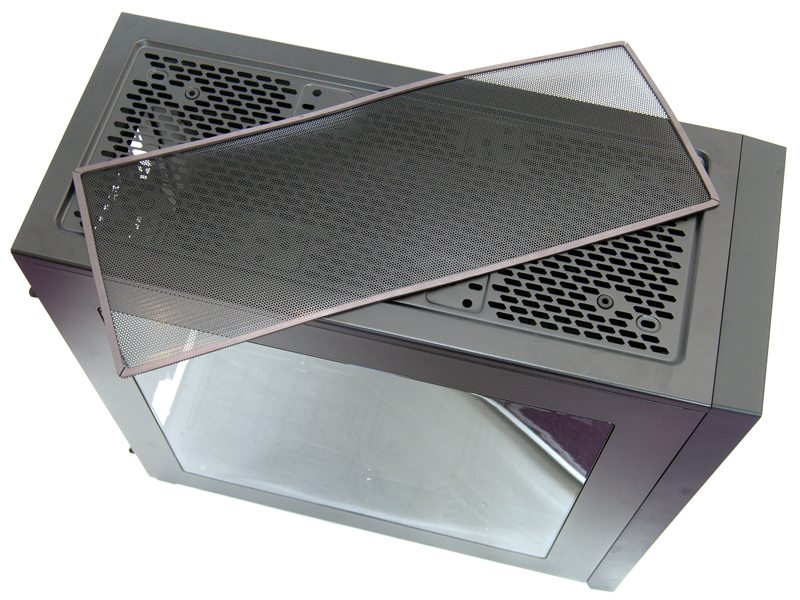
The top panel features a massive ventilated section that will be perfect for large radiator or fan exhausts.
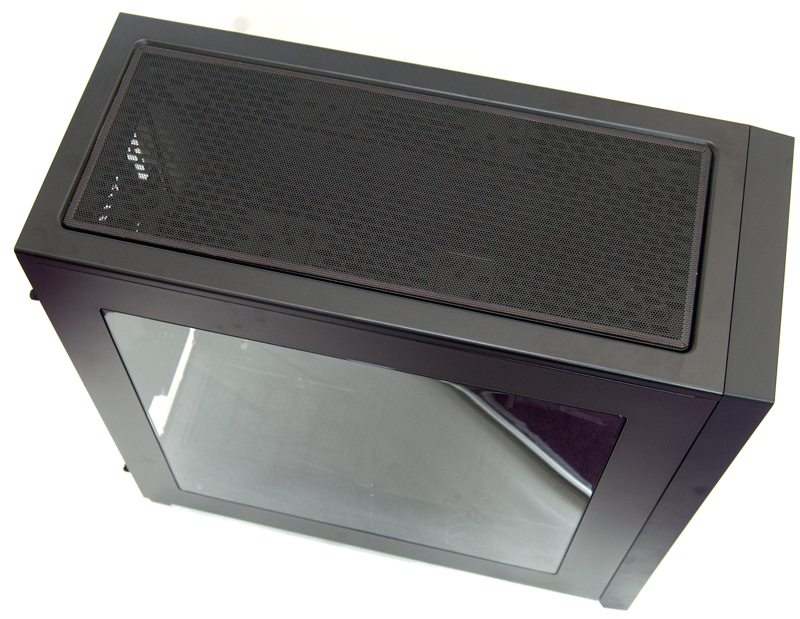
There are mounting holes for 120mm, 140mm and even a 200mm here, the layout of the screw holes should be suitable for most water cooling block configurations.
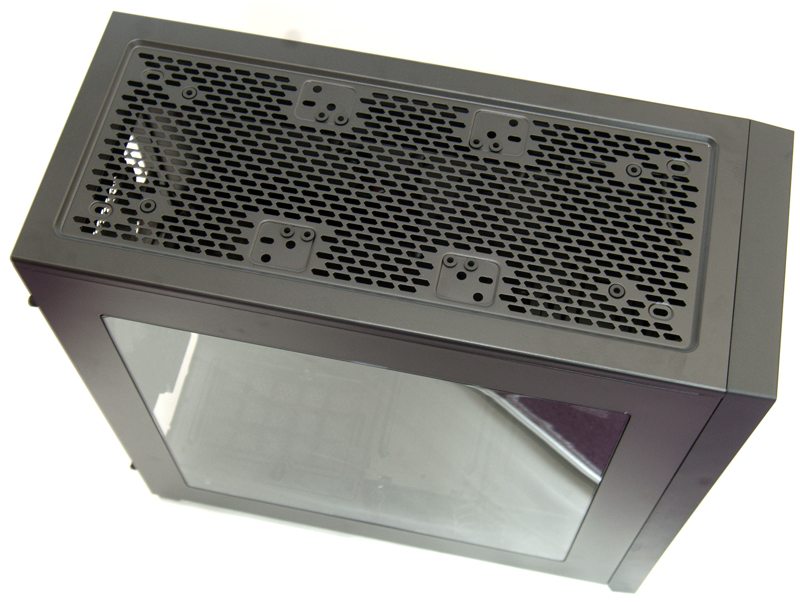
Maintainance is kept simple too as the top air filter is held on with a magnetic strip, this keeps it firmly in place but also means you can remove, clean and reattached the filter without having to open the chassis side panels.
The right side of the chassis features a solid black panel, nice and simple.
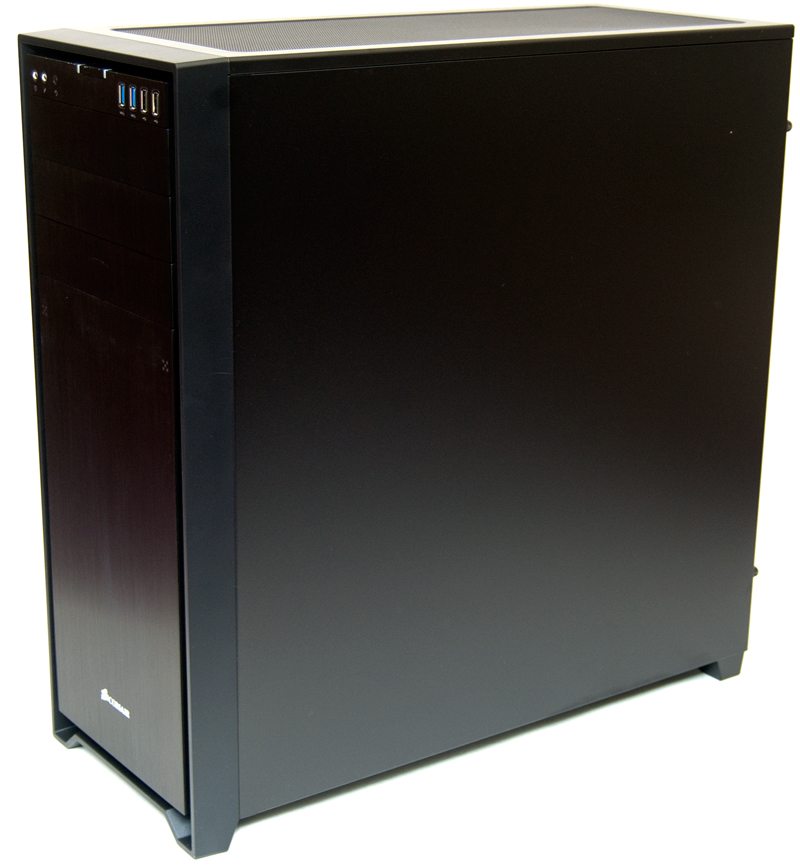
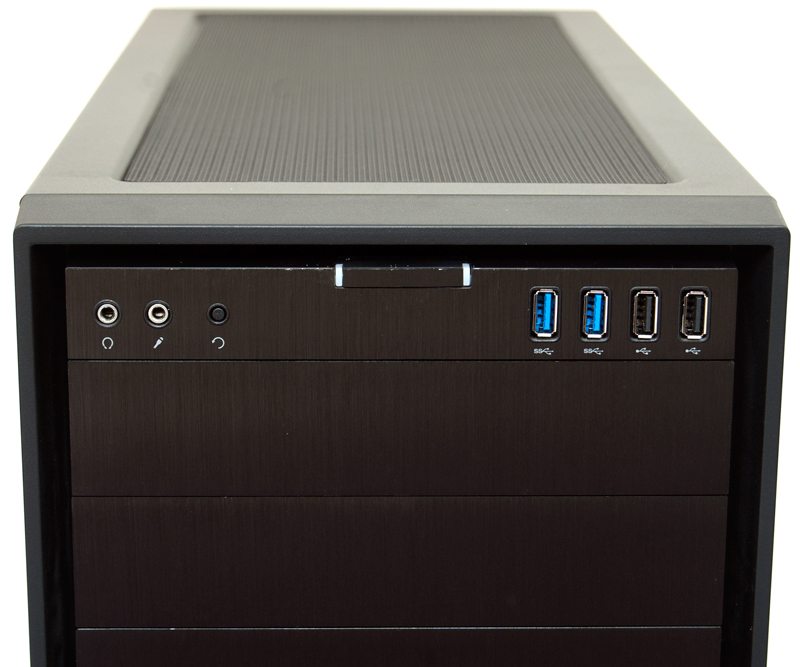
The front panel is full of features, with 3 5.25″ bays at the top, with extra wide covers that extend to the edges of the chassis. The I/O panel, 5.25″ drive covers and the larger lower panel are all finished with black brushed aluminum and it looks absolutely fantastic.
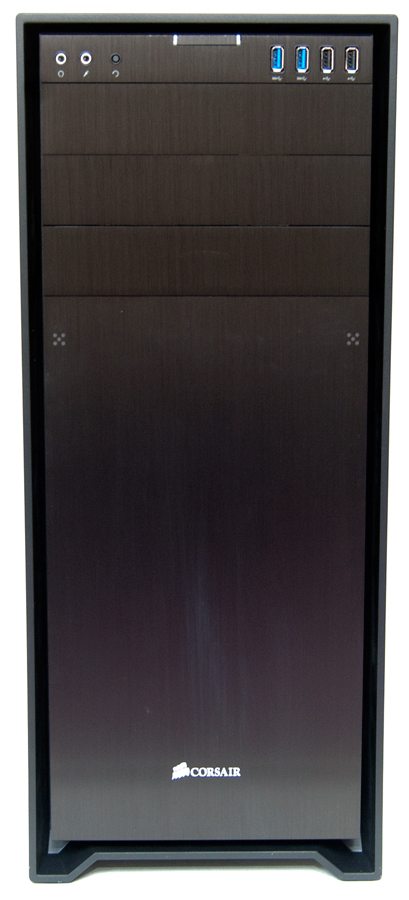
The I/O panel features audio jacks, reset, 2 x USB 3.0 and 2 x USB 2.0. The top centre section features the power button which has the HDD and Power LEDs located on each side of it.
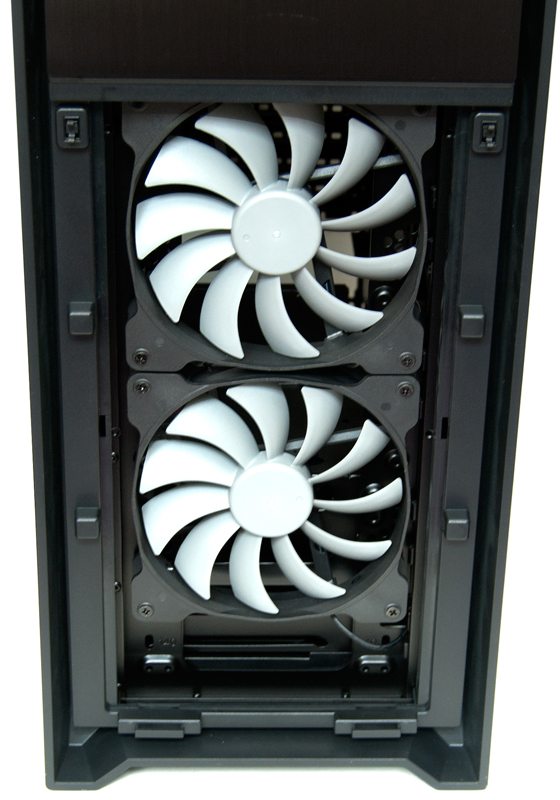
Pushing the top edge of the front panel inward releases it from a push-click mechanism, allowing you to take the panel off with ease. Behind this you will find a clip-in dust filter that can be easily removed for maintenance and cleaning.

Behind that filter you’ll find two pre-installed 140mm Corsair fans as well as extra screw holes to accommodate different fan / radiator configurations.
The back of the chassis features some extra ventilation at the top, as well as a pre-installed 140mm exhaust fan, although a 120mm fan can be installed here if you wish.
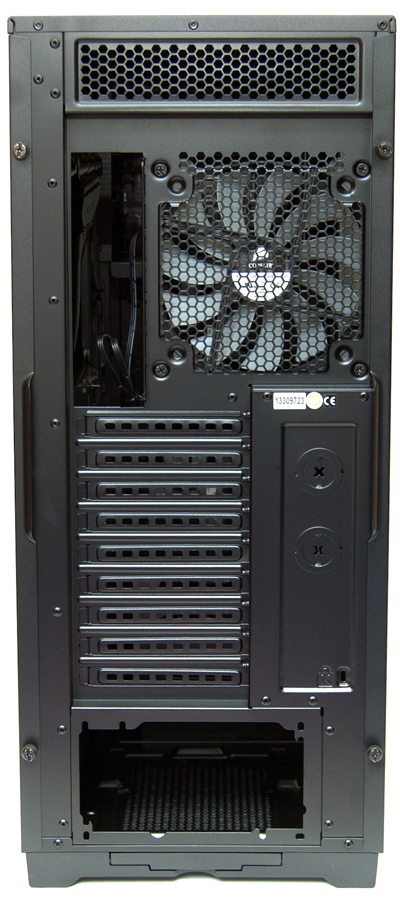
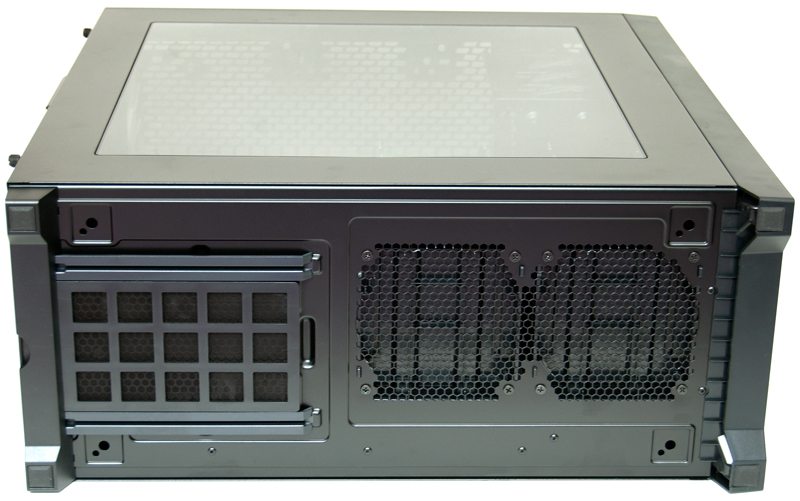
There are 9 expansion slots in total, each fitted with re-usable, ventilated covers. There are two water / cable routing holes on the right, although these have removable metal caps pre-installed should you not wish to use them.
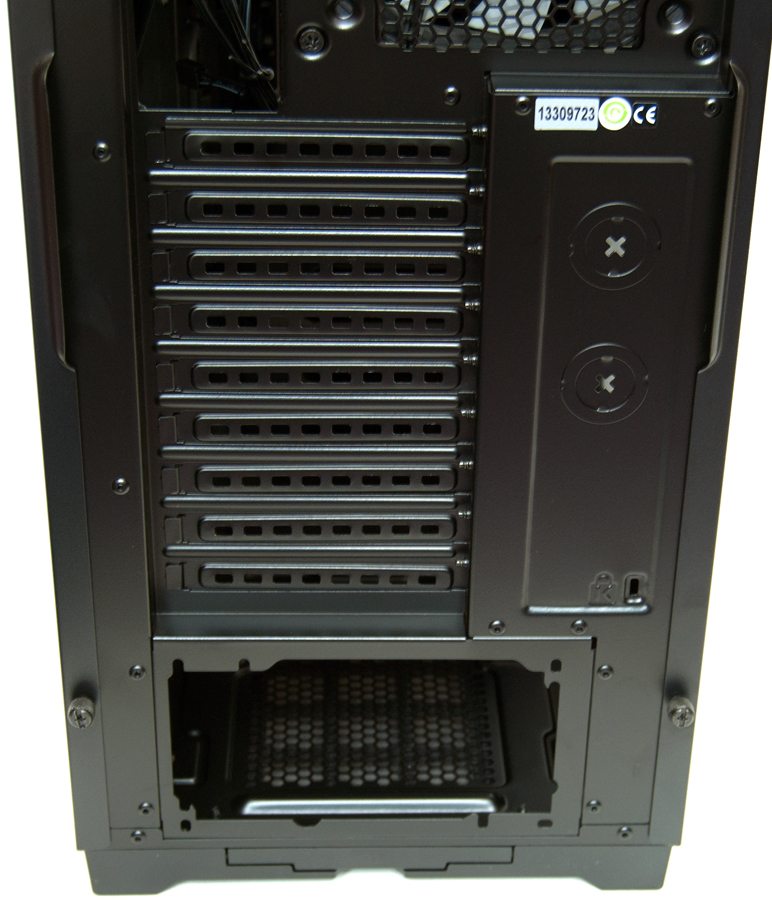
The bottom features a Kensington lock mount, as well as a good quality, slide out PSU dust filter.
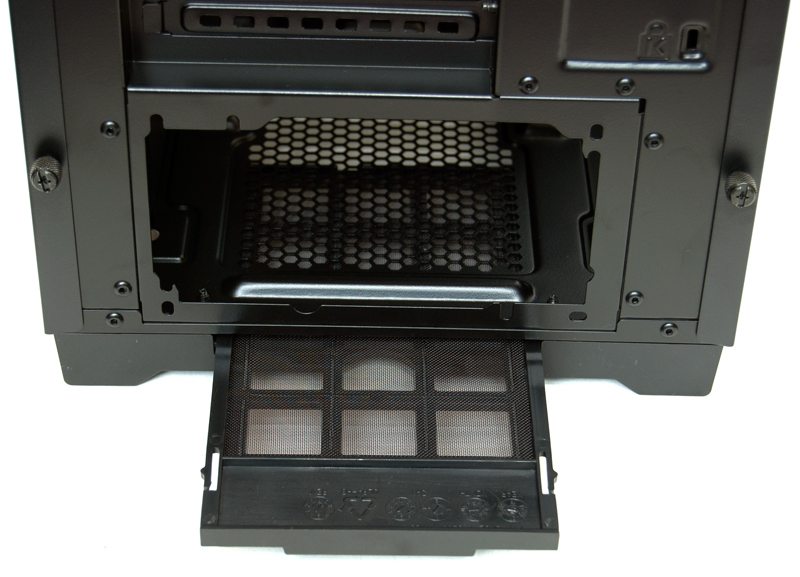
The underside of the chassis features four rubber tipped feet that provide extra ground clearance for the PSU air intake aswell as the optional air intake below the two HDD bays, although surprisingly there is no air filter for these intakes. There are four screws on each of the fan mesh areas on the right, these screws are used to remove the plastic tray that the HDD bays slot into, but we will take a closer look at that in a moment.