Corsair Obsidian 900D Super Tower Chassis Review
Peter Donnell / 10 years ago
Interior
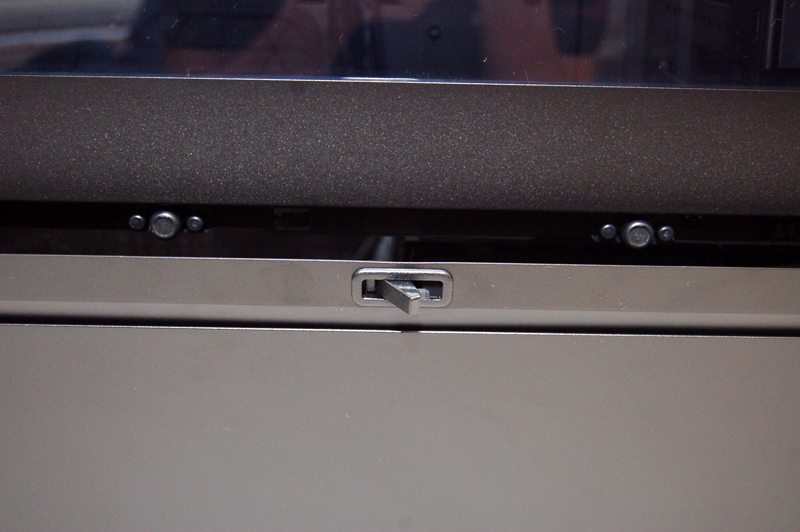
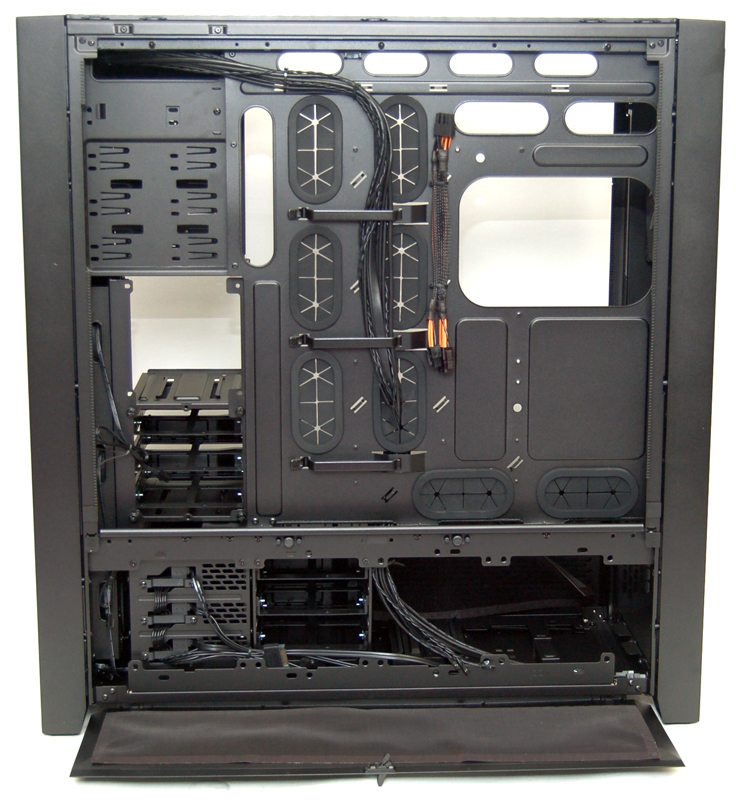
The bottom side panel features a simple lever, you push it in on one side then pull the bit that pops out to open it. Super easy to use and just clicks shut again when you’re done.
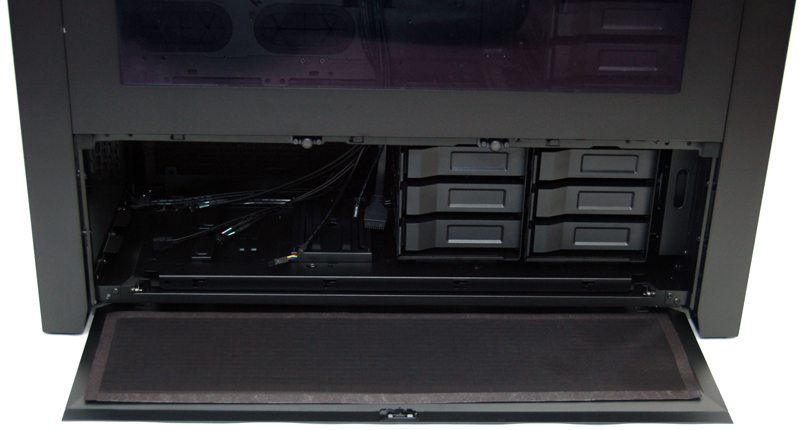
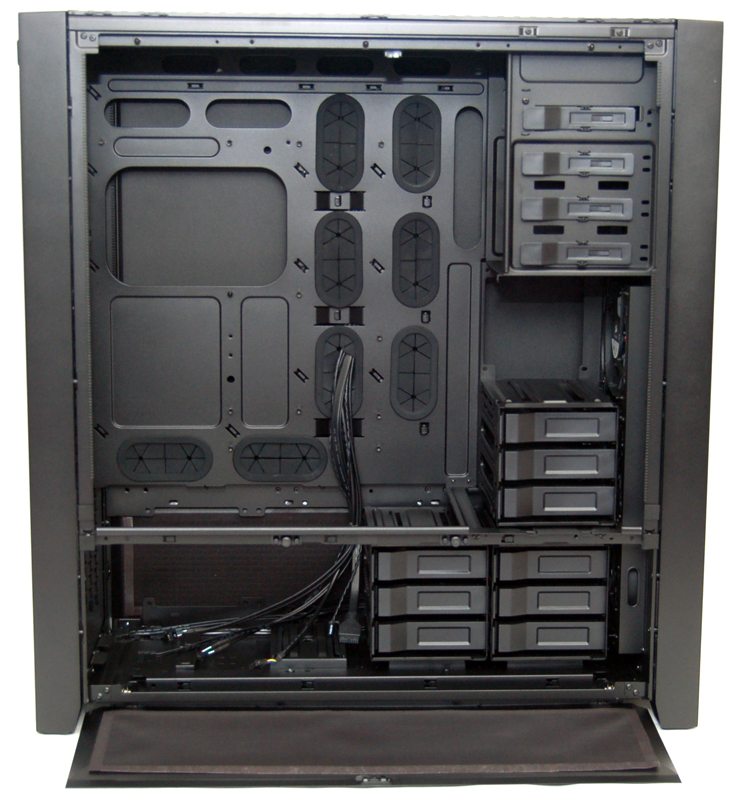
The bottom section features room for two power supplies on the left, and there are two hard drive bays on the right. However, there is also a rail for a third hard drive bay in the centre as each bay is modular. They can be moved, removed or you can buy extra bays for Corsair to pack in even more hard drives.
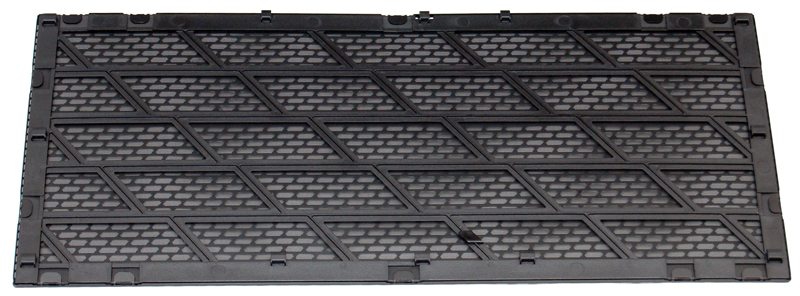
The side panel is ventilated too and this allows mounting of extra fans, there is a magnetic dust filter here too (ignore the two circles on the filter, that is dirt on my white background, not the chassis).
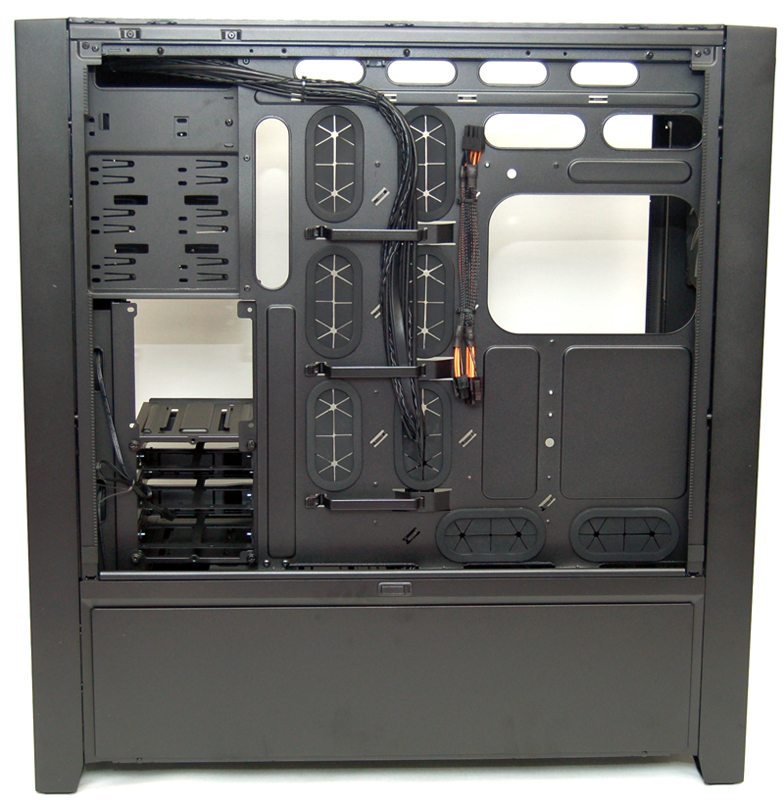
With the main panel removed we get our first proper look at the cavernous interior. There is a huge CPU cooler mounting cut-out and more cable routing options that you will likely every need. Motherboard support shouldn’t be a problem either as the chassis is easily capable of taking anything from ATX, Micro ATX, E-ATX, HPTX, and if you want to look cool, even Mini ITX.
The 5.25″ bays features a simple quick release mechanism, the only thing I don’t like is that the clips are plastic and feel cheap compared to the rest of the build.

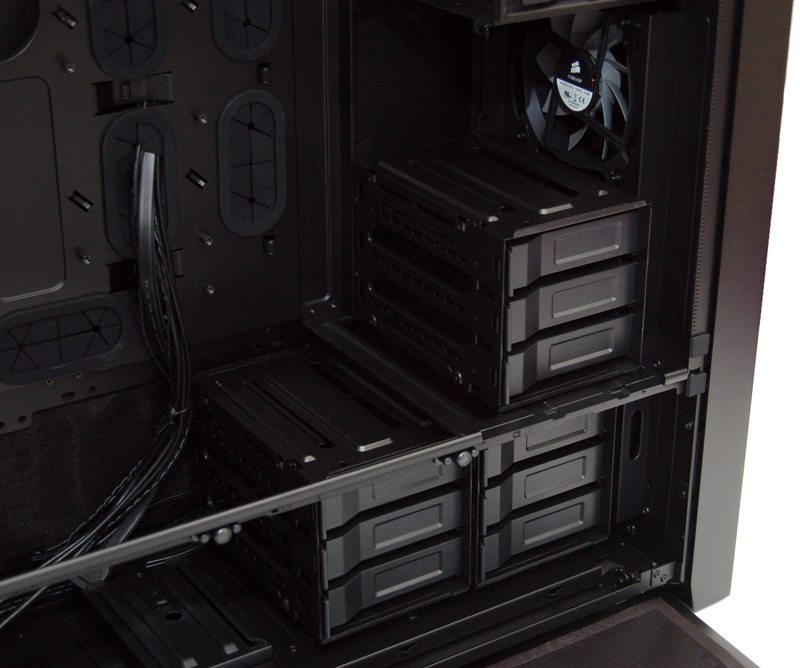
Here we see there is a third hard drive bay, with room for another on top of it thanks to the slide/lock modular system that each bay uses. You should never have to remove these bays to install GPU’s either as there isn’t a graphics card in the world long enough to fill this chassis, not even close.
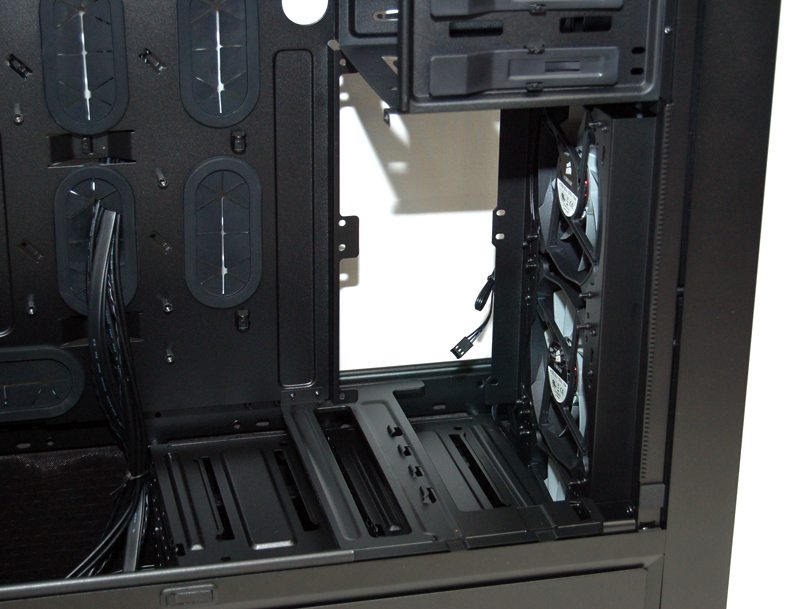
With the HDD bay removed you can see there is a load of room for installing radiators, you can go one further buy removing the bottom HDD bays, the support bar at the bottom and mount a 360mm radiator in the front, with room left over for a large reservoir and pump configuration (such as this).
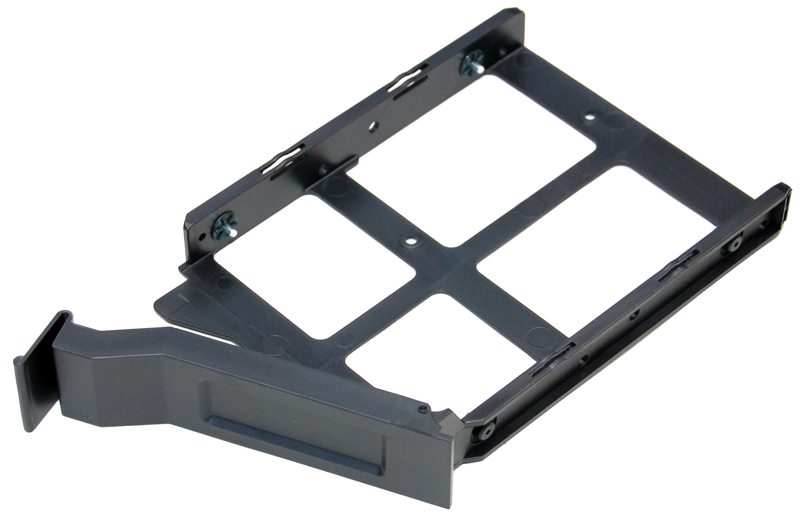
Each hard drive bay features three quick release bays for easy access, all bays support 2.5″ and 3.5″ drives.
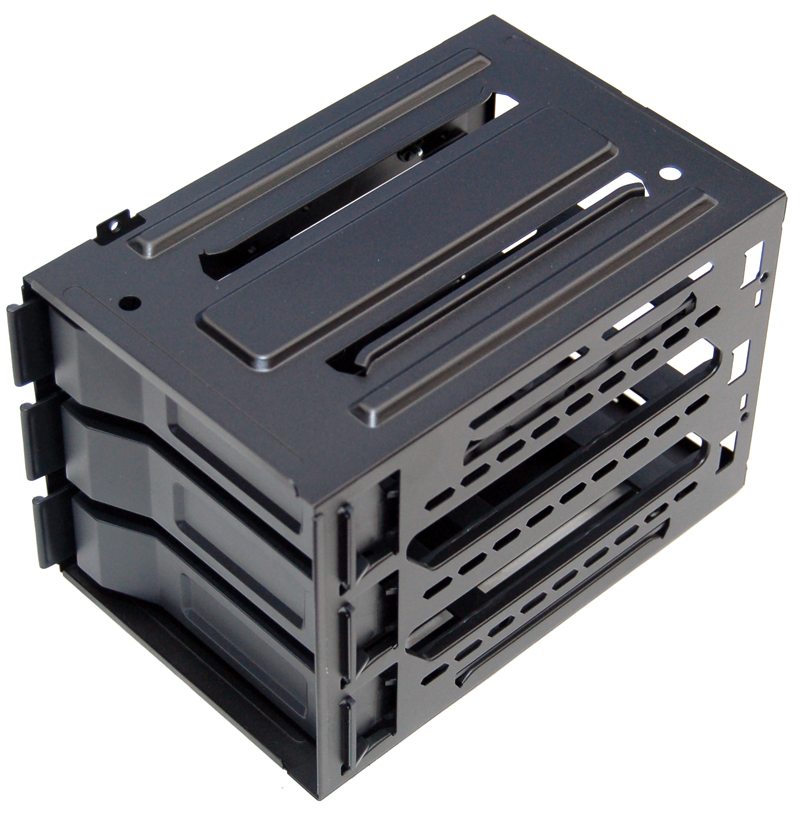
The trays are plastic and feature pins that will clip directly onto any 3.5″ drive, while 2.5″ drives will screw directly on the tray.
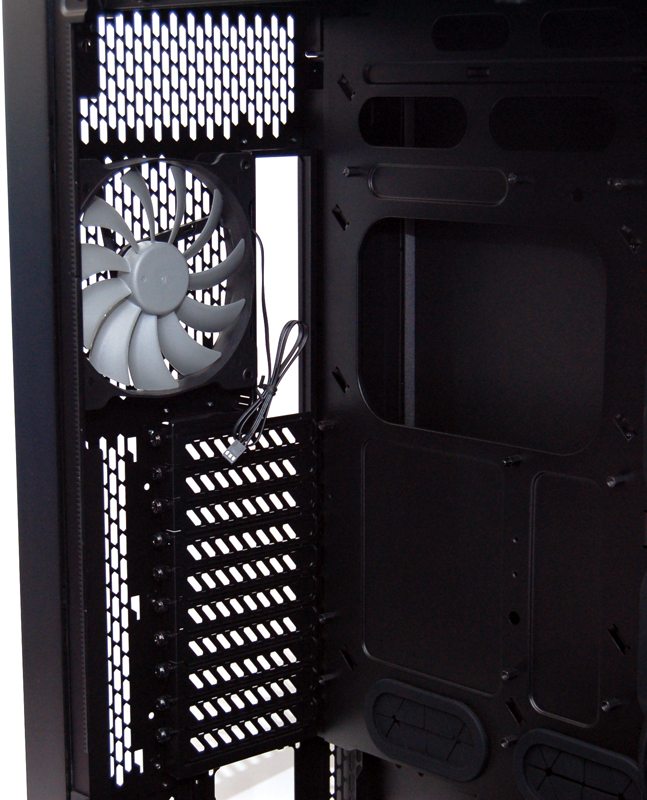
The rear 140mm fan features a standard 3 pin connection. The expansion slots feature thumb screws, but since they’re hard to reach due to a conflict with the chassis frame you may need to use the special screw driver that was included with the chassis.
The PSU mounts are pretty standard, but a couple of raiser blocks should help keep them sturdy and help reduce vibrations.
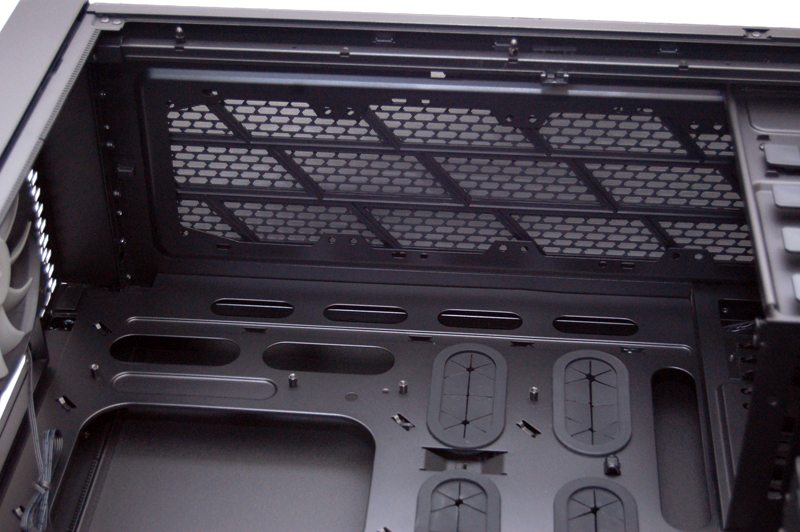
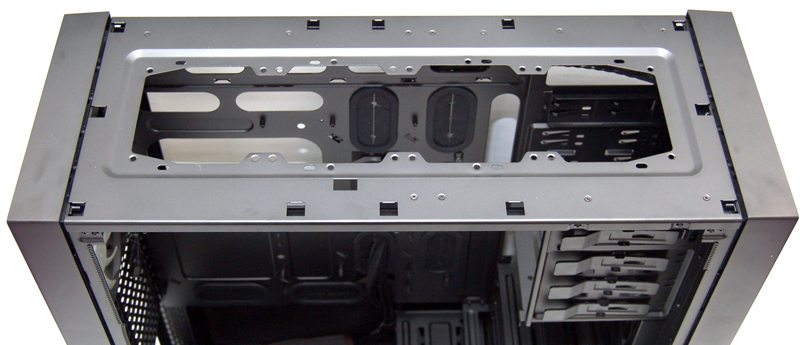
The top fan / radiator mounts are versatile, featuring standard 120mm spaced holes and longer 140mm mounting holes to ensure compatibility with different radiator fan spacings.
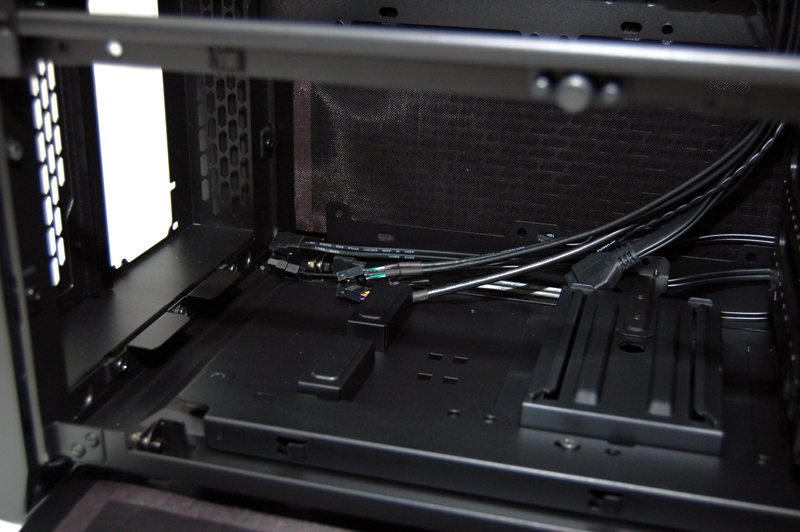
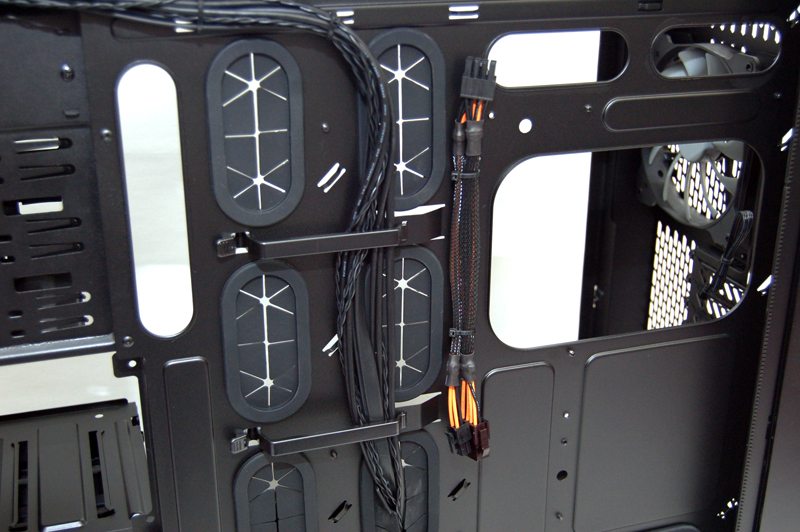
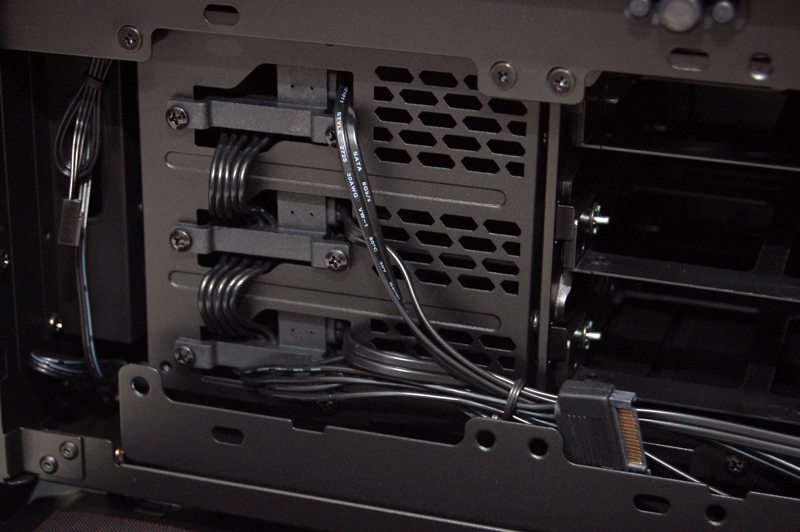
Around the back we see that there is extensive room for cable routing. Not only are there three durable plastic clips to keep cables in check, but there are also a few cable tie loops to keep things extra tidy. There are six rubber grommeted routing holes overall but you’ll find plenty of extra holes that are idea for routing fan cables, SATA cables and other such things.
This chassis is huge and it is likely that your PSU cable will not reach your motherboard, fortunately Corsair know this and have been nice enough to bundle a 12v extension.
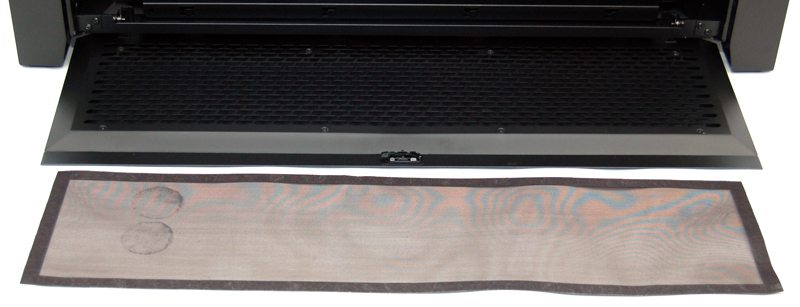
The bottom panel folds down to reveal more fan mounts, extra cable routing space and the HDD connections.
One of the bays features a 1-3 SATA hook up cable, allowing you to plug and play three of the hard drives and cut down on cable mess. This side panel, just like the left side, also features another magnetic dust filter.
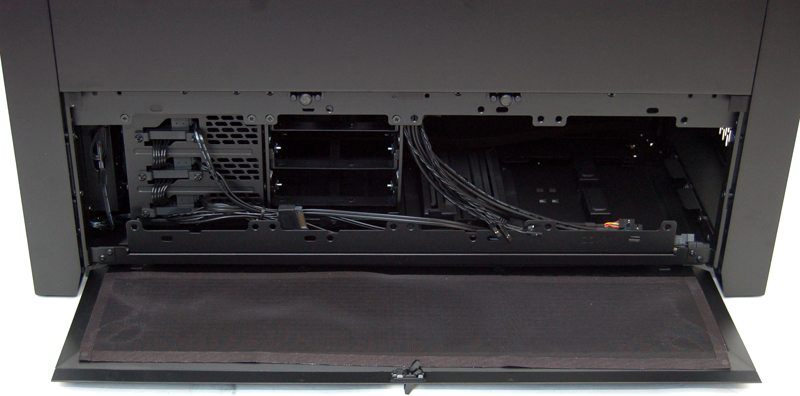
Here you can also see the front panel fan cables, all of which are standard 3-pin connections. There are some small routing holes next to each fan to allow clean routing of these cables.
The top panel is removed by pushing a small clip on the inside of the chassis. this allows you to install top mounted cooling and maintain the filter.
The filter is pretty durable, washable and should be easy enough to maintain.