Cougar MX660 Mesh RGB E-ATX Case Review
Peter Donnell / 3 years ago
Interior
With the side panel removed, you’ll find a clear and open interior on the MX660. There are no weird panels or lumps and bumps sticking out here, and that should make for a really smooth installation process. Of course, all the bulky stuff is hidden either behind the motherboard or under the PSU shroud.

At the back, you’ll find a 120mm mount, which uses elongated screw holes, allowing you to adjust the height of the fan/radiator to improve compatibility. Below that, you’ll find all of the expansion slots come with reusable and ventilated metal covers. Plus, there are two vertical slots, allowing you to mount a graphics card vertically.
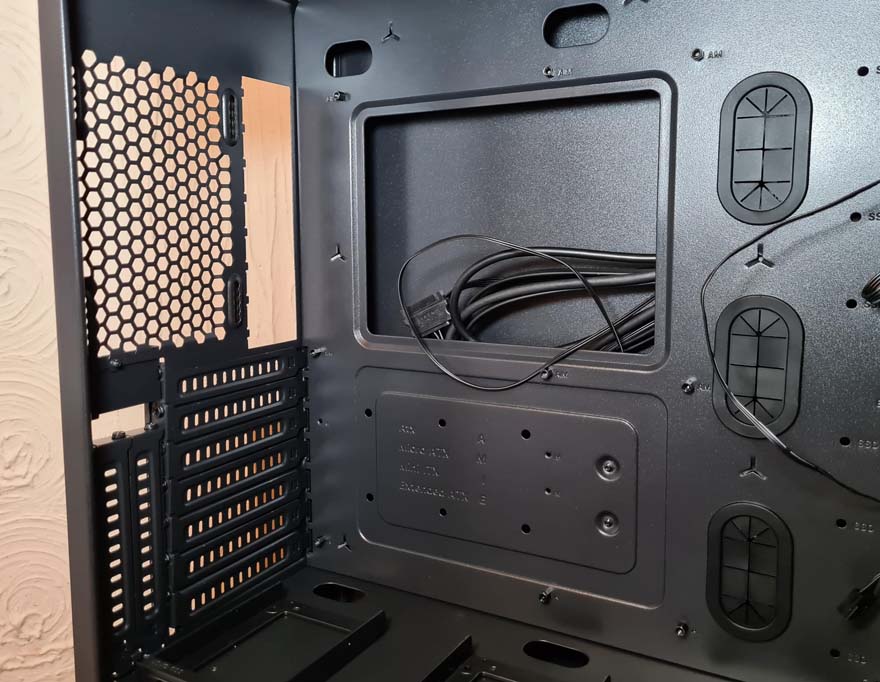
There’s a full-length PSU shroud, allowing you to hide all the boring stuff. However, it also comes with a large cut-out at the front, allowing for more front panel cooling. There’s a 120mm mount on the top of the shroud, too, should you need it.

Plus, some additional SSD mounts here. However, if you choose to use the vertical GPU mount, you’ll have to sacrifice the option for SSDs here.

There are loads of cable routing holes available, with two directly above the motherboard.

A huge one here.

Seven more here.

And a final two here.

In the front, you can see those gorgeous Cougar fans, and there’s plenty of room should you wish to stick a radiator in here too. The front will support 3 x 120mm or 2 x 140mm mountings of fans and radiator configurations of up to 360mm or 280mm.

Not forgetting the additional cooling mounts in the top or rear.

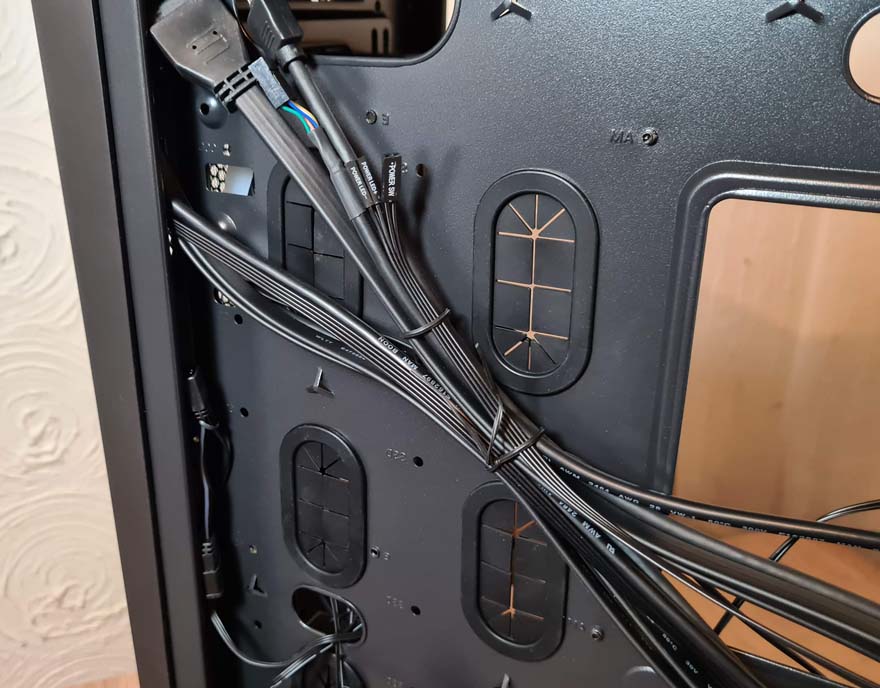
Behind the motherboard, you’ll find a lot of room for cable management. Plus, any pre-installed cables are all-black, so they’ll blend into the build easily enough.

The addition of grommets on the cable routing was a nice surprise, too, given they’re missing from the stock photos on the Cougar website.
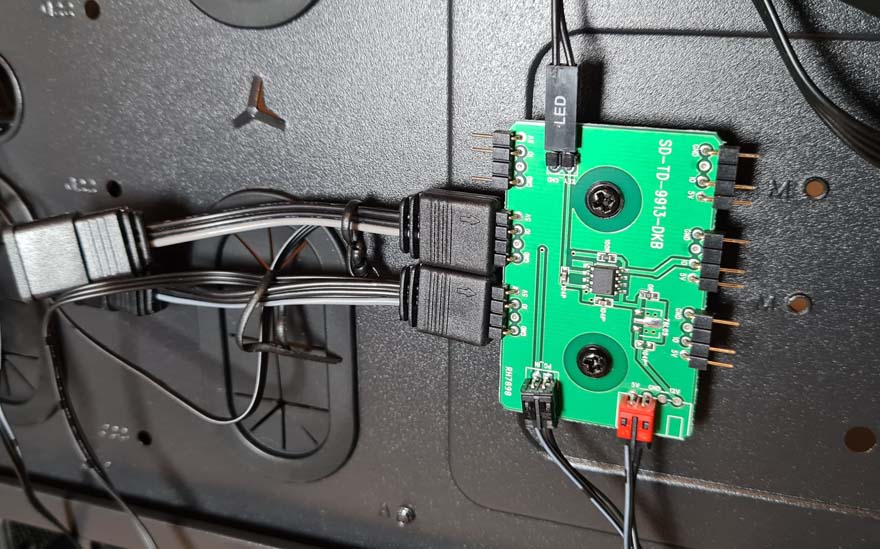
Oooh, a green PCB, how retro. That being said, it’s a 6 port RGB hub, and that’s always a welcome addition! It’s not a fan PWM hub though; they still need to connect to the motherboard.
Below the shroud, two tool-free trays for your HDD/SSDs. However, it can be moved forwards/back to make more room or removed entirely to suit your needs.

Either way, you shouldn’t have any trouble fitting a large ATX PSU here.


