The Interface is how you interact with the printer itself, this is how you will change settings and calibrate it. You will be using the interface for pretty much everything so you’d hope it’s easy to use and functional, that is why we are having a look at it, to understand if this is going to be a user-friendly experience or if you will be struggling to work it.
Because we used the Sonic Pad for this review, I will be looking at the interface on that, but the interface on the printer itself isn’t too dissimilar.
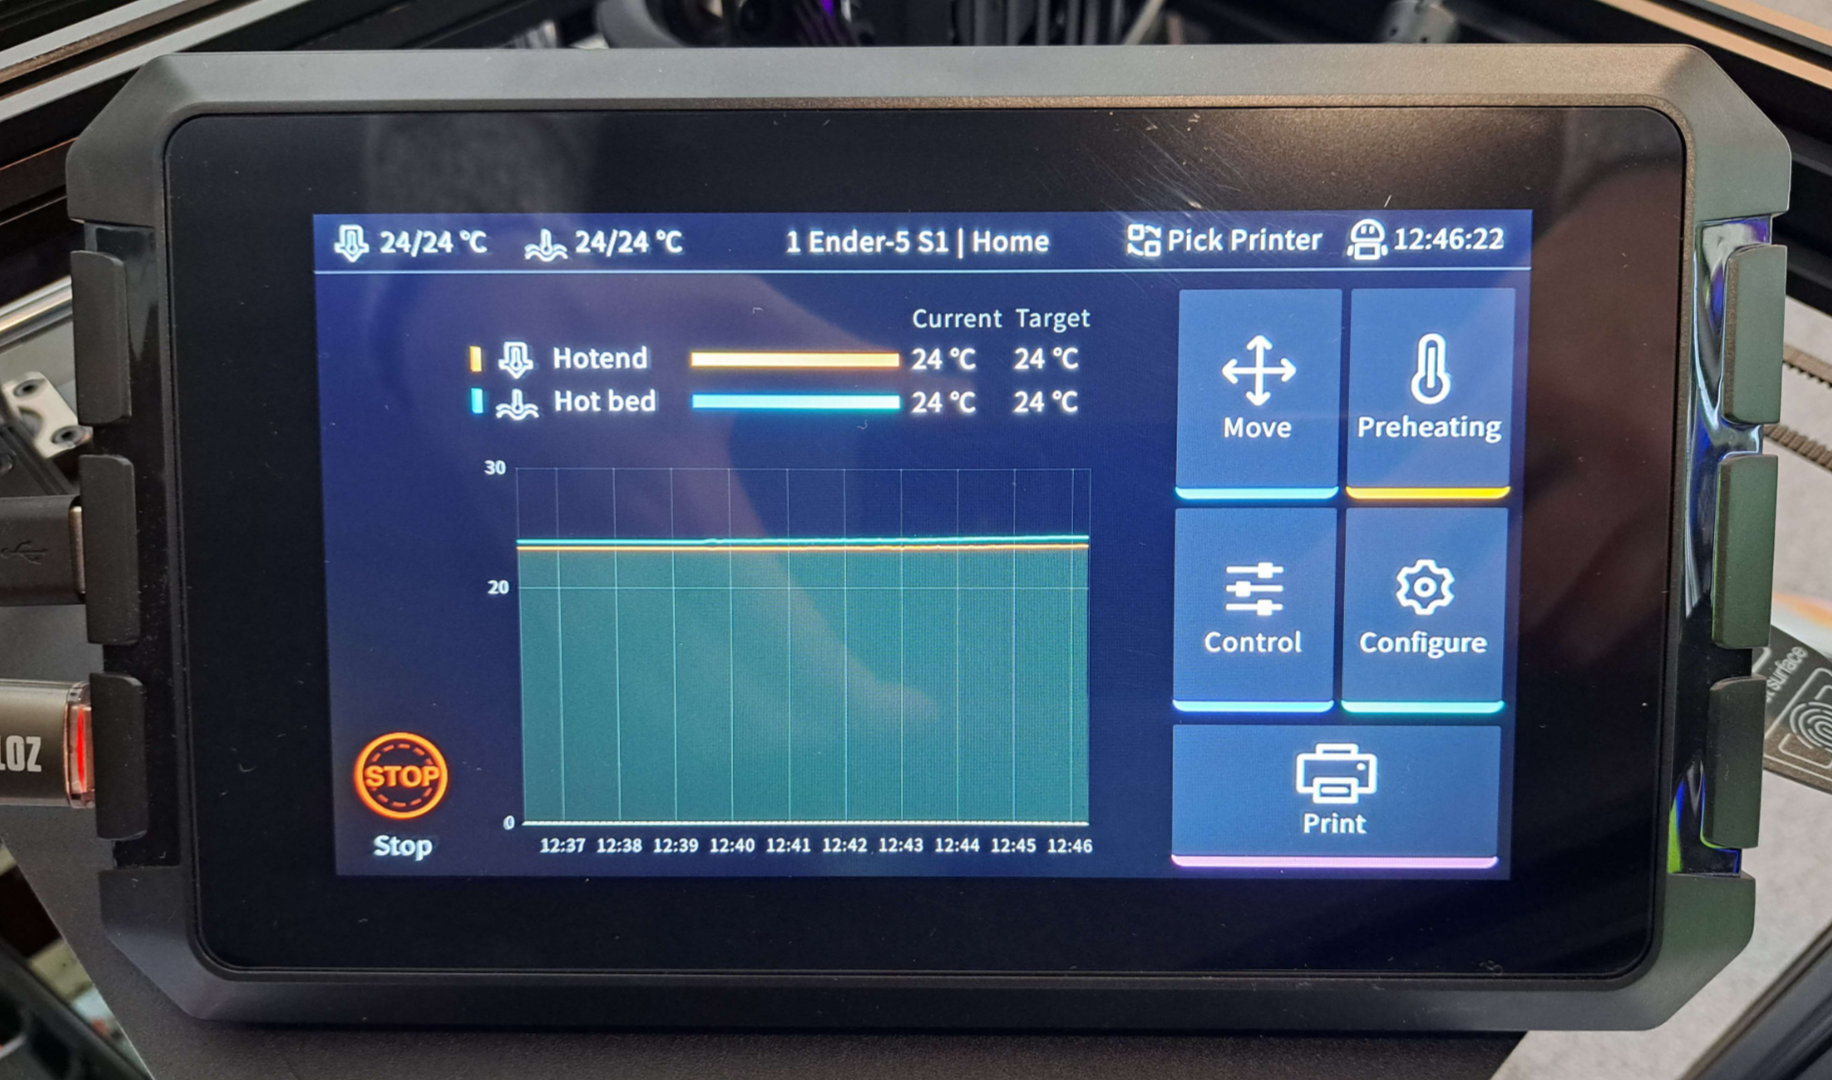
The home screen of the Sonic Pad is full of important information, including temperatures of the hot end and hot bed, with a graph showing temperatures over time, which could help you diagnose problems with temperature if they came up. There are also a few options that we will look more into now.
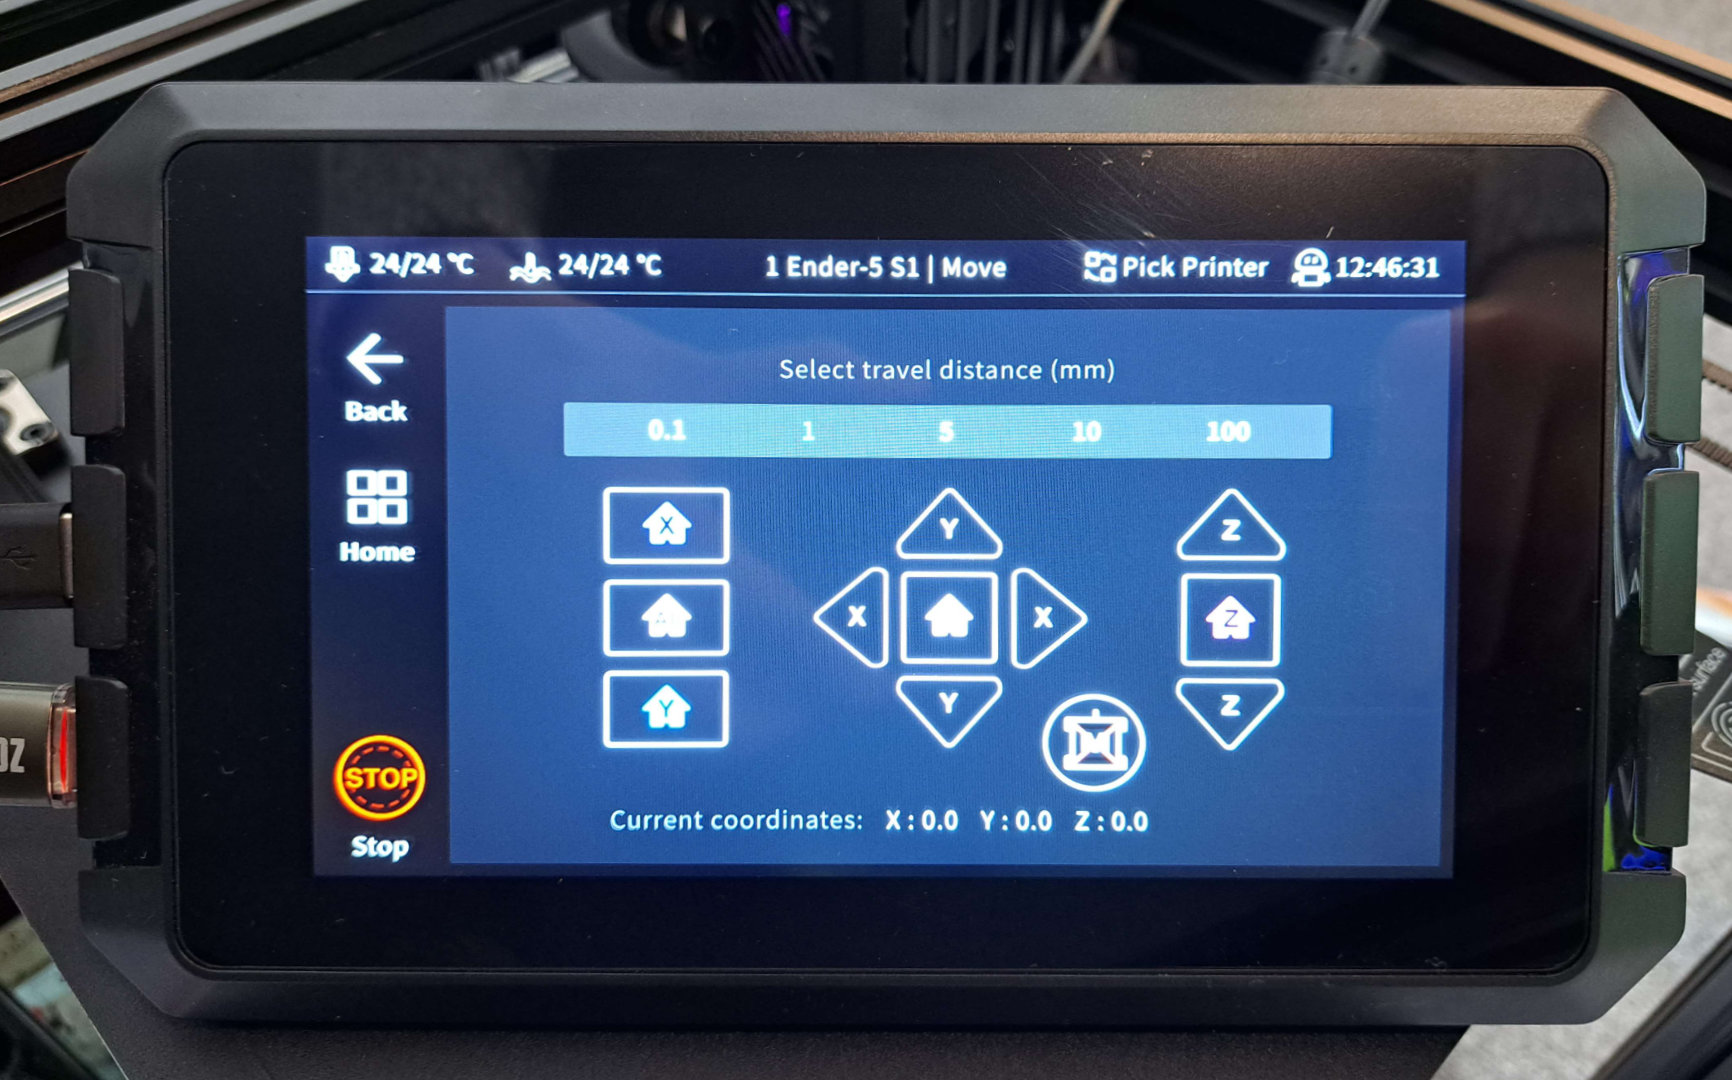
The first of the sub menus allows you to move the different axis of the printer when you aren’t printing anything; this is useful for diagnosing problems or moving things to get ease of access to reach a model on the bed.
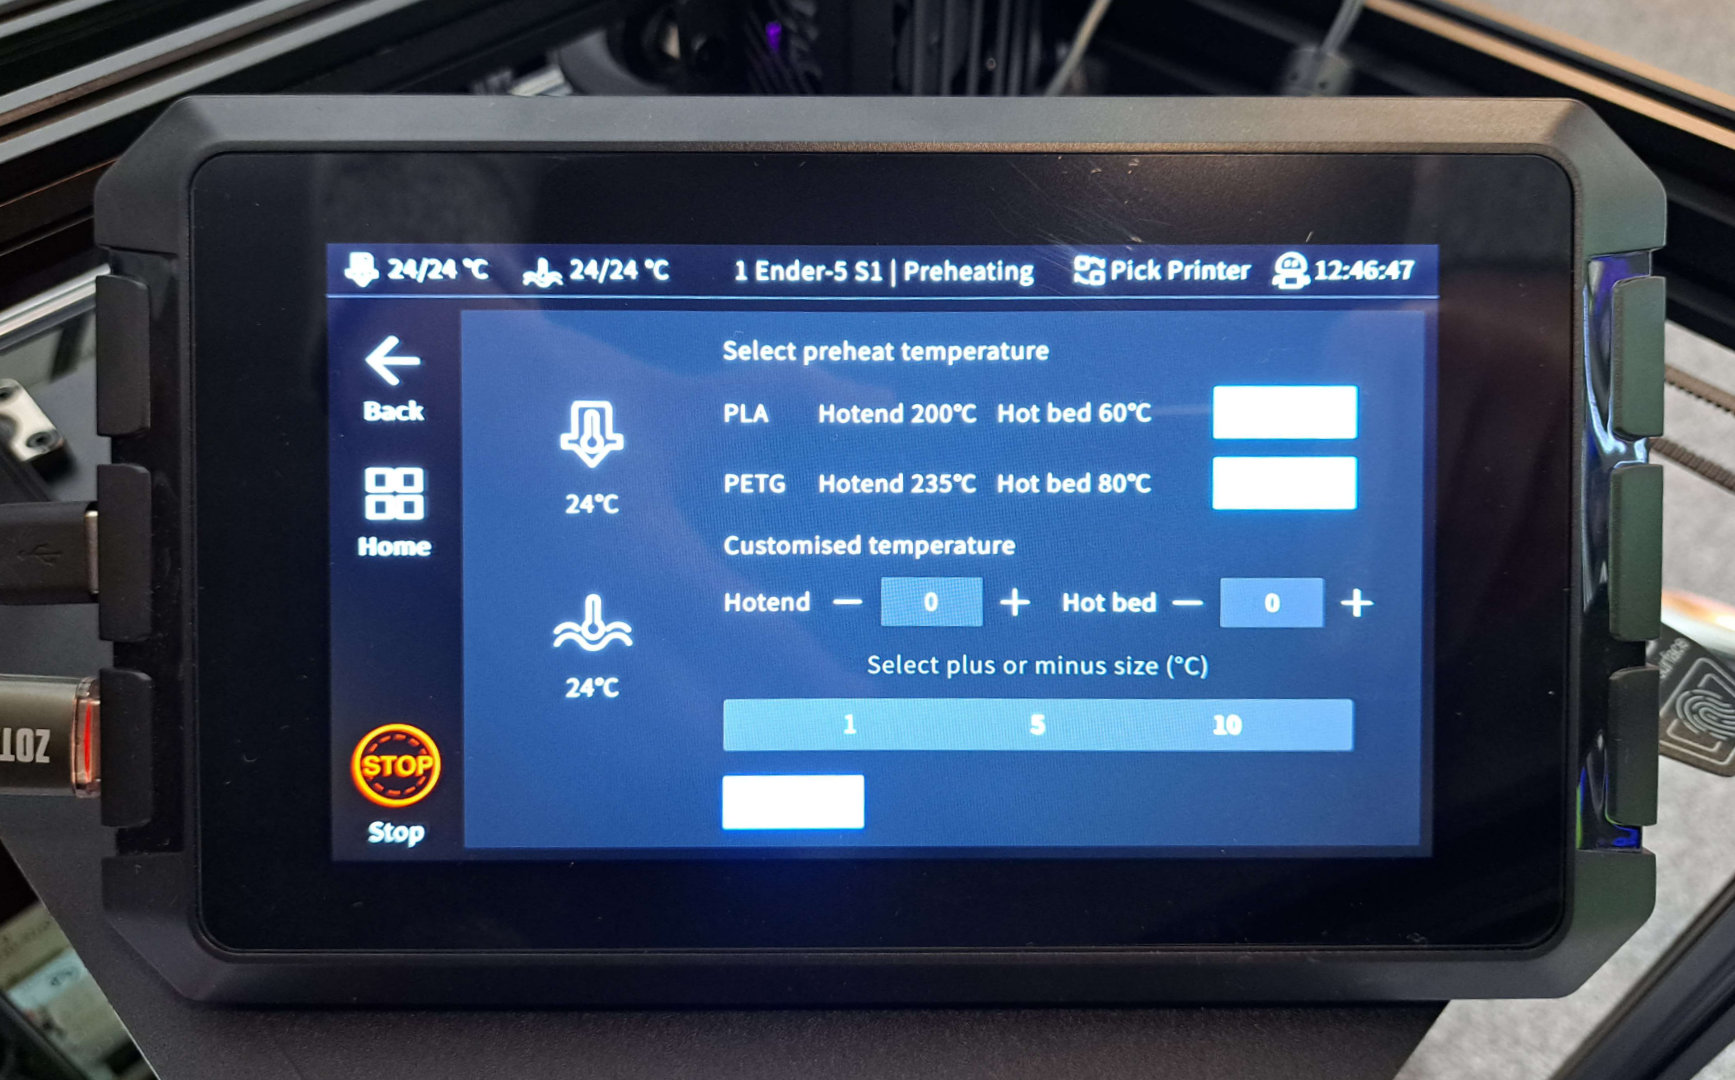
The next menu lets you quickly set a target temperature for the hot bed and hot end, allowing custom temperatures as well as the presets for PLA and PETG.
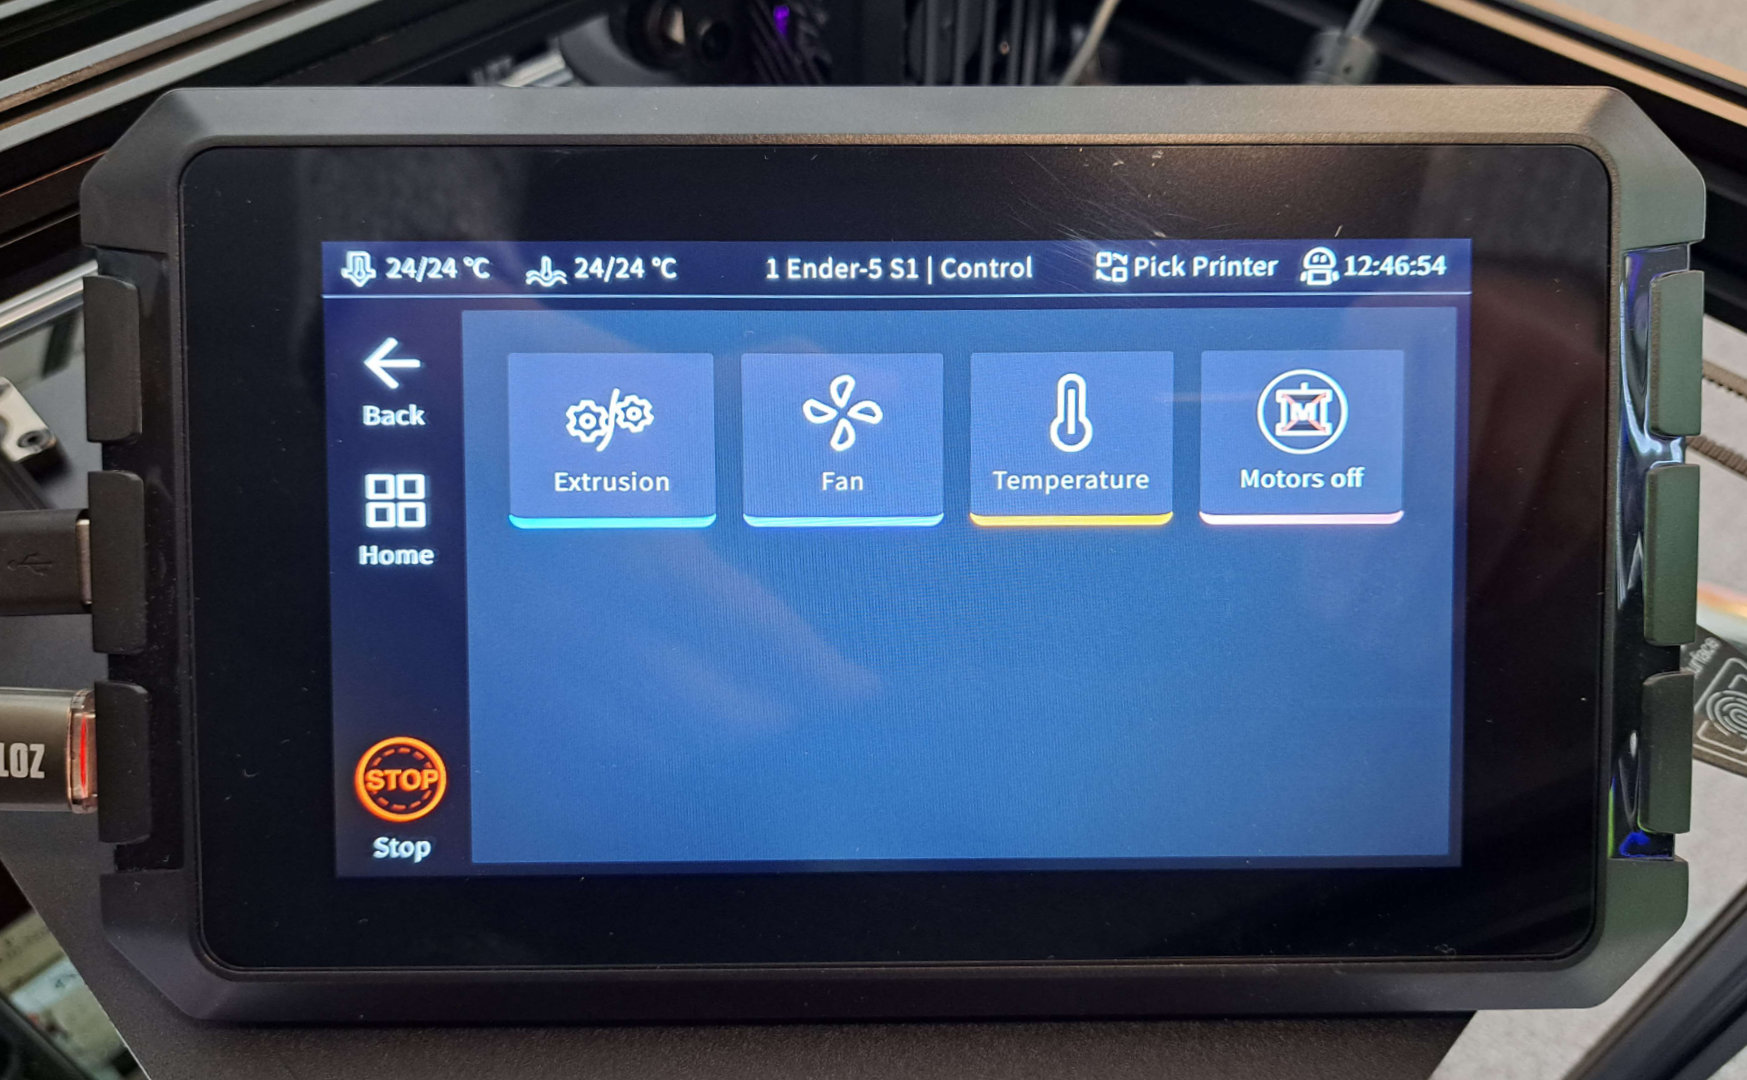
The Control menu contains even more options, Motors off is just a simple option that does exactly what it says on the tin and hasn’t got a page of its own, whilst the temperature page is identical to the preheating page.
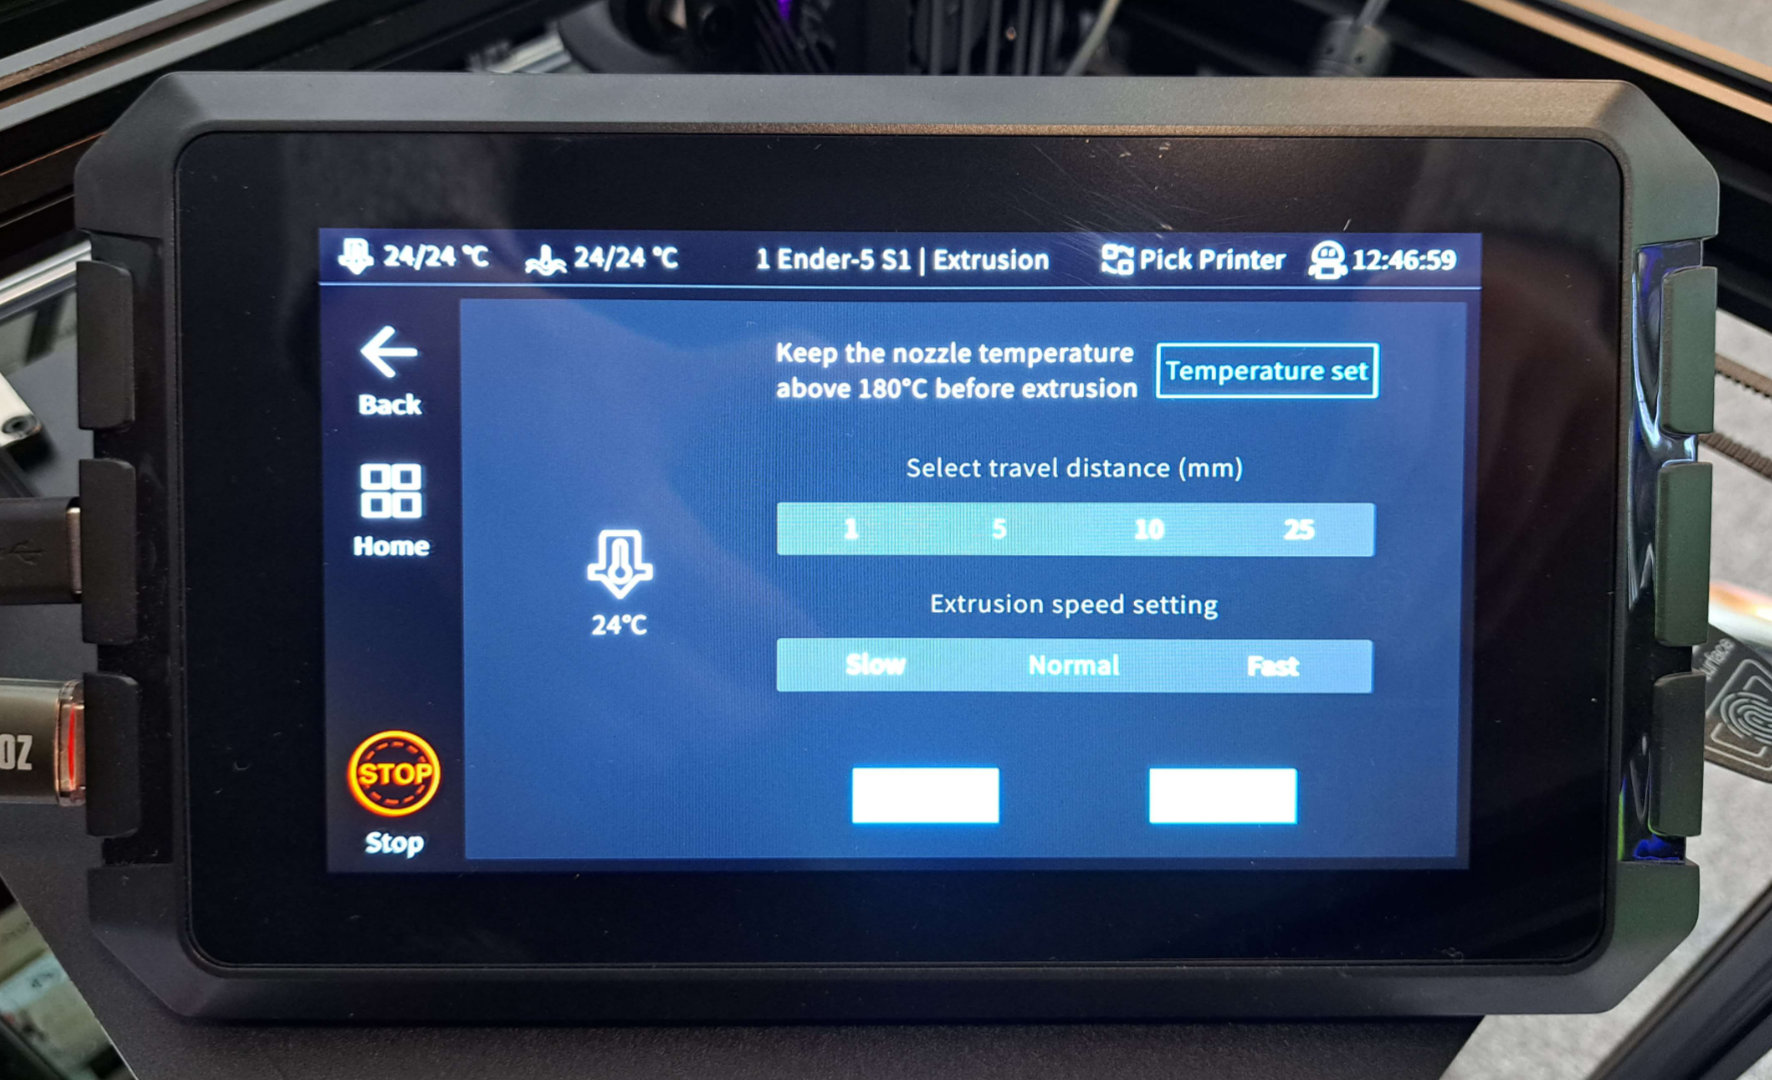
The Extrusion page allows you to manually extrude material, you’d want to do this to check for blockages and to run remaining material through when changing filament.
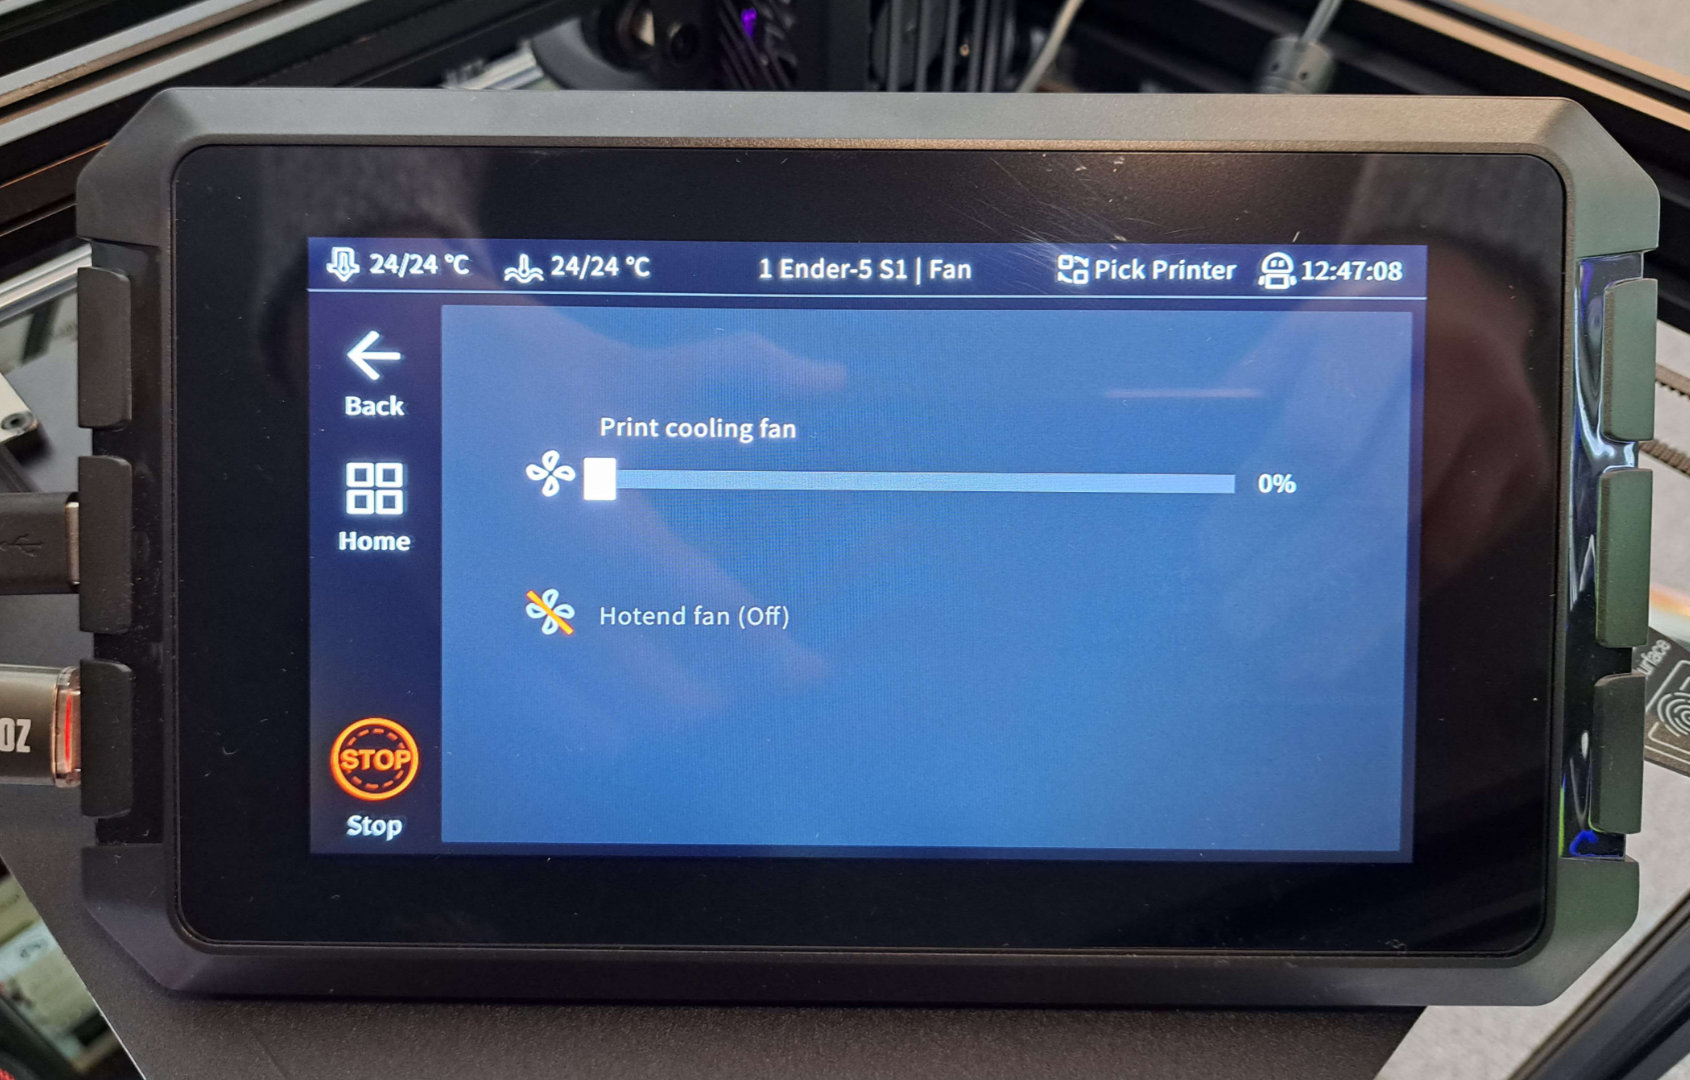
The fan page is another page that does exactly what you would expect, from here you can control the speed of the fan exactly as you would like.
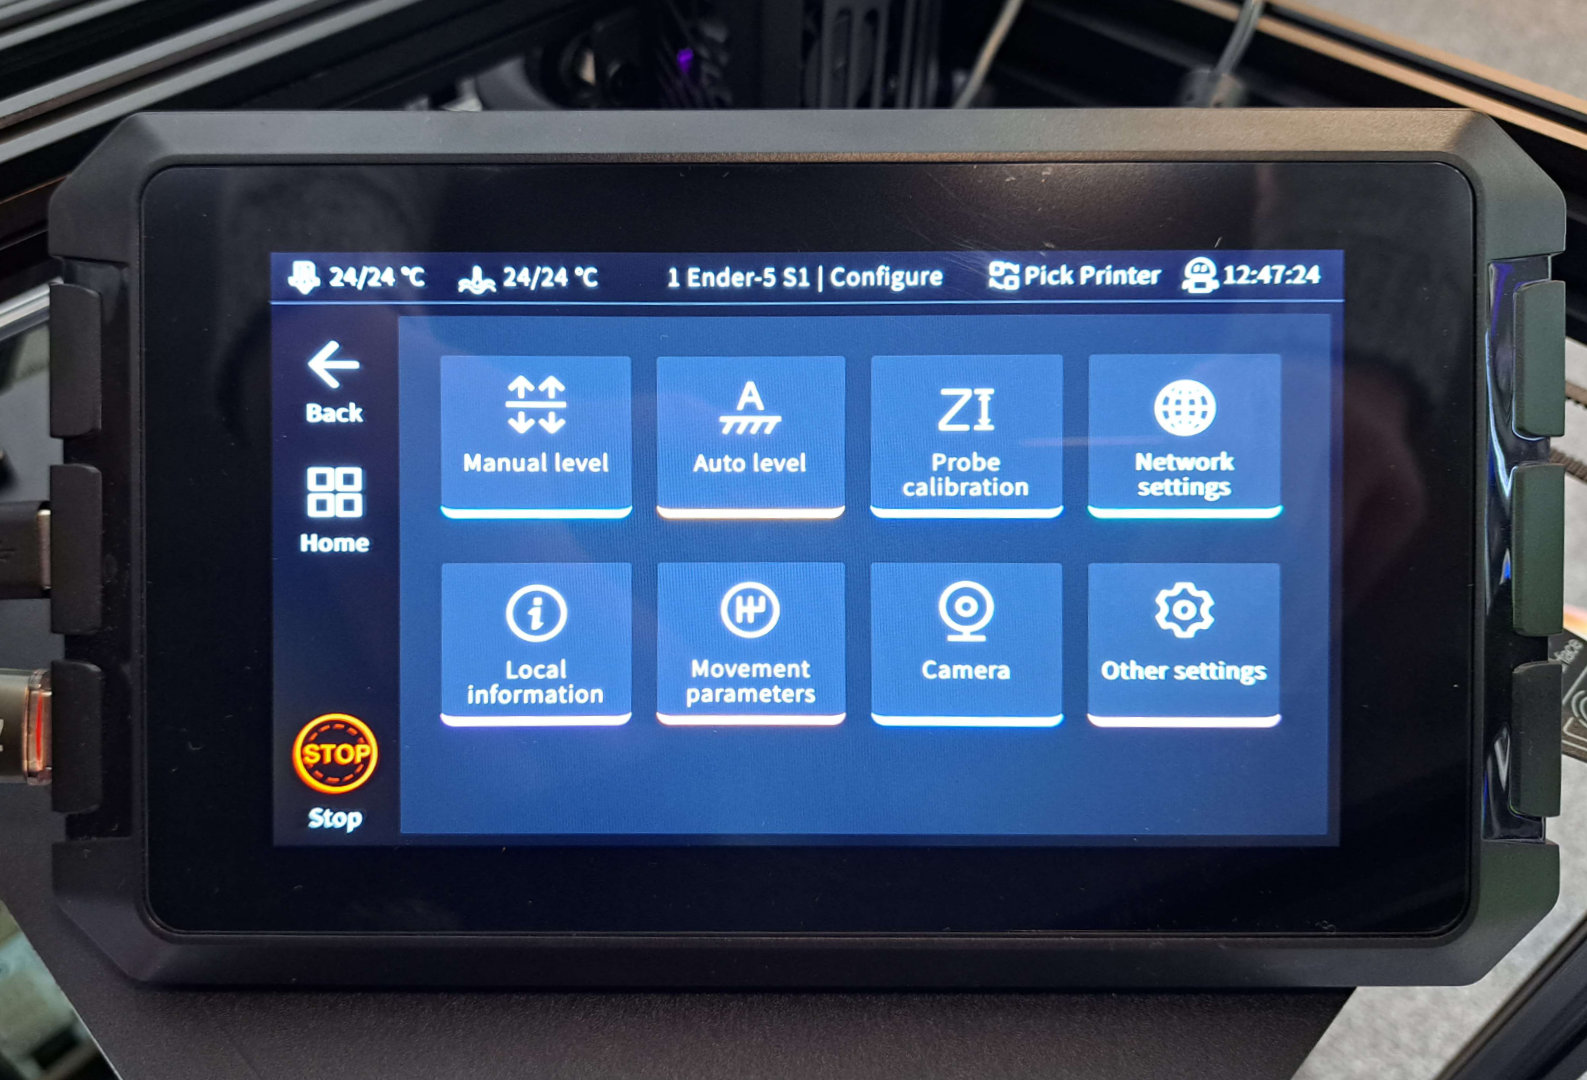
The configure option on the main menu takes us to yet more options. All of these options are self-explanatory, but we can see an option for a camera, unfortunately there is no built-in camera, this is an option to set up a camera separately if you desire.
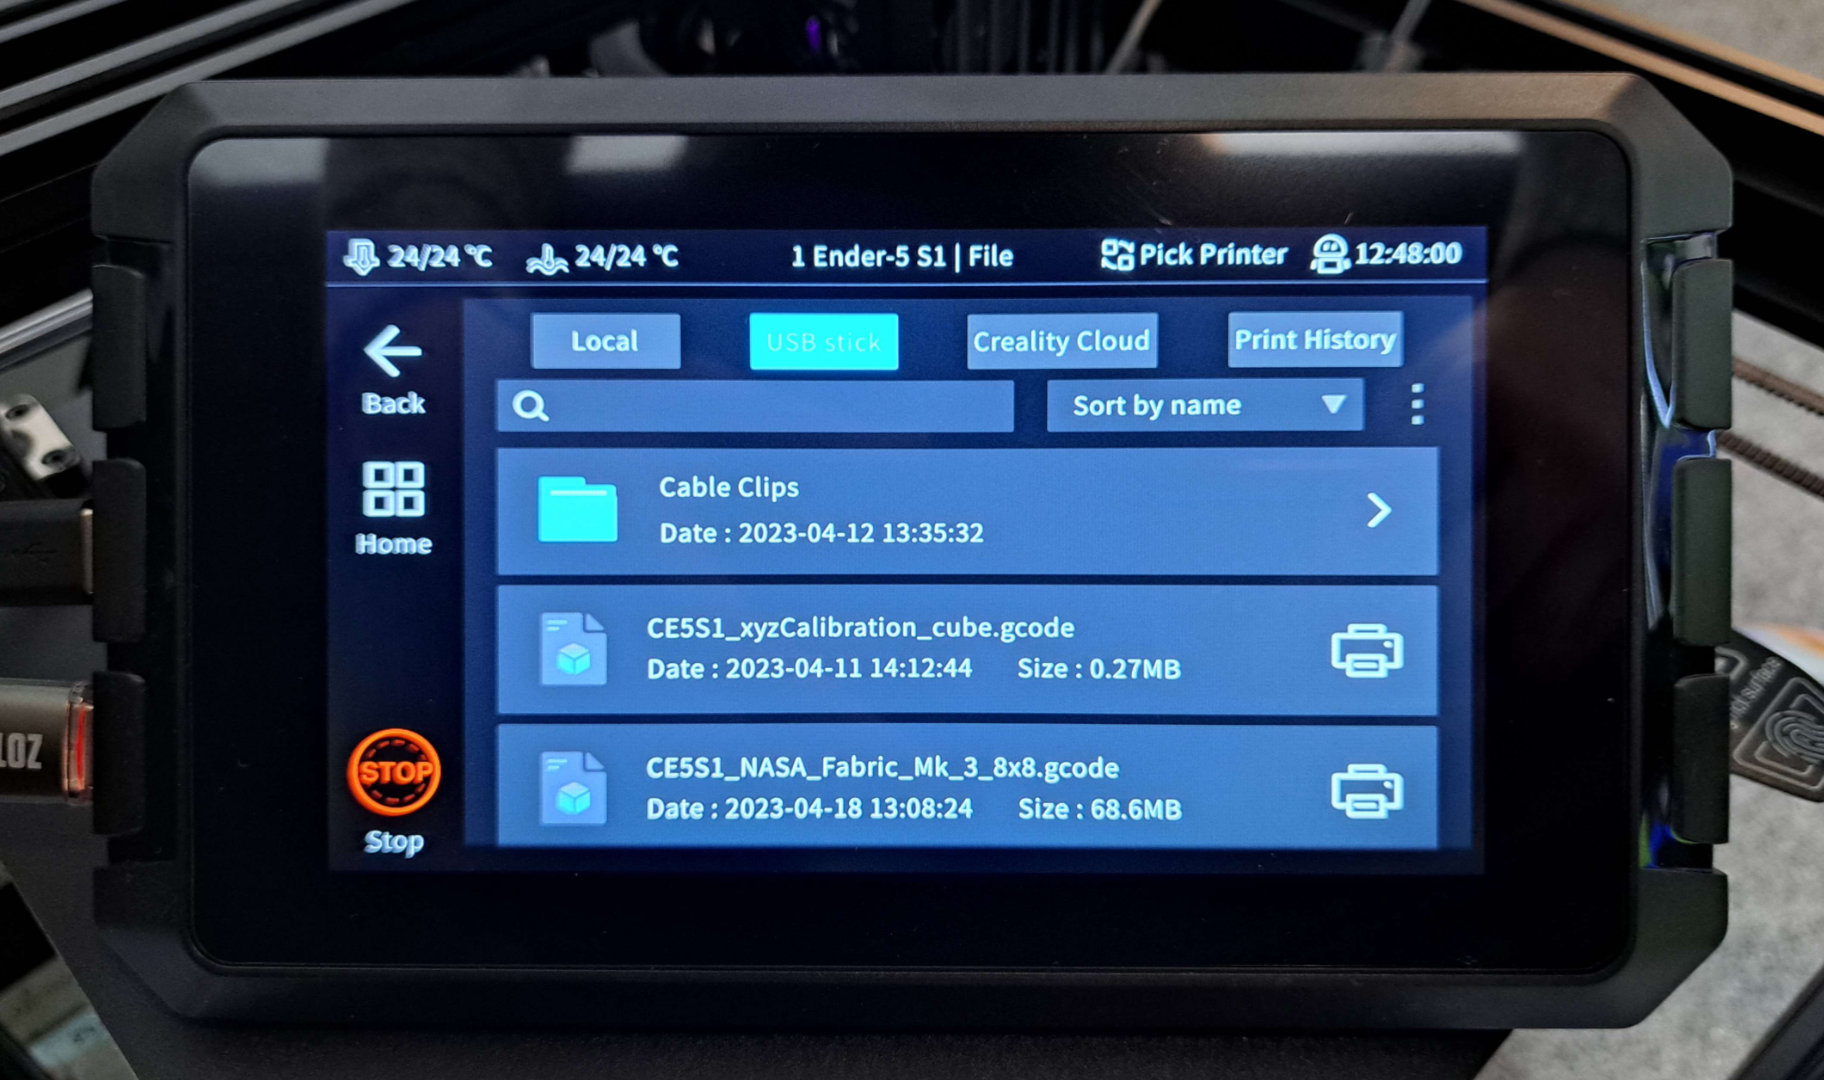
Finally, on the main menu is the print option, this takes you to a list of all models and folders that you have stored locally or that are stored on the Creality Cloud.
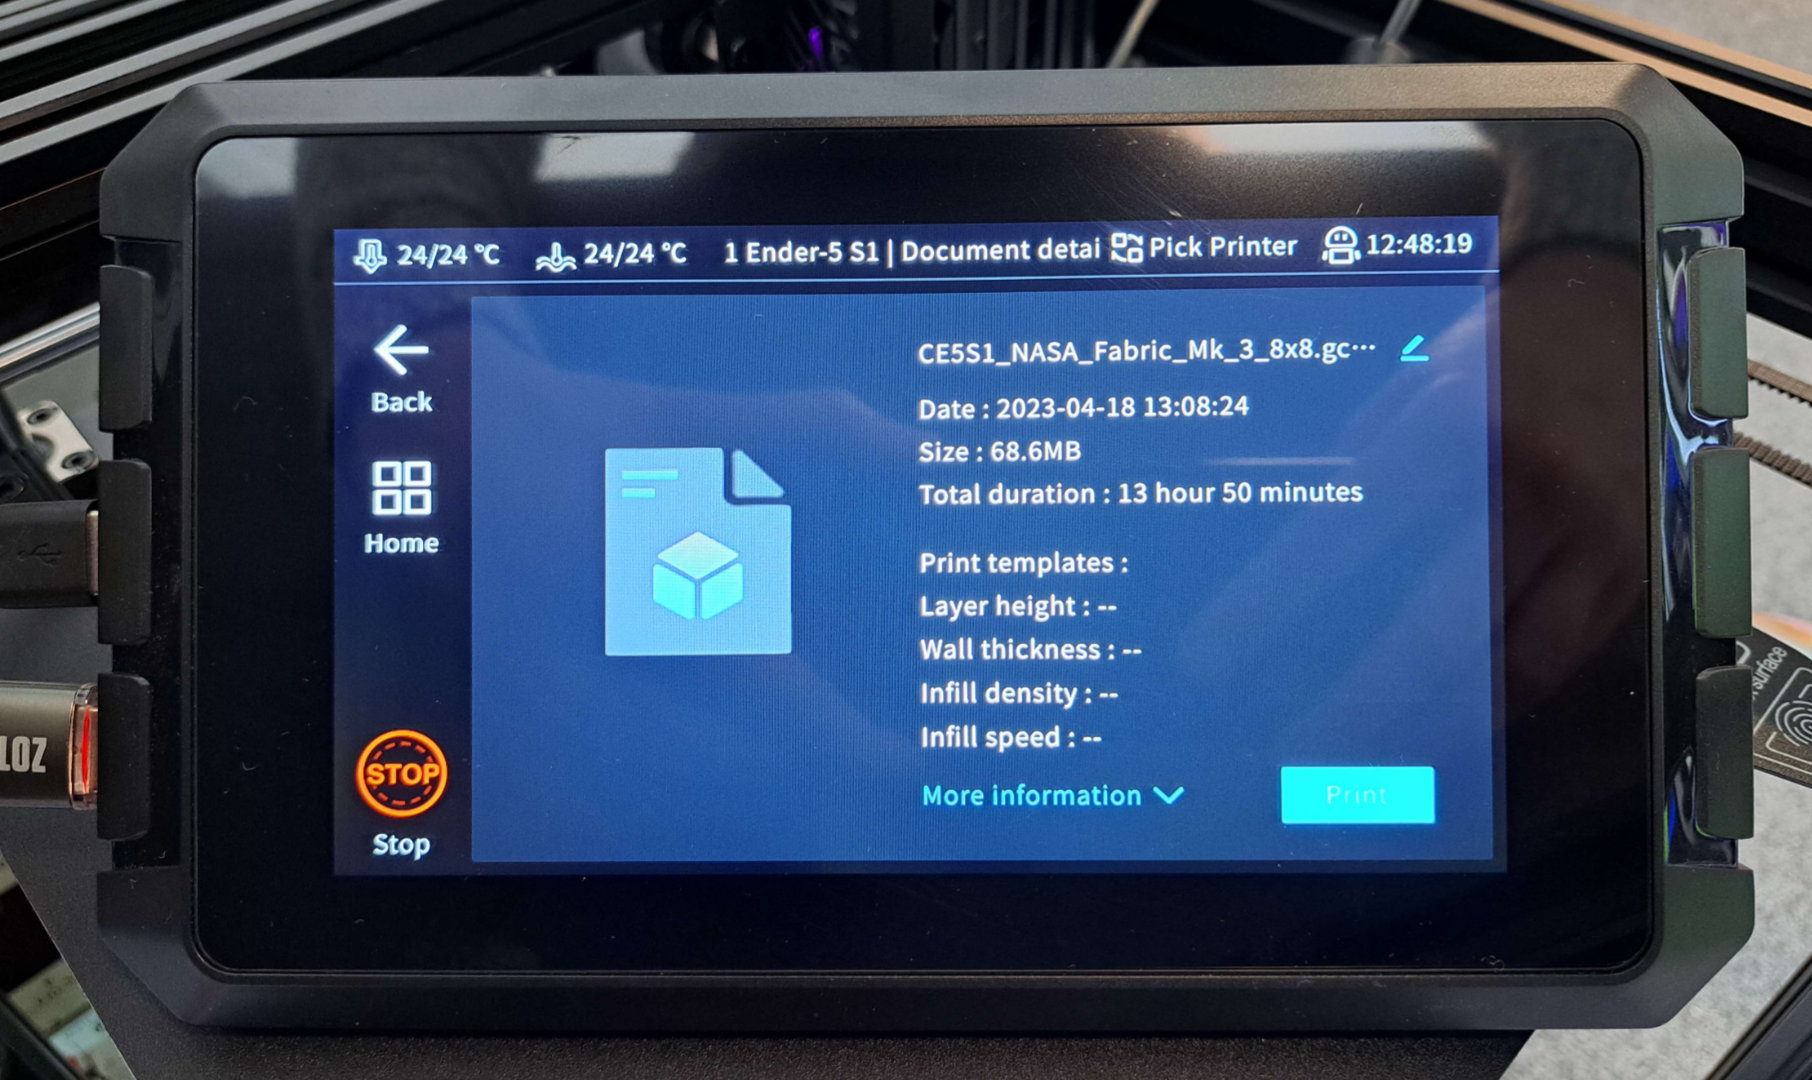
Once you select a file, you are presented with a screen giving information on that file, including the size of the file and an estimated print time. When you are ready to print, you simply press the button and the printer does the rest of the work.
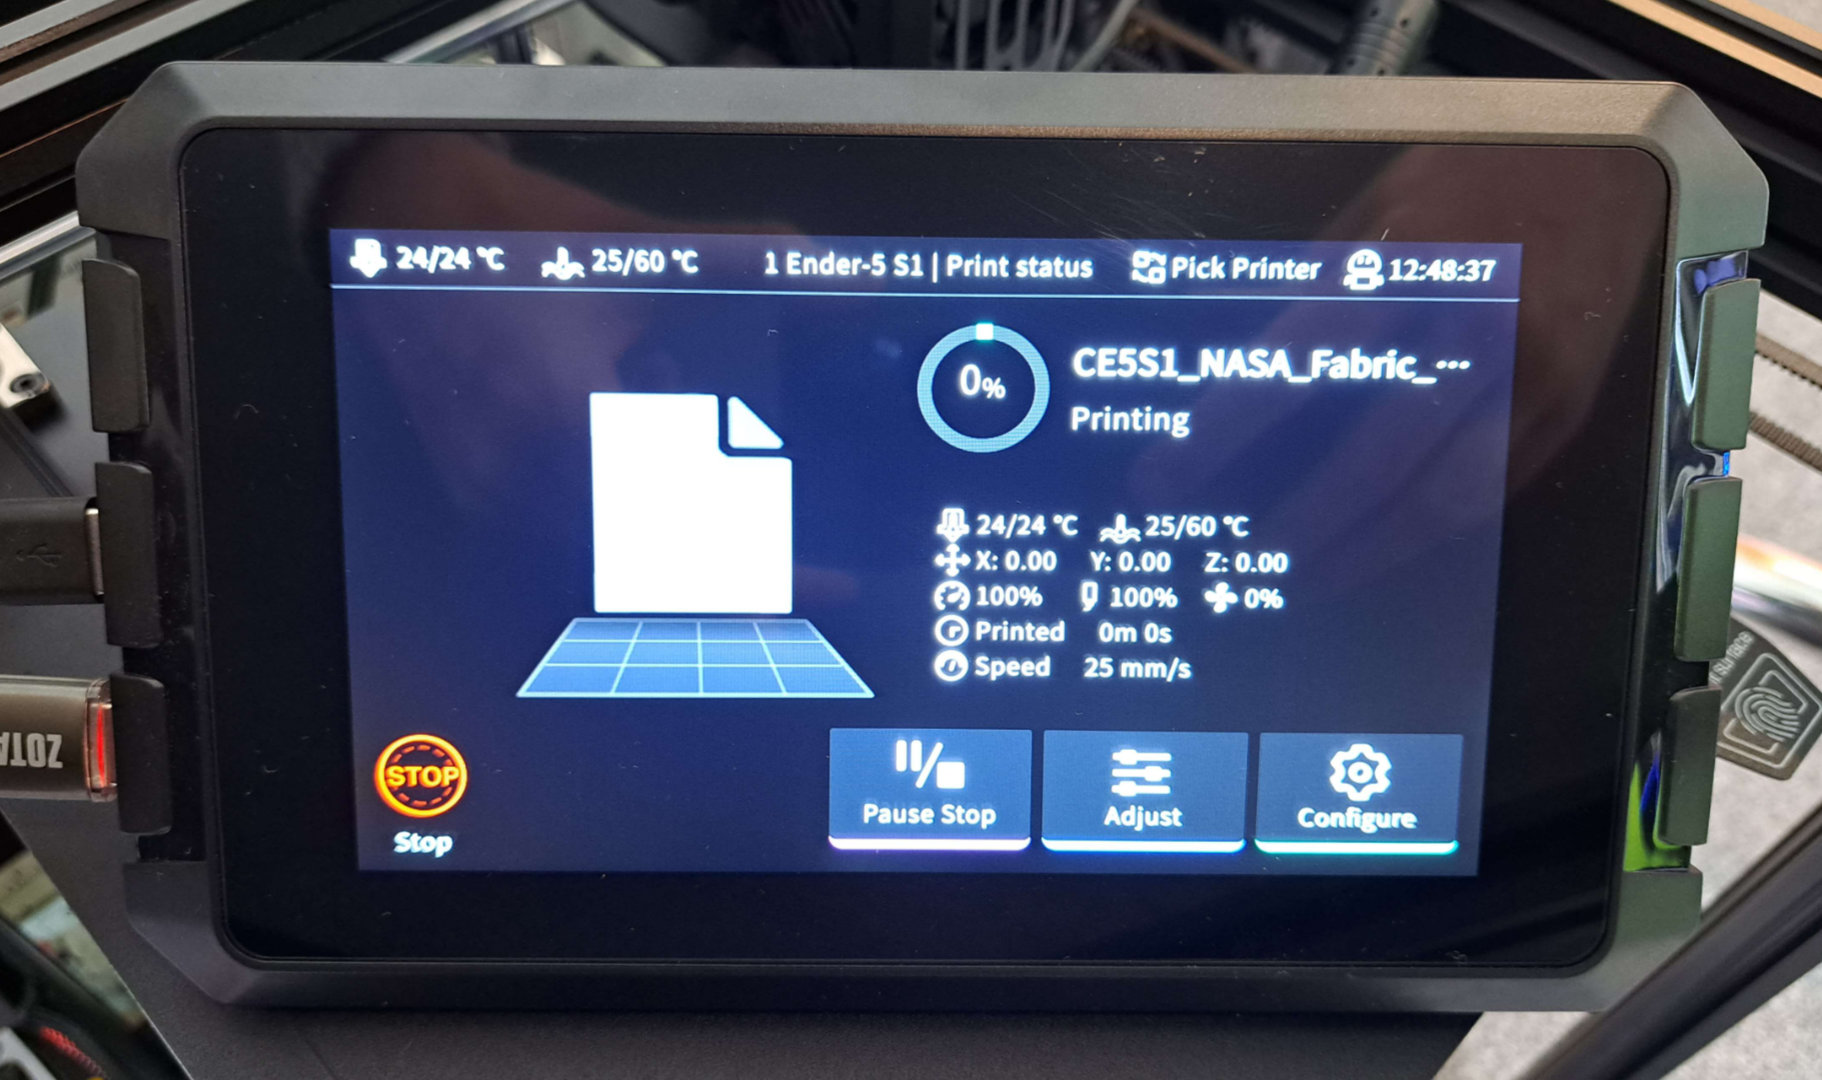
When printing, you get a few more options, like fine-tuning the Z-axis offset that you would have previously set during the configuration process, as well as adjust temperatures and pause or stop the print all together.
Built to the highest standards by our multi award winning team, this 3XS 1700 Gamer…
The ASUS ROG Rapture GT-AX11000 WiFi 6 Gaming router features a revolutionary combination of OFDMA…
Meet the all-new Kraken 280 RGB All-in-one Liquid CPU Cooler from NZXT is perfect for…
Enjoy your favorite games with the AMD Ryzen™ 5 5600GT CPU. Features 6 high-performance cores,…
Following the well-established legacy of the Seasonic FOCUS Series, the FOCUS GX Series was upgraded…
The Qube 500 Flatpack case is a unique chassis to house your dream components. With…