Cryorig H7 Quad-Lumi RGB CPU Cooler Review
Peter Donnell / 7 years ago
Installation
Installing the H7 is as easy as can be. The universal backplate simply goes on the back of your motherboard, no big surprise there. Pass through four long screws, and then just use the thumb screws to hold either the Intel brackets or the AMD bracket in place. As you can see, we’ve installed the Intel bracket. Of course, since the cooler already has the pre-fitted screws, all you have to do is bolt it down to the bracket, and the whole thing takes just a few minutes!

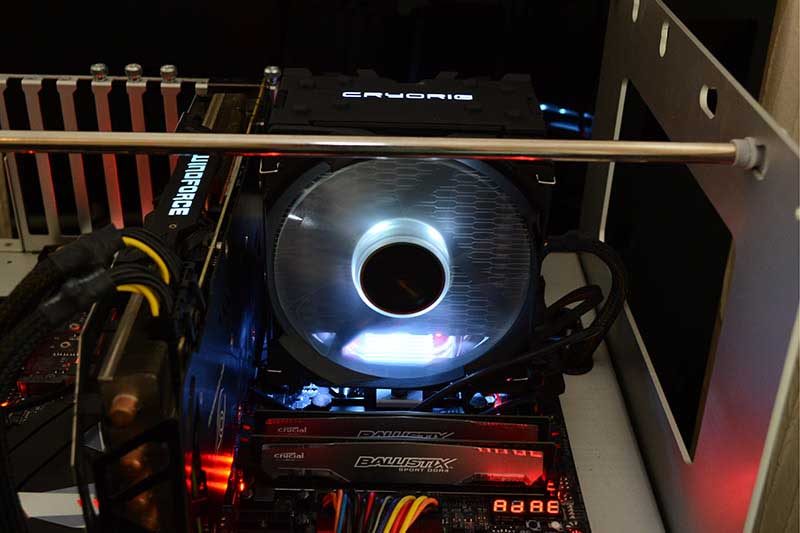
With the cooler mounted, we can finally power it up and show you that lovely lighting. The under light is really bright, but since you can’t see it directly, it glows around the motherboard and through the clear fins on the fan.

The top cover has the RGB LED Cryorig logo too. You can sync these two lights using CAM, or you can set them to separate colours, giving you twice the level of customisation.