DeepCool Macube 550 PC Case Review
Peter Donnell / 5 years ago
Interior
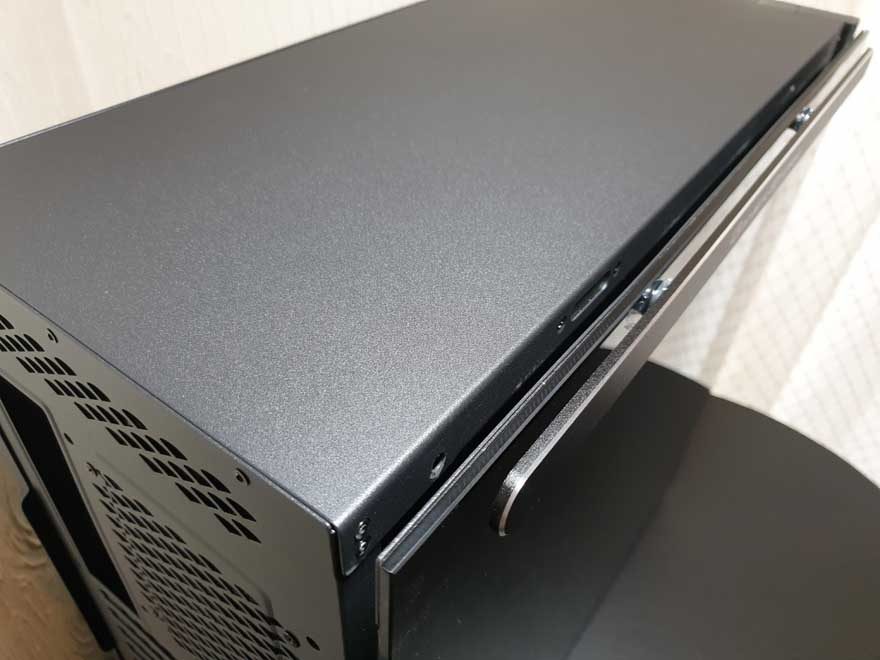
As I said before, opening up the case is pretty easy. You don’t need any tools, no thumbscrews, etc. Just pull the handle, and it’ll pop open a bit. Then you simply lift the glass up and out of the way; super easy, super cool.
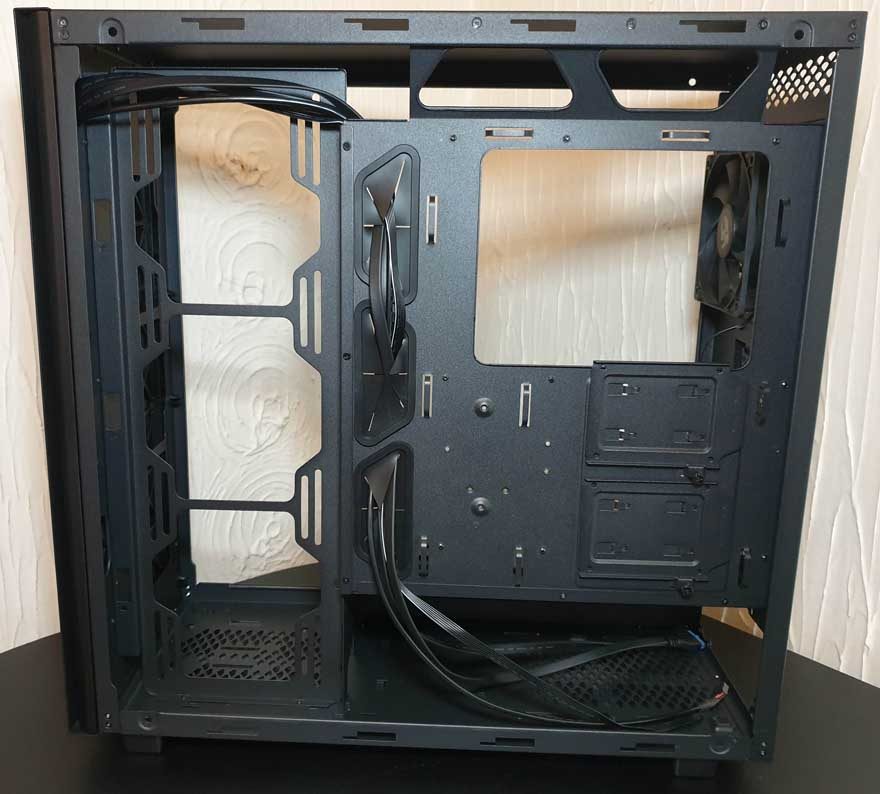
With the side panel removed, you quickly realise that the Macube 550 is not as simply as its exterior would imply. You also finally get a scale of the case too. That’s an ATX layout, but just look how much space there is in the front!
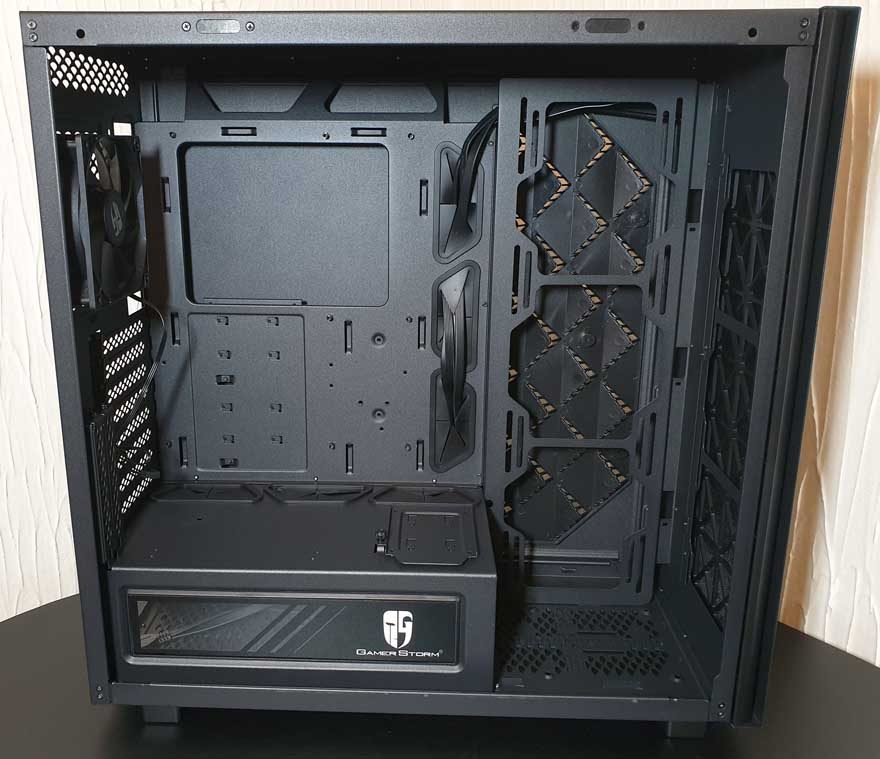
There’s a nice PSU shroud, which will work wonders for hiding the cable gore. However, it has a tinted side window of its own so you can still show off the PSU. I bet a little LED lighting would look neat in there too.

The shroud also offers up an SSD mount, as well as three large cable grommets for all your motherboard connections. No vertical pass-through for the GPU cables, but it’s not full length, and they can exit on the right side of the shroud anyway.

Cooling
Honestly, the stock setup is pretty damn basic. There’s a single 120mm fan in the back, and that is literally it. That being said, it’s a good quality fan at least.
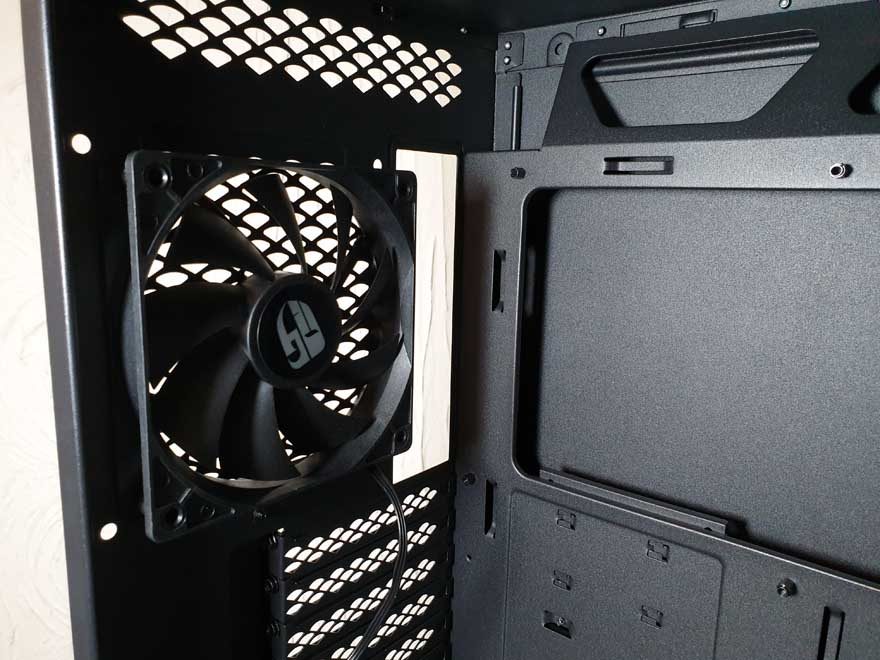
While you may not get great airflow out of the box, what you do get is incredible cooling support. There are extensive 120/140mm mounts on the front and right side panel. You can easily fit massive radiators in here, including some of the rather thick models.
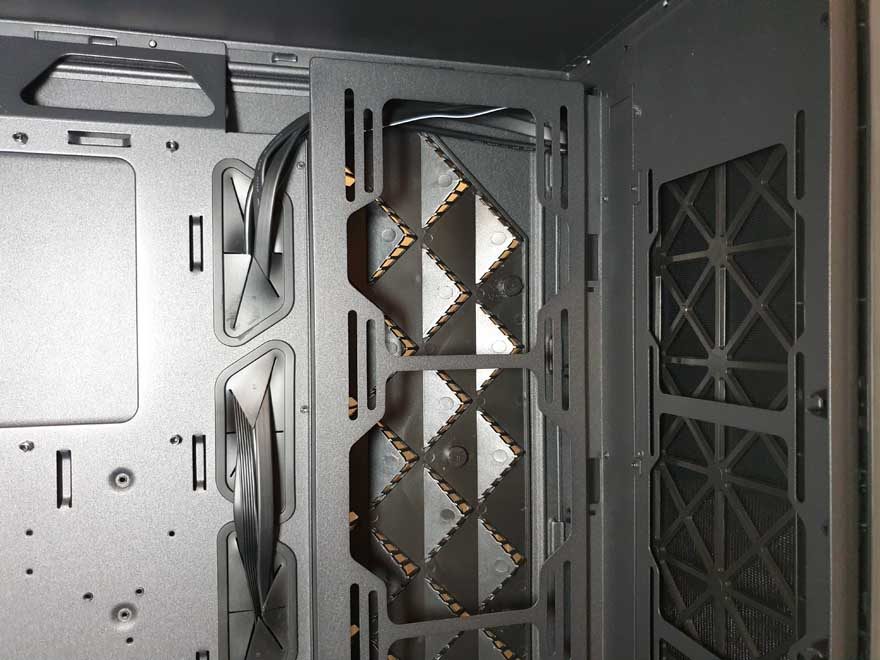
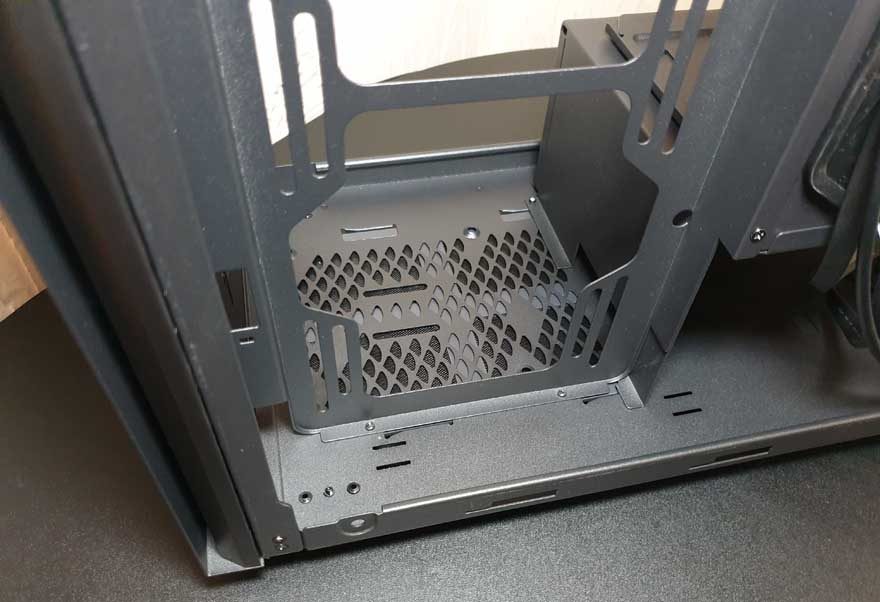
The front panel is fitted with a huge dust filter too, as is the bottom intake mount. So they’ll be air inflow mounts. However, the right-side panel doesn’t have a filter, so that will be the air out mount. You can mount AIO coolers, custom loop, or just lots of fans here.
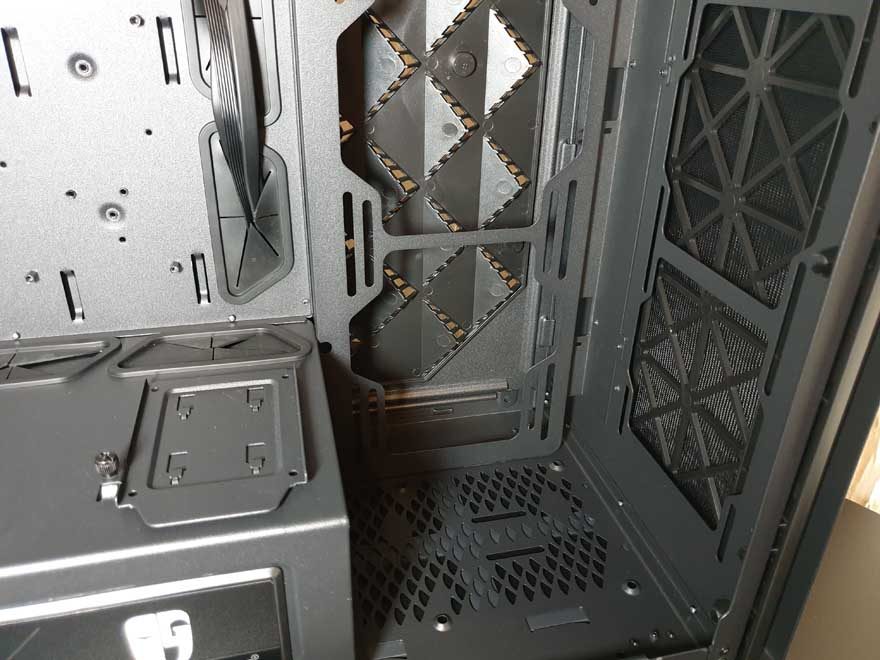
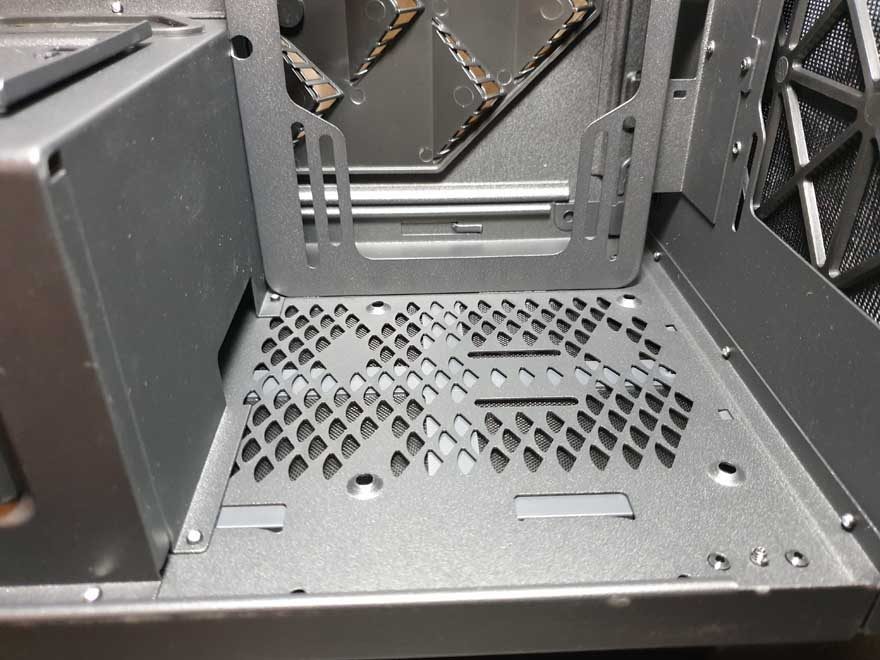
You can fit a 120mm fan right down here too. However, there are mounting solutions here for reservoirs and pumps too.
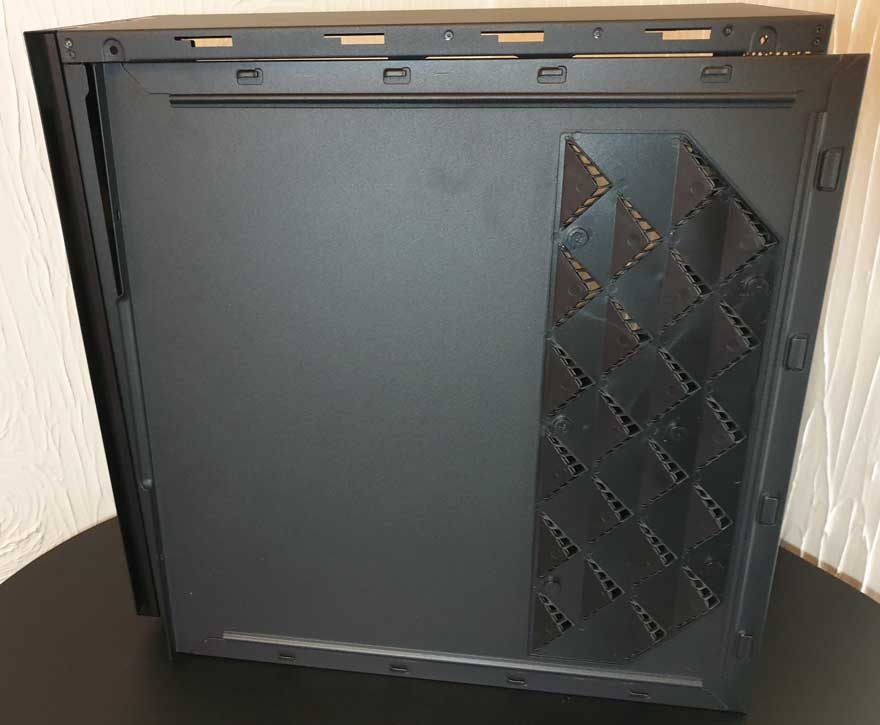
Behind the Motherboard
Removing the right panel, you can see that funky airflow vent mounted to the panel.
However, with the panel removed, you can obviously access those huge radiator/fan mounts more easily.
There’s a lot of room here, so installations should be a breeze. Plus, it’s clearly not short on cable routing space either. Not that you need much, as the PSU shroud will take the bulk anyway.
For additional storage, you have two SSD mounts right behind the motherboard also. Of course, that gives us three if you count the one on the PSU shroud.

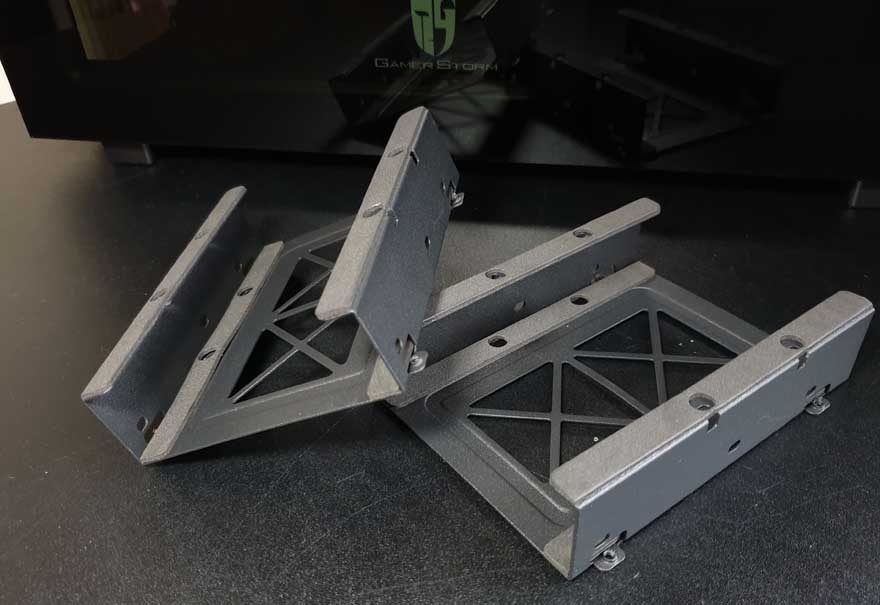
Plus you get these pre-removed 3.5″ trays. These can be mounted to the 120mm fan brackets or into the base of the case should you wish to bulk up on storage. However, with M.2 and SSD being so common now, I like that these are optional add-ons rather than simply being removable.