ECS Liva SOC Mini-PC System Review
Colin Chambers / 9 years ago
A Closer Look
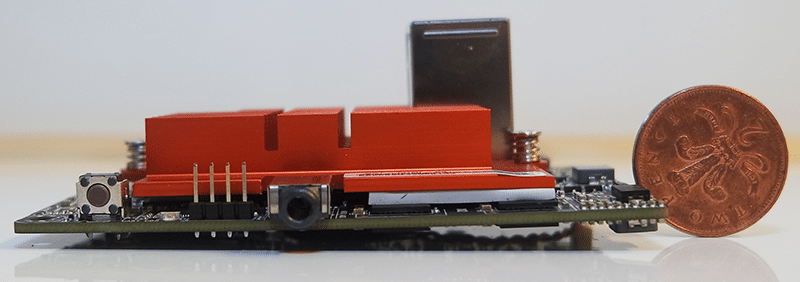
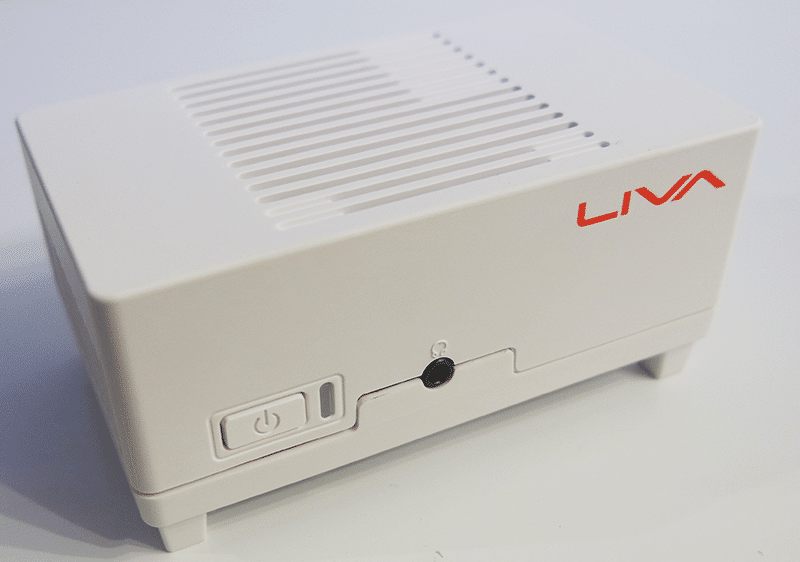
The front of the motherboard has the headphone jack (centre) and power button (left). Worth noting is that this jack does in fact support microphones too, similar to cellphones and tablets.
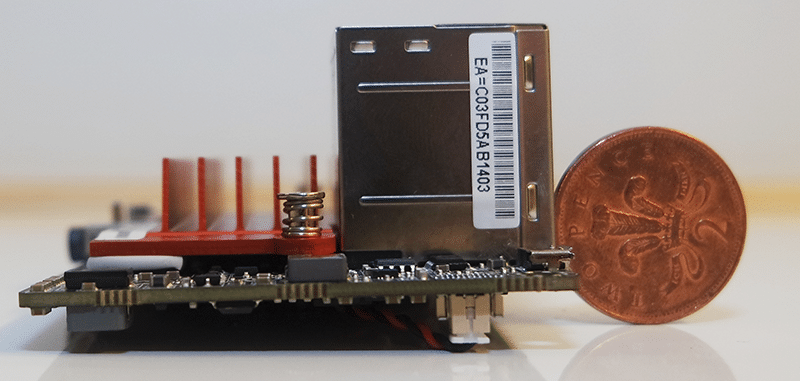
On the left, you’ll find the BIOS battery power on fly leads can be seen under the motherboard, also note heatsink screw.
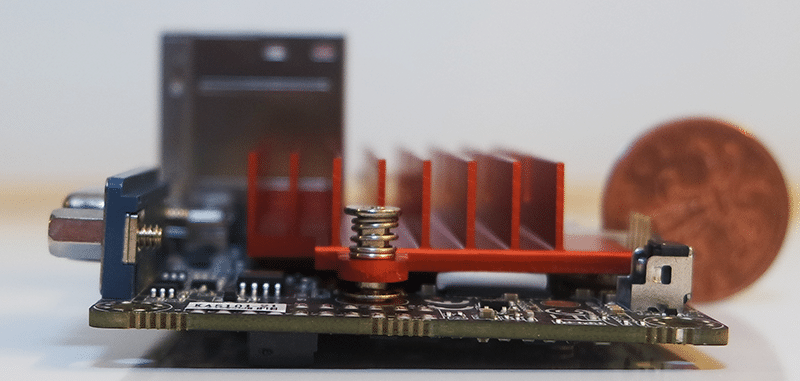
On the right, a VGA port, the second heatsink screw in the middle and power button on the right.
Around the back, a Micro USB (For AC power input), Gigabit LAN, 1 x USB 2.0, 1 x USB 3.0, HDMI, VGA.

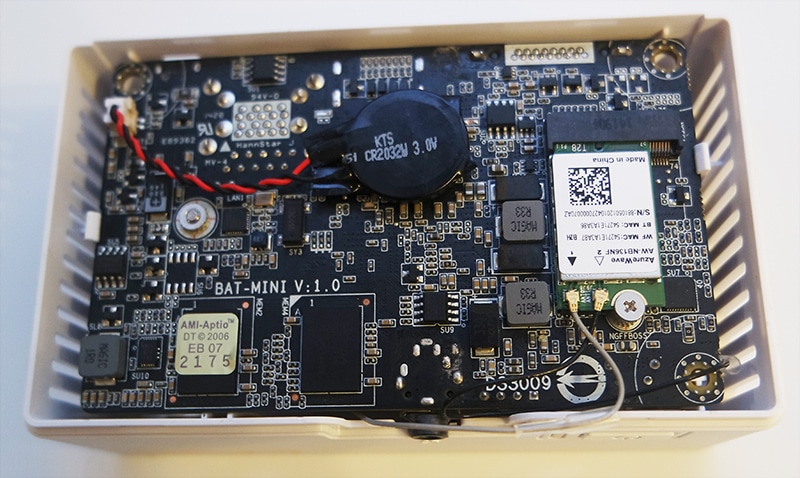
On the top, Bluetooth and Wifi M.2 card on the right.
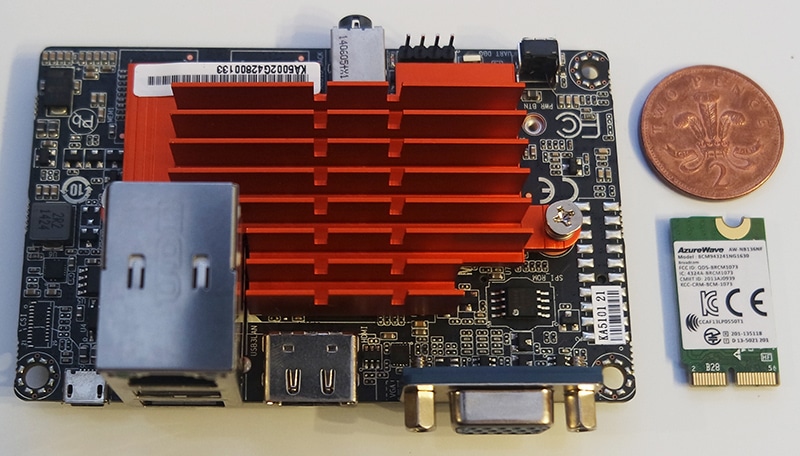
Finally, on the bottom, the BIOS battery on fly lead, M.2 port for the Wi-Fi card can be seen on the right.

The case is very well ventilated, with every side having a selection of cut vents which is nice to see when you consider the system is completely passively cooled. It is broken into two halves, the top being the main part of the case with the power switch and I/O port holes and the bottom half containing the base of the case with 4 small legs moulded onto it. With the motherboard clipping into the top half with no screws required and the bottom plastics clipping into the top tool free too, it can be built in under 5 minutes with the assistance of the quick start manual.
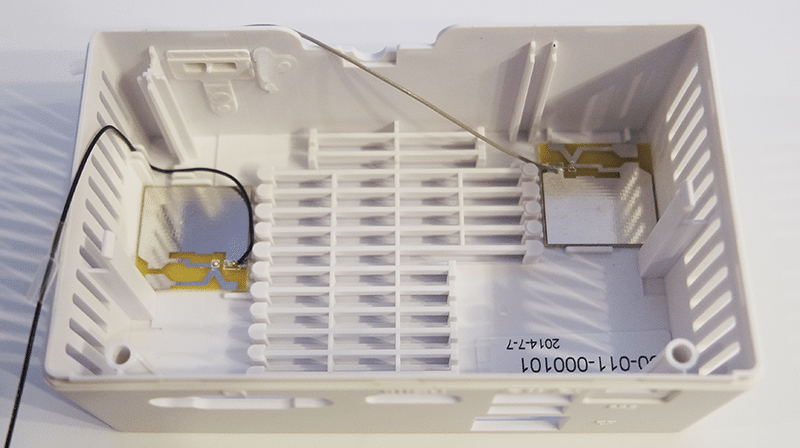
Peel the sticky backs from the Wi-Fi antennae and place in the position; as shown above.
Place in and clip the motherboard into place. It’s Worth noting is the antennae are then attached to the WiFi / Bluetooth Card on the motherboard – straightforward in principle, but can take a bit of careful fiddling should you have sausage fingers like myself.
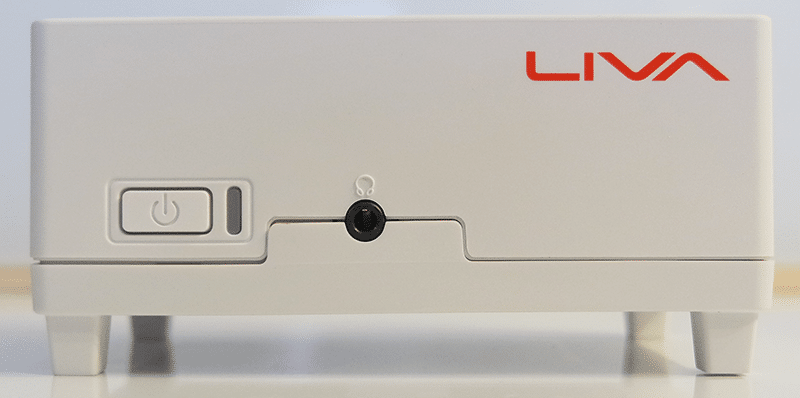
Clip the bottom on and good to go! Here’s the finished product from the front.
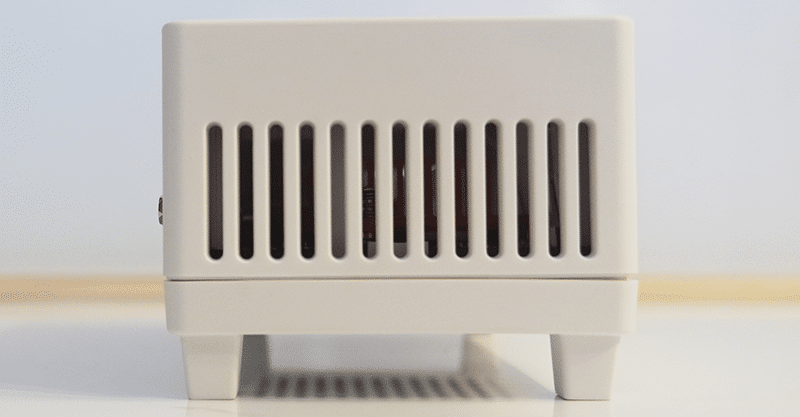
Finally, the left. As you can see plenty of ventilation for this completely silent unit.
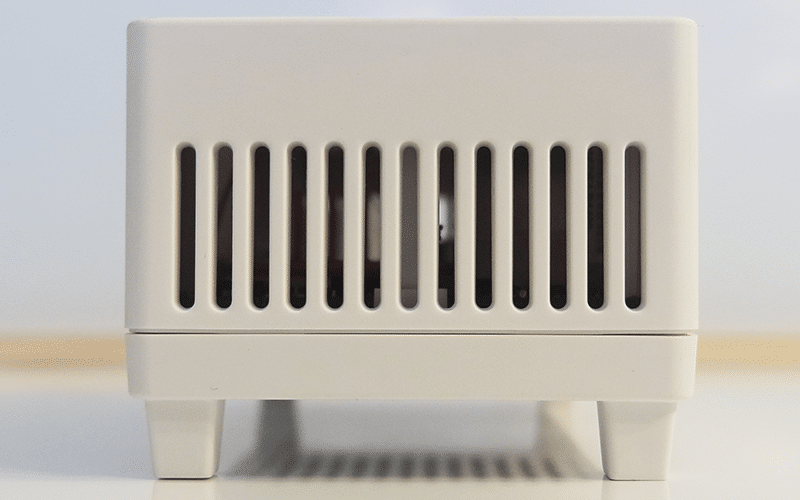
The right is pretty much exactly the same as the left, lots of ventilation.
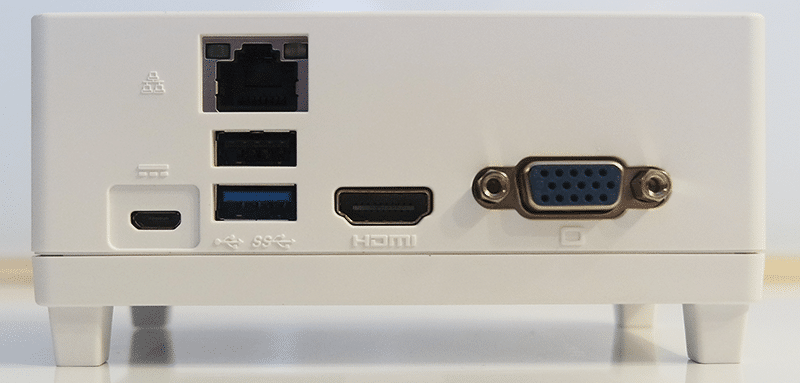
The back looks very neat and tidy, with all ports clearly labelled.
A strange thing to immediately note with the Liva is the aesthetics. It comes in black and white options, the black version is the 32GB eMMC version, marginally slower N2806 CPU and DDR3 operating at 1066, whereas the white is the 64GB model with the slightly better specifications as listed earlier. I found that the black version seemed to be vastly better looking than the white – for no other reason than the colour. I think it was due to the black version would sit happily under my TV blending in nicely with the rest of my AV equipment, though the white version looks a bit like a misplaced smoke detector, though in an office environment I’m sure it would be fine, each to their own I guess.
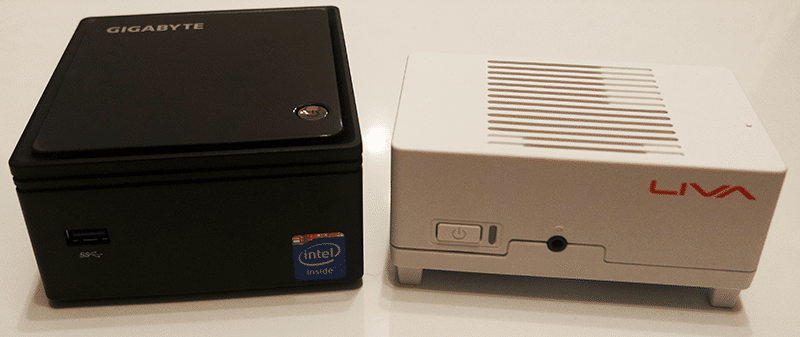
Size wise, the Liva sits at a very competitive form factor to its closest competition. Here we can see the Liva side-by-side with a Gigabyte Brix


