Gamemax Iceberg 120 CPU Water Cooler Review
Peter Donnell / 6 years ago
Installation
The fan screws onto the radiator easily using the four long screws included. There are also four short screws for mounting the radiator directly to your chassis.

The universal backplate drops into place, and you use the four mounting pins to pass-through the motherboard.

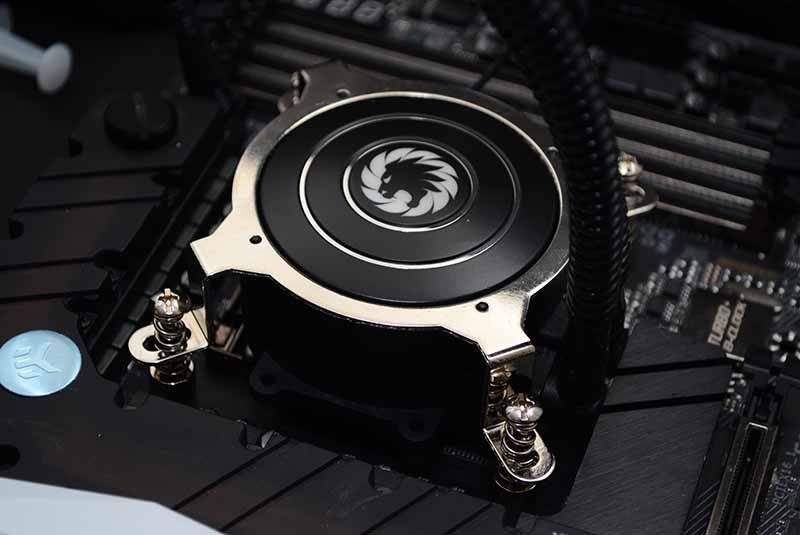
Four large thumbscrews then pace on top of the mounting pins, giving you everything you need to screw the pump down. Of course, don’t forget to add thermal paste at this stage.

It’s a bit fiddly, but the retention bracket clamps on the top of the pump. What are those screw holes for on the bottom of the pump? No idea, perhaps Gamemax use some of the same toolings for a similar model cooler. Overall, it does look pretty great though.
RGB lighting
There are multiple lights in the fan, which flow and cycle and random, giving some nice soft lighting effects. It’s not too overstated, and the slow rate of colour change is really nice too. Unfortunately, you can’t customise it though, as the fan just runs from a standard fan header, but keep in mind the price range of the cooler.


